Apache的三种虚拟主机配置:基于IP地址、基于端口号、基于主机名
1、apache服务器安装与配置。
yum install httpd -y

systemctl start httpd && systemctl enable httpd
systemctl stop firewalld
setenforce 0 //设置selinux安全级别为premise重启会失效.
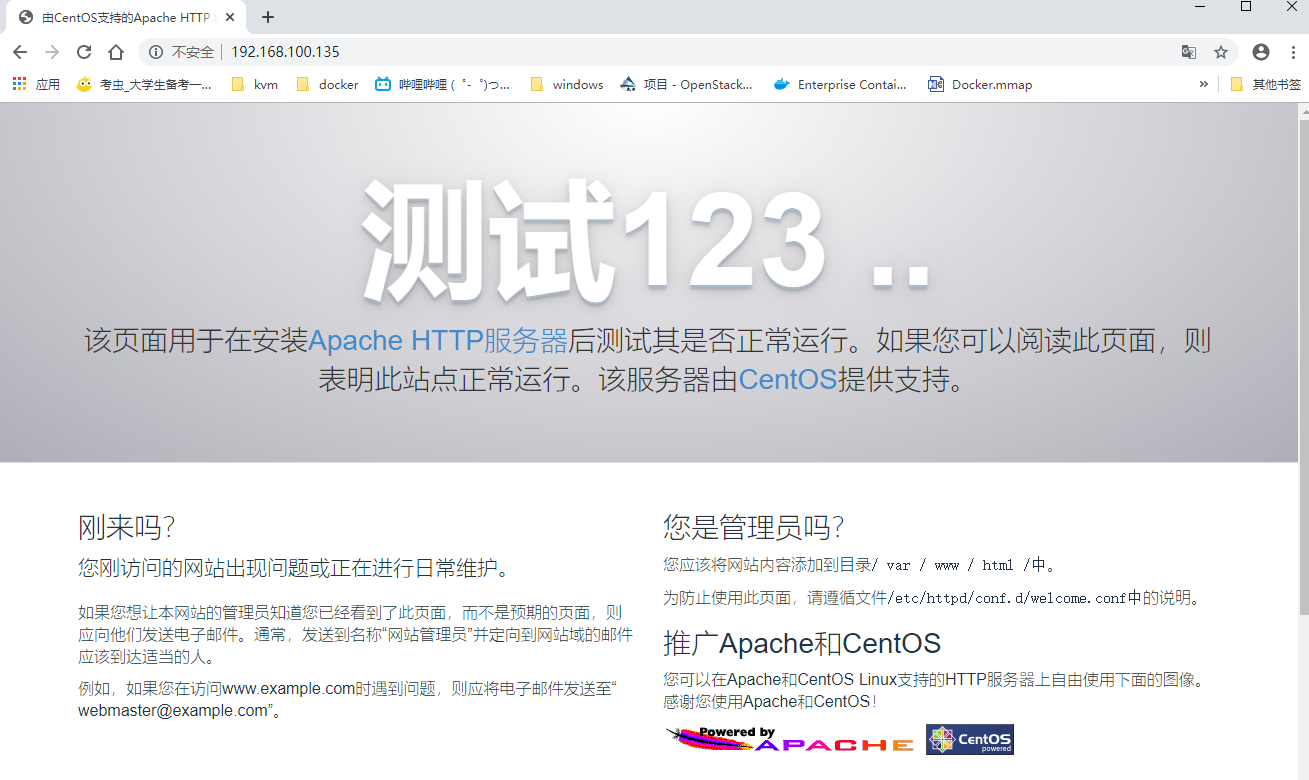
本机windows浏览器测试虚拟机ip地址(一定要关闭防火墙),看到以下界面代表启动http成功。
2、apache2配置文件
安装好httpd后会自动生成/etc/httpd目录
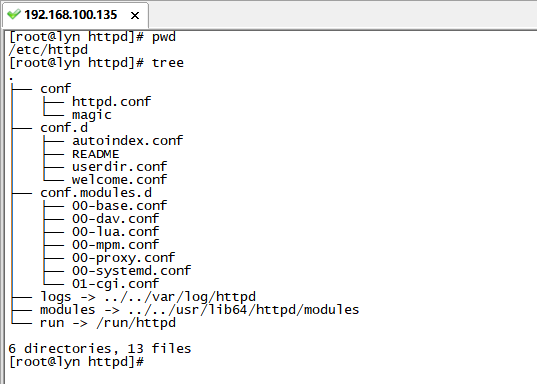
主要配置文件:conf/httpd.conf
3、基于IP地址(服务器需要多个公网IP地址)
www.lyn1.com----192.168.100.135
www.lyn2.com----192.168.100.136
(1)给服务器另外再绑定一个IP地址

(2)在/etc/httpd/conf.d目录中增加一个站点文件lyn1.conf
也可以在/etc/httpd/conf/httpd.conf 直接配置,httpd.conf文件会自动导入/etc/httpd/conf.d中文件,为了方便我们直接写到/etc/httpd/conf.d文件夹下
mkdir /mnt/lyn1
cd /etc/httpd/conf.d
vi lyn1.conf
<VirtualHost 192.168.100.135>   //本机ip地址
DocumentRoot /mnt/lyn1/         //网络数据目录
ServerName www.lyn1.com         //网站服务器的域名
<Directory /mnt/lyn1/ >         //网站数据目录的权限
AllowOverride None              //不允许重写
Require all granted             //允许所有访问请求
</Directory>
</VirtualHost>
(3)在shiyan1.com对应网站的发布目录下增加网页文件index.html
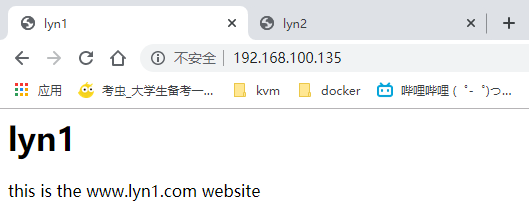
vi /mnt/lyn1/index.html
<html>
<head>
<title>lyn1</title>
</head>
<body>
<h1>lyn1</h1>
this is the www.lyn1.com website
</body>
</html>
(4)在/etc/httpd/conf.d目录中增加一个站点文件lyn2.conf
mkdir /mnt/lyn1
cd /etc/httpd/conf.d
vi lyn1.conf
<VirtualHost 192.168.100.136>   //本机另一个ip地址
DocumentRoot /mnt/lyn2/         //网络数据目录
ServerName www.lyn2.com         //网站服务器的域名
<Directory /mnt/lyn2/ >         //网站数据目录的权限
AllowOverride None              //不允许重写
Require all granted             //允许所有访问请求
</Directory>
</VirtualHost>
(5)在lyn2.com对应网站的发布目录下增加网页文件index.html
vi /mnt/lyn2/index.html
<html>
<head>
<title>lyn2</title>
</head>
<body>
<h1>lyn2</h1>
this is the www.lyn2.com website
</body>
</html>
(6)重启Apache服务器,并使用浏览器进行验证
systemctl restart httpd


4、配置基于端口号的虚拟主机
www.lyn1.com----192.168.100.135:80
www.lyn2.com----192.168.100.135:81
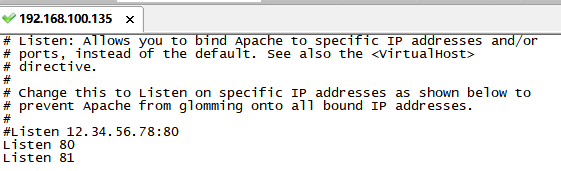
(1)在主配置文件/etc/httpd/conf/httpd.conf文件中增加监听端口81
#vi /etc/httpd/conf/httpd.conf
Listen 80
Listen 81
(2)修改/etc/httpd/conf.d/lyn1.conf文件:
<VirtualHost 192.168.100.135:80>
ServerName www.lyn1.com
DocumentRoot /var/www/html/lyn1/
<Directory /var/www/html/lyn1/ >
AllowOverride None
Require all granted
</Directory>
</VirtualHost>
(3)修改/etc/httpd/conf.d/shiyan2.conf文件:
<VirtualHost 192.168.100.135:81>
ServerName www.lyn2.com
DocumentRoot /var/www/html/lyn2/
<Directory /var/www/html/lyn2/ >
AllowOverride None
Require all granted
</Directory>
</VirtualHost>
(4)重启Apache服务器,并使用浏览器进行验证
systemctl restart httpd

5、配置基于主机名的虚拟机
www.lyn1.com----192.168.100.135:80
www.lyn2.com----192.168.100.135:80
(1)注册DNS(配置DNS服务器并实现正常解析)、临时测试时可以使用修改/etc/hosts方法,此处采用修改hosts方法
#vi /etc/hosts
192.168.100.135 www.lyn1.com
192.168.100.135 www.lyn2.com
(2)在主配置文件/etc/httpd/conf.d/lyn1.conf文件中
<VirtualHost *:80>
ServerName www.lyn1.com
DocumentRoot /var/www/html/lyn1/
<Directory /var/www/html/lyn1/ >
AllowOverride None
Require all granted
</Directory>
</VirtualHost>
(3)在主配置文件/etc/httpd/conf.d/lyn2.conf文件中
<VirtualHost *:81>
ServerName www.lyn2.com
DocumentRoot /var/www/html/lyn2/
<Directory /var/www/html/lyn2/ >
AllowOverride None
Require all granted
</Directory>
</VirtualHost>
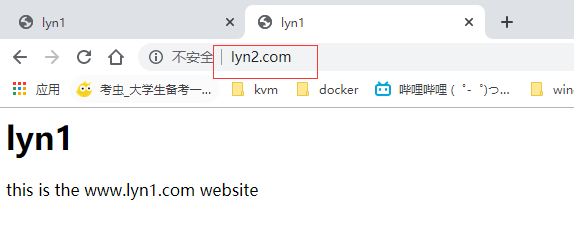
(4)重启apache2服务器并进行验证
systemctl restart httpd
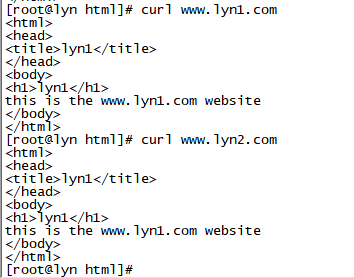
[root@lyn html]# curl www.lyn1.com
[root@lyn html]# curl www.lyn2.com
windows下访问网站要向C:\Windows\System32\drivers\etc\hosts文件中追加下面两行
192.168.100.135 www.lyn1.com
192.168.100.135 www.lyn2.com


 浙公网安备 33010602011771号