

LoadRunner 2020 社区版本负载机(Load generator)Linux 安装教程
1、HP官方注册
下载 LoadRunner_2020_Edition_Standalone_Applications_Micro_Focus_LoadRunner_2020_Community_Edition_Standalone_Applications.exe 程序安装:

上传上图Linux版Load Generator到Linux文件系统下。
2、安装 Load Generator
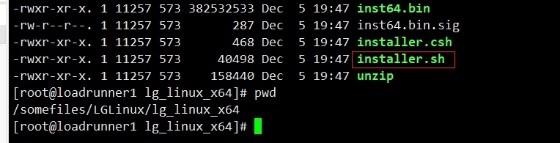
解压如下:
使用 source 命令执行脚本,会自动设置环境变量,否则手动设置。
若是bash环境执行:
source ./installer.sh
若是 csh环境执行:
source ./installer.csh
安装过程可以指定目录,我放在(/opt/MF/MF_LoadGenerator):

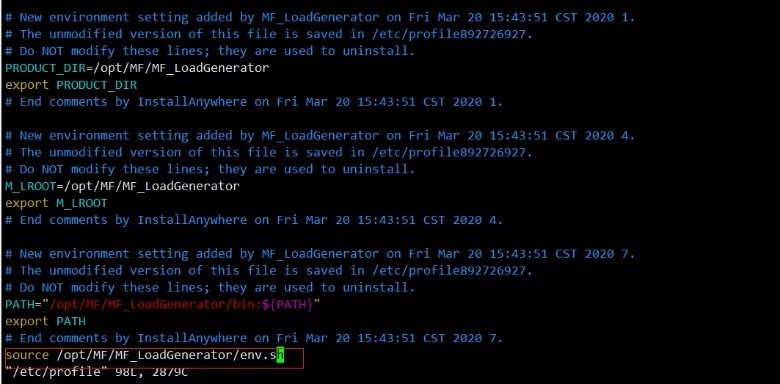
3、 将LR的配置文件加入到shell默认配置中
在Load Generator安装过程会创建evn.sh/csh脚本,若是Bourne和Korn用户修改 /etc/profile,末尾添加 source <Load Generator installation directory>/env.sh
如:
若是 csh shell用户修改/etc/csh.cshrc。
4、 运行verify_generator校验程序
1) verify_generator脚本不允许运行在root用户下,需要创建普通用户(如:useradd -g 0 -s /bin/bash loadrunner)
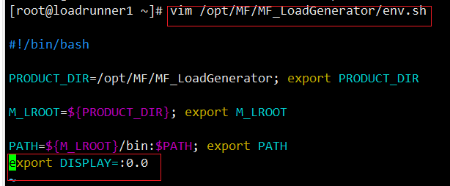
2) 运行之前需要配置DISPLAY变量
Bash shell下配置:
Csh shell 下修改 env.csh即可(csh使用setenv 设置)。
校验如下:

5、 启动 Load Generator
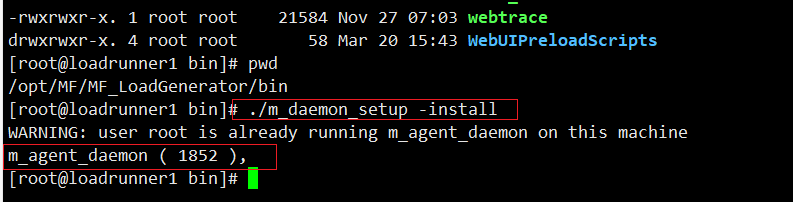
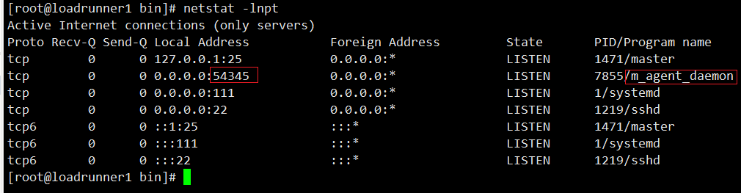
启动成功会返回端口号。
6、 Controller 连接Linux Load Generator
1) 开放54345端口:
Centos7下:
firewall-cmd --zone=public --add-port=54345/tcp –permanent
firewall-cmd –reload
2)controller 配置连接
非RSH方式连接:
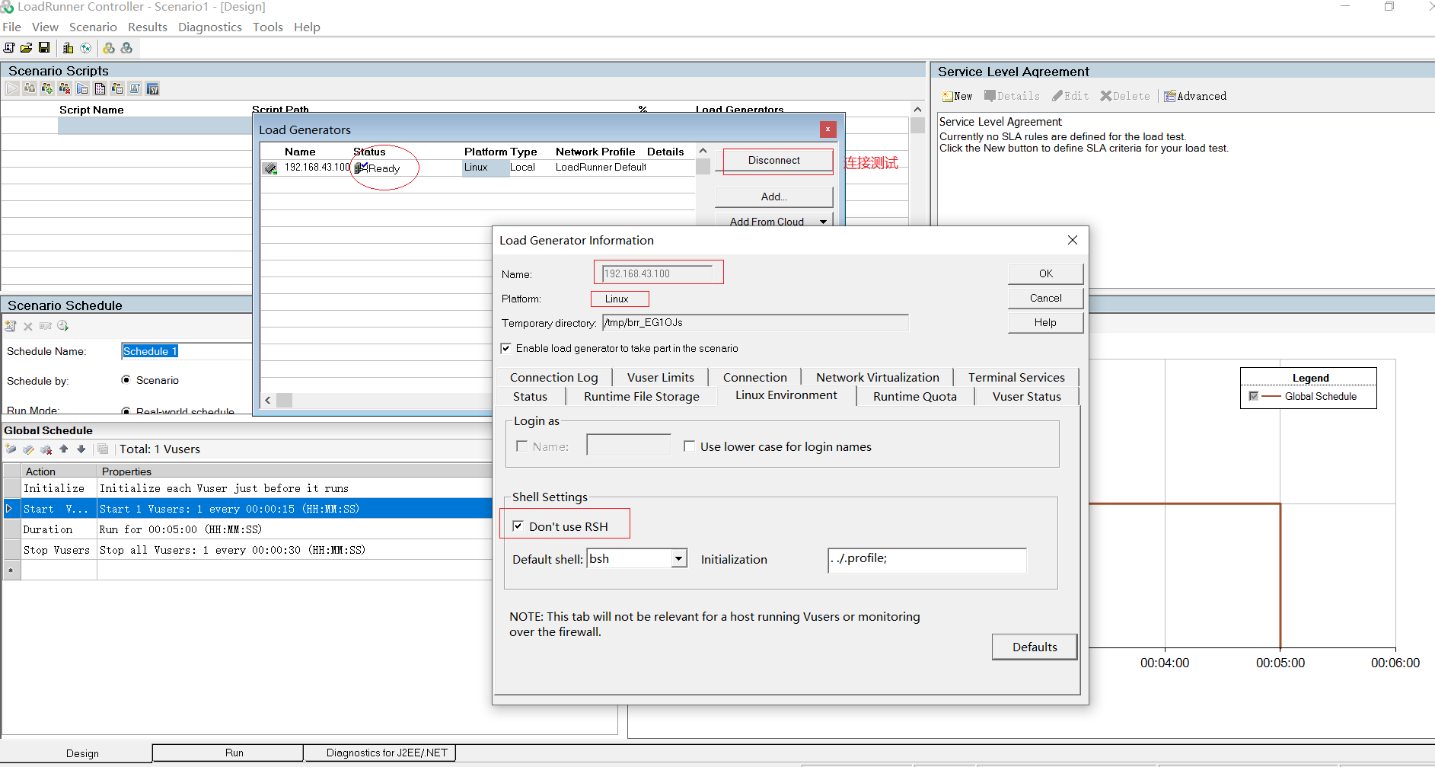
若Load Generator > status 显示ready即连接成功。

 浙公网安备 33010602011771号