

zenoh pico 集成esp32 开发板简单试用
主要是一个简单测试,通过platformio 进行esp32 开发集成zenoh pico
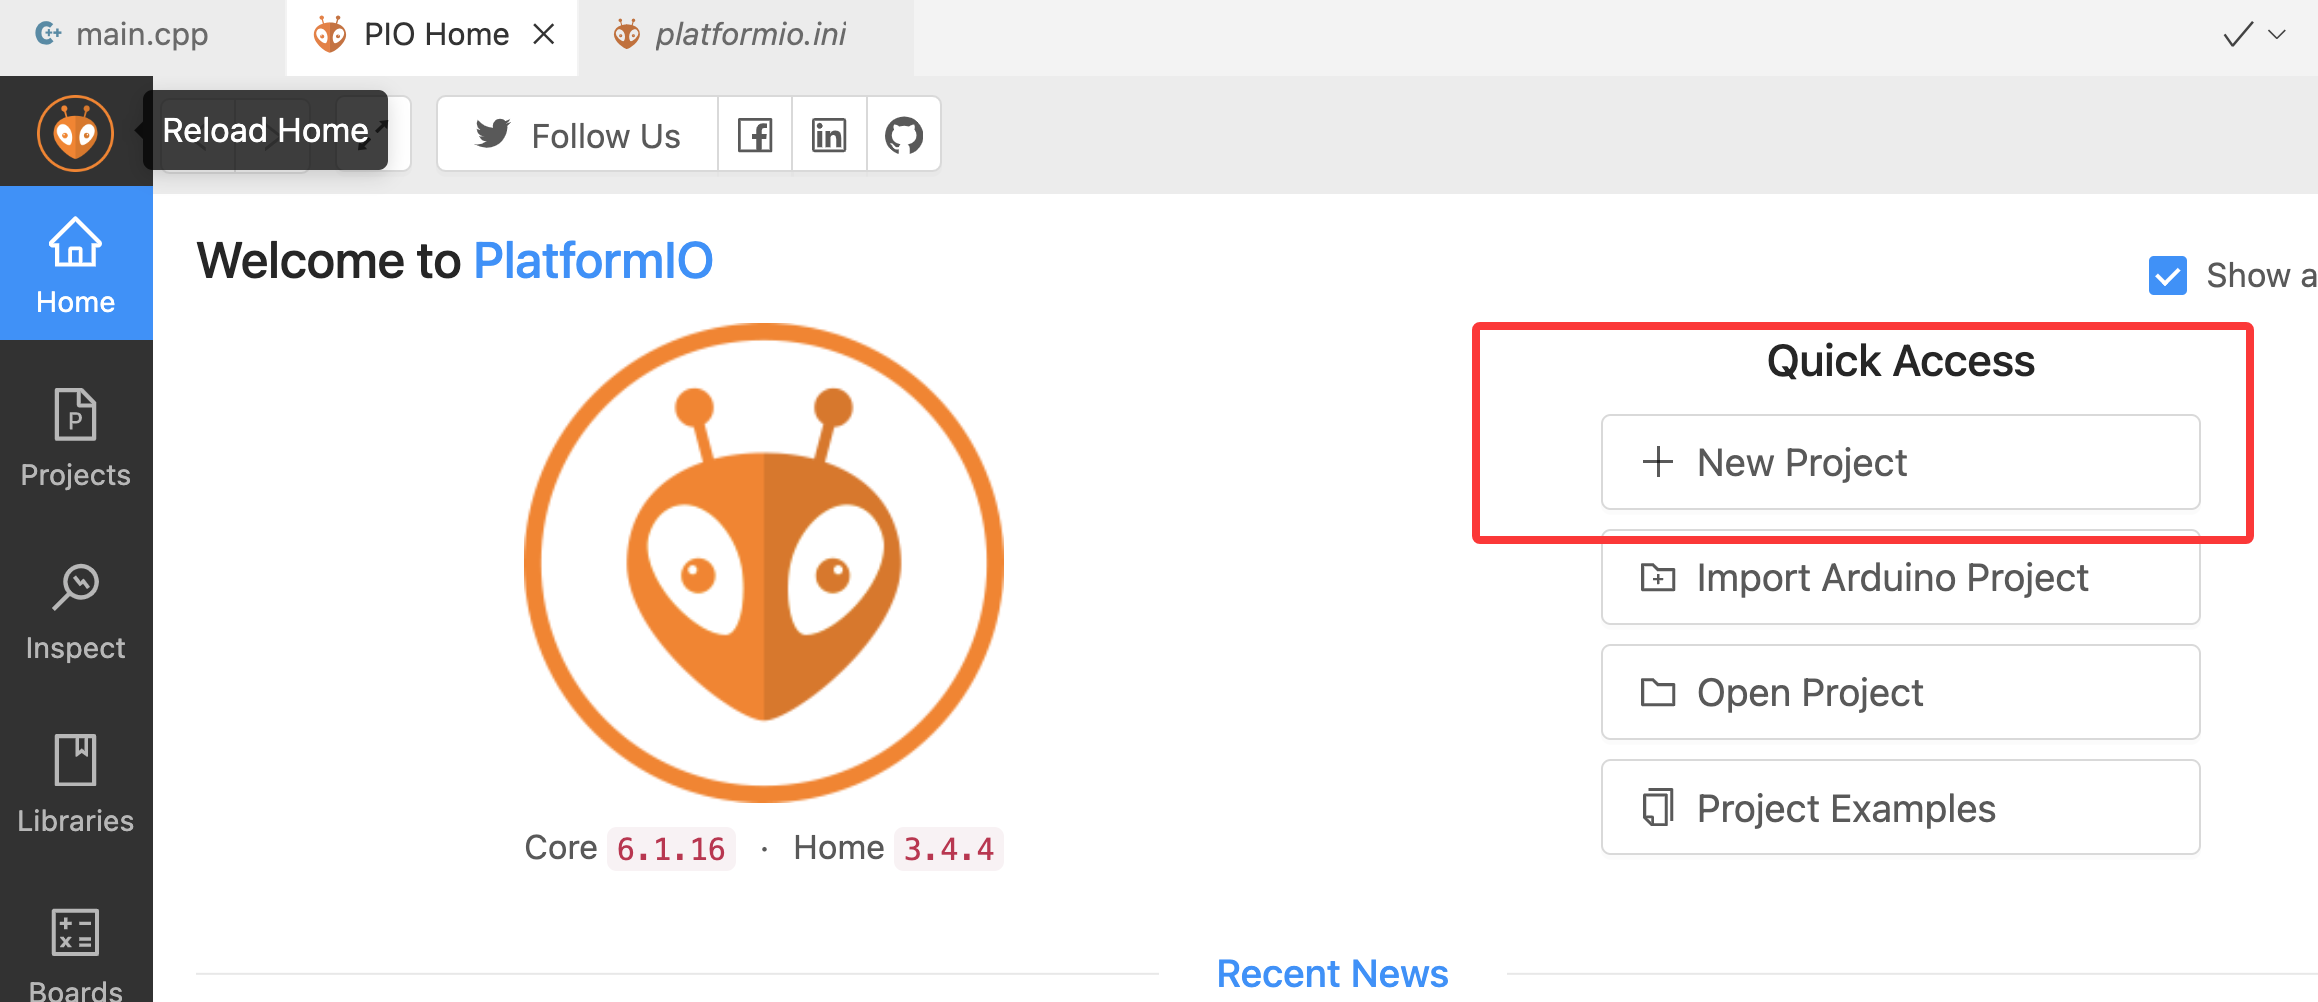
环境准备
- 安装vs code 以及platformio 扩展
比较简单,直接下载vs code 之后就是选择platformio 插件,安装就可以了
- zenoh 服务
docker run -d -p 7447:7447/tcp -p 8000:8000/tcp eclipse/zenoh
创建esp32 项目
整体也比较简单,可能会有网络的问题,注意合理上网
集成zenoh pico
主要是添加依赖,安装标准的platformio 项目玩法就可以了
- platformio.ini 添加依赖
[env:esp32dev]
platform = espressif32
board = esp32dev
framework = arduino
monitor_speed = 115200
lib_deps = https://github.com/eclipse-zenoh/zenoh-pico#1.1.0
build_flags =
    -DZENOH_COMPILER_GCC
    -DZENOH_ARDUINO_ESP32
lib_ignore = freertos
- 测试代码
使用了官方示例,通过client 模式publish 消息到zenoh router 中
src/main.cpp,注意修改为自己实际的wifi 信息以zenohd 地址
#include <Arduino.h>
#include <WiFi.h>
#include <zenoh-pico.h>

// WiFi-specific parameters
#define SSID "xxx"
#define PASS "xxxxx"

// Client mode values (comment/uncomment as needed)
#define MODE "client"
#define CONNECT "tcp/xxxxx:7447"  // If empty, it will scout
// Peer mode values (comment/uncomment as needed)
// #define MODE "peer"
// #define CONNECT "udp/224.0.0.225:7447#iface=en0"

#define KEYEXPR "demo/example/zenoh-pico-pub"
#define VALUE "[ARDUINO]{ESP32} Publication from Zenoh-Pico!"

z_owned_session_t s;
z_owned_publisher_t pub;
static int idx = 0;

void setup() {
    // Initialize Serial for debug
    Serial.begin(115200);
    while (!Serial) {
        delay(1000);
    }

    // Set WiFi in STA mode and trigger attachment
    Serial.print("Connecting to WiFi...");
    WiFi.mode(WIFI_STA);
    WiFi.begin(SSID, PASS);
    while (WiFi.status() != WL_CONNECTED) {
        delay(1000);
    }
    Serial.println("OK");

    // Initialize Zenoh Session and other parameters
    z_owned_config_t config;
    z_config_default(&config);
    zp_config_insert(z_config_loan_mut(&config), Z_CONFIG_MODE_KEY, MODE);
    if (strcmp(CONNECT, "") != 0) {
        zp_config_insert(z_config_loan_mut(&config), Z_CONFIG_CONNECT_KEY, CONNECT);
    }

    // Open Zenoh session
    Serial.print("Opening Zenoh Session...");
    if (z_open(&s, z_config_move(&config), NULL) < 0) {
        Serial.println("Unable to open session!");
        while (1) {
            ;
        }
    }
    Serial.println("OK");

    // Start read and lease tasks for zenoh-pico
    if (zp_start_read_task(z_session_loan_mut(&s), NULL) < 0 || zp_start_lease_task(z_session_loan_mut(&s), NULL) < 0) {
        Serial.println("Unable to start read and lease tasks\n");
        z_session_drop(z_session_move(&s));
        while (1) {
            ;
        }
    }

    // Declare Zenoh publisher
    Serial.print("Declaring publisher for ");
    Serial.print(KEYEXPR);
    Serial.println("...");
    z_view_keyexpr_t ke;
    z_view_keyexpr_from_str_unchecked(&ke, KEYEXPR);
    if (z_declare_publisher(z_session_loan(&s), &pub, z_view_keyexpr_loan(&ke), NULL) < 0) {
        Serial.println("Unable to declare publisher for key expression!");
        while (1) {
            ;
        }
    }
    Serial.println("OK");
    Serial.println("Zenoh setup finished!");

    delay(300);
}

void loop() {
    delay(1000);
    char buf[256];
    sprintf(buf, "[%4d] %s", idx++, VALUE);

    Serial.print("Writing Data ('");
    Serial.print(KEYEXPR);
    Serial.print("': '");
    Serial.print(buf);
    Serial.println("')");

    // Create payload
    z_owned_bytes_t payload;
    z_bytes_copy_from_str(&payload, buf);

    if (z_publisher_put(z_publisher_loan(&pub), z_bytes_move(&payload), NULL) < 0) {
        Serial.println("Error while publishing data");
    }
}
- 效果
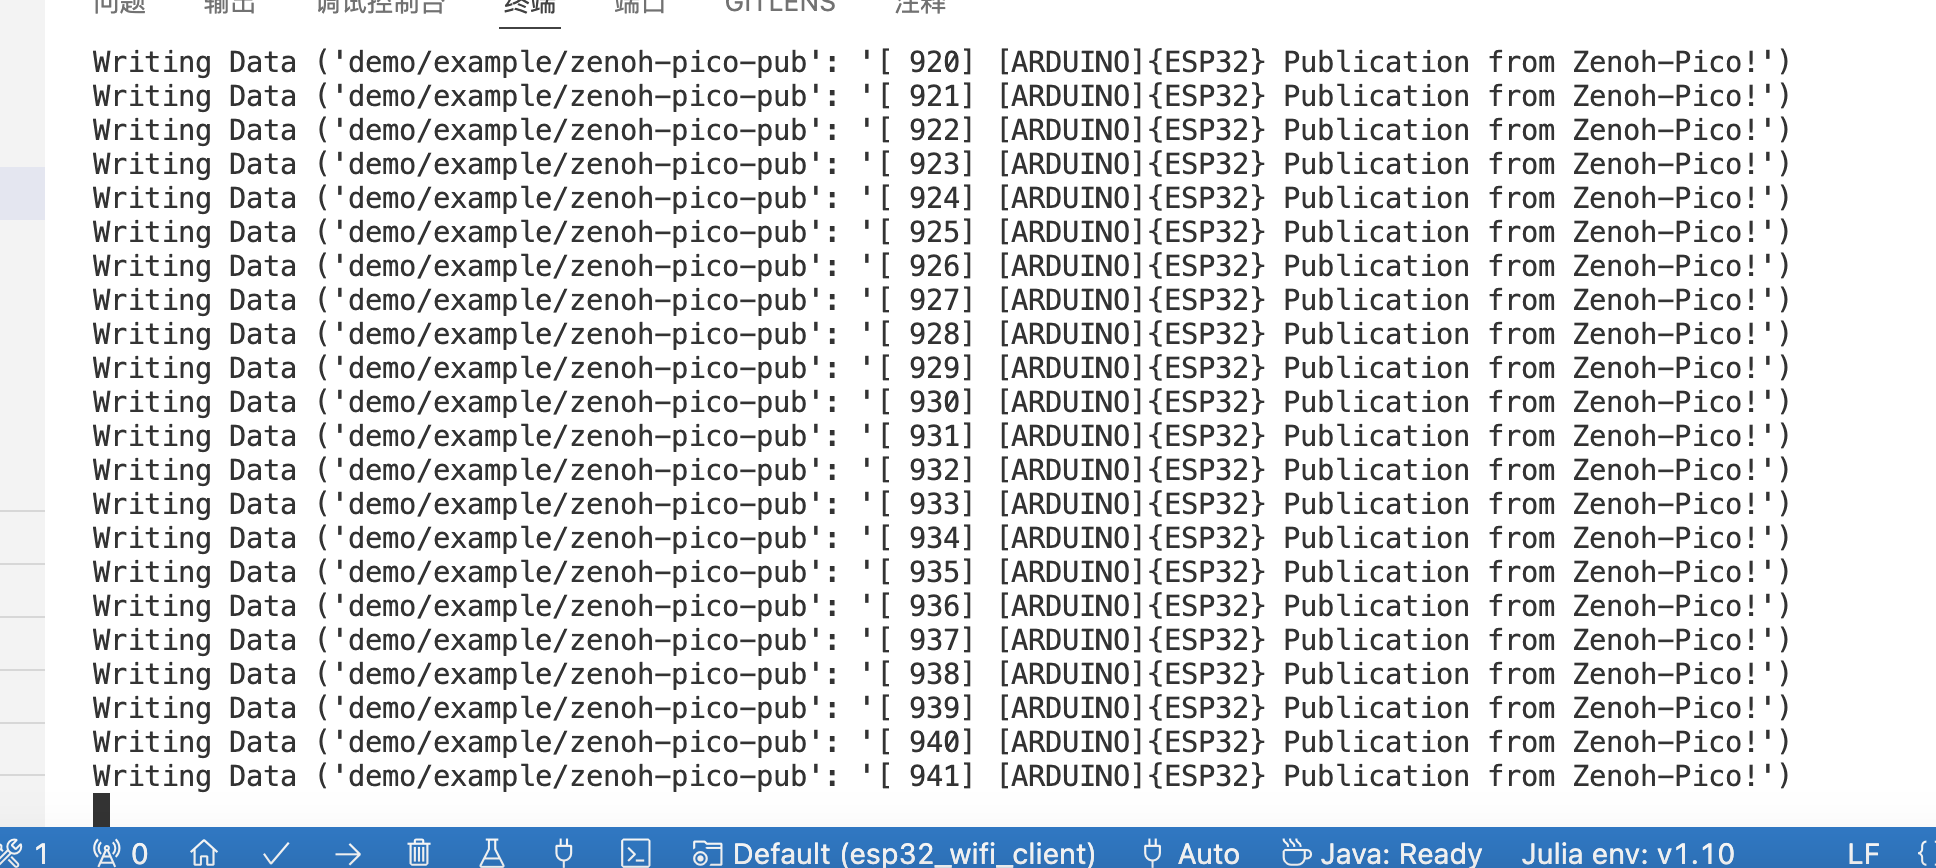
- 通过rest api 查看数据
注意此模式下需要开启持久化存储,这样通过接口就能看到数据了,信息如下
http://xxxxxx:8000/demo/example/zenoh-pico-pub

说明
以上是一个简单试用,后边还得仔细看看zenoh pico 的api 以及使用,整体来说使用上还是比较简单的
参考资料
https://github.com/eclipse-zenoh/zenoh-pico
https://zenoh.io/blog/2021-10-04-zenoh-pico-guide/
https://docs.platformio.org/en/latest/what-is-platformio.html


 浙公网安备 33010602011771号