版本信息
Vmware虚拟机
Centos 6.7
JDK à 1.8或以上版本
ES à 5.5.2
nodeJSà6.0以上(启动elasticsearch-head插件用)
1.2 安装流程
1.2.1 下载ES版本, 解压, 即可使用, ./bin/elasticsearch -d便可在后台开始elasticsearch
1) 将elasticsearch安装包拷贝到相应的目录
|
[rodge@centos6 elastic]$ ls elasticsearch-5.5.2.tar.gz [rodge@centos6 elastic]$ pwd /home/rodge/local/elastic [rodge@centos6 elastic]$ |
2) 解压
|
[rodge@centos6 elastic]$ tar -xvf elasticsearch-5.5.2.tar.gz |

3)启动elasticsearch
|
./elasticsearch-5.5.2/bin/elasticsearch |
如果需要在后台启动, 则在该命令后加上”-d”, 即” ./elasticsearch-5.5.2/bin/elasticsearch -d”
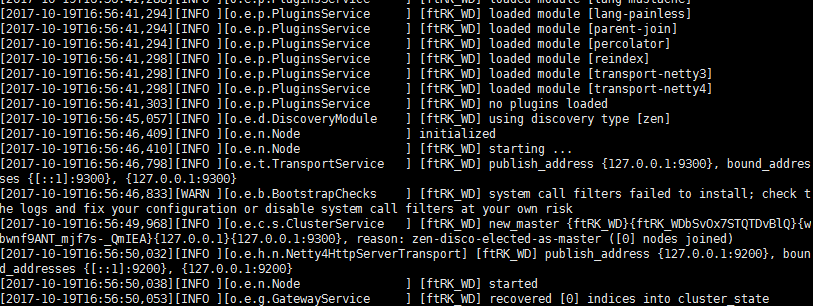
表示启动成功
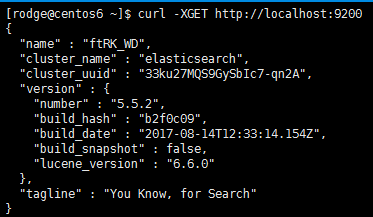
4) 通过链接方位elasticsearch, 默认http端口为9200
|
curl -XGET http://localhost:9200 |
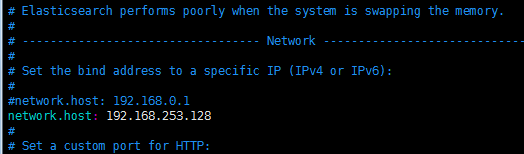
5)通过外部浏览器访问方法
首先, 在elasticsearch安装文件中, 修改config/elasticsearch.yml文件访问地址network.host
|
vi config/elasticsearch.yml |
在文件”Network”中添加” network.host: 192.168.253.128”(192.168.253.128为本机ip), 或者将地址配置为”0.0.0.0”(0.0.0.0为通配ip)
2) 再次启动如报错, 如错误信息为如下信息,
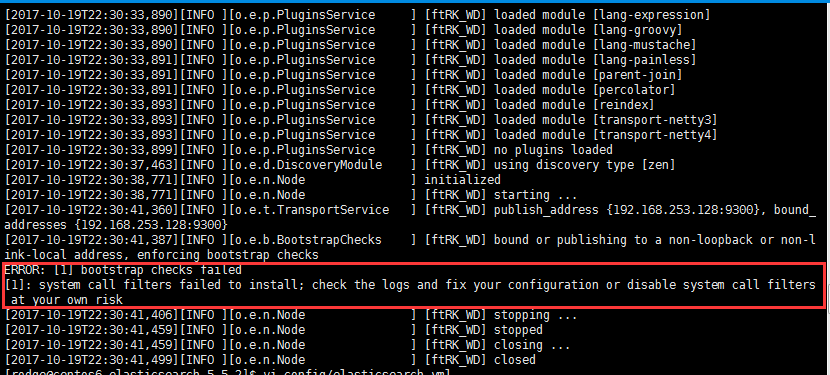
则需要还在elasticsearch.yml文件中新增如下内容(具体说明详见之后的—“常见启动错误”)
在”Memory”中添加:
bootstrap.memory_lock: false
bootstrap.system_call_filter: false

此外, 还需要开启防火墙9200端口(9200是elasticsearch默认http端口)
1.2.2 开放防火墙iptables端口
/sbin/iptables -I INPUT -p tcp --dport 9200 -j ACCEPT
/etc/rc.d/init.d/iptables save
/etc/init.d/iptables restart
查看CentOS防火墙信息:/etc/init.d/iptables status
1.2.3 安装head
1) 首先, 将head插件拷贝到指定的目录, 本文将head插件压缩包拷贝至elasticsearch文件夹下

2)解压head插件
|
unzip elasticsearch-head-master.zip |

3)安装nodeJS, 版本要求在6.0以上
首先, 将nodeJS压缩包拷贝至相应的路径
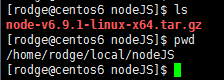
然后, 解压压缩包
|
tar -xvf node-v6.9.1-linux-x64.tar.gz |
修改配置文件
|
vi /etc/profile |
|
# node (注释作用) export NODE_HOME=/home/rodge/local/nodeJS/node-v6.9.1-linux-x64 export PATH=$PATH:$NODE_HOME/bin export NODE_PATH=$NODE_HOME/lib/node_modules
|
重新编译配置文件
|
source /etc/profile |
查看nodeJS安装版本
node -v

4) 在elasticsearch-head-master安装目录下运行:
|
npm install |

5) 启动elasticsearch-head插件
|
npm run start |

启动成功, 注意要打开防火墙9100端口, elasticsearch-head默认端口为9100

1.2.4 es与head插件关联
在elasticsearch安装目录中更改如下文件
|
vi conf/elasticsearch.yml |
在最后加入以下内容
|
http.cors.enabled: true http.cors.allow-origin: "*" |
重新启动elasticsearch和elasticsearch-head插件, 可以通过网页查看elasticsearch集群情况

1.2.5 elasticsearch集群配置
主节点配置
|
vi config/elasticsearch.yml 在文件最后添加如下内容 #集群名称(每个集群的该名称一致) cluster.name: wali #节点名称(每个节点的名称不同) node.name: master #主机设置 node.master: true #注解ip, 端口默认(9200) network.host: 192.169.253.129 (本机ip) |
从属节点配置
创建从属节点elasticsearch的文件夹
mkdir es_slave
拷贝解压elasticsearch两份
cp elasticsearch-5.5.2.tar.gz es_slave/
cd es_slave/
tar -xvf elasticsearch-5.5.2.tar.gz
cp -r elasticsearch-5.5.2 es_slave1
cp -r elasticsearch-5.5.2 es_slave2
从节点slave1的elasticsearch.yml配置修改
从节点集群名称和节点名称指定, 集群名称必须与主节点一致
|
cluster.name: wali node.name: slave1 #从节点ip地址和端口 network.host: 192.169.253.129 http.port: 8200 #从节点与主节点的连接 discovery.zen.ping.unicast.hosts: ["192.168.253.129"] |
从节点slave2的配置与从节点1的配置类似
1.3 常见启动错误
1> 不能以root账户启动elasticsearch, 否则有可能报错
2> max file descriptors [4096] for elasticsearch process is too
low, increase to at least [65536]
max number of threads [1024] for user [hadoop] is too low, increase to at least
[2048]
max virtual memory areas vm.max_map_count [65530] is too low, increase to at
least [262144]
解决方案:
编辑limits.conf 文件
vim /etc/security/limits.conf
* soft nofile 65536
* hard nofile 65536
vim /etc/security/limits.d/90-nproc.conf
找到如下内容:
soft nproc 1024
修改为
soft nproc 2048
vi /etc/sysctl.conf
添加下面配置:
vm.max_map_count=655360
并执行命令:
sysctl -p
3> ERROR: bootstrap
checks failed
system call filters failed to install; check the logs and fix your
configuration or disable system call filters at your own risk
原因:
这是在因为Centos6不支持SecComp,而ES5.2.0默认bootstrap.system_call_filter为true进行检测,所以导致检测失败,失败后直接导致ES不能启动。
解决:
在elasticsearch.yml中配置bootstrap.system_call_filter为false,注意要在Memory下面:
bootstrap.memory_lock: false
bootstrap.system_call_filter: false

 浙公网安备 33010602011771号