
uniapp ios原生插件开发 (framework,cocopods)
原文地址:https://zhanglei.blog.csdn.net/article/details/123221947
一、了解UniApp 插件的开发方式
- Xcode Framework 、 Static Library
- 基于Cocoapods开发 pod lib
已知UniApp的插件开发方式有两种, 第一种 Xcode Framework的方式,这种方式是官方指定的方式。 这种方式的优点就是简单直接, 但也有不足,比如当插件需要引入一些三方库时,操作起来就不是那么方便。 而使用Cocoapods则可以很方便的引入三方库。 接下来,本文探索使用Cocoapods的方式来进行UniApp插件开发。
探索之前可以先了解一下官方插件开发的流程及步骤:
iOS插件开发教程
二、准备
1.安装Cocoapods
如果是首次使用Cocoapods ,则需要先安装cocoapods。具体的安装步骤非本文重点,可参考如下文章:
安装Cocoapods的步骤
2. 下载UniApp iOS SDK
三、将HBuilder-UniPluginDemo转成Cocoapods
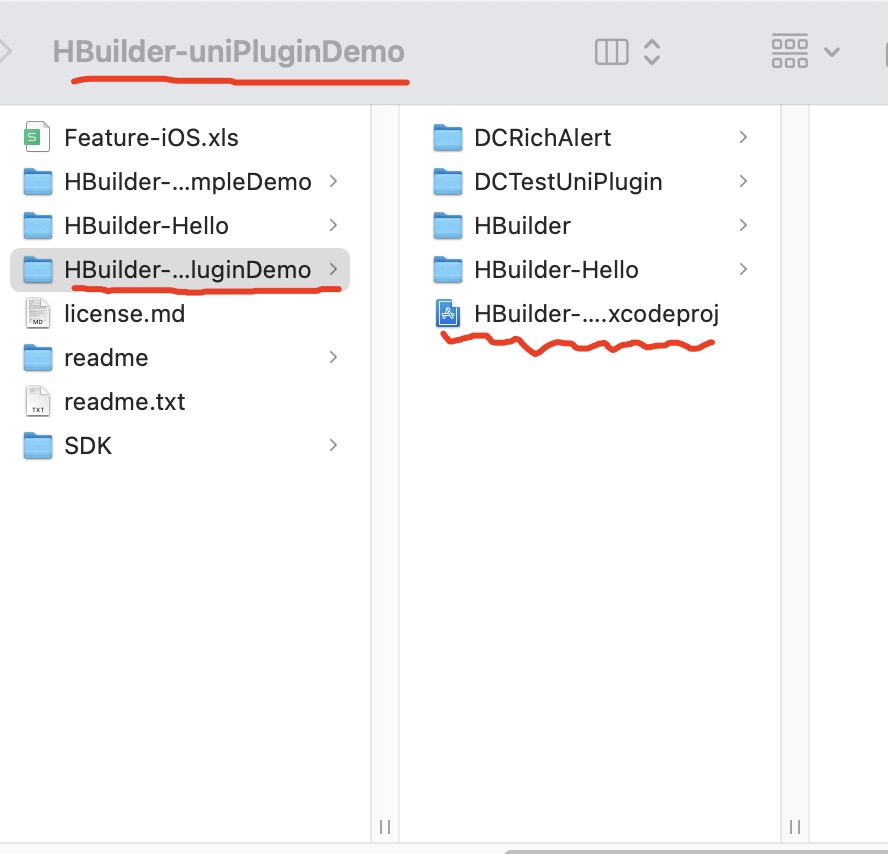
找到UniApp iOS SDK下载的目录,看一下官方提供的目录结构
podfile的创建及配置
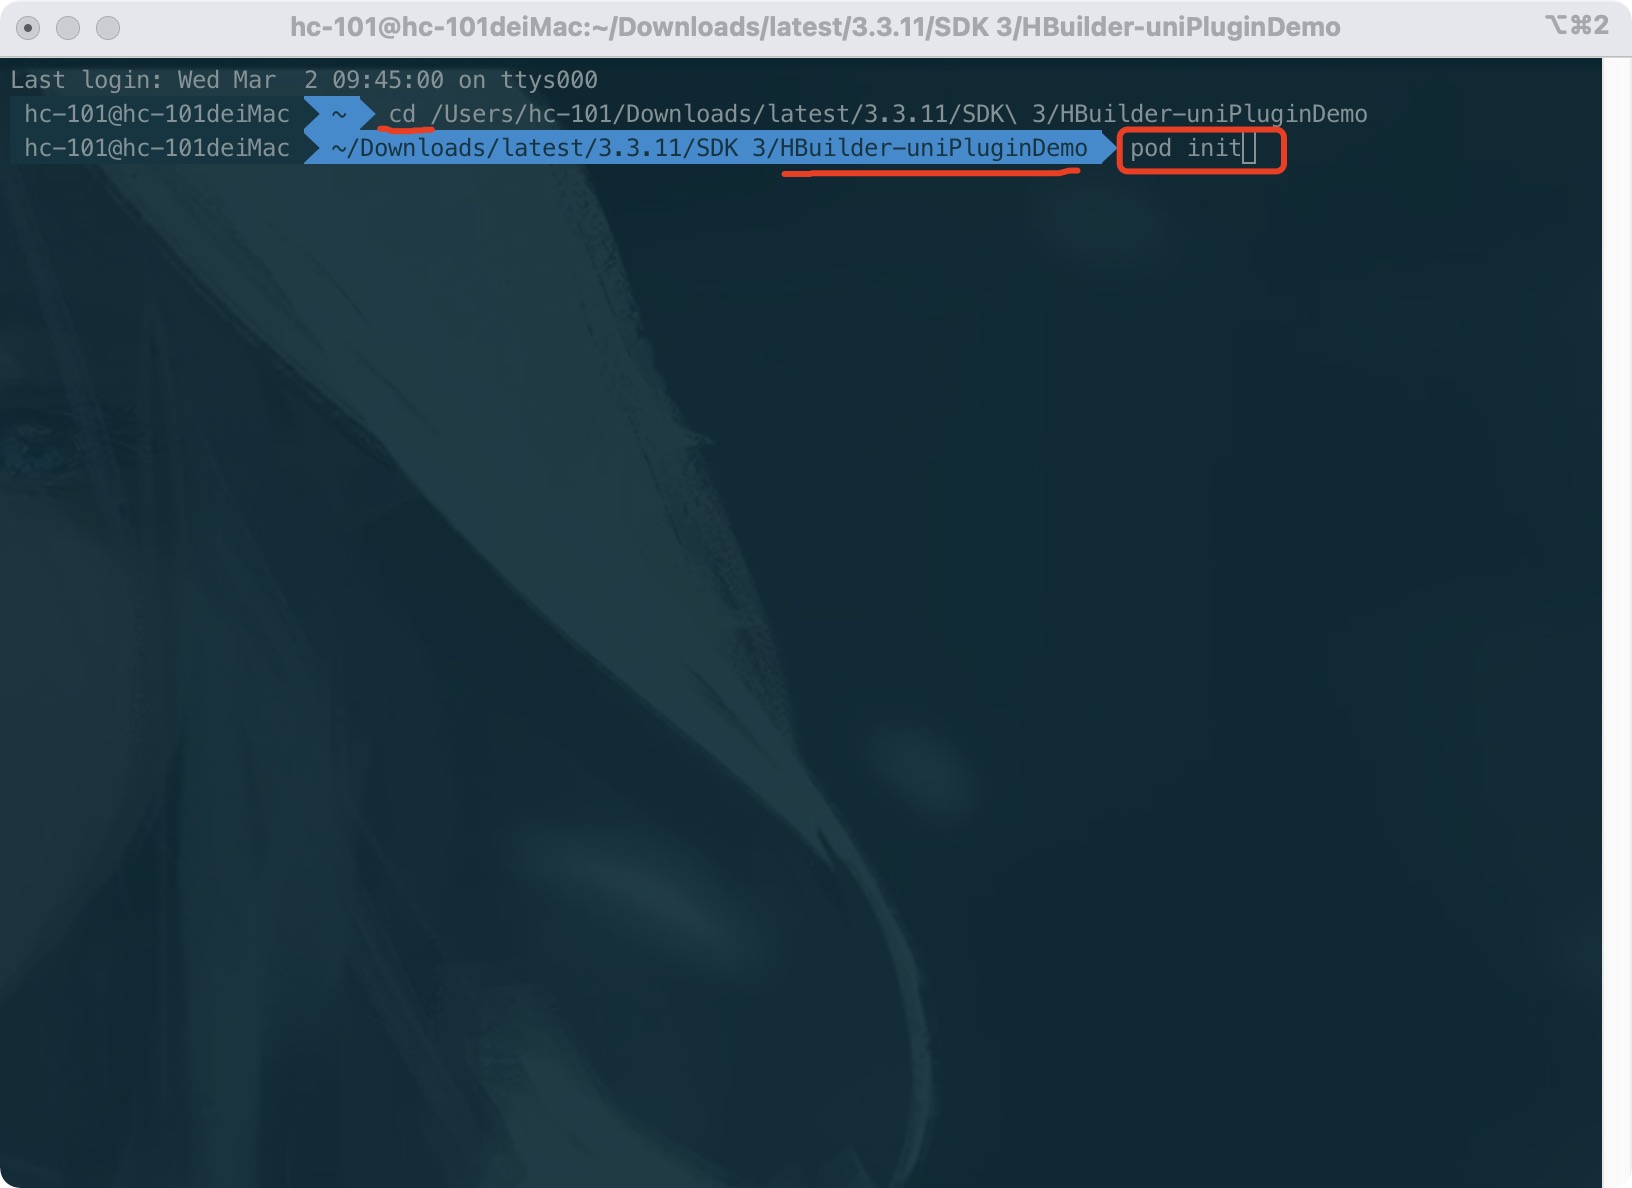
打开“命令行”工具,cd 到 HBuilder-uniPlugin.xcodeprj 工程所在目录下, 并执行
pod init
来创建Podfile 文件模板
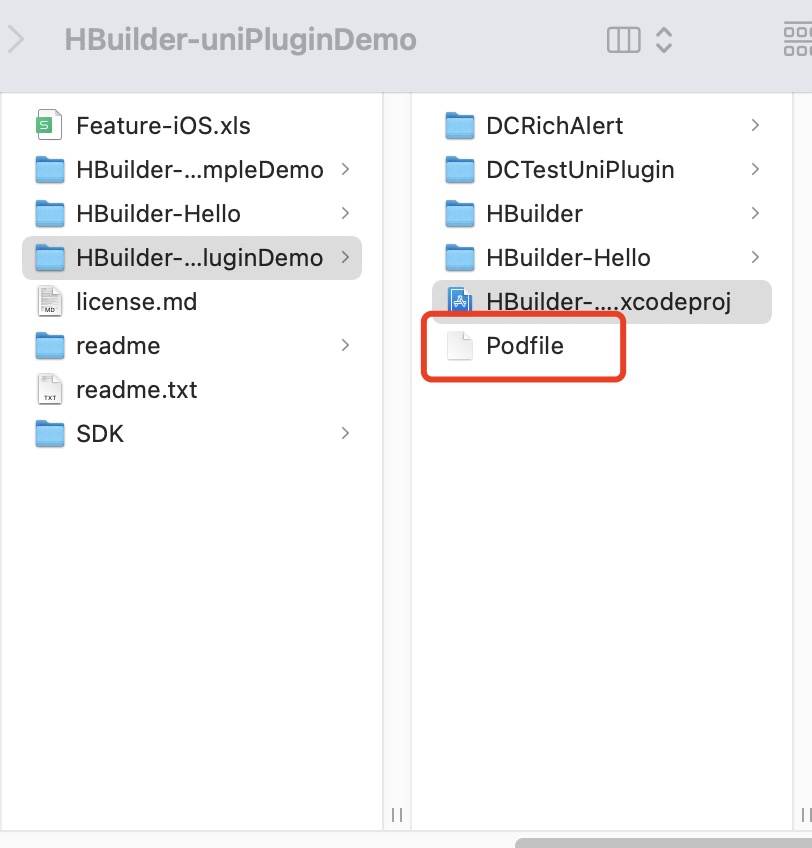
此时目录下会多出一个 ‘Podfile’ 的文件
打开Podfile 文件, 配置相关设置如下 :
# Uncomment the next line to define a global platform for your project
platform :ios, '10.0'

#忽略pod所有库警告
inhibit_all_warnings!

workspace 'uniPlugins'

#关闭所有pod库的BITCODE
post_install do |installer|
  installer.pods_project.targets.each do |target|
    target.build_configurations.each do |config|
      config.build_settings['ENABLE_BITCODE'] = 'NO'
    end
  end
end


target 'HBuilder' do
  # Comment the next line if you don't want to use dynamic frameworks
  use_frameworks!

end
配置忽略Pod所有库的警告
inhibit_all_warnings!
配置workspace名称
workspace 'uniPlugins'
关闭所有pod库的BITCODE
post_install do |installer|
  installer.pods_project.targets.each do |target|
    target.build_configurations.each do |config|
      config.build_settings['ENABLE_BITCODE'] = 'NO'
    end
  end
end
使用pod lib 创建插件工程
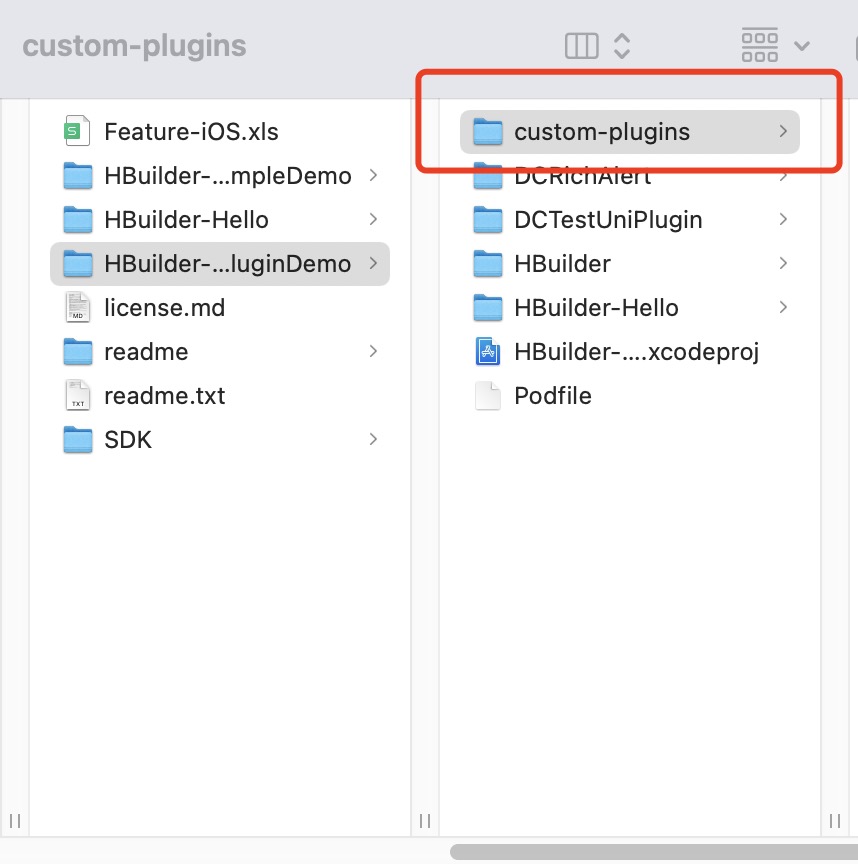
在HBuilder-uniPluginDemo目录下创建一个自定义插件目录 ‘custom-plugins’ 用来存放自定义的插件工程,目录结构如下:
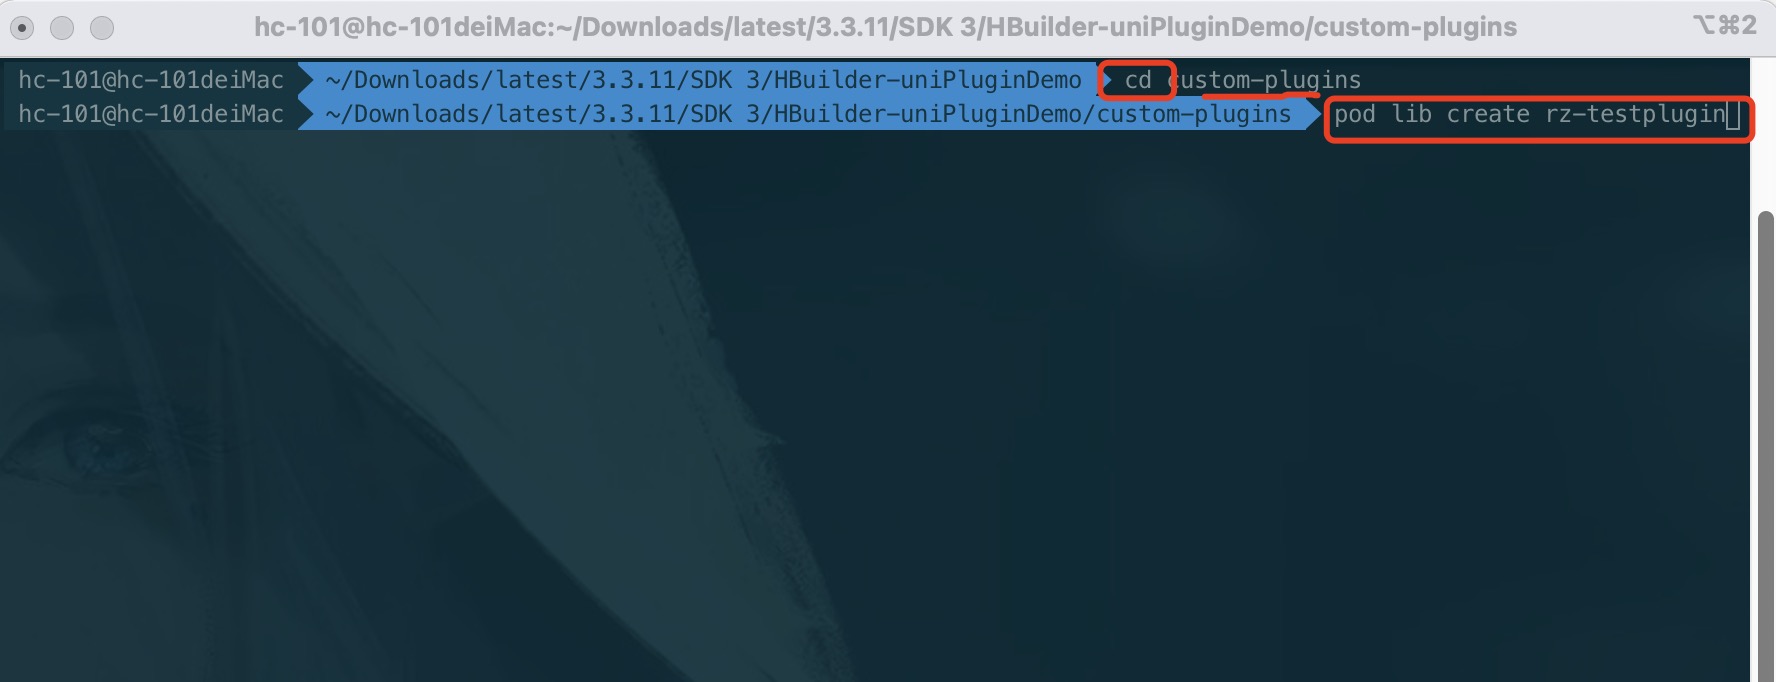
使用命令行工具, cd 到 custom-plugins目录下, 并执行
pod lib create rz-testplugin
按回车,执行命令。 会从github上加载创建pod工程的模板。 模板下载结束后,会出现如下引导:
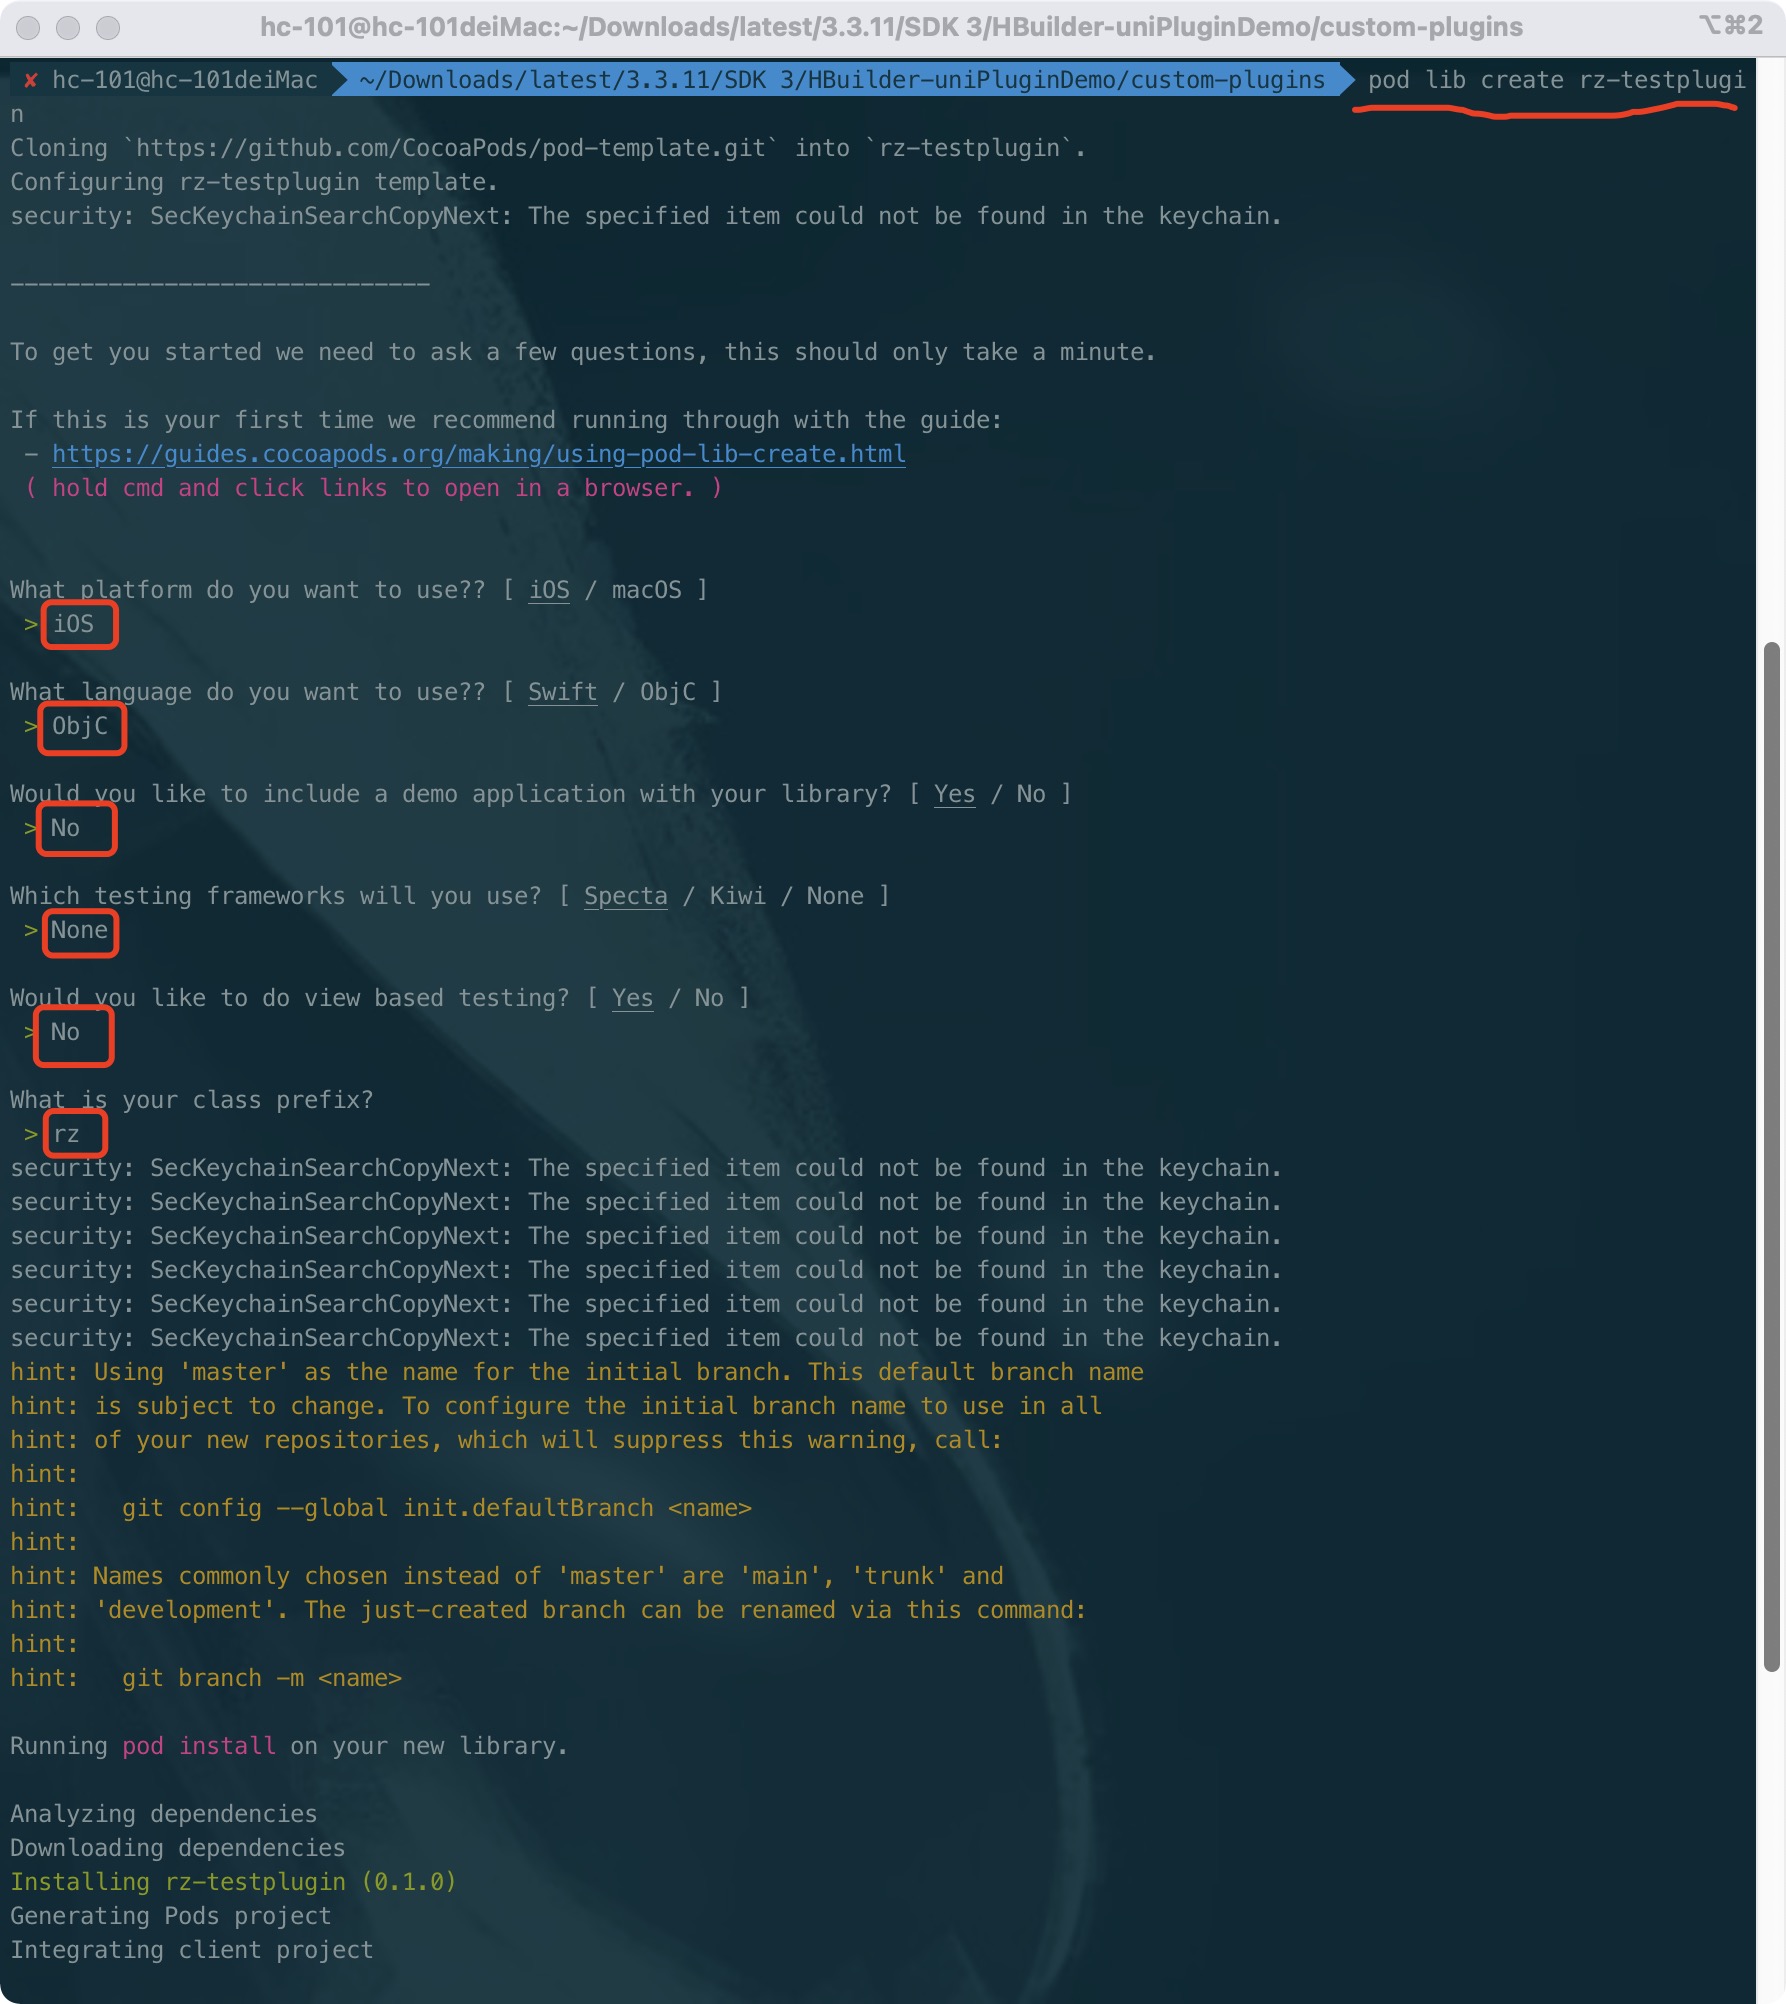
按上述引导完成配置,在完成创建后会自动打开pod 工程, 目前用不到此工程,接着关闭即可
回到目录 HBuilder-uniPluginDemo下,找到Podfile 文件,并打开
将本地新创建的pod工程配置进去
target 'HBuilder' do
  # Comment the next line if you don't want to use dynamic frameworks
  use_frameworks!

  #重要: 导入自定义组件库
  pod 'rz-testplugin', :path =>'./custom-plugins/rz-testplugin'
end
完整的Podfile文件如下:
# Uncomment the next line to define a global platform for your project
platform :ios, '10.0'

#忽略pod所有库警告
inhibit_all_warnings!

workspace 'uniPlugins'

#关闭所有pod库的BITCODE
post_install do |installer|
  installer.pods_project.targets.each do |target|
    target.build_configurations.each do |config|
      config.build_settings['ENABLE_BITCODE'] = 'NO'
    end
  end
end

target 'HBuilder' do
  # Comment the next line if you don't want to use dynamic frameworks
  use_frameworks!

  #重要: 导入自定义组件库
  pod 'rz-testplugin', :path =>'./custom-plugins/rz-testplugin'
end
Podfile配置完成后, 使用命令行工具在Podfile所在目录下,执行命令
pod install
更多内容详情: https://zhanglei.blog.csdn.net/article/details/123221947
本文来自博客园,作者:reyzhang,转载请注明原文链接:https://www.cnblogs.com/reyzhang/p/17094730.html

 浙公网安备 33010602011771号