
MacOS下单片机iot安全学习笔记
前言
最近准备进军iot,记录一下成长。
一、硬件购买
- stm32 f103c8t6 (蓝药丸)
- stm32 f411ceu6 (黑药丸)
- STLINK V2(烧录、调试使用)
- 杜邦线量大管饱
- USB转TTL
- nanoDLA 逻辑仪
- 电阻包
- 0.96寸OLED屏幕
- 发光二极管量大管饱
- CH341B编程器 + SOP8 夹子 (直接写固件)
- type-c 供电板
二、环境配置
我使用MacOS + VScode 作为配置环境,首先上来第一件事一定是检查你的rust是不是用brew安装的,是的话卸载!用官方安装工具rustup安装
之后:https://github.com/stm32-rs/stm32f1xx-hal?tab=readme-ov-file 跟着这个教程走。
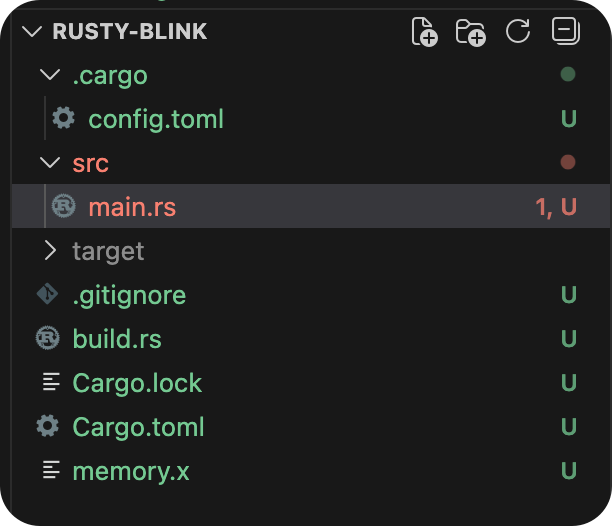
其中.cargo/config.toml:
[target.thumbv7m-none-eabi]
runner = "probe-rs run --chip STM32F103C8"
rustflags = ["-C", "link-arg=-Tlink.x"]

[build]
target = "thumbv7m-none-eabi"
memory.x
MEMORY
{
  FLASH : ORIGIN = 0x08000000, LENGTH = 64K
  RAM : ORIGIN = 0x20000000, LENGTH = 20K
}
主程序:
#![no_std]
#![no_main]

use nb::block;
use panic_halt as _; // 必须的 panic handler

use cortex_m_rt::entry;
use stm32f1xx_hal::{pac, prelude::*, timer::Timer};

#[entry]
fn main() -> ! {
    // Get access to the core peripherals from the cortex-m crate
    let cp = cortex_m::Peripherals::take().unwrap();
    // Get access to the device specific peripherals from the peripheral access crate
    let dp = pac::Peripherals::take().unwrap();

    let mut rcc = dp.RCC.constrain();

    // Acquire the GPIOC peripheral
    let mut gpioc = dp.GPIOC.split(&mut rcc);

    // Configure gpio C pin 13 as a push-pull output. The `crh` register is passed to the function
    // in order to configure the port. For pins 0-7, crl should be passed instead.
    let mut led = gpioc.pc13.into_push_pull_output(&mut gpioc.crh);
    // Configure the syst timer to trigger an update every second
    let mut timer = Timer::syst(cp.SYST, &rcc.clocks).counter_hz();
    timer.start(1.Hz()).unwrap();

    // Wait for the timer to trigger an update and change the state of the LED
    loop {
        block!(timer.wait()).unwrap();
        led.set_high();
        block!(timer.wait()).unwrap();
        led.set_low();
    }
}
就可以看到灯一闪一闪了。现在不知道为什么不着急,后面慢慢学(主要是我配件没到齐)

 浙公网安备 33010602011771号