SpringBoot IntelliJ创建简单的Restful接口
使用SpringBoot快速建服务,和NodeJS使用express几乎一模一样,主要分为以下:
1.添加和安装依赖 2.添加路由(即接口) 3.对路由事件进行处理
同样坑的地方就是,祖国的防火墙太过强大,必须要把maven换成国内镜像源,阿里云的速度就非常快。
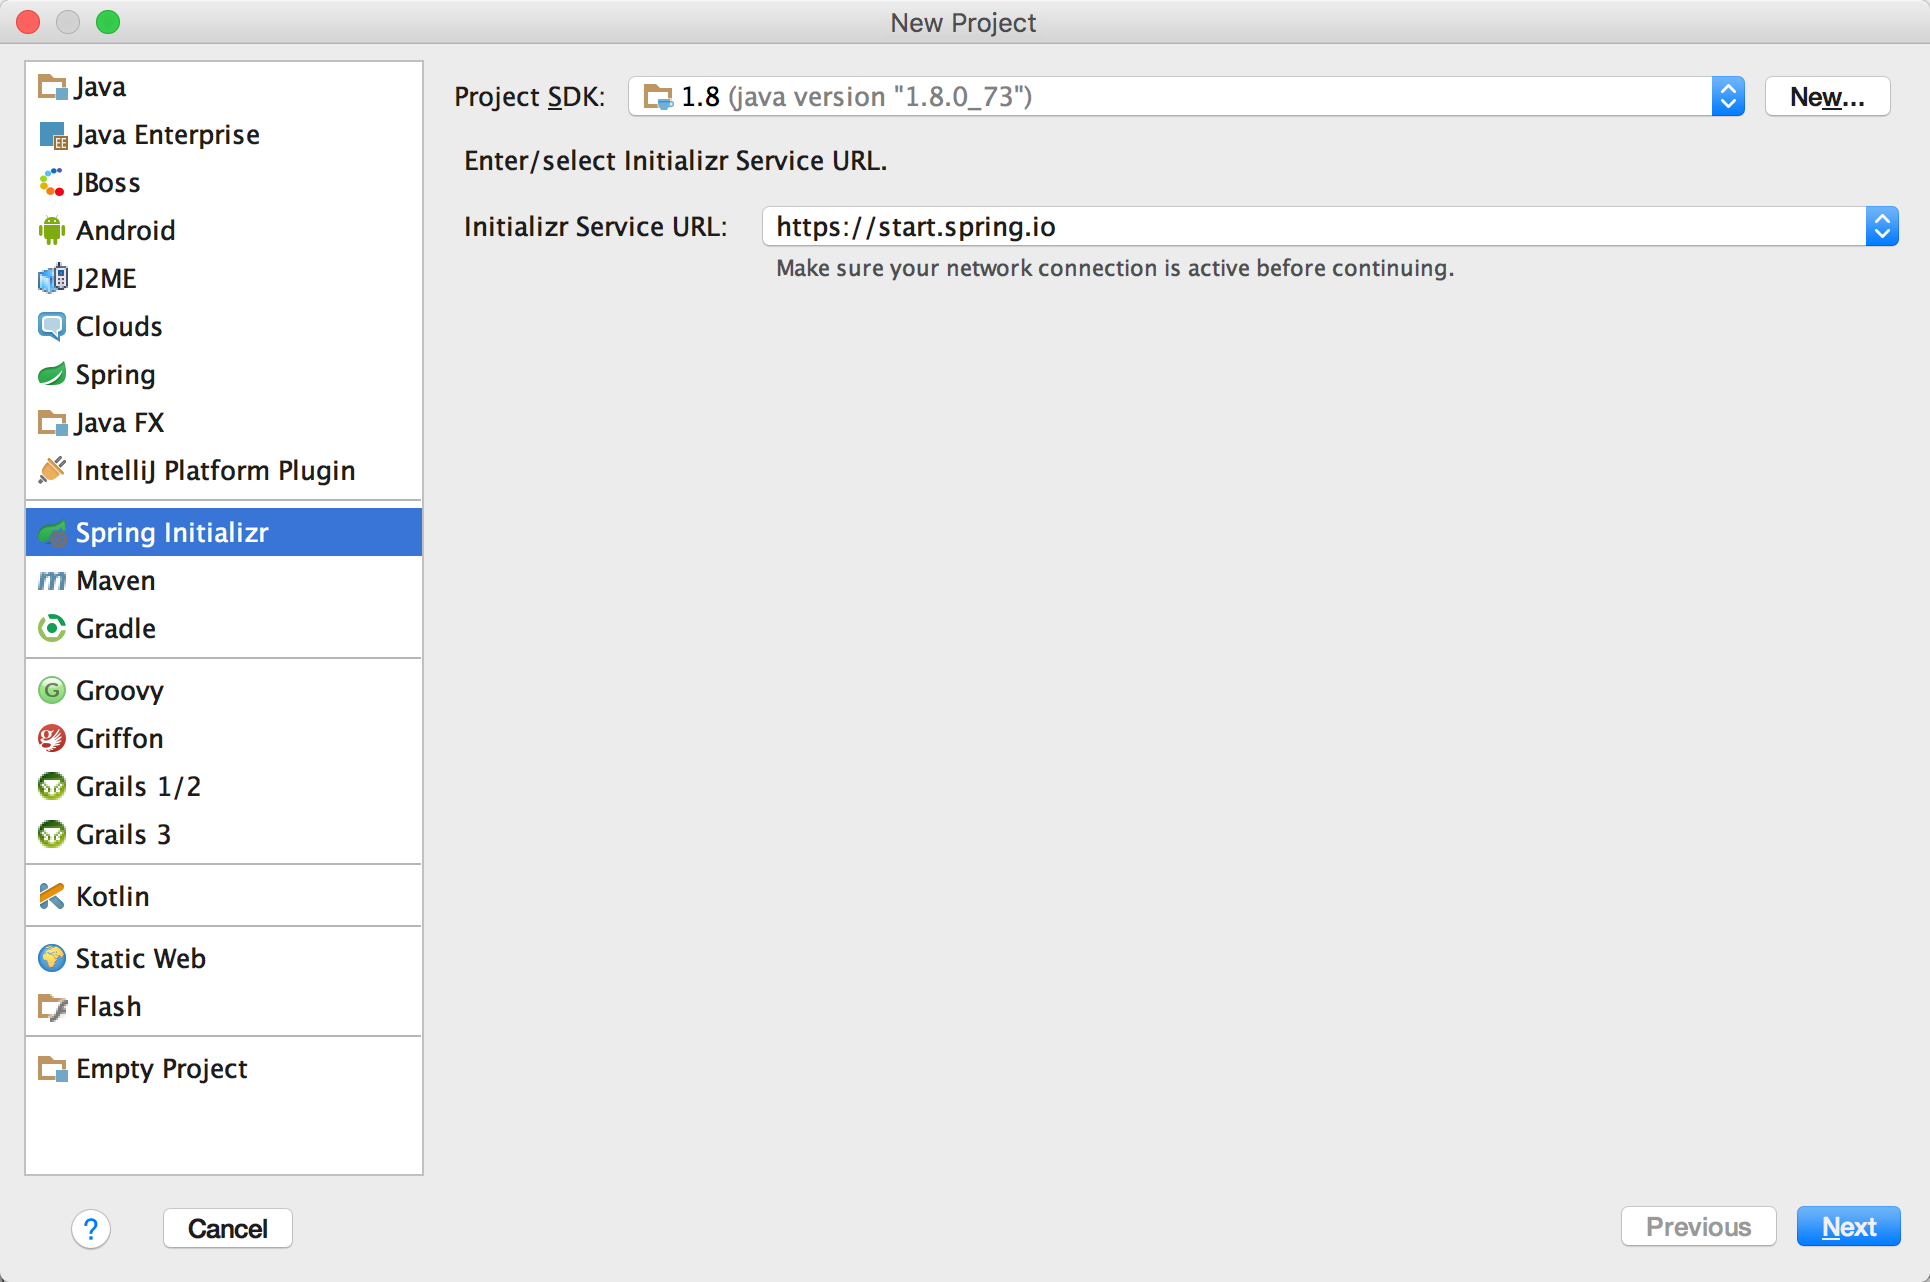
1.通过spring initializr创建项目
2.填好工程名,一路next到底
3.新建controller的package,新建class "DemoServer",填入以下内容:
import java.util.Date;
import java.util.HashMap;
import java.util.Map;

import org.springframework.web.bind.annotation.PathVariable;
import org.springframework.web.bind.annotation.RequestMapping;
import org.springframework.web.bind.annotation.RequestParam;
import org.springframework.web.bind.annotation.RestController;
import org.springframework.web.bind.annotation.ResponseBody;

@RestController
@RequestMapping(value = "/index")
public class NewServer {
    @RequestMapping
    public String index() {
        return "spring boot server";
    }

    // @RequestParam 简单类型的绑定,可以出来get和post
    @RequestMapping(value = "/get")
    public HashMap<String, Object> get(@RequestParam String name) {
        HashMap<String, Object> map = new HashMap<String, Object>();
        map.put("title", "hello world");
        map.put("name", name);
        return map;
    }
    @RequestMapping("/json")
    @ResponseBody
    public Map<String,Object> json(){
        Map<String,Object> map = new HashMap<String,Object>();
        map.put("name","Ryan");
        map.put("age","18");
        map.put("sex","man");
        return map;
    }
}
4.会提示缺少 org.springframework.web的依赖,在pom.xml中添加该依赖:
	<dependencies>
		<dependency>
			<groupId>org.springframework.boot</groupId>
			<artifactId>spring-boot-starter-web</artifactId>
		</dependency>

		<dependency>
			<groupId>org.springframework.boot</groupId>
			<artifactId>spring-boot-starter-test</artifactId>
			<scope>test</scope>
		</dependency>
		<dependency>
			<groupId>org.springframework.boot</groupId>
			<artifactId>spring-boot-devtools</artifactId>
		</dependency>
	</dependencies>
这里有个IntelliJ非常傻bi的bug,你不去修改pom.xml,他默认竟然不会安装里面的依赖。
所以你需要,先剪切<dependencies>标签里的内容,保存。然后重新复制进去,再保存,然后就会自动添加依赖了。。。真他妈简直了。。
如果IntelliJ安装依赖有问题,可以通过cd到工程目录,使用mvn install进行安装。
5.新建model的pakcage,写一个model类User
package com.example.model;

/**
 * Created by shenzw on 31/10/2016.
 */
import java.util.Date;

public class User {
    private int id;
    private String name;
    private Date date;

    public int getId() {
        return id;
    }

    public void setId(int id) {
        this.id = id;
    }

    public String getName() {
        return name;
    }

    public void setName(String name) {
        this.name = name;
    }

    public Date getDate() {
        return date;
    }

    public void setDate(Date date) {
        this.date = date;
    }
}
通过在DemoServer中添加路由,可以在路径中获取参数,然后拼装一个User对象,快速序列化成JSON返回
// @PathVariable 获得请求url中的动态参数
    @RequestMapping(value = "/get/{id}/{name}")
    public User getUser(@PathVariable int id, @PathVariable String name) {
        User user = new User();
        user.setId(id);
        user.setName(name);
        user.setDate(new Date());
        return user;
    }
6.点击运行,或选择DemoServer这个Class右键RUN
http://localhost:8080/index 可以访问到这个服务
http://localhost:8080/index/json 会返回json
http://localhost:8080/index/get?name=123 可以进行GET请求获取
http://localhost:8080/index/get/123/xiaoming 可以在路径中传递参数
demo:
https://github.com/rayshen/spring-boot-demo/tree/master/spring-boot-demo-2-1
___________________________________________________
专注iOS/前端开发,广泛涉猎多种平台和技术,欢迎交流
可以在微博关注并@沈z伟

 浙公网安备 33010602011771号