Python 操作docx文档(简单使用-创建新的docx)
1、说明
Python 中可以读取 word 文件的库有 python-docx 和 pywin32。
下表比较了各自的优缺点。
|
优点 |
缺点 | |
|---|---|---|
|
python-docx |
跨平台 |
只能处理 .docx 格式,不能处理.doc格式 |
|
pywin32 |
仅限 windows 平台 |
.doc 和 .docx 都能处理 |
2、下载
python -m pip install python-docx
3、添加1-9级标题
from datetime import datetime

from docx import Document

# 创建新的docx文件
document = Document()
document.add_heading('1级标题', 1)  # 添加1级标题
document.add_heading('2级标题', 2)  # 添加2级标题
document.add_heading('3级标题', 3)  # 添加3级标题
document.add_heading('4级标题', 4)  # 添加4级标题
document.add_heading('5级标题', 5)  # 添加5级标题
document.add_heading('6级标题', 6)  # 添加6级标题
document.add_heading('7级标题', 7)  # 添加7级标题
document.add_heading('8级标题', 8)  # 添加8级标题
document.add_heading('9级标题', 9)  # 添加9级标题
document.save('{}.docx'.format(datetime.now().strftime('%Y%m%d%H%M%S')))
运行截图

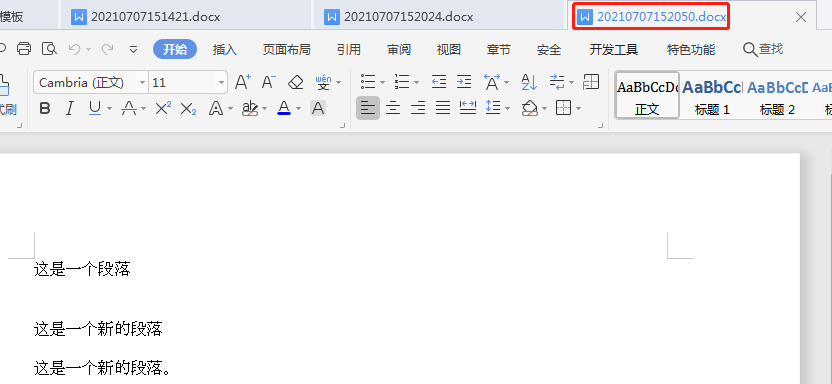
4、添加段落
from datetime import datetime

from docx import Document

# 创建新的docx文件
document = Document()
paragraph = """这是一个段落
"""
paragraph2 = """这是一个新的段落"""
paragraph3 = """这是一个新的段落。
"""
document.add_paragraph(paragraph)
document.add_paragraph(paragraph2)
document.add_paragraph(paragraph3)
document.save('{}.docx'.format(datetime.now().strftime('%Y%m%d%H%M%S')))
运行截图
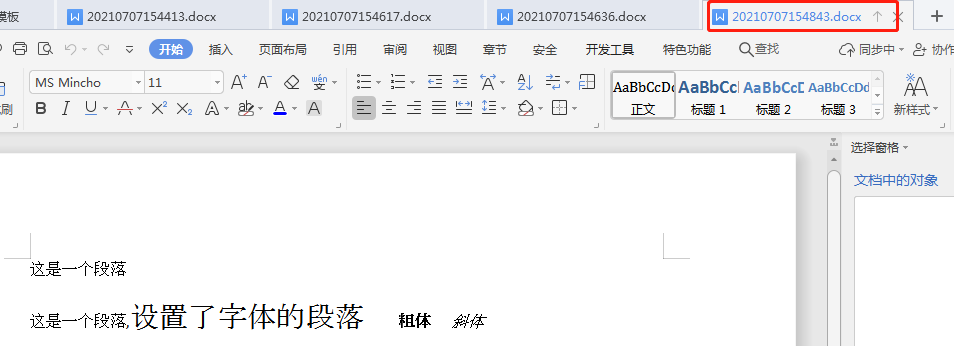
5、设置字体大小和样式
from datetime import datetime

from docx import Document
# 创建新的docx文件
from docx.shared import Pt

document = Document()
document.add_paragraph("这是一个段落")  # 添加段落
paragraph = document.add_paragraph("这是一个段落,")  # 添加段落
run = paragraph.add_run('设置了字体的段落')  # 没理解,可以看官方介绍,如下:
"""
Append a run to this paragraph containing *text* and having character
style identified by style ID *style*. *text* can contain tab
(``\\t``) characters, which are converted to the appropriate XML form
for a tab. *text* can also include newline (``\\n``) or carriage
return (``\\r``) characters, each of which is converted to a line
break.
大概意思就是追加一个段落,包含text,且设置了格式,我感觉是这样
"""
run.font.name = u'宋体'  # 设置字体
run.font.size = Pt(20)  # 设置字号

run1 = paragraph.add_run('\t粗体')
run1.bold = True

run2 = paragraph.add_run('\t斜体')
run2.italic = True

document.save('{}.docx'.format(datetime.now().strftime('%Y%m%d%H%M%S')))
运行截图
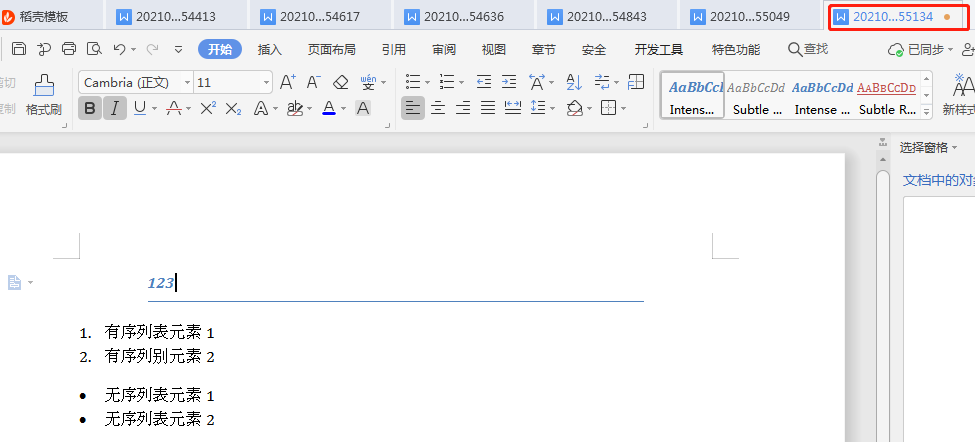
6、有序(无序)列表和引用
from datetime import datetime

from docx import Document

# 创建新的docx文件
document = Document()

# 增加引用
document.add_paragraph('123', style='Intense Quote')

# 增加有序列表
document.add_paragraph(u'有序列表元素1', style='List Number')
document.add_paragraph(u'有序列别元素2', style='List Number')

# 增加无序列表
document.add_paragraph(u'无序列表元素1', style='List Bullet')
document.add_paragraph(u'无序列表元素2', style='List Bullet')

document.save('{}.docx'.format(datetime.now().strftime('%Y%m%d%H%M%S')))
运行截图
7、表格和分页
from datetime import datetime

from docx import Document

# 创建新的docx文件

document = Document()

# 增加图片(此处使用相对位置)
# document.add_picture('jdb.jpg', width=Inches(1.25))

# 增加表格
table = document.add_table(rows=3, cols=3)  # 3行3列
hdr_cells1 = table.rows[0].cells  # 第一行
hdr_cells1[0].text = "第一行,第一列"
hdr_cells1[1].text = "第一行,第二列"
hdr_cells1[2].text = "第一行,第三列"

hdr_cells2 = table.rows[1].cells  # 第二行
hdr_cells2[0].text = "第二行,第一列"
hdr_cells2[1].text = "第二行,第二列"
hdr_cells2[2].text = "第二行,第三列"

hdr_cells3 = table.rows[2].cells  # 第三行
hdr_cells3[0].text = "第三行,第一列"
hdr_cells3[1].text = "第三行,第二列"
hdr_cells3[2].text = "第三行,第三列"

# 增加分页
document.add_page_break()

document.save('{}.docx'.format(datetime.now().strftime('%Y%m%d%H%M%S')))
运行截图

参考链接 : https://cloud.tencent.com/developer/article/1578773 和 https://www.jianshu.com/p/1f60cdd9655a

 浙公网安备 33010602011771号