


我的第一个springboot项目
上篇文章https://www.cnblogs.com/qyblog/p/14690345.html已经成功引入了spring插件。
所以我就直接创建项目了。
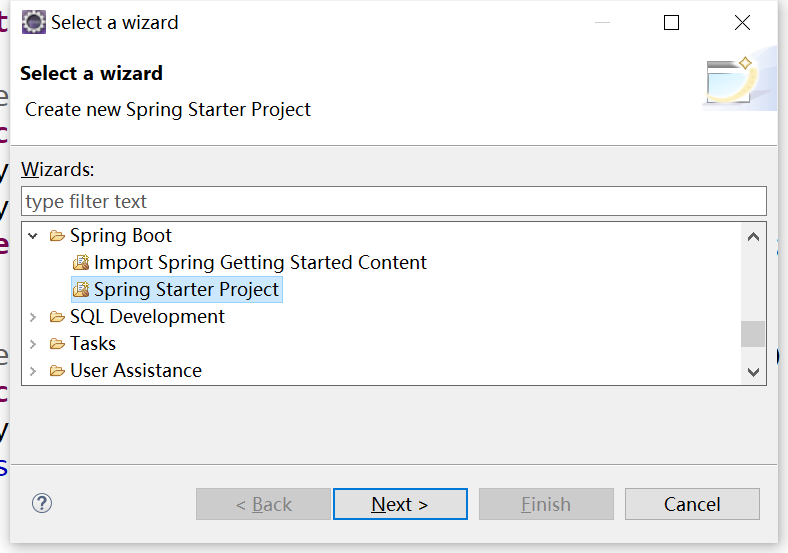
1.创建一个springboot的项目
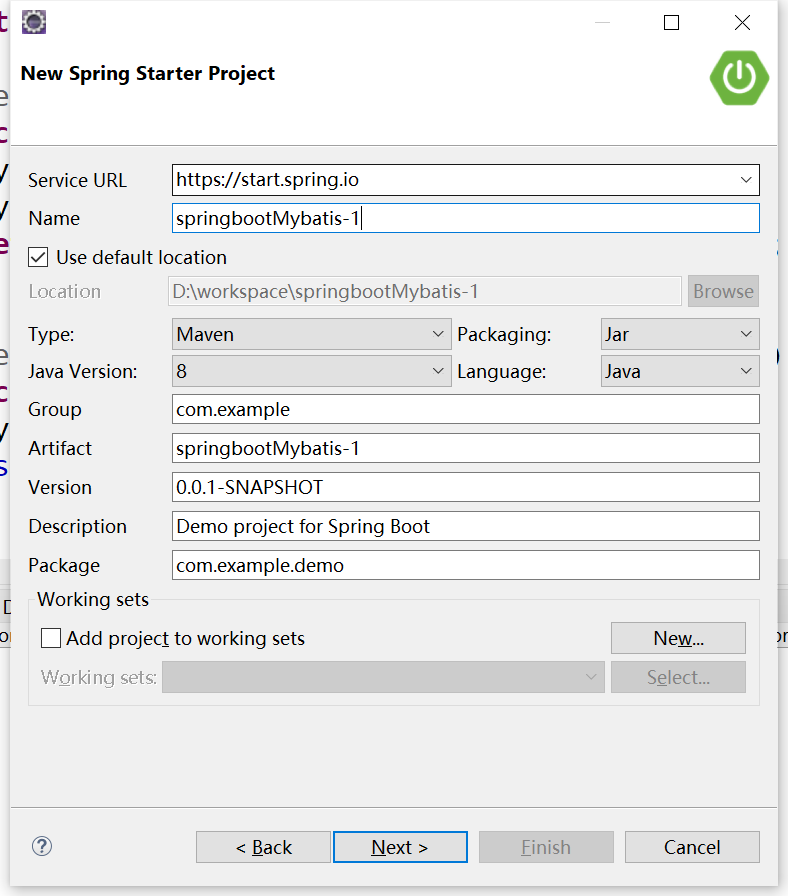
直接finish结束即可。
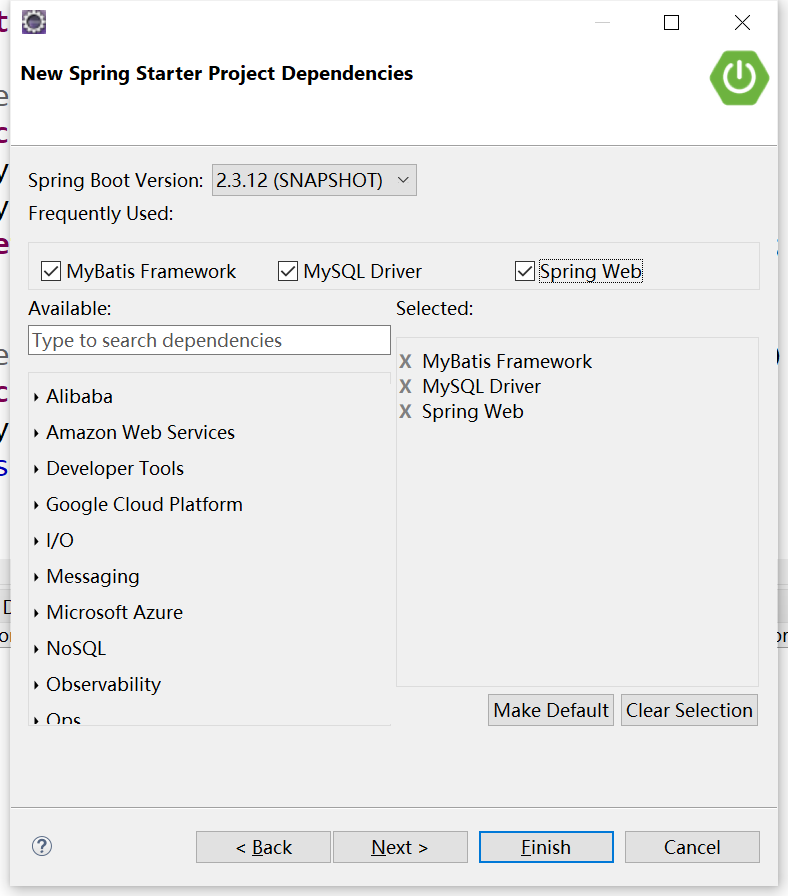
2.在pom.xml中引入我们需要的注解
常用注解:
spring-boot-starter-web
spring-boot-starter-test
spring-boot-maven-plugin
一般在我们创建完项目的时候就会存在了。
下面留存一个自己创建项目的pom.xml文件。
<?xml version="1.0" encoding="UTF-8"?>
<project xmlns="http://maven.apache.org/POM/4.0.0"
    xmlns:xsi="http://www.w3.org/2001/XMLSchema-instance"
    xsi:schemaLocation="http://maven.apache.org/POM/4.0.0 http://maven.apache.org/xsd/maven-4.0.0.xsd">
    <modelVersion>4.0.0</modelVersion>
    <parent>
        <groupId>org.springframework.boot</groupId>
        <artifactId>spring-boot-starter-parent</artifactId>
        <version>2.4.5</version>
        <relativePath /> <!-- lookup parent from repository -->
    </parent>
    <groupId>com.tt</groupId>
    <artifactId>demo-2</artifactId>
    <version>0.0.1-SNAPSHOT</version>
    <name>demo-2</name>
    <description>Demo project for Spring Boot</description>
    <properties>
        <java.version>1.8</java.version>
    </properties>
    <dependencies>
        <dependency>
            <groupId>org.springframework.boot</groupId>
            <artifactId>spring-boot-starter-web</artifactId>
        </dependency>

        <dependency>
            <groupId>org.mybatis.spring.boot</groupId>
            <artifactId>mybatis-spring-boot-starter</artifactId>
            <version>1.3.2</version>
        </dependency>
        <dependency>
            <groupId>com.alibaba</groupId>
            <artifactId>druid-spring-boot-starter</artifactId>
            <version>1.1.9</version>
        </dependency>
        <dependency>
            <groupId>mysql</groupId>
            <artifactId>mysql-connector-java</artifactId>
        </dependency>
        <dependency>
            <groupId>org.springframework.boot</groupId>
            <artifactId>spring-boot-starter-test</artifactId>
            <scope>test</scope>
        </dependency>
        <dependency>
            <groupId>org.springframework.boot</groupId>
            <artifactId>spring-boot-starter-thymeleaf</artifactId>
        </dependency>
        <dependency>
            <groupId>org.springframework.boot</groupId>
            <artifactId>spring-boot-starter-data-redis</artifactId>
        </dependency>
        <dependency>
            <groupId>org.springframework.boot</groupId>
            <artifactId>spring-boot-starter-log4j2</artifactId>
        </dependency>
    </dependencies>

    <build>
        <plugins>
            <plugin>
                <groupId>org.springframework.boot</groupId>
                <artifactId>spring-boot-maven-plugin</artifactId>
            </plugin>
            <plugin>
                <groupId>org.mybatis.generator</groupId>
                <artifactId>mybatis-generator-maven-plugin</artifactId>
                <version>1.3.2</version>
                <configuration>
                    <configurationFile>D:/workspace/demo-2/src/main/resources/generator/generatorConfig.xml</configurationFile>
                    <overwrite>true</overwrite>
                    <verbose>true</verbose>
                </configuration>
            </plugin>
        </plugins>
    </build>

</project>
3.在src/main/resource下创建application.yml配置参数
mybatis:
  mapper-locations: classpath:mapping/*Mapper.xml
server:
  port: 8089
spring:
 redis:
   database: 0
   host: 127.0.0.1
   port: 6379
   password:
 datasource:
    driverClassName: com.mysql.cj.jdbc.Driver
    password: qiuying524
    url: jdbc:mysql://192.168.0.139:3306/springboot?useUnicode=true&autoReconnect=true&failOverReadOnly=false&maxReconnects=10
    username: root
 thymeleaf:
   prefix: classpath:/templates/
   suffix: .jsp

debug: true
4.创建启动类
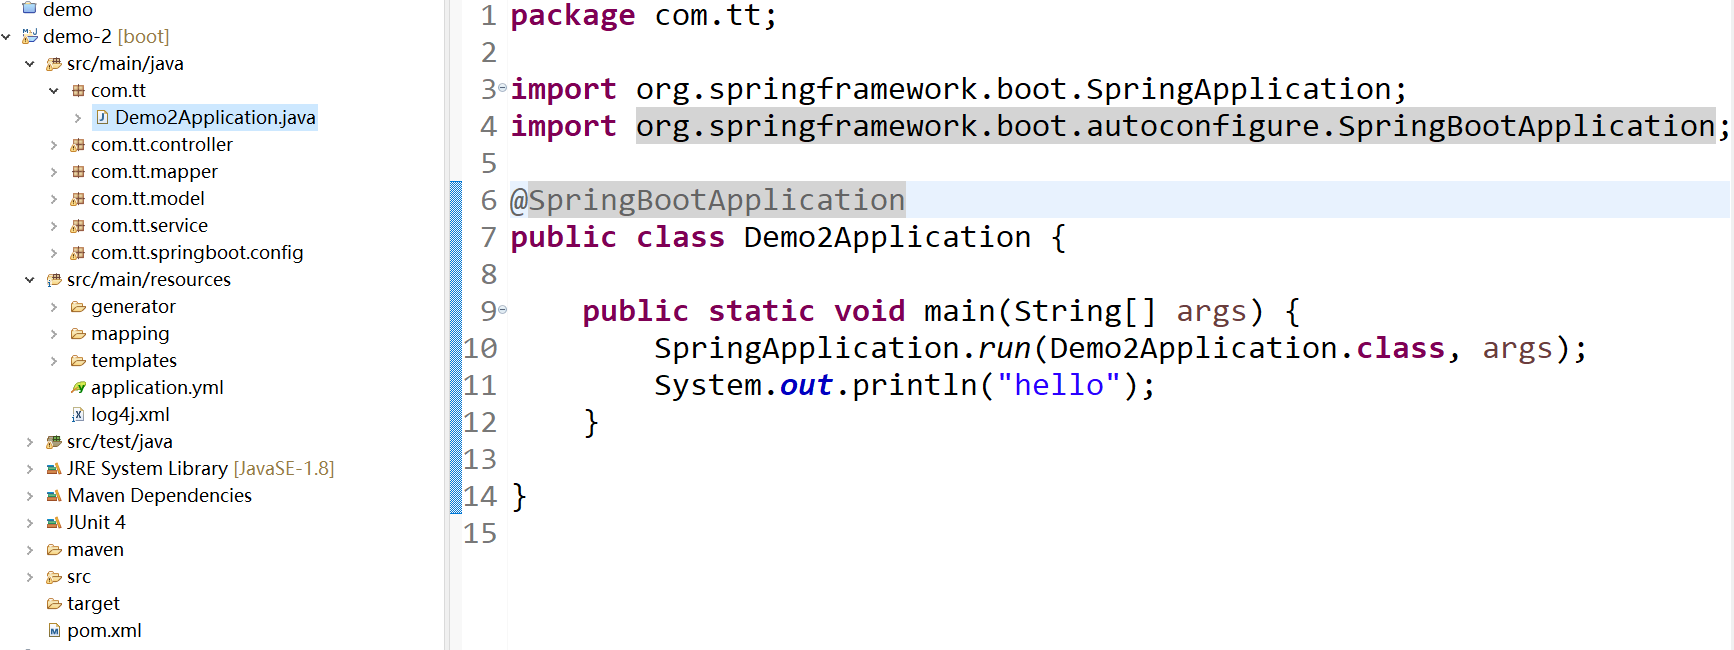
需要注意的是启动类要在包的最外边,启动的时候才可以扫描当前包下的。
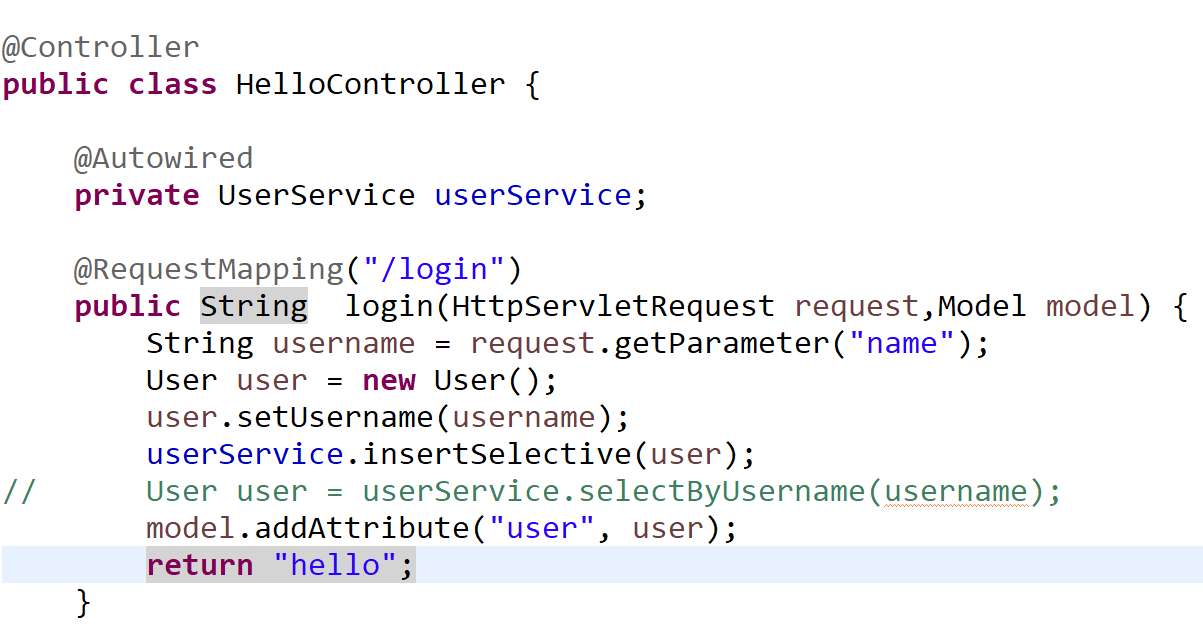
5.controller层接受前台传入的参数,调用我们需要的方法,执行之后返回给前台。
6.创建hello.jsp返回页面
因为前面application.yml中配置了thymeleaf模板

所以在src/main/resource下创建文件夹templates,在创建hello.jsp
<!DOCTYPE html>
<html xmlns="http://www.w3.org/1999/xhtml"
      xmlns:th="http://www.thymeleaf.org">
<head>
<meta charset="ISO-8859-1">
<title>Insert title here</title>
</head>
<body>
<!--  <h1 th:text="${user.username}">111</h1>-->
<h1 th:text="${user}">111</h1>
</body>
</html>
前端知识有限,只是写了一个简单的。
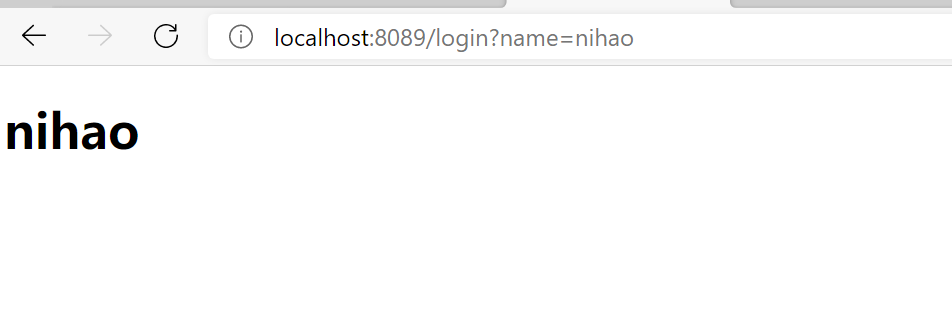
7.因为是第一个简单springboot项目,所以在controller中只需返回个值给前台即可。
启动启动类,在页面上输入地址,出现下面的页面即成功。

 浙公网安备 33010602011771号