

Screen recording on Linux using vokoscreen and screenkey
Screen recording is very useful for us to prepare online materials, such as lecturing, presentation and software demonstration. On Linux platform, I strongly recommend a combination of vokoscreen and screenkey for this purpose, which ideally meets our needs.
vokoscreen handles the tasks of both screen and sound recording. The region of interest can be the full screen, a selected window or a fixed area. Cursor movement, mouse button clicks and key press can also be catpured (see Figure 1). It is suggested to select Pulse as the audio backend (see Figure 2), which, according to here, is a software layer on top of ALSA for passing sound data between our applications and the audio hardware device. To record the sound stream from the microphone or headset which is connected to the computer’s sound card, select the “Built-in Audio Analog Stereo” channel. If we want to record a song being played by the music player, select the “Monitor of Built-in Audio Analog Stereo” channel instead. In addition, the video frame rate and output format can also be specified as shown in Figure 3.

Figure 1 Select the region of interest in vokoscreen.
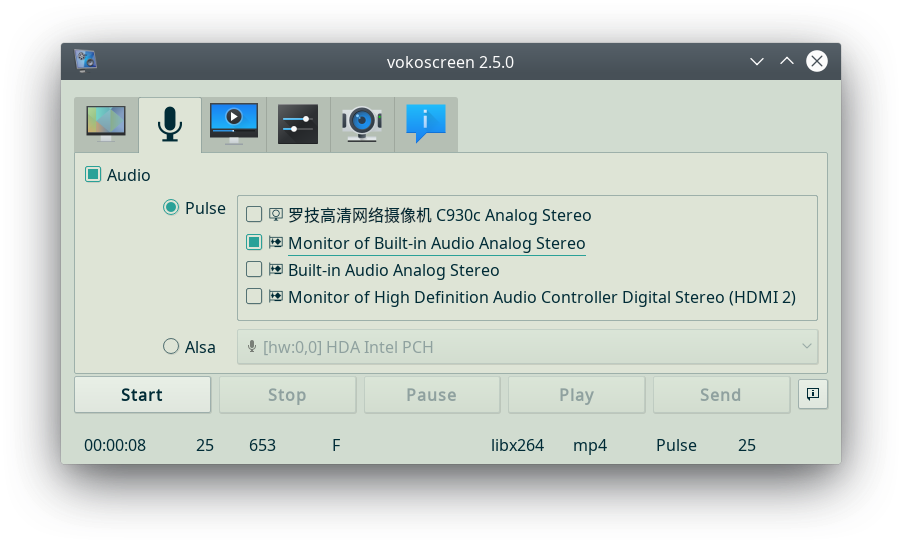
Figure 2 Select the audio backend and audio input channel in vokoscreen.

Figure 3 Select the video frame rate and output format in vokoscreen.
Because the key press events captured by vokoscreen cannot properly display special characters, such as direction keys, modifiers, etc., we should resort to screenkey, which can be downloaded from here. Besides the key press events, screenkey is also able to display which mouse button is clicked. The configuration dialog of screenkey is shown in Figure 4.
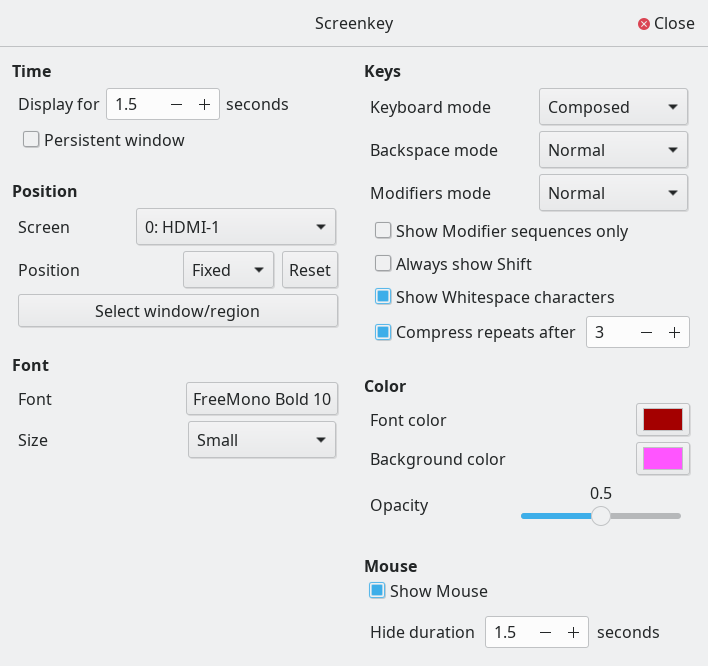
Figure 4 Configuration of screenkey.
Now, everything is ready for us to record our operation and demonstration on Linux.
 子曰:“君子食无求饱,居无求安,敏于事而慎于言,就有道而正焉,可谓好学也已。”

 浙公网安备 33010602011771号