【背景】
在Android中,想要设置个按钮的水平对齐,都累死了:
【已解决】ADT中已设置TableLayout布局的情况下如何设置按钮居中对齐 所以现在有必要搞清楚,到底gravity和layout_gravity到底有啥区别。
1.参考:
Android – gravity and layout_gravity
Android中gravity与layout_gravity的区别
中的解释,可以总结为:
- android:gravity : 表示当前View,即控件,内部的东西的,对齐方式
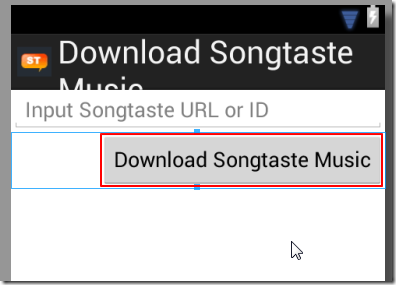
- TableRow内部的Button
- 右对齐:
- 代码:
<TableRow
    android:layout_width="fill_parent"
    android:layout_height="fill_parent"
    android:gravity="right">

    <Button
        android:layout_width="fill_parent"
        android:layout_height="fill_parent"
        android:gravity="center"
        android:layout_gravity="center"
        android:onClick="preformDownload"
        android:text="@string/btn_download" />
</TableRow>
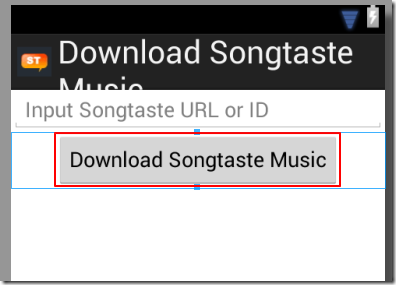
 	<TableRow
	    android:layout_width="fill_parent"
	    android:layout_height="fill_parent"
	    android:gravity="center">

 	    <Button
 	        android:layout_width="fill_parent"
 	        android:layout_height="fill_parent"
 	        android:gravity="center"
 	        android:layout_gravity="center"
 	        android:onClick="preformDownload"
 	        android:text="@string/btn_download" />
 	</TableRow>
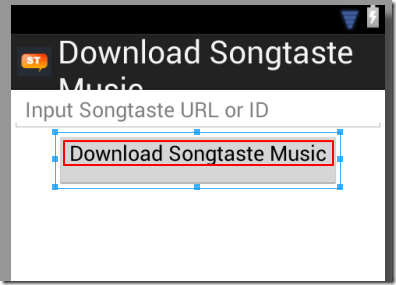
 	    <Button
 	        android:layout_width="fill_parent"
 	        android:layout_height="fill_parent"
 	        android:layout_gravity="bottom"
 	        android:gravity="top"
 	        android:onClick="preformDownload"
 	        android:text="@string/btn_download" />
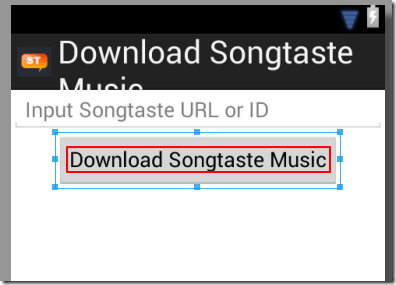
 	    <Button
 	        android:layout_width="fill_parent"
 	        android:layout_height="fill_parent"
 	        android:layout_gravity="bottom"
 	        android:gravity="center_vertical"
 	        android:onClick="preformDownload"
 	        android:text="@string/btn_download" />
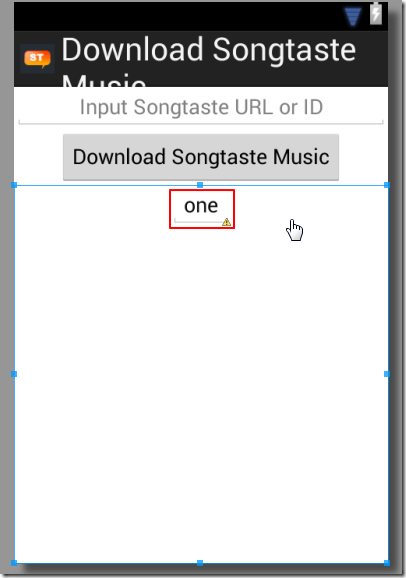
 	<LinearLayout
	    xmlns:android="http://schemas.android.com/apk/res/android"
	    android:orientation="vertical"
	    android:layout_width="fill_parent"
	    android:layout_height="fill_parent">

	    <EditText
	        android:layout_width="wrap_content"
	        android:layout_height="wrap_content"
	        android:layout_gravity="center"
	        android:gravity="center"
	        android:text="one" />

	</LinearLayout>
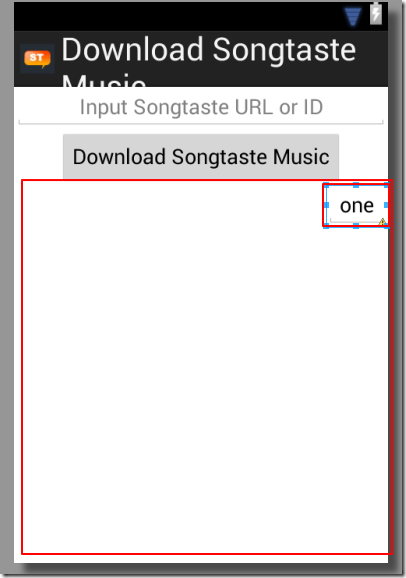
 	<LinearLayout
	    xmlns:android="http://schemas.android.com/apk/res/android"
	    android:orientation="vertical"
	    android:layout_width="fill_parent"
	    android:layout_height="fill_parent">

	    <EditText
	        android:layout_width="wrap_content"
	        android:layout_height="wrap_content"
	        android:layout_gravity="right"
	        android:gravity="center"
	        android:text="one" />

	</LinearLayout>
【总结】
- android:gravity : 表示当前View,即控件,内部的东西的,对齐方式
- 常见的是:
- TableRow中的Button
- EditText(内部)的文字
- Button(内部)的文字
- android:layout_gravity: 表示当前View,即控件本身,在父一级内的(即父一级控件所给当前子控件所分配的显示范围内)的对齐方式
- 常见的是:
- 当前EditText(在父一级LineLayout所分配给其的显示范围内)的对齐方式
- 当前的Button(在父一级TableRow所分配给其的显示范围内)的对齐方式 ->此处需要注意的是,很多时候,改变Button内的layout_gravity,常看不到改动的效果,是因为其显示范围和位置,已经由父一级的TableRow的gravity决定了。
总之,拿着代码,多试试,就容易理解了。



 浙公网安备 33010602011771号