P4行为模型BMV2安装
前提:依赖关系请移步上篇博客。P4行为模型BMV2依赖关系安装:thrift nanomsg nnpy安装
以及,要把下面这些东西装好。
On Ubuntu 14.04, the following packages are required:

    automake
    cmake
    libjudy-dev
    libgmp-dev
    libpcap-dev
    libboost-dev
    libboost-test-dev
    libboost-program-options-dev
    libboost-system-dev
    libboost-filesystem-dev
    libboost-thread-dev
    libevent-dev
    libtool
    flex
    bison
    pkg-config
    g++
    libssl-dev
Building the code
进入行为模型目录。
1. ./autogen.sh
2. ./configure
3. make
问题:make 发生错误
在ReadMe中有一句话:If you get a nanomsg error when running the tests (make check), try running them as sudo
但是 加上sudo之后,make仍然出现.lo文件错误。
查看make编译文件信息,发现是离开了src文件,于是就cd到src目录进行debug。
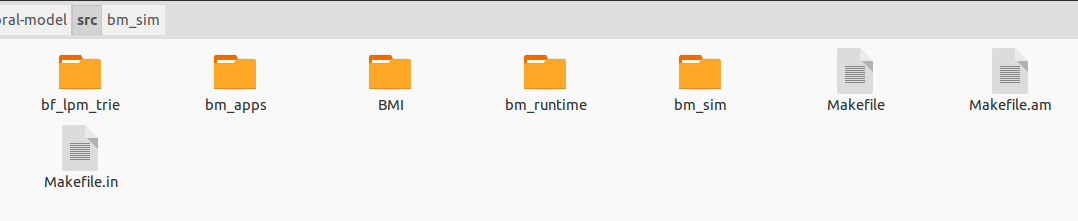
在src目录下make,仍然失败!
于是也不嫌麻烦,一个一个make过去。
在有些文件夹中遇到了make: Nothing to be done for 'all'.问题,这是因为之前编译过了。
执行以下命令重新make:
make clean
ldconfig
make
终于,在最后一个文件夹,make出现错误,[packet.lo]有问题。
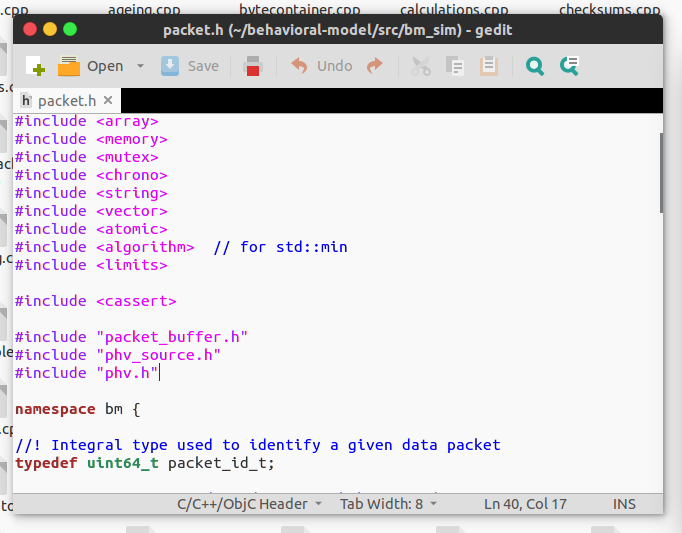
在文件中找了下,发现没有packet.lo,于是查看了下packet.cpp,并执行gcc编译了下:
gcc packet.cpp
果然出现问题:两个头文件没有找到。

搜索了下,在include文件夹中找到了该文件,cp了过来。
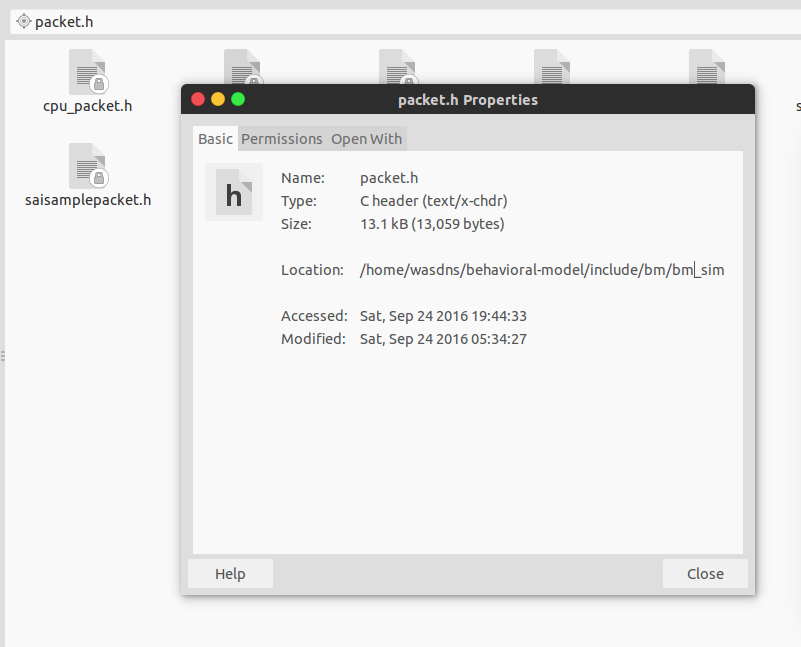
但是,貌似头文件里面还是有包含头文件。。

于是发现了另外一个解决方法,把刚才的packet.h删除掉。
vim packet.cpp
将include <packet.h>改成include </home/wasdns/behavioral-model/bm/bm_sim/packet.h>
于是gcc编译通过。但是,新的问题出现了:
看上去貌似是个无底洞。

重装make依然出现问题。
于是根据ReadMe的内容,进行了尝试,禁用掉了一些模块:
In 'debug mode', you probably want to disable compiler optimization and enable symbols in the binary:
./configure 'CXXFLAGS=-O0 -g'
再次执行make即可。
回到Building the code
于是根据上面的问题,应该的步骤是:
1. ./autogen.sh
2. ./configure 'CXXFLAGS=-O0 -g'
3. make
The new bmv2 debugger can be enabled by passing --enable-debugger to configure.
./configure --enable-debugger
Running the tests
跑一下样例。To run the unit tests, simply do:
make check
如果出现nanomsg error,请在命令前面加上sudo。

 浙公网安备 33010602011771号