

elasticsearch 7.14集群搭建
下载安装elasticsearch
yum -y install java #安装java环境
wget https://artifacts.elastic.co/downloads/elasticsearch/elasticsearch-7.14.0-x86_64.rpm
yum -y install elasticsearch-7.14.0-x86_64.rpm
调整内核参数
echo "vm.max_map_count=262144" >> /etc/sysctl.conf
echo "vm.swappiness=0" >>/etc/sysctl.conf
sysctl -w vm.max_map_count=262144
sysctl -p
更改文件描述符
echo "* - nofile 65536" >>/etc/security/limits.conf
echo '* soft nofile 819200' >> /etc/security/limits.conf
echo '* hard nofile 819200' >> /etc/security/limits.conf
echo '* soft nproc 2048' >> /etc/security/limits.conf
echo '* hard nproc 4096' >> /etc/security/limits.conf
echo '* hard memlock unlimited' >> /etc/security/limits.conf
echo '* soft memlock unlimited' >> /etc/security/limits.conf
修改配置文件
vim /etc/elasticsearch/elasticsearch.yml
cat /etc/elasticsearch/elasticsearch.yml |grep ^[^#]
cluster.name: ELK-cluster #集群名称
node.name: elk-node2 #节点名称
path.data: /var/lib/elasticsearch #数据存储路径
path.logs: /var/log/elasticsearch #日志存储路径
bootstrap.memory_lock: true #服务启动的时候锁定足够的内存, 防止数据写入 swap
http.port: 9200 # 对外提供服务的端口,9300为集群服务的端口
network.host: 192.168.81.137 #绑定节点ip
discovery.seed_hosts: ["192.168.81.137", "192.168.81.138","192.168.81.139"] #集群中node 节点发现列表
cluster.initial_master_nodes: elk-node1 #初始化主节点
# 设置是否可以通过正则或者_all 删除或者关闭索引库, 默认 true 表示必须需要 显式指定索引库名称,生产环境建议设置为 true,删除索引库的时候必须指定, 否则可能会误删索引库中的索引库。
action.destructive_requires_name: true
http.cors.enabled: true #开启支持跨域访问
http.cors.allow-origin: "*" #指定允许访问范围 这两项配置为 安装head插件需要的配置
node.master: true # 指示某个节点是否符合成为主节点的条件。默认为true
node.data: true # 指示节点是否为数据节点。数据节点包含并管理索引的一部分。 默认为true
其他节点将配置文件拷贝过去修改节点名称即可
修改内存限制,并同步配置文件
vim /usr/lib/systemd/system/elasticsearch.service #修改内存 限制
LimitMEMLOCK=infinity #无限制使用内存
systemctl daemon-reload
vim /etc/elasticsearch/jvm.options
-Xms2g
-Xmx2g
启动并配置开机自启
systemctl enable --now elasticsearch.service
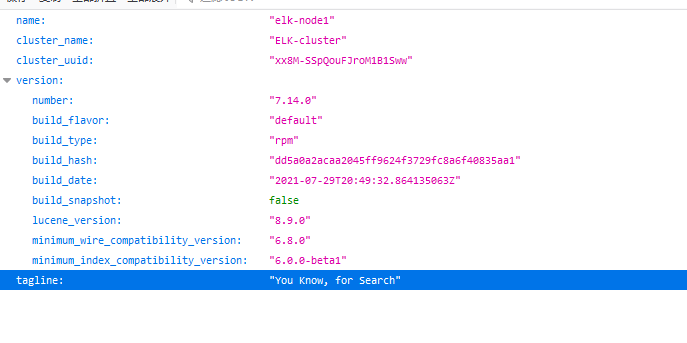
测试集群是否正常启动 访问ip:端口 例 192.168.81.137:9200 如下图即为正常
查看集群状态
[root@linux-host2 ~]# curl 192.168.81.138:9200/_cluster/health?pretty
{
"cluster_name" : "ELK-cluster",
"status" : "green",
"timed_out" : false,
"number_of_nodes" : 3,
"number_of_data_nodes" : 3,
"active_primary_shards" : 17,
"active_shards" : 34,
"relocating_shards" : 0,
"initializing_shards" : 0,
"unassigned_shards" : 0,
"delayed_unassigned_shards" : 0,
"number_of_pending_tasks" : 0,
"number_of_in_flight_fetch" : 0,
"task_max_waiting_in_queue_millis" : 0,
"active_shards_percent_as_number" : 100.0
}
查看节点
[root@linux-host2 ~]# curl 192.168.81.138:9200/_cat/nodes
192.168.81.137 19 94 0 0.00 0.01 0.05 cdfhilmrstw - elk-node1
192.168.81.138 20 69 0 0.02 0.02 0.05 cdfhilmrstw * elk-node2 #带*的即为主节点
192.168.81.139 31 78 0 0.00 0.01 0.05 cdfhilmrstw - elk-node3
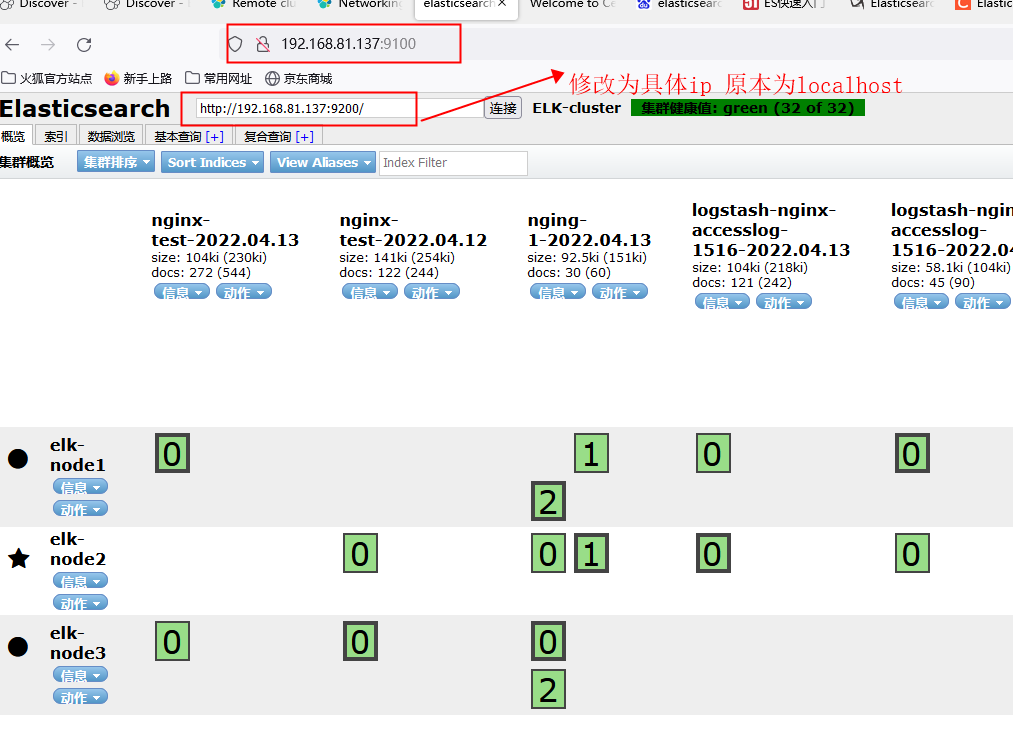
docker 安装 head插件
docker run -d -p 9100:9100 mobz/elasticsearch-head:5
elasticsearch 7 版本之后 默认分片数为1
手动设置分片数
curl -XPUT 'http://localhost:9200/_all/_settings?preserve_existing=true' -d '{
"index.number_of_shards" : "3" #分片数为3
}'
本文来自博客园,作者:45645+56,转载请注明原文链接:https://www.cnblogs.com/qiuyq/p/16140837.html

 浙公网安备 33010602011771号