cordova极光推送插件使用
首先是在极光官网注册登录账号,然后创建推送应用,创建完应用之后,点击打开应用,设置应用的包名,保存;
然后回到应用主界面,看到AppKey,以及MasterSecret,这时候MasterSecret应该可以点击查看了。AppKey是添加插件的时候,需要用到的,然后在服务器端给移动端发送推送的时候,需要用到AppKey以及MasterSecret。
接下来是添加插件,使用git安装了之后,应用一直闪退,报错找不到DataProvider,我最后是通过普通的安装方式安装的:
cordova pluginadd jpush-phonegap-plugin --variable APP_KEY=your_jpush_appkey
插件github地址:https://github.com/jpush/jpush-phonegap-plugin
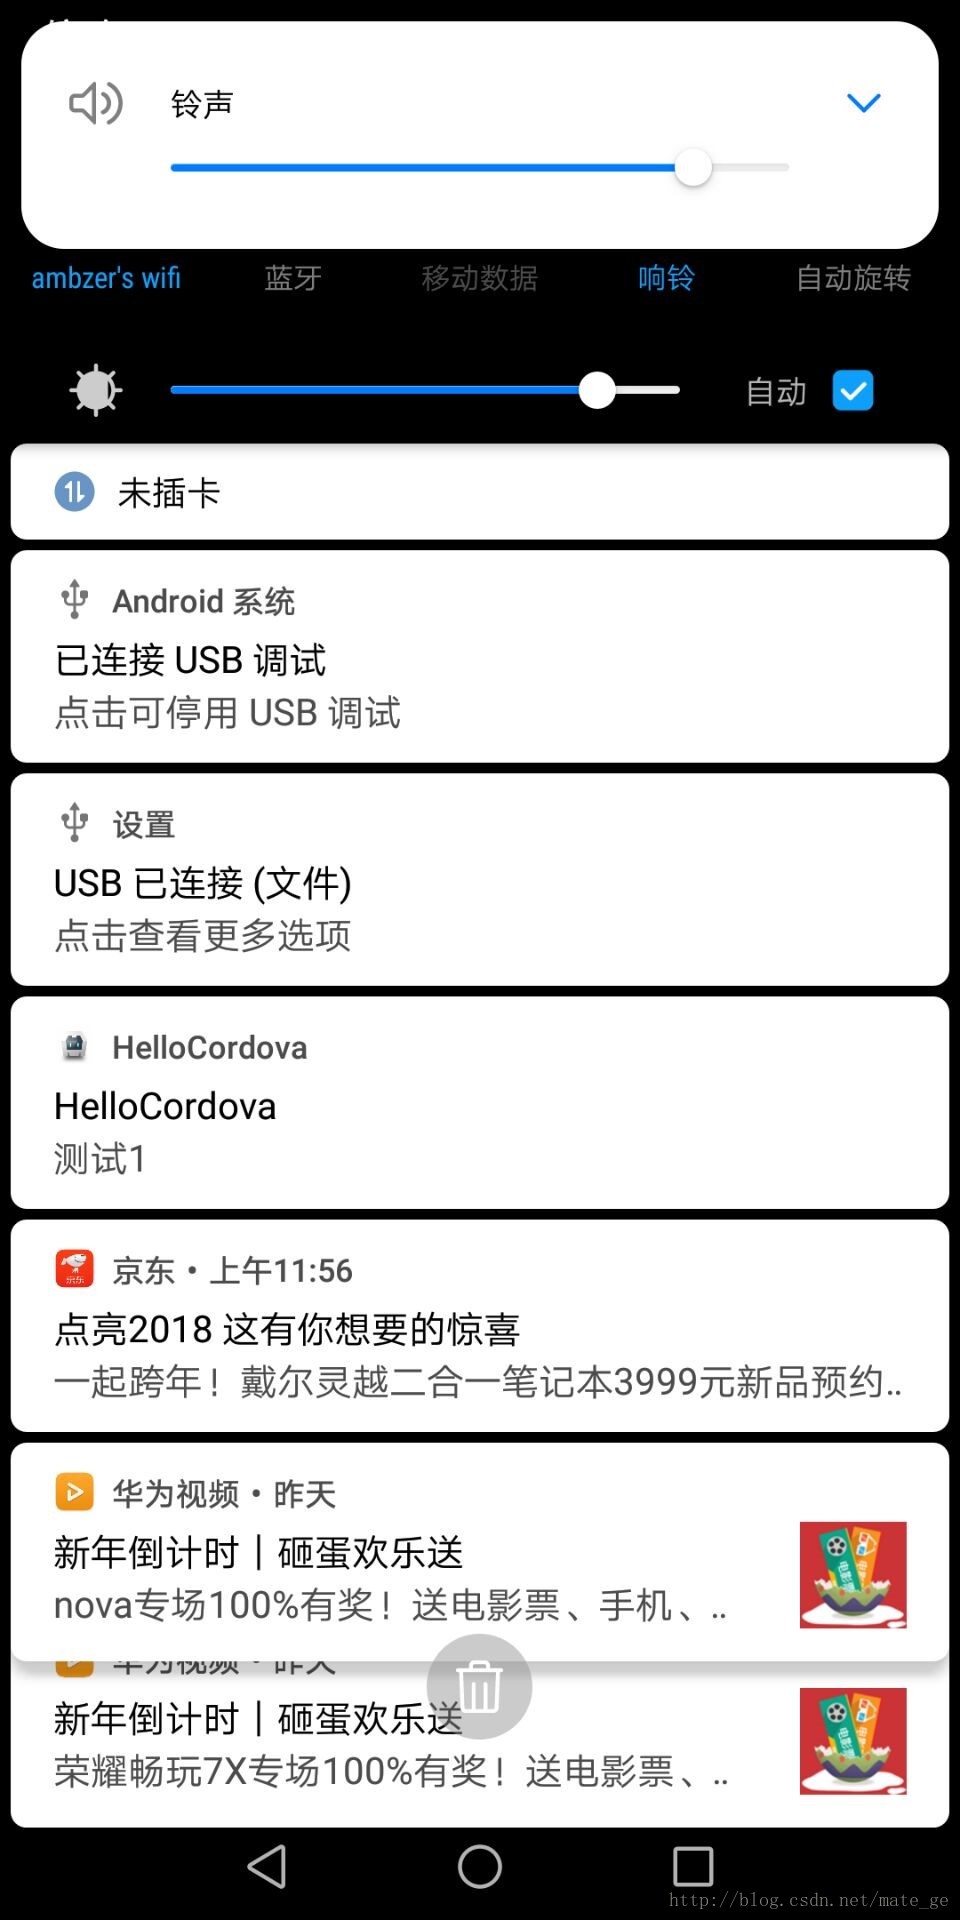
插件安装成功之后,可以直接跑github项目中example文件夹下的代码,就是直接把example目录下的index.html、css以及js拷贝到项目根目录www文件夹下,然后cordova run android,如果看到这个界面,并且已经获取到registrationId,就表示已经成功搭建好推送环境了,这个是android示例:

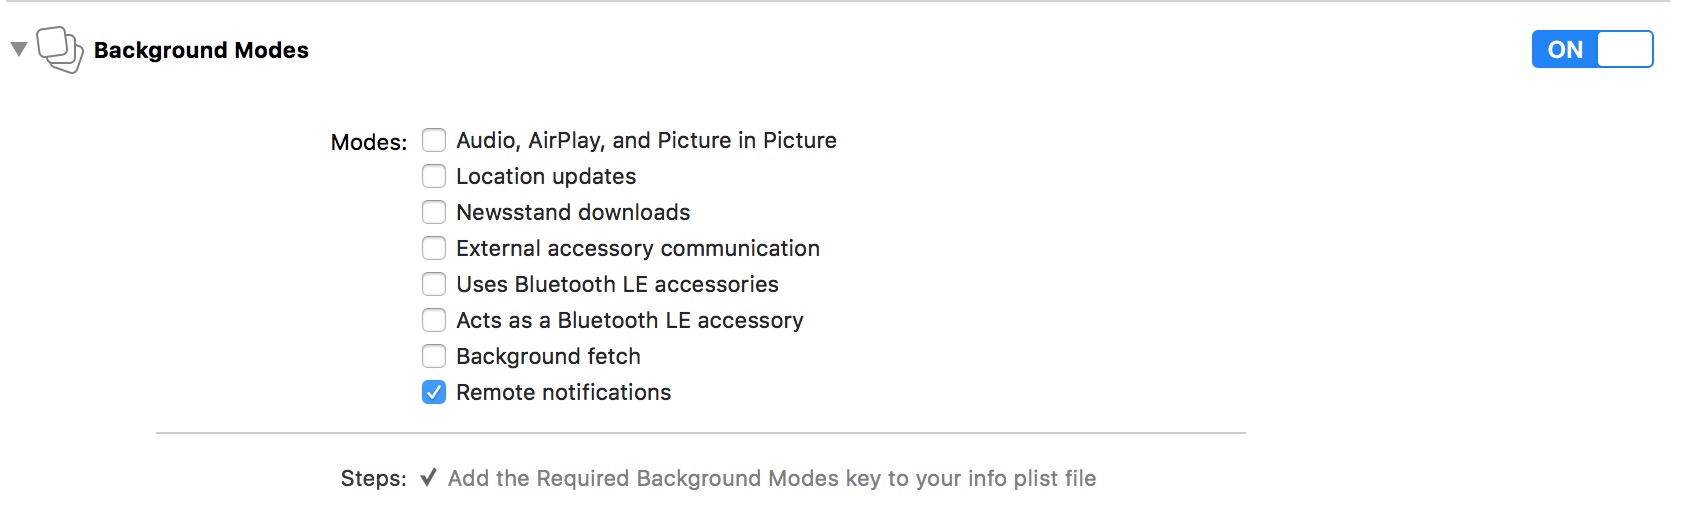
在IOS上测试的时候,安装完插件之后,不要忘了打开IOS工程,然后Capabilities设置中打开Push Notification开关以及Background Mode开关,在Background Mode中还要勾选remote notification选项;

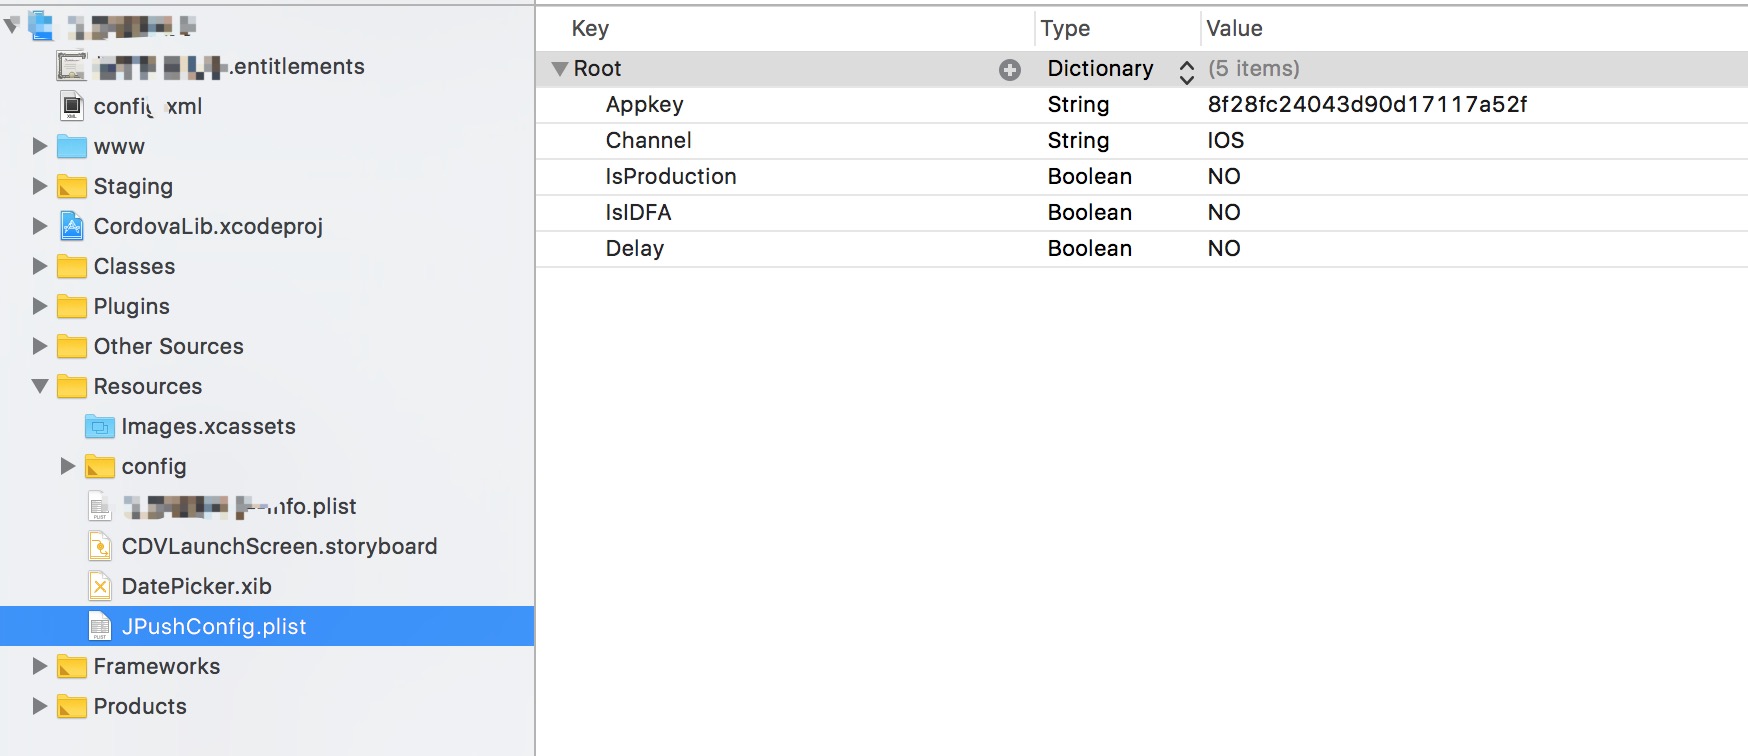
最后还要设置APP_KEY,这个一般在Resource目录下,编辑JPushConfig.plist文件,填写AppKey和Channel,AppKey就是极光官网应用设置给的AppKey,channel就填IOS即可:
注意的是,测试最好使用真机。
安装完插件之后,在极光推送的管理界面,输入要推送的消息,点击发送,之后如果没有在页面上显示错误,而且设备接受到推送消息,表明已经可以成功接收到推送消息:

打开index.html,我从里面拿到了一些关键初始化代码:
let onDeviceReady = function () {
    document.addEventListener("jpush.receiveRegistrationId", function (event) {
        console.log("receiveRegistrationId" + JSON.stringify(event));
    }, false);
    initJPush();
};
function initJPush() {
    if ('JPush' in window) {
        console.log('initialize JPush...');
        try {
            window.JPush.init();
            window.JPush.setDebugMode(true);
            window.setTimeout(() => {
                window.JPush.getRegistrationID((data) => {
                    console.log(data);
                    console.log('JPush initialize successful...');
                });
            }, 1000);
            if (device.platform != "Android") {
                window.JPush.setApplicationIconBadgeNumber(0);
            }
        } catch (exception) {
            console.log(exception);
        }
    } else {
        console.error('JPush is not exist...');
    }
}
document.addEventListener("deviceready", onDeviceReady, false);
然后是服务端环境搭建,首先是添加依赖:
<!--极光推送相关-->
<dependency>
    <groupId>cn.jpush.api</groupId>
    <artifactId>jpush-client</artifactId>
    <version>3.3.3</version>
</dependency>
<dependency>
    <groupId>cn.jpush.api</groupId>
    <artifactId>jiguang-common</artifactId>
    <version>1.0.8</version>
</dependency>
<dependency>
    <groupId>io.netty</groupId>
    <artifactId>netty-all</artifactId>
    <version>4.1.6.Final</version>
    <scope>compile</scope>
</dependency>
<dependency>
    <groupId>com.google.code.gson</groupId>
    <artifactId>gson</artifactId>
    <version>2.3</version>
</dependency>
<dependency>
    <groupId>org.slf4j</groupId>
    <artifactId>slf4j-api</artifactId>
    <version>1.7.7</version>
</dependency>

<!-- For log4j -->
<dependency>
    <groupId>org.slf4j</groupId>
    <artifactId>slf4j-log4j12</artifactId>
    <version>1.7.7</version>
</dependency>
<dependency>
    <groupId>log4j</groupId>
    <artifactId>log4j</artifactId>
    <version>1.2.17</version>
</dependency>
然后编写一条请求,在请求中发送推送消息:
package com.martsforever.core.template.jpush;

import cn.jiguang.common.ClientConfig;
import cn.jiguang.common.resp.APIConnectionException;
import cn.jiguang.common.resp.APIRequestException;
import cn.jpush.api.JPushClient;
import cn.jpush.api.push.PushResult;
import cn.jpush.api.push.model.Platform;
import cn.jpush.api.push.model.PushPayload;
import cn.jpush.api.push.model.audience.Audience;
import cn.jpush.api.push.model.notification.Notification;
import com.martsforever.core.global.RequestManage;
import org.springframework.web.bind.annotation.*;

import java.util.Collection;
import java.util.Map;

import static javax.accessibility.AccessibleRole.ALERT;

@RestController
@RequestMapping("push")
public class JPushController {
    private static String MASTER_SECRET = "5a1c4d4abb80ac481a44257a";
    private static String APP_KEY = "41259c975595d3c56c9e74ef";

    @PostMapping("sendAll")
    public static Map<String, Object> sendAll(@RequestBody PushMessage pushMessage) {
        JPushClient jpushClient = new JPushClient(MASTER_SECRET, APP_KEY, null, ClientConfig.getInstance());
        // For push, all you need do is to build PushPayload object.
        PushPayload payload = buildPushObject_all_all_alert(pushMessage.getMessage());
        try {
            PushResult result = jpushClient.sendPush(payload);
            System.out.println("Got result - " + result);

        } catch (APIConnectionException e) {
            // Connection error, should retry later
            System.out.println("Connection error, should retry later" + e.getMessage());

        } catch (APIRequestException e) {
            // Should review the error, and fix the request
            System.out.println("Should review the error, and fix the request" + e.getErrorMessage());
            System.out.println("HTTP Status: " + e.getStatus());
            System.out.println("Error Code: " + e.getErrorCode());
            System.out.println("Error Message: " + e.getErrorMessage());
        }
        return RequestManage.success(pushMessage);
    }

    public static PushPayload buildPushObject_all_all_alert(String msg) {

        return PushPayload.alertAll(msg);
    }

    //发给一个客户端
    public static PushPayload buildPushObject_all_registrationid_alert() {
        return PushPayload.newBuilder()
                .setPlatform(Platform.all()) //设置平台-所有平台
                .setAudience(Audience.registrationId("")) //设置受众-极光注册id
                .setNotification(Notification.alert(ALERT)) //设置通知 - 消息
                .build();
    }

    //多个客户端
    public static PushPayload buildPushObject_all_registrationids_alert(Collection<String> strings) {
        return PushPayload.newBuilder()
                .setPlatform(Platform.all()) //设置平台-所有平台
                .setAudience(Audience.registrationId(strings)) //设置受众-极光注册id-多个客户端
                .setNotification(Notification.alert(ALERT)) //设置通知-推送信息
                .build();
    }
}
当请求这条请求的时候,就会把请求中的参数作为消息发送到所有的客户端,如果客户端可以接收到推送消息,证明服务器端环境搭建也完成了。我这里不知道是不是本地调试的原因还是其他原因,通过服务器端发送推送消息有点慢,可能因为我不是付费用户……,从发送消息到接收到推送消息,中间大概隔了一分钟的时间,同学们需要耐心等待一下。

 浙公网安备 33010602011771号