

ComfyUI 和 SURIR 图片高清修复+放大
魔法在线体验地址 https://supir.xpixel.group/
有人基于SUPIR封装了ComfyUI的节点,可以让我们更方便地使用模型 https://github.com/kijai/ComfyUI-SUPIR
安装 ComfyUI
方式1:集成包 https://github.com/comfyanonymous/ComfyUI/releases
方式2:源码安装 https://github.com/comfyanonymous/ComfyUI
这里着重讲方式2
1:先把ComFyUi下载到本地,下载依赖包.这里创建3.9版本是因为ComfyUI-SUPIR这个包不能大于3.10
git clone https://github.com/comfyanonymous/ComfyUI.gi
cd ComfyUI
conda create --name py39 python=3.9
conda acticate py39
pip install -r requirements.txt
2:安装对应版本的pytorch https://pytorch.org/
pip install torch torchvision torchaudio --index-url https://download.pytorch.org/whl/cu118
3:安装对应版本的xformers https://github.com/facebookresearch/xformers#installing-xformers
pip install -U xformers --index-url https://download.pytorch.org/whl/cu118
4:下载https://github.com/kijai/ComfyUI-SUPIR到目录custom_nodes。这一步开始集成包也要做
cd custom_nodes
git clone https://github.com/kijai/ComfyUI-SUPIR.git
5:安装依赖
cd ComfyUI-SUPIR
pip install -r requirements.txt
6:大模型下载,这里推荐国内镜像,点击下载按钮。下载的很快 https://hf-mirror.com/camenduru/SUPIR/tree/main
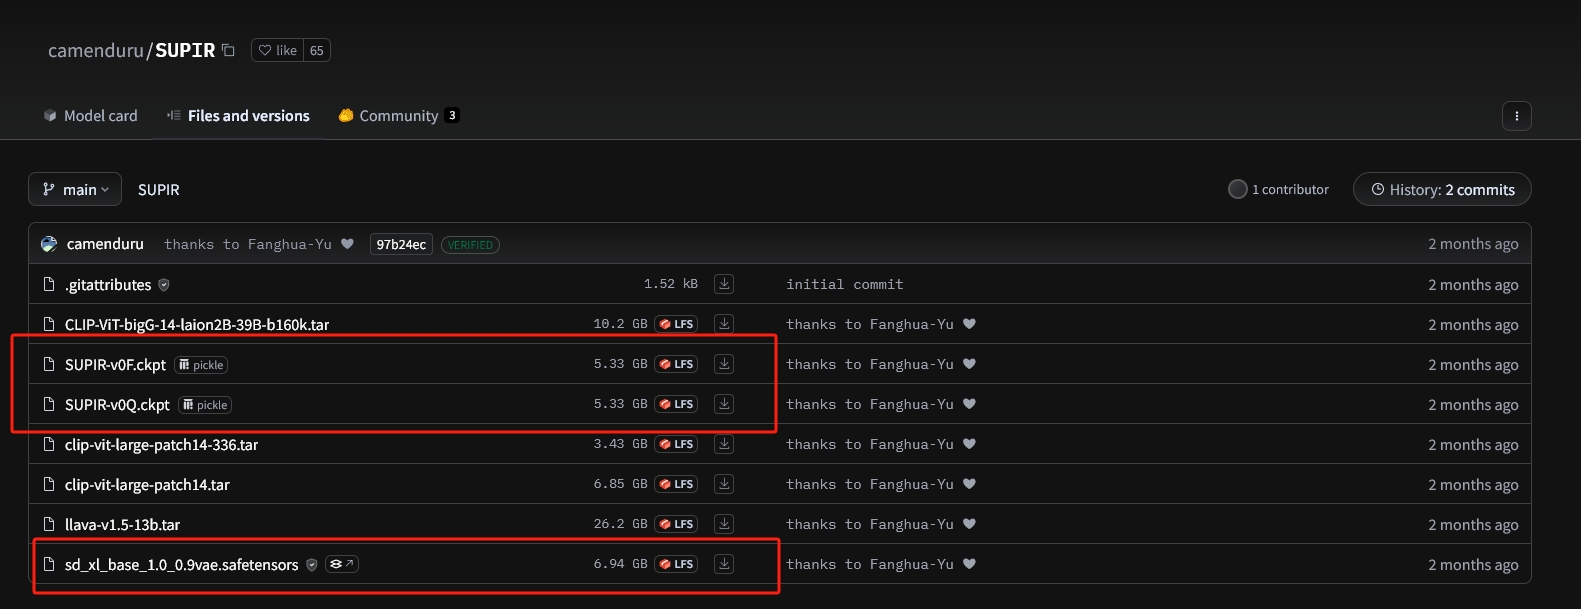
7:把大模型复制或者剪切到models/checkpoints下面

8:启动 python main.py 打开 http://127.0.0.1:8188/
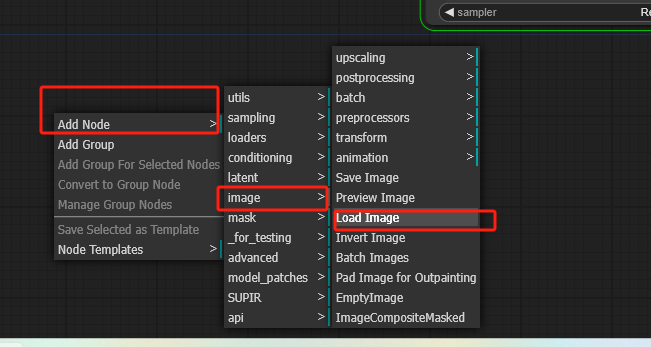
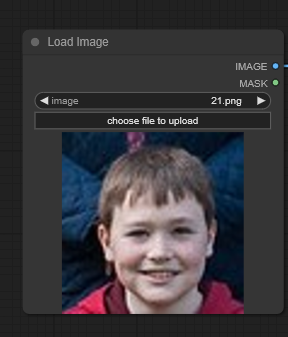
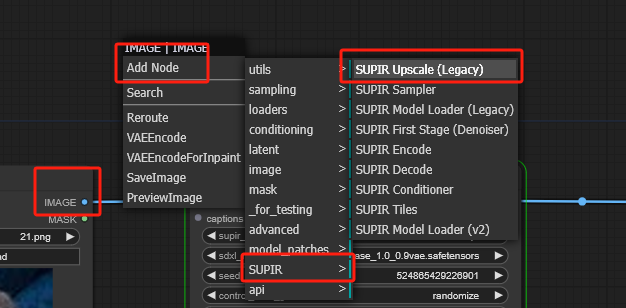
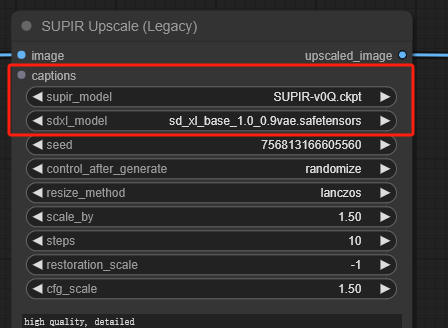
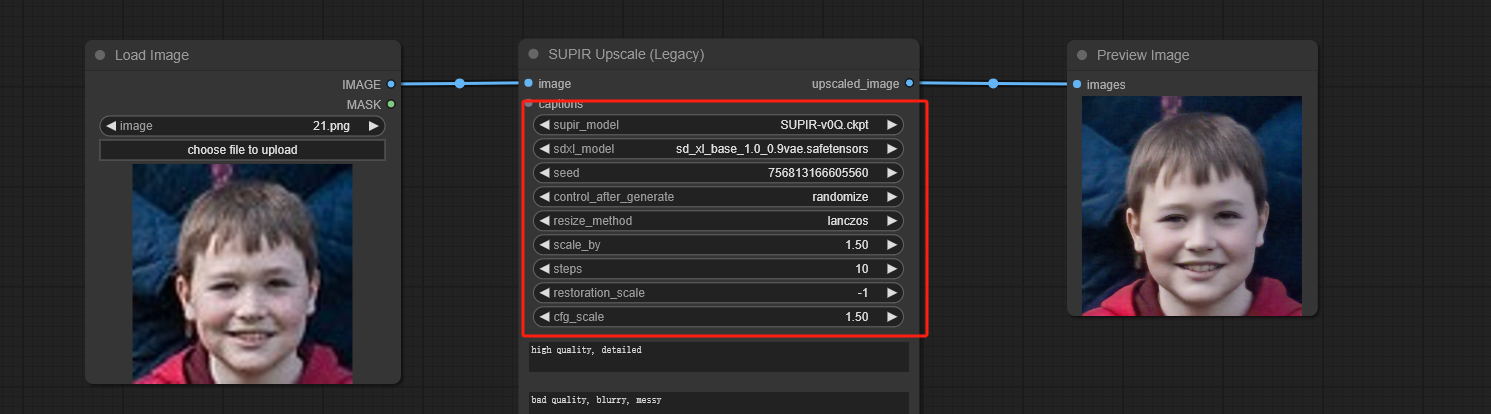
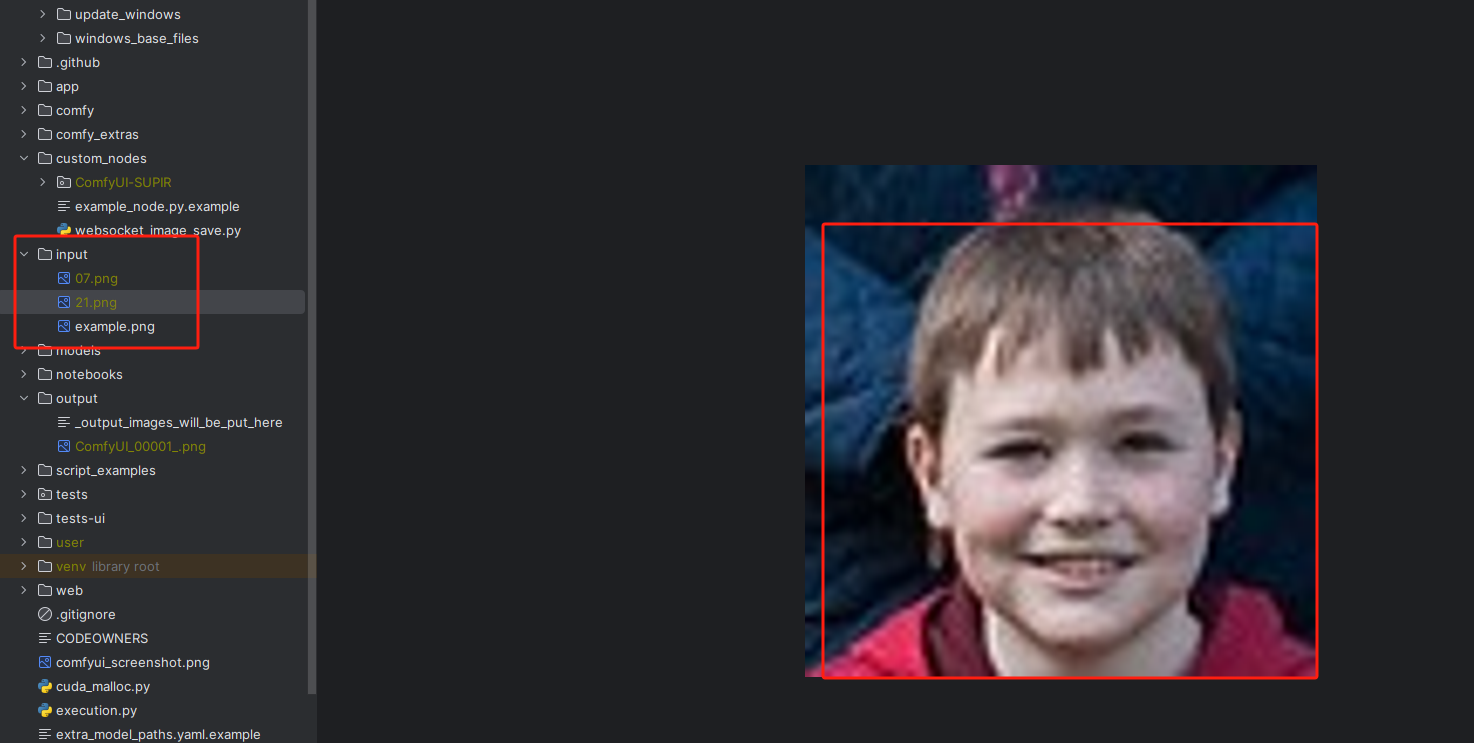
9:新建一个工作流,注意模型要选择好,默认会读文件夹内的

10:点击开始

11:最后看自己电脑情况,很慢。。。。,

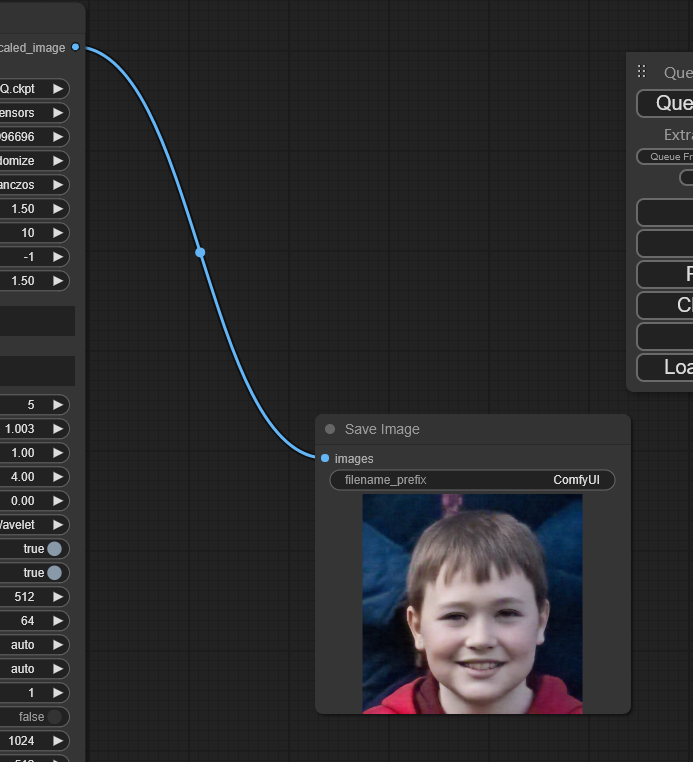
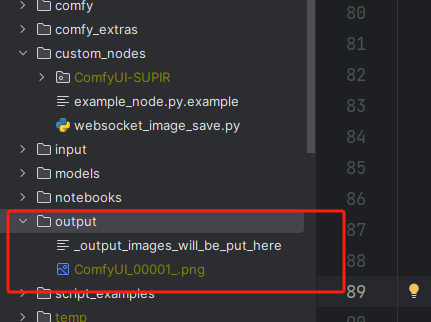
11:保存图片是一个套路,最后生成结果会在output文件夹
12:最后对比一下


 浙公网安备 33010602011771号