
废物利用,拿自己的旧电脑搭建个服务器吧
1.安装Nginx
首先前往Nginx官网(nginx.org)进行下载,也可以直接用我提供的链接下载1.23版本:http://nginx.org/download/nginx-1.23.1.zip
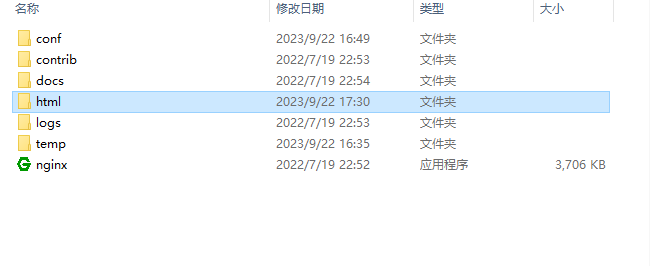
安装完之后解压,然后你会看到如下目录:
2.配置Nginx
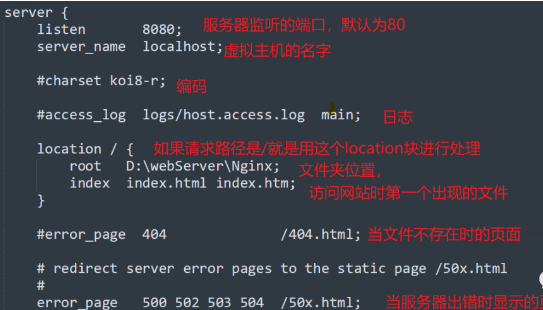
进入conf文件夹,打开nginx.conf文件进行编辑,里面的配置很多,其中一些重要的配置进行了说明(前面有“#”的表示并没有真正写入配置,若要加入,只需去掉“#”):
3.启动Nginx服务
配置完Nginx后,返回Nginx根目录,找到nginx.exe,双击运行它,你会看到有个小黑框一闪而过,这说明Nginx已经成功启动!你可以打开浏览器,输入:虚拟主机名称:监听的端口(刚刚的配置),回车,就会看到如下网页:

恭喜你,已经成功搭建了Nginx服务器!
4.为你的网站添加文件
进入刚刚配置的 html 文件夹位置,在该文件夹下新建一个.html,打开后输入这段代码:
<!DOCTYPE html>
<html lang="en">
<head>
    <meta charset="UTF-8">
    <meta name="viewport" content="width=device-width, initial-scale=1.0">
    <title>Document</title>
    <style>
        * {
            margin: 0;
            padding: 0;
        }
        html {
            height: 100%;
        }
        body {
            height: 100%;
        }
        .container {
            height: 100%;
            background-image: linear-gradient(to right, #fbc2eb, #a6c1ee);
        }
        .login-wrapper {
            background-color: #fff;
            width: 358px;
            height: 588px;
            border-radius: 15px;
            padding: 0 50px;
            position: relative;
            left: 50%;
            top: 50%;
            transform: translate(-50%, -50%);
        }
        .header {
            font-size: 38px;
            font-weight: bold;
            text-align: center;
            line-height: 200px;
        }
        .input-item {
            display: block;
            width: 100%;
            margin-bottom: 20px;
            border: 0;
            padding: 10px;
            border-bottom: 1px solid rgb(128, 125, 125);
            font-size: 15px;
            outline: none;
        }
        .input-item:placeholder {
            text-transform: uppercase;
        }
        .btn {
            text-align: center;
            padding: 10px;
            width: 100%;
            margin-top: 40px;
            background-image: linear-gradient(to right, #a6c1ee, #fbc2eb);
            color: #fff;
        }
        .msg {
            text-align: center;
            line-height: 88px;
        }
        a {
            text-decoration: none;
            color: #abc1ee;
        }
</style>
</head>
<body>
    <div class="container">
        <div class="login-wrapper">
            <div class="header">Login</div>
            <div class="form-wrapper">
                <input type="text" name="username" placeholder="username" class="input-item">
                <input type="password" name="password" placeholder="password" class="input-item">
                <div class="btn">Login</div>
            </div>
            <div class="msg">
                Don't have account?
                <a href="#">Sign up</a>
            </div>
        </div>
    </div>
</body>
</html>
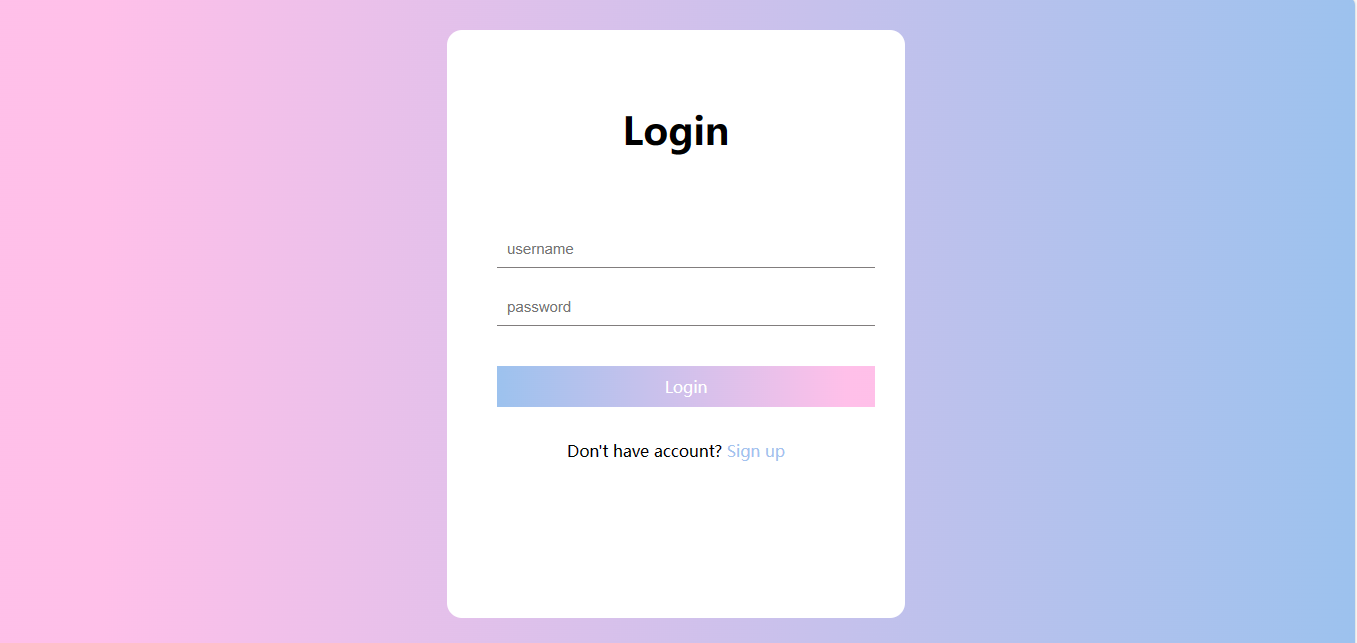
再将文件名改为index.html,保存,放到Nginx的html目录里。最后再次打开浏览器,输入虚拟主机名称:监听的端口(刚刚的配置),回车,你就会看见如下页面:
http://localhost:8080/index.html
5.内网穿透
服务器搭建完了,网页也有了,但其实除了跟你在同一个局域网下的人,都无法访问你的网站。就要用到内网穿透了,所谓内网穿透,也即是局域网能够直接通过公网的ip去访问,可以使用飞鸽内网穿透。

 浙公网安备 33010602011771号