django项目部署1
1 用ftp软件上传项目到/root/目录下并解压
2 安装django项目依赖
pip3 install -r requirments.txt
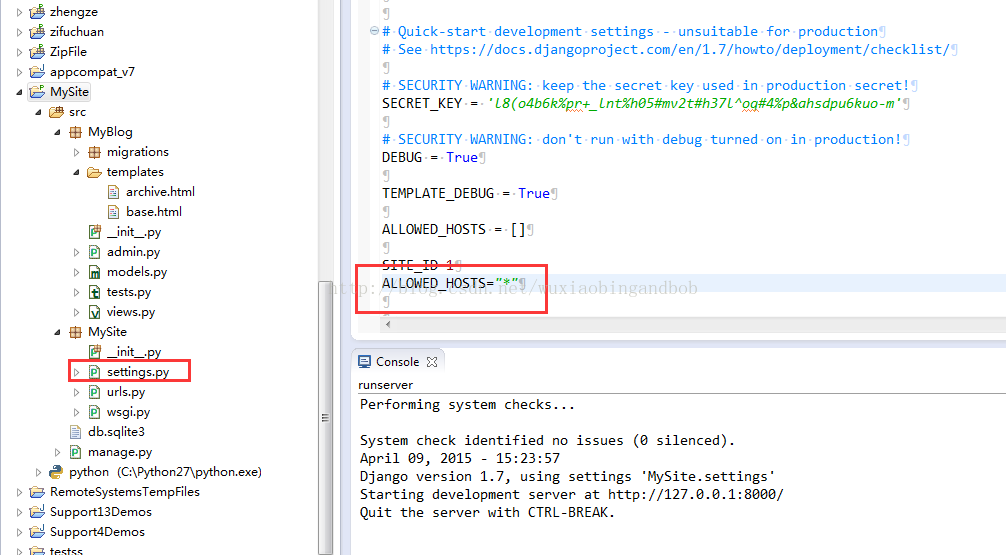
3 修改项目中的setting.py文件,并启动项目。

4 开放服务器8000端口,用本机的外网ip访问django项目http://ip:8000 访问
5 安装uwgsi
pip3 install uwsgi
6 调试uWSGI
# test.py
def application(env, start_response):
    start_response('200 OK', [('Content-Type','text/html')])
    return [b"Hello World"] # python3
    #return ["Hello World"] # python2
uwsgi --http :8000 --wsgi-file test.py
The options mean:
http :8000: use protocol http, port 8000
wsgi-file test.py: load the specified file, test.py
6.1 进入项目目录(wsgi所在的上层目录)
6.2 uwsgi --http 0.0.0.0:8899 --file myproject/wsgi.py --static-map=/static=static #测试启动
7 在项目根目录下,新建并配置uwsgi.ini文件
[uwsgi]
# 项目目录
chdir=/root/myproject/myproject/
# 启动uwsgi的用户名和用户组
uid=root
gid=root
# 指定项目的application
module=teacher.wsgi:application
# 指定sock的文件路径
socket=/root/myproject/venv/uwsgi.sock
# 启用主进程
master=true
# 进程个数
workers=5
pidfile=/root/myproject/venv/uwsgi.pid
# 自动移除unix Socket和pid文件当服务停止的时候
vacuum=true
# 序列化接受的内容,如果可能的话
thunder-lock=true
# 启用线程
enable-threads=true
# 设置自中断时间
harakiri=30
# 设置缓冲
post-buffering=1024
# 设置日志目录
daemonize=/root/myproject/venv/uwsgi.log
应用配置文件
uwsgi --ini uwsgi.ini
8 查询uwsgi是否启动,并查看在目录下是否生成相应的文件。
ps -ef|grep -i uwsgi
查看是否有相应的文件
/root/myproject/venv/uwsgi.pid
/root/myproject/venv/uwsgi.sock

 浙公网安备 33010602011771号