Spring Bean的声明方式
一、环境说明
-
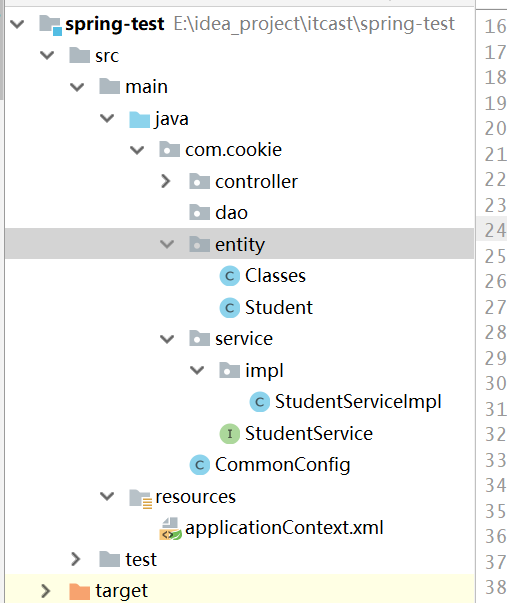
项目结构
![]()
-
StudentService
package com.cookie.service; /** * @author cxq * @version 1.0 * @date 2020/7/14 9:18 * @desc */ public interface StudentService { void add(); } -
StudentServiceImpl
package com.cookie.service.impl; import com.cookie.service.StudentService; import org.springframework.stereotype.Component; /** * @author cxq * @version 1.0 * @date 2020/7/14 9:20 * @desc */ public class StudentServiceImpl implements StudentService { public void add() { System.out.println(" add student ... "); } } -
applicationContext.xml核心配置文件
<?xml version="1.0" encoding="UTF-8"?>
<beans xmlns="http://www.springframework.org/schema/beans"
       xmlns:xsi="http://www.w3.org/2001/XMLSchema-instance"
       xmlns:context="http://www.springframework.org/schema/context"
       xsi:schemaLocation="http://www.springframework.org/schema/beans
        https://www.springframework.org/schema/beans/spring-beans.xsd http://www.springframework.org/schema/context https://www.springframework.org/schema/context/spring-context.xsd">


</beans>
二、XML
-
以bean的方式在核心配置文件中声明
<!-- xml声明 id : bean的唯一标识 class:bean所在的Java类的全类名 --> <bean id="studentService" class="com.cookie.service.impl.StudentServiceImpl" /> -
通过ClassPathXmlApplicationContext读取配置文件
/**
     * 基于xml声明bean
     */
    @Test
    public void method1(){
        // 1.获取容器:读取配置文件
        ApplicationContext applicationContext
                = new ClassPathXmlApplicationContext("applicationContext.xml");

        // 2.获取bean
        StudentService studentService = (StudentService) applicationContext.getBean("studentService");

        // 3.调用对应的方法
        studentService.add();
    }
三、注解扫描
-
在核心配置文件中加入要扫描的类
<!-- 2.注解扫描 base-package :类所在的包 --> <context:component-scan base-package="com.cookie.service" /> -
在对应类上加上@Component将该类放入IOC容器中,并起一个别名
@Component("studentService") public class StudentServiceImpl implements StudentService { public void add() { System.out.println(" add student ... "); } } -
通过ClassPathXmlApplicationContext读取配置文件
/**
     * 2.注解扫描
     *
     */
    @Test
    public void method2(){
        // 1.获取容器:读取配置文件
        ApplicationContext applicationContext
                = new ClassPathXmlApplicationContext("applicationContext.xml");

        // 2.获取bean
        StudentService studentService = (StudentService) applicationContext.getBean("studentService");

        // 3.调用对应的方法
        studentService.add();
    }
四、Java类
-
创建一个java类CommonConfig
package com.cookie; import com.cookie.service.StudentService; import com.cookie.service.impl.StudentServiceImpl; import org.springframework.context.annotation.Bean; import org.springframework.context.annotation.Configuration; /** * @author cxq * @version 1.0 * @date 2020/7/14 10:15 * @desc */ @Configuration // 声明这是一个配置类 public class CommonConfig { @Bean // 声明bean public StudentService studentService(){ return new StudentServiceImpl(); } } -
通过AnnotationConfigApplicationContext读取该java配置类
 /**
     * 3.基于java类
     *
     */
    @Test
    public void method3(){

        ApplicationContext applicationContext
                = new AnnotationConfigApplicationContext(CommonConfig.class);

        StudentService studentService = (StudentService) applicationContext.getBean("studentService");

        studentService.add();
    }

 浙公网安备 33010602011771号