hyper-v ubuntu开启xrdp
参考:https://tecadmin.net/how-to-install-xrdp-on-ubuntu-20-04/
!!!要在Basic session里设置,不要在增强会话里设置
sudo apt update
  如果报错或timeout,参考最后的更改仓库地址
sudo apt upgrade
sudo apt install xrdp
  如果报错Unable to locate package,参考最后的更改仓库地址
sudo nano /etc/xrdp/startwm.sh #这里不设置可能会连接时黑屏闪退
#!/bin/sh
exec /etc/X11/Xsession
exec /bin/sh /etc/X11/xinit/xinitrc
[ -x /etc/X11/xinit/xinitrc ] && exec /etc/X11/xinit/xinitrc
[ -x /etc/X11/Xsession ] && exec /etc/X11/Xsession
exec xfce4-session
or
#!/bin/sh
unset DBUS_SESSION_BESSION_ADDRESS
unset XDG_RUNTIME_DIR
export XDG_CACHE_HOME="$HOME/.cache"
export XDG_CONFIG_HOME="$HOME/.config"
mkdir -p "$XDG_CACHE_HOME" "$XDG_CONFIG_HOME"
xfce4-session
sudo adduser xrdp ssl-cert
sudo systemctl restart xrdp
sudo systemctl status xrdp#查看xrdp是否启动,如果没有sudo systemctl enable xrdp,要是报错control process 啥的,重启ubuntu即可
sudo ufw allow 3389/tcp
reboot
然后可以在windows 运行mstsc用ubuntu ip登录了,如果登不上,可以去ubuntu -> sharing -> Remote Deskop改下密码试试

参考:
Step 1 – Install Desktop Environment
sudo apt update && sudo apt upgrade #upgrade all installed packagesapt install tasksel -y #nstall the Tasksel utility to install a desktop environmenttasksel #launch the Tasksel utility
ubuntu desktop
systemctl set-default graphical.target #set your system boots into the graphical target.
restart
Step 2 – Installing XRDP on Ubuntu
sudo apt install xrdp -y Step 3 – Configuring Xrdp
sudo usermod -a -G ssl-cert xrdp #add the xrdp user to the “ssl-cert” group sudo nano /etc/xrdp/startwm.sh #Sometimes user faces issue with black screen appears in background. So, that I ahave included steps to resolve black screen issue in background. Edit the xrdp file /etc/xrdp/startwm.sh in a text editor
Add these commands before the commands that test & execute Xsession as shown below:
    unset DBUS_SESSION_BUS_ADDRESS
    unset XDG_RUNTIME_DIR
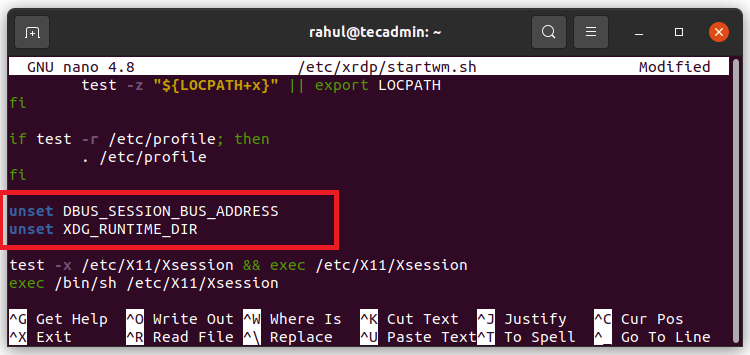
Press CTRL+O to write out and then CTRL+X to exit from the editor
sudo systemctl restart xrdp #Restart the Xrdp service Step 4 – Adjust Firewall
sudo ufw allow from 192.168.1.0/24 to any port 3389 #Systems running with UFW firewall, use the following command to open port 3389 for the LAN networksudo ufw reload #Reload the UFW to apply the new rulesStep 5 – Connect to Remote Desktop
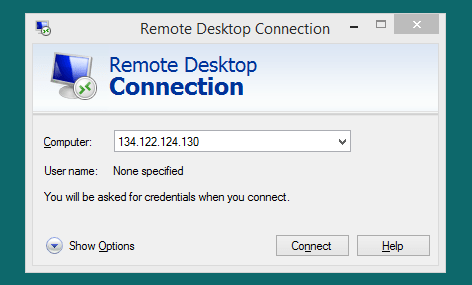
The Xrdp service is successfully installed and ready to connect. On your Windows client, open the RDP client and enter the IP address of the Ubuntu system.
You can launch the RDP client by typing "mstsc" in the run window or command line.
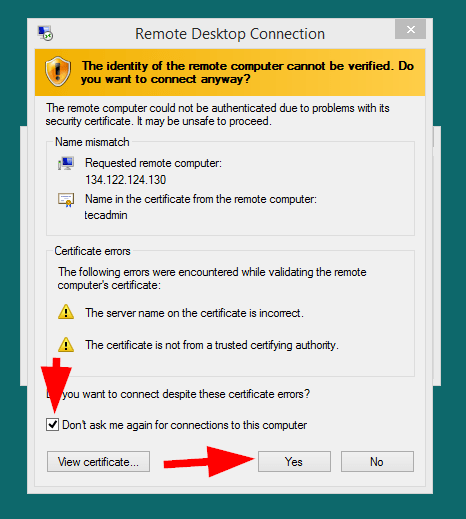
The first time, it will prompt a warning message due to the remote system being unknown to your system. Check the box in front of “Don’t ask me again for connection to this computer” and click Yes to continue.
Once connected successfully, the remote system prompt for authentication. Enter the login credentials of the remote Ubuntu system to get remote desktop access.
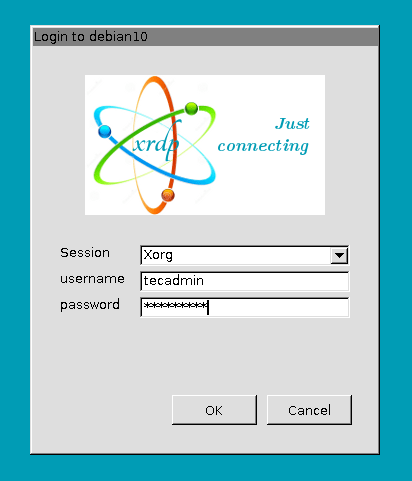
On successful authentication, you’ll get remote desktop access.
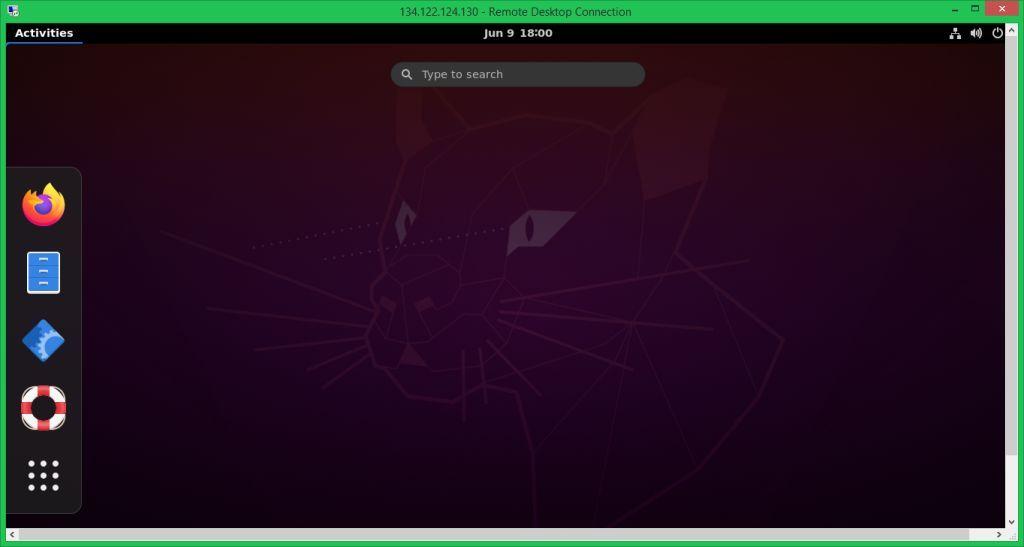
Now, you can manage your remote Ubuntu system graphically.
更改仓库地址:
sudo nano /etc/apt/sources.list
deb http://us.archive.ubuntu.com/ubuntu/ focal main restricted
deb http://us.archive.ubuntu.com/ubuntu/ focal-updates main restricted
deb http://us.archive.ubuntu.com/ubuntu/ focal universe
deb http://us.archive.ubuntu.com/ubuntu/ focal-updates universe
deb http://us.archive.ubuntu.com/ubuntu/ focal multiverse
deb http://us.archive.ubuntu.com/ubuntu/ focal-updates multiverse
deb http://us.archive.ubuntu.com/ubuntu/ focal-backports main restricted universe multiverse
deb http://security.ubuntu.com/ubuntu focal-security main restricted
deb http://security.ubuntu.com/ubuntu focal-security universe
deb http://security.ubuntu.com/ubuntu focal-security multiverse

 浙公网安备 33010602011771号