
NET6+skywalking+ES 链路追踪组件使用
- 环境
win10系统,
java jdk1.8,
apache-skywalking-apm-bin (8.9.1),官网下载
elasticsearch-7.16.3,官网下载
net6,
consul:consul_1.22.2_windows_amd64
下载地址:
skywalking相关软件
链接: https://pan.baidu.com/s/1eqwh66JX-tQsOonJN7id6A?pwd=jaym 提取码: jaym
- jdk安装,可以上网查询下,不做详细介绍
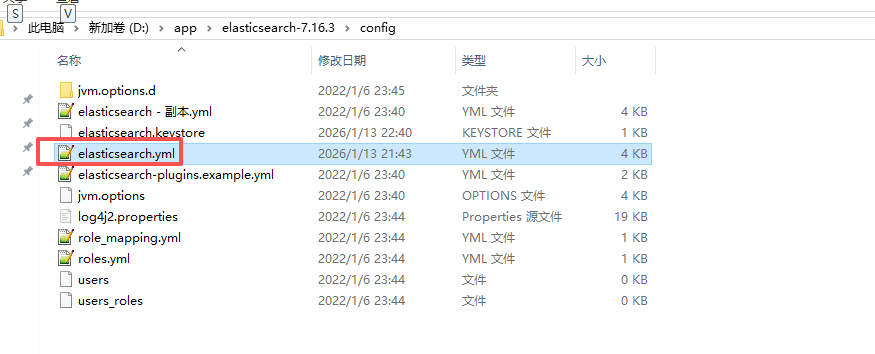
- ES安装,存储skywalking数据时用
1、将下载文件解压至安装磁盘,并修改配置文件
# ======================== Elasticsearch Configuration =========================
#
# NOTE: Elasticsearch comes with reasonable defaults for most settings.
#       Before you set out to tweak and tune the configuration, make sure you
#       understand what are you trying to accomplish and the consequences.
#
# The primary way of configuring a node is via this file. This template lists
# the most important settings you may want to configure for a production cluster.
#
# Please consult the documentation for further information on configuration options:
# https://www.elastic.co/guide/en/elasticsearch/reference/index.html
#
# ---------------------------------- Cluster -----------------------------------
#
# Use a descriptive name for your cluster:
#
cluster.name: my-application
#
# ------------------------------------ Node ------------------------------------
#
# Use a descriptive name for the node:
#
node.name: node-1
#
# Add custom attributes to the node:
#
#node.attr.rack: r1
#
# ----------------------------------- Paths ------------------------------------
#
# Path to directory where to store the data (separate multiple locations by comma):
#
#path.data: /path/to/data
#
# Path to log files:
#
#path.logs: /path/to/logs
#
# ----------------------------------- Memory -----------------------------------
#
# Lock the memory on startup:
#
bootstrap.memory_lock: true

#
# Make sure that the heap size is set to about half the memory available
# on the system and that the owner of the process is allowed to use this
# limit.
#
# Elasticsearch performs poorly when the system is swapping the memory.
#
# ---------------------------------- Network -----------------------------------
#
# By default Elasticsearch is only accessible on localhost. Set a different
# address here to expose this node on the network:
#
network.host: 127.0.0.1

#跨域配置

http.cors.enabled: true
http.cors.allow-origin: "*"

#
# By default Elasticsearch listens for HTTP traffic on the first free port it
# finds starting at 9200. Set a specific HTTP port here:
#
http.port: 9200

ingest.geoip.downloader.enabled: false
#
# For more information, consult the network module documentation.
#
# --------------------------------- Discovery ----------------------------------
#
# Pass an initial list of hosts to perform discovery when this node is started:
# The default list of hosts is ["127.0.0.1", "[::1]"]
#
#discovery.seed_hosts: ["host1", "host2"]
#
# Bootstrap the cluster using an initial set of master-eligible nodes:
#
#cluster.initial_master_nodes: ["node-1", "node-2"]
#
# For more information, consult the discovery and cluster formation module documentation.
#
# ---------------------------------- Various -----------------------------------
#
# Require explicit names when deleting indices:
#
#action.destructive_requires_name: true
#
# ---------------------------------- Security ----------------------------------
#
#                                 *** WARNING ***
#
# Elasticsearch security features are not enabled by default.
# These features are free, but require configuration changes to enable them.
# This means that users don’t have to provide credentials and can get full access
# to the cluster. Network connections are also not encrypted.
#
# To protect your data, we strongly encourage you to enable the Elasticsearch security features.
# Refer to the following documentation for instructions.
#
# https://www.elastic.co/guide/en/elasticsearch/reference/7.16/configuring-stack-security.html
network.host: 127.0.0.12、
2、如果你希望Elasticsearch在所有可用的网络上监听,可以设置为0.0.0.0。如果你只想在localhost上监听,可以设置为127.0.0.1

如果本机监听,配置不0.0.0.0,则ES启动报错
3、进入bin子目录进行安装,注意需要以管理员权限运行
elasticsearch-service.bat install
4、安装完成后,可以用命令启动,也可以在服务列表手动启动
elasticsearch-service.bat start
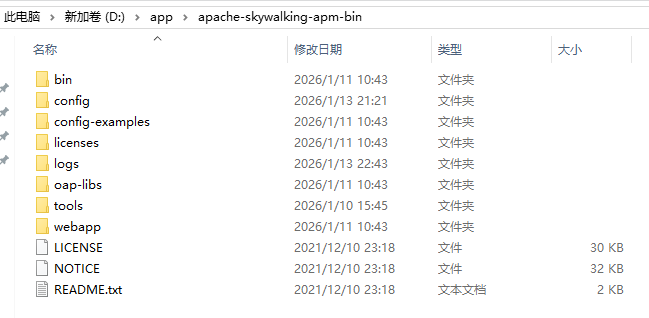
- skywalking安装
1、将下载文件解压至安装磁盘,如D:
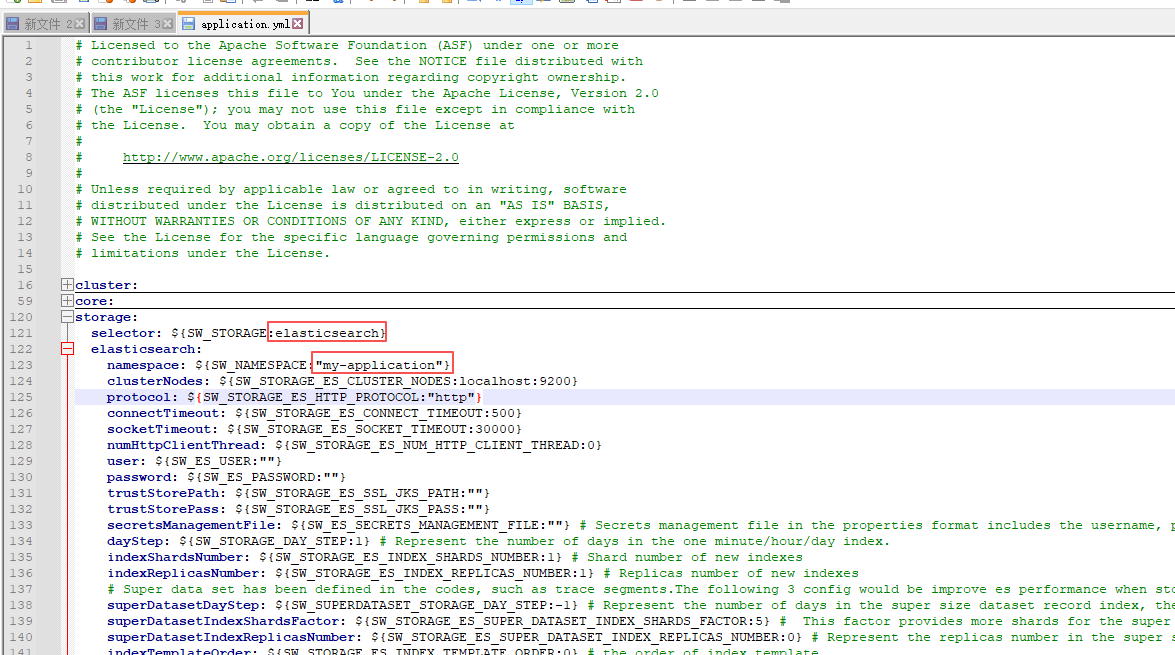
2、主要改两个配置,默认为h2存储, 我用的时ES
storage:
  selector: ${SW_STORAGE:elasticsearch}
  elasticsearch:
    namespace: ${SW_NAMESPACE:"my-application"}
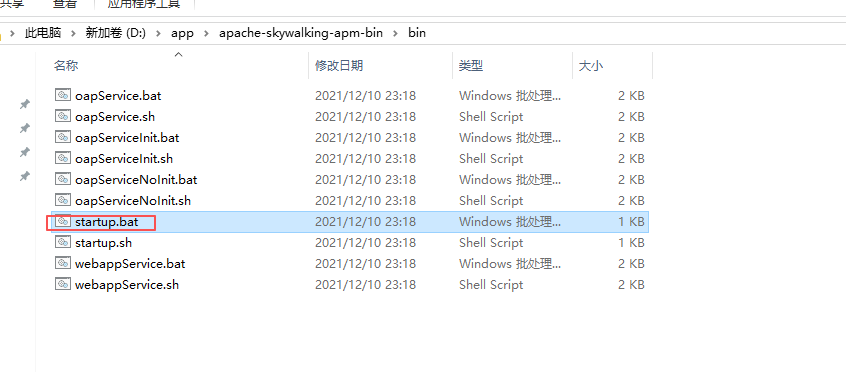
3、配置完成后,先启动ES,等待ES启动成功后,再启动skywalking
- net6 中实际操作
- 添加依赖包
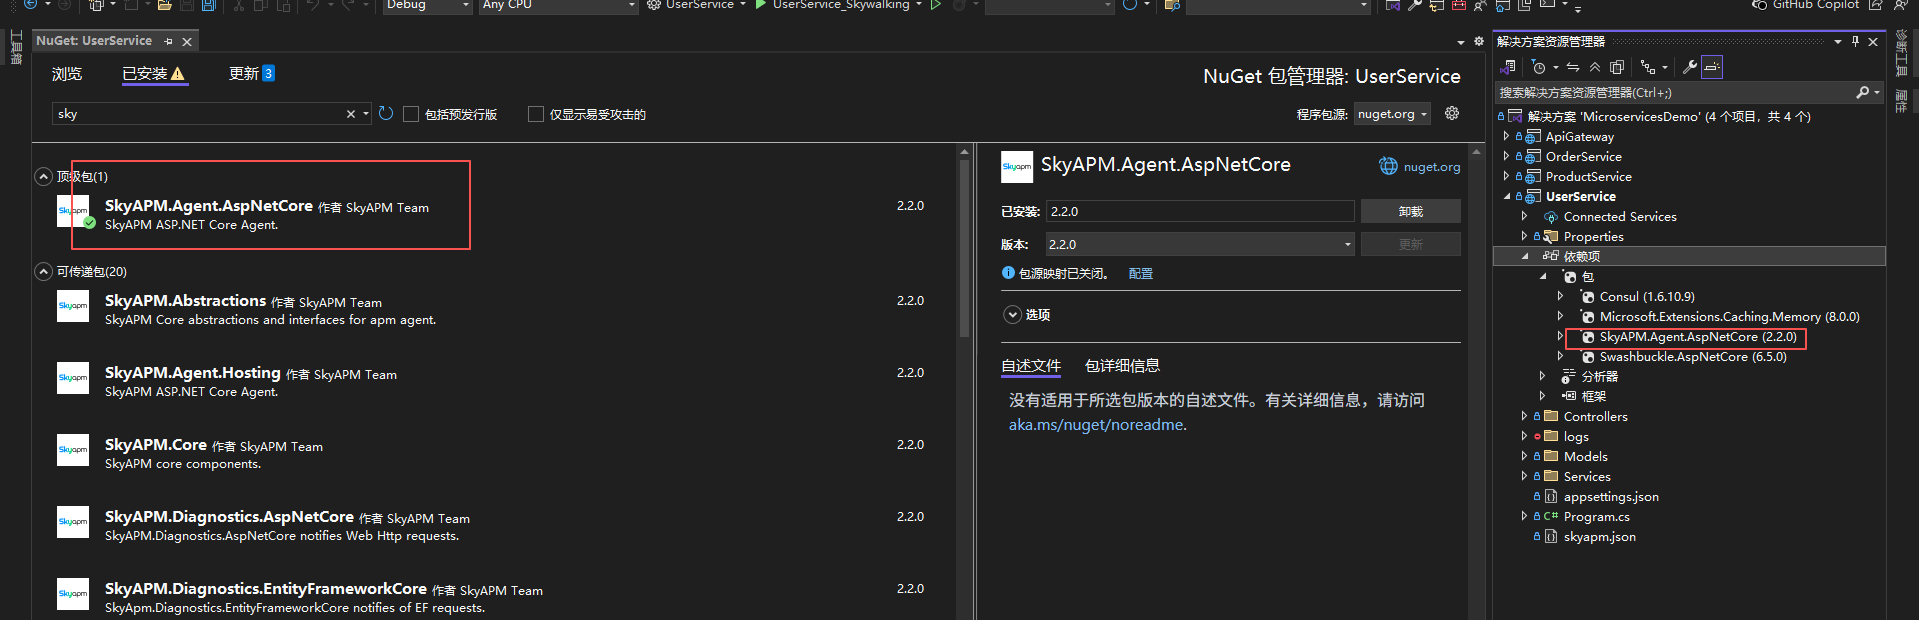
2、生成skyapm.json文件
安装工具
dotnet tool install -g SkyAPM.DotNet.CLI
生成配置
dotnet tool install -g SkyAPM.DotNet.CLI
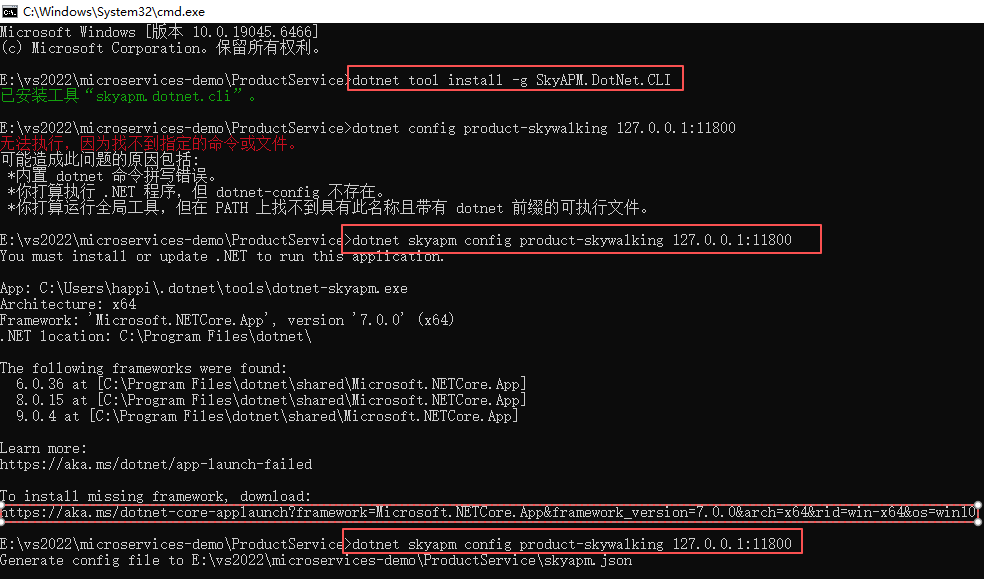
注意:这个skyapm.json文件,尽量用这种方式生成,我之前是网上copy的,有个地方有细微差别,导致监控不到追踪记录
{
  "SkyWalking": {
    "ServiceName": "user-skywalking",
    "Namespace": "",
    "HeaderVersions": [
      "sw8"
    ],
    "Sampling": {
      "SamplePer3Secs": -1,
      "Percentage": -1.0
    },
    "Logging": {
      "Level": "Information",
      "FilePath": "logs\\skyapm-{Date}.log"
    },
    "Transport": {
      "Interval": 3000,
      "ProtocolVersion": "v8",
      "QueueSize": 30000,
      "BatchSize": 3000,
      "gRPC": {
        "Servers": "127.0.0.1:11800",
        "Timeout": 10000,
        "ConnectTimeout": 10000,
        "ReportTimeout": 600000,
        "Authentication": ""
      }
    }
  }
}
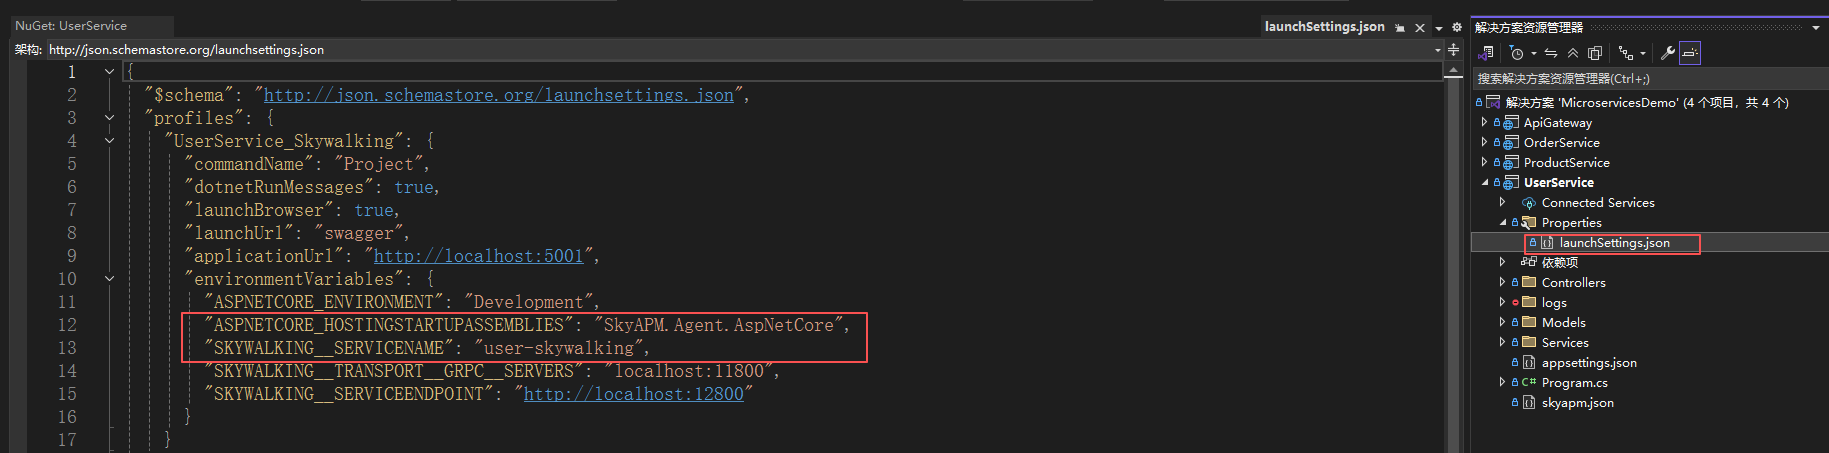
3、修改环境变量launchSettings.json,添加配置
   "ASPNETCORE_HOSTINGSTARTUPASSEMBLIES": "SkyAPM.Agent.AspNetCore",
   "SKYWALKING__SERVICENAME": "user-skywalking",
{
  "$schema": "http://json.schemastore.org/launchsettings.json",
  "profiles": {
    "UserService_Skywalking": {
      "commandName": "Project",
      "dotnetRunMessages": true,
      "launchBrowser": true,
      "launchUrl": "swagger",
      "applicationUrl": "http://localhost:5001",
      "environmentVariables": {
        "ASPNETCORE_ENVIRONMENT": "Development",
        "ASPNETCORE_HOSTINGSTARTUPASSEMBLIES": "SkyAPM.Agent.AspNetCore",
        "SKYWALKING__SERVICENAME": "user-skywalking",
        "SKYWALKING__TRANSPORT__GRPC__SERVERS": "localhost:11800",
        "SKYWALKING__SERVICEENDPOINT": "http://localhost:12800"
      }
    }
  }
}
注意:user-skywalking名称与skyapm.json中的ServiceName要一致
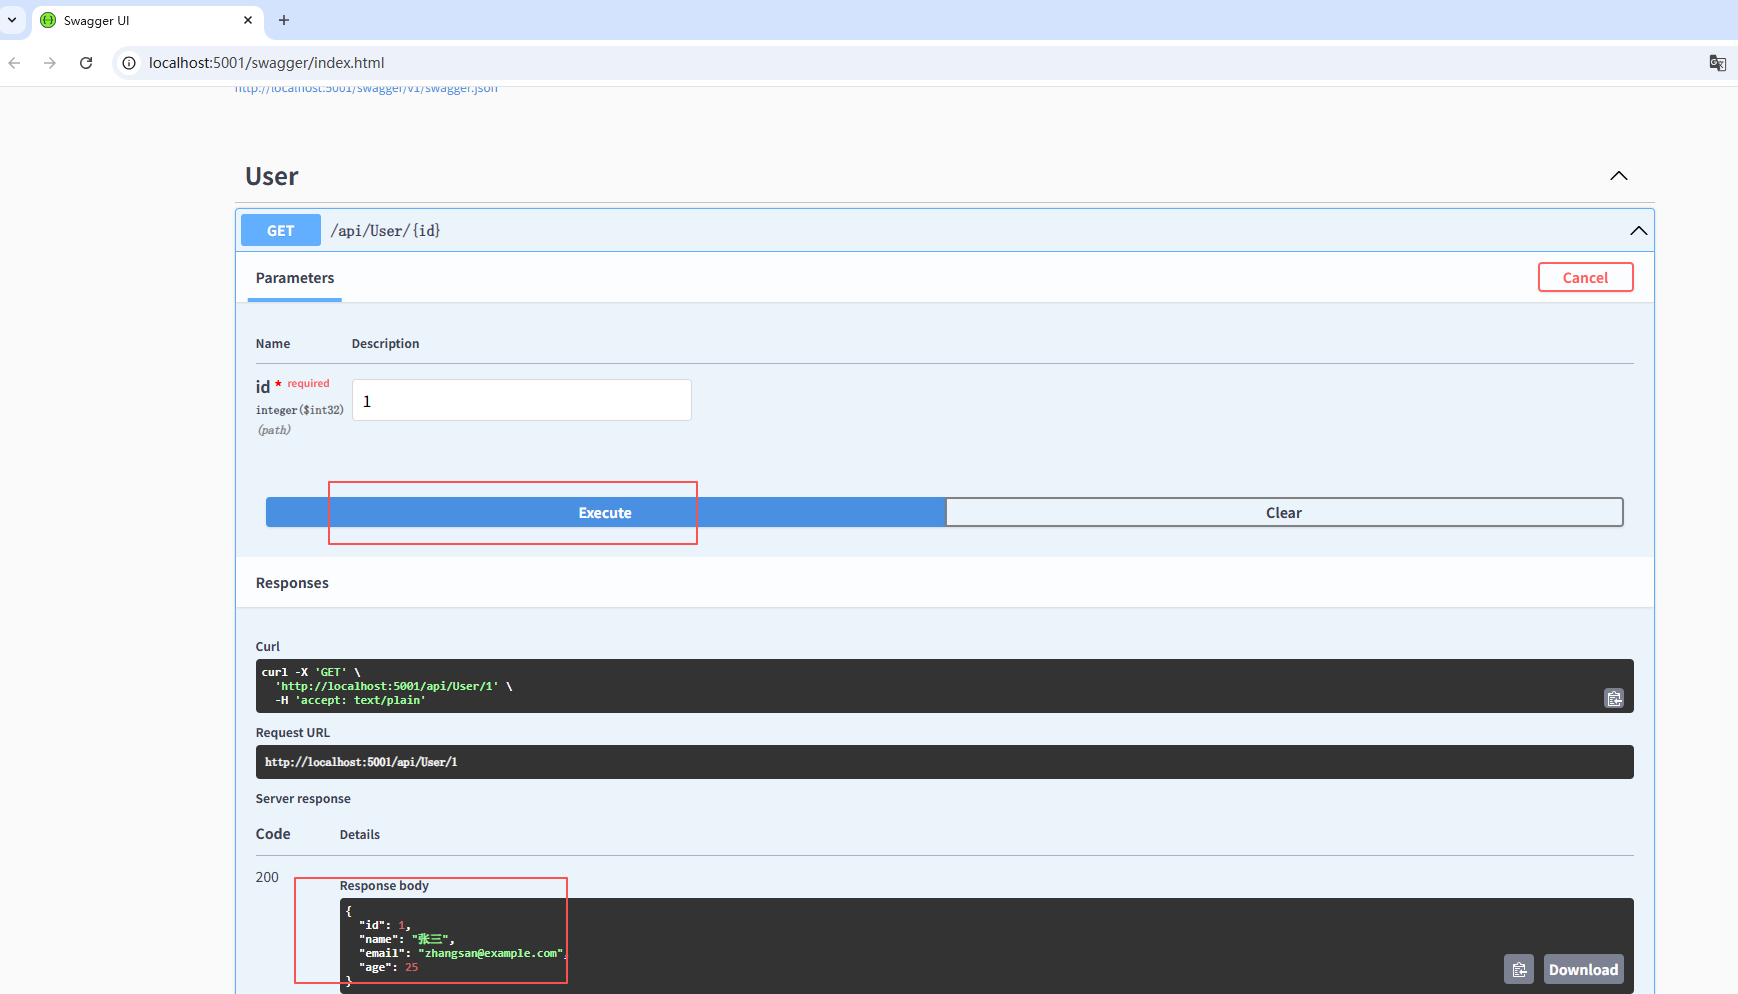
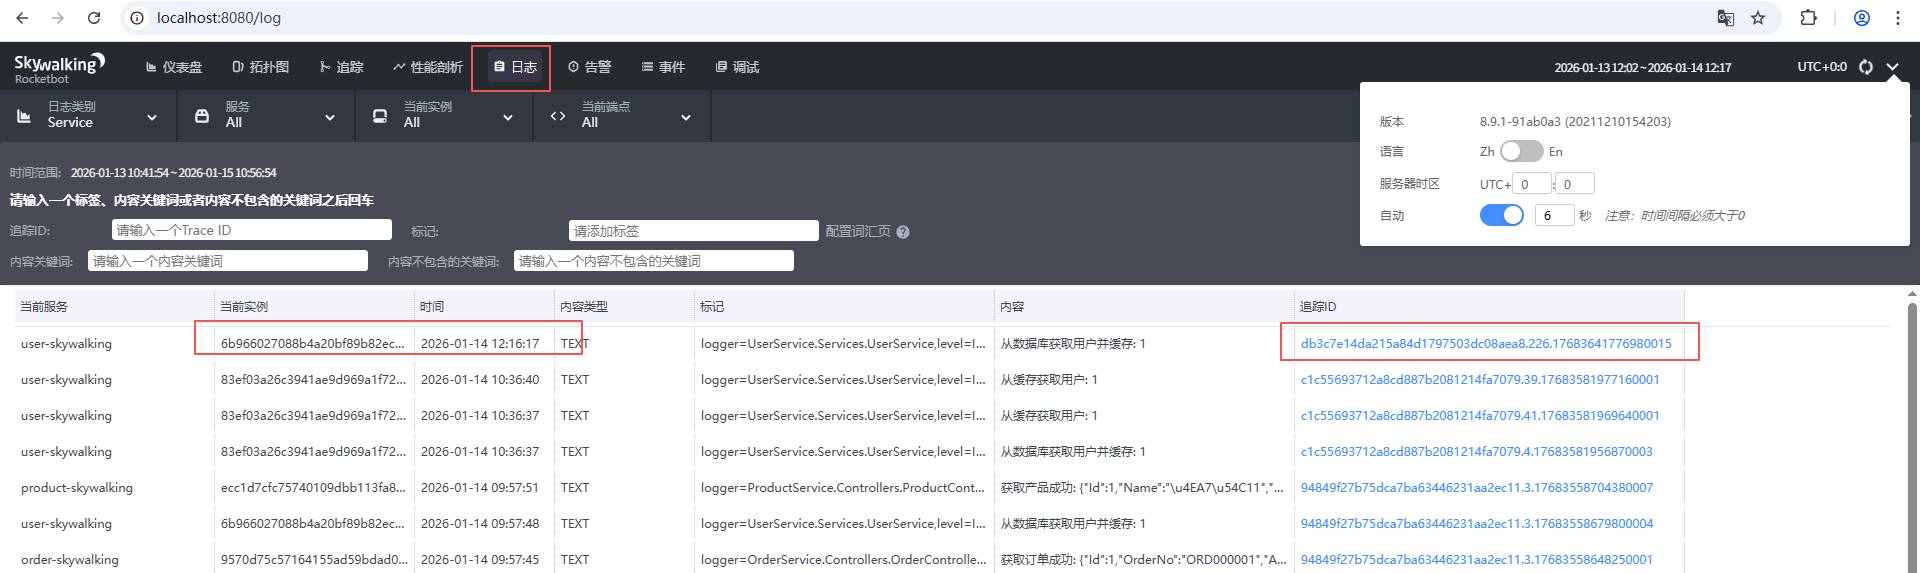
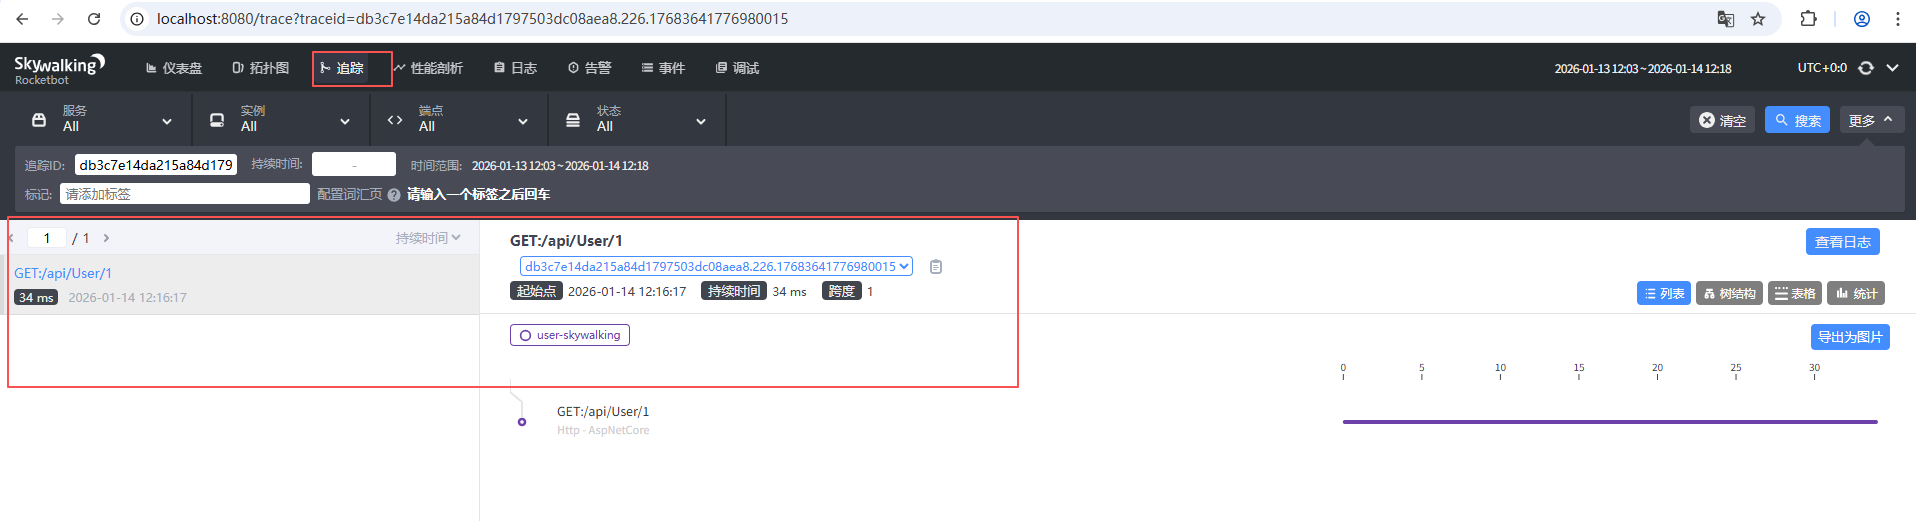
- 运行net6项目,实际测试某个接口,在skywalking中查看日志和追踪记录

 浙公网安备 33010602011771号