下载Android kernel
方法一:
https://source.android.com/setup/building-kernels
方法二:
在按照https://source.android.com/setup/downloading中说的方法建立mirror后,其实kernel也已经在其中了:

这样我们就可以直接使用下面的命令本地下载需要的kernel了,以goldfish为例:
git clone /home/pengdonglin/disk_ext/Android_Latest/aosp_mirror/kernel/goldfish
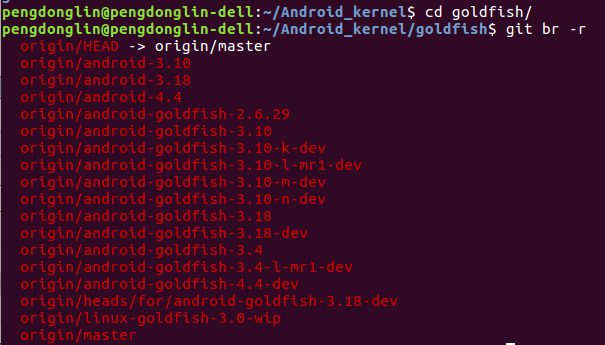
然后取出自己需要的分支即可:
pengdonglin@pengdonglin-dell:~/Android_kernel/goldfish$ git co origin/android-goldfish-2.6.29
Checking out files: 100% (26821/26821), done.
Note: checking out 'origin/android-goldfish-2.6.29'.

You are in 'detached HEAD' state. You can look around, make experimental
changes and commit them, and you can discard any commits you make in this
state without impacting any branches by performing another checkout.

If you want to create a new branch to retain commits you create, you may
do so (now or later) by using -b with the checkout command again. Example:

  git checkout -b <new-branch-name>

HEAD is now at 4bb8fa0... goldfish: Add encrypted SD Card support.
pengdonglin@pengdonglin-dell:~/Android_kernel/goldfish$ ls
arch     CREDITS        drivers   include  Kbuild  MAINTAINERS  net             samples   sound
block    crypto         firmware  init     kernel  Makefile     README          scripts   usr
COPYING  Documentation  fs        ipc      lib     mm           REPORTING-BUGS  security  virt
方法三:
使用repo本地下载:
repo init -u /home/pengdonglin/disk_ext/Android_Latest/aosp_mirror/platform/manifest.git
然后修改.repo/manifest.xml为:
<?xml version="1.0" encoding="UTF-8"?>
<manifest>

  <remote  name="aosp"
           fetch=".."
           review="https://android-review.googlesource.com/" />
  <default revision="master"
           remote="aosp"
           sync-j="4" />

  <project path="goldfish" name="kernel/goldfish" />

</manifest>
即只填写一个project,当然如果有其他需要的project,也可以接着追加。
最后执行repo sync即可。
完。
本文来自博客园,作者:dolinux,未经同意,禁止转载

 浙公网安备 33010602011771号