hive安装部署
hive安装部署
hive官网地址:http://hive.apache.org/
下载地址:http://archive.apache.org/dist/hive/
这里用的hive版本是:apache-hive-1.1.0-bin.tar.gz
1. Hadoop集群配置
(1)必须启动hdfs和yarn
启动hdfs:
[root@master hadoop]# sbin/start-dfs.sh
启动yarn:
[root@master hadoop]# sbin/start-yarn.sh
也可全部启动:
[root@master hadoop]# sbin/start-all.sh
(2)在HDFS上创建/user/hive/warehouse目录并修改同组权限可写
创建目录:
hadoop fs -mkdir -p /user/hive/warehouse
修改权限:
hadoop fs -chmod g+w /user/hive/warehouse
如图所示:

2. hive安装及配置
(1)把 apache-hive-1.1.0-bin.tar.gz上传到 linux 的/opt/software 目录下
(2)进入/opt/software目录,解压 apache-hive-1.1.0-bin.tar.gz 到/opt/module/目录下面
tar -zxvf apache-hive-1.1.0-bin.tar.gz -C /opt/module/
进入解压后的hive目录,修改 apache-hive-1.1.0-bin 的名称为 hive
mv apache-hive-1.1.0-bin hive
(3)添加环境变量
命令:
vi /root/.bash_profile
加入下面内容:
#HIVE_HOME
export HIVE_HOME=/opt/module/hive
export PATH=$PATH:$HIVE_HOME/bin
使设置立即生效:
source /root/.bash_profile
(4)修改/opt/module/hive/conf目录下的hive-env.sh.template名称为hive-env.sh
mv hive-env.sh.template hive-env.sh
(5)配置hive-env.sh文件
命令:
vi hive-env.sh
添加如下内容:
export HADOOP_HOME=/opt/module/hadoop   	# 配置 HAOOP_HOME 目录
export HIVE_CONF_DIR=/opt/module/hive/conf  # 配置 Hive 配置目录信息
(6)在Hadoop里面进入目录
cd /opt/module/hadoop/share/hadoop/yarn/lib/
删除 jline-0.9.94.jar
rm -rf jline-0.9.94.jar
然后把/opt/module/hive/lib里面的复制过去
cp jline-2.12.jar /opt/module/hadoop/share/hadoop/yarn/lib/
(7)进入hive目录,初始化元数据库
bin/schematool -dbType derby -initSchema
(8)启动并使用 Hive
(1)启动 Hive
bin/hive
2)使用 Hive
hive> show databases;
hive> show tables;
hive> create table test(id int);
hive> insert into test values(1);
hive> select * from test;
3. MySQL安装
(1)检查当前系统是否安装过 MySQL
rpm -qa|grep mariadb
如果存在通过如下命令卸载
rpm -e --nodeps mariadb-libs
(2)将 MySQL 安装包拷贝到/opt/software 目录下
(3)进入/opt/software目录,解压 MySQL 安装包
tar -xvf mysql-5.7.28-1.el7.x86_64.rpm-bundle.tar
(4)在安装包解压后的目录下执行 rpm 安装
rpm -ivh mysql-community-common-5.7.28-1.el7.x86_64.rpm
rpm -ivh mysql-community-libs-5.7.28-1.el7.x86_64.rpm
rpm -ivh mysql-community-libs-compat-5.7.28-1.el7.x86_64.rpm
rpm -ivh mysql-community-client-5.7.28-1.el7.x86_64.rpm
rpm -ivh mysql-community-server-5.7.28-1.el7.x86_64.rpm
注意:按照顺序依次执行!
(5)删除/etc/my.cnf 文件中 datadir 指向的目录下的所有内容,如果有内容的情况下:
查看/etc/my.cnf文件中datadir指向的目录
cat /etc/my.cnf

删除/var/lib/mysql 目录下的所有内容:
进入目录:
cd /var/lib/mysql
删除所有内容:
rm -rf ./*
(6)初始化数据库
mysqld --initialize --user=mysql
(7)查看临时生成的 root 用户的密码
cat /var/log/mysqld.log
如图:

(8)启动 MySQL 服务
systemctl start mysqld
(9)登录 MySQL 数据库
mysql -uroot -p

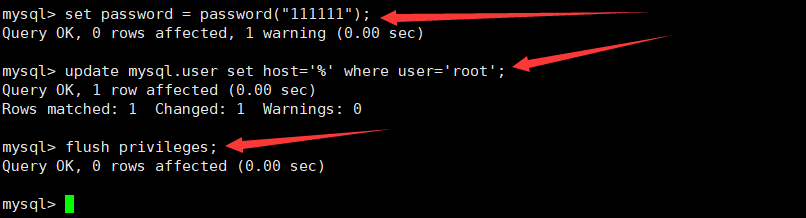
(10)必须先修改 root 用户的密码,否则执行其他的操作会报错
mysql> set password = password("新密码");
mysql> update mysql.user set host='%' where user='root';
mysql> flush privileges;									//立即生效
如图所示:
4. Hive 元数据配置到 MySQL
4.1 拷贝驱动
(1)将 MySQL 的 JDBC 驱动拷贝到/opt/software 目录下
(2)进入/opt/software目录,将 MySQL 的 JDBC 驱动复制到 Hive 的 lib 目录下
cp mysql-connector-java-5.1.37.jar /opt/module/hive/lib/
4.2 修改配置文件
(1)在/opt/module/hive/conf 目录下新建 一个文件名称为hive-site.xml的 文件
vi hive-site.xml
添加如下内容
<configuration>
        <!-- jdbc 连接的 URL -->
        <property>
                <name>javax.jdo.option.ConnectionURL</name>
                <value>jdbc:mysql://master:3306/metastore?useSSL=false</value>
        </property>
        <!-- jdbc 连接的 Driver-->
        <property>
                <name>javax.jdo.option.ConnectionDriverName</name>
                <value>com.mysql.jdbc.Driver</value>
        </property>
        <!-- jdbc 连接的 username-->
        <property>
                <name>javax.jdo.option.ConnectionUserName</name>
                <value>root</value>
        </property>
        <!-- jdbc 连接的 password ,修改为前面设置的MySQL的密码-->
        <property>
                <name>javax.jdo.option.ConnectionPassword</name>
                <value>111111</value>
        </property>
        <!-- Hive 元数据存储版本的验证 -->
        <property>
                <name>hive.metastore.schema.verification</name>
                <value>false</value>
        </property>
        <!--元数据存储授权-->
        <property>
                <name>hive.metastore.event.db.notification.api.auth</name>
                <value>false</value>
        </property>
        <!-- Hive 默认在 HDFS 的工作目录 -->
        <property>
                <name>hive.metastore.warehouse.dir</name>
                <value>/user/hive/warehouse</value>
        </property>
</configuration>
(2)登陆 MySQL
mysql -uroot -p
(3)新建 Hive 元数据库
这里的数据库名字与hive-site.xml中对应,如图所示:

mysql> create database metastore;
mysql> quit;						//退出
(4) 进入hive目录,初始化 Hive 元数据库
bin/schematool -initSchema -dbType mysql -verbose
5. 再次启动 Hive
(1)启动 Hive
bin/hive
(2)使用 Hive
hive> show databases;
6. hive基本操作
(1)启动hive
[root@master hive]# bin/hive
(2)查看数据库
hive> show databases;
(3)打开默认数据库
hive> use default;
(4)显示default数据库中的表
hive> show tables;
(5)创建一张表
hive> create table student(id int, name string);
(6)显示数据库中有几张表
hive> show tables;
(7)查看表的结构
hive> desc student;
(8)向表中插入数据
hive> select * from student;
(9)查询表中数据
hive> select * from student;
(10)删除已创建的student表
hive> drop table student;
(11)退出hive
hive> quit;
hive创建内部表
hive>create table student
	>(id int,name string,age int)
	>row format delimited fields terminated by ','
	>lines terminated by '\n';
将txt文件数据导入hive表中
hive> load data local inpath '/opt/software/test.txt' into table student;
# inpath里面是存放txt文件的路径
创建外部表
hive>create external table test
	>(id int,name string,age int)
	>row format delimited fields terminated by ','
	>lines terminated by '\n';
创建分区表
hive>create external table test1
	>(name string,id int)
	>partitioned by(tel string)
	>row format delimited fields terminated by ','
	>lines terminated by '\n';
内部表与外部表的转换
修改student为外部表:
hive>alter table student set tblproperties('EXTERNAL'='TRUE');
修改外部表test为内部表:
hive>alter table test set tblproperties('EXTERNAL'='FALSE');
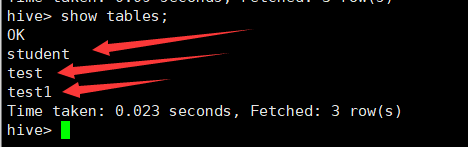
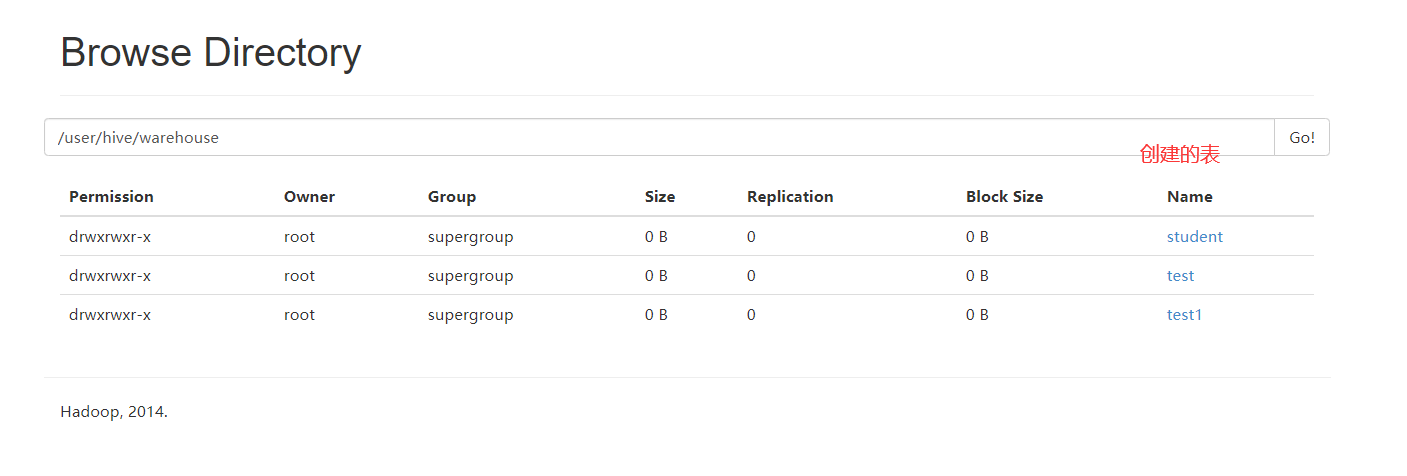
查看创建的表:
hive> show tables;
如图所示:
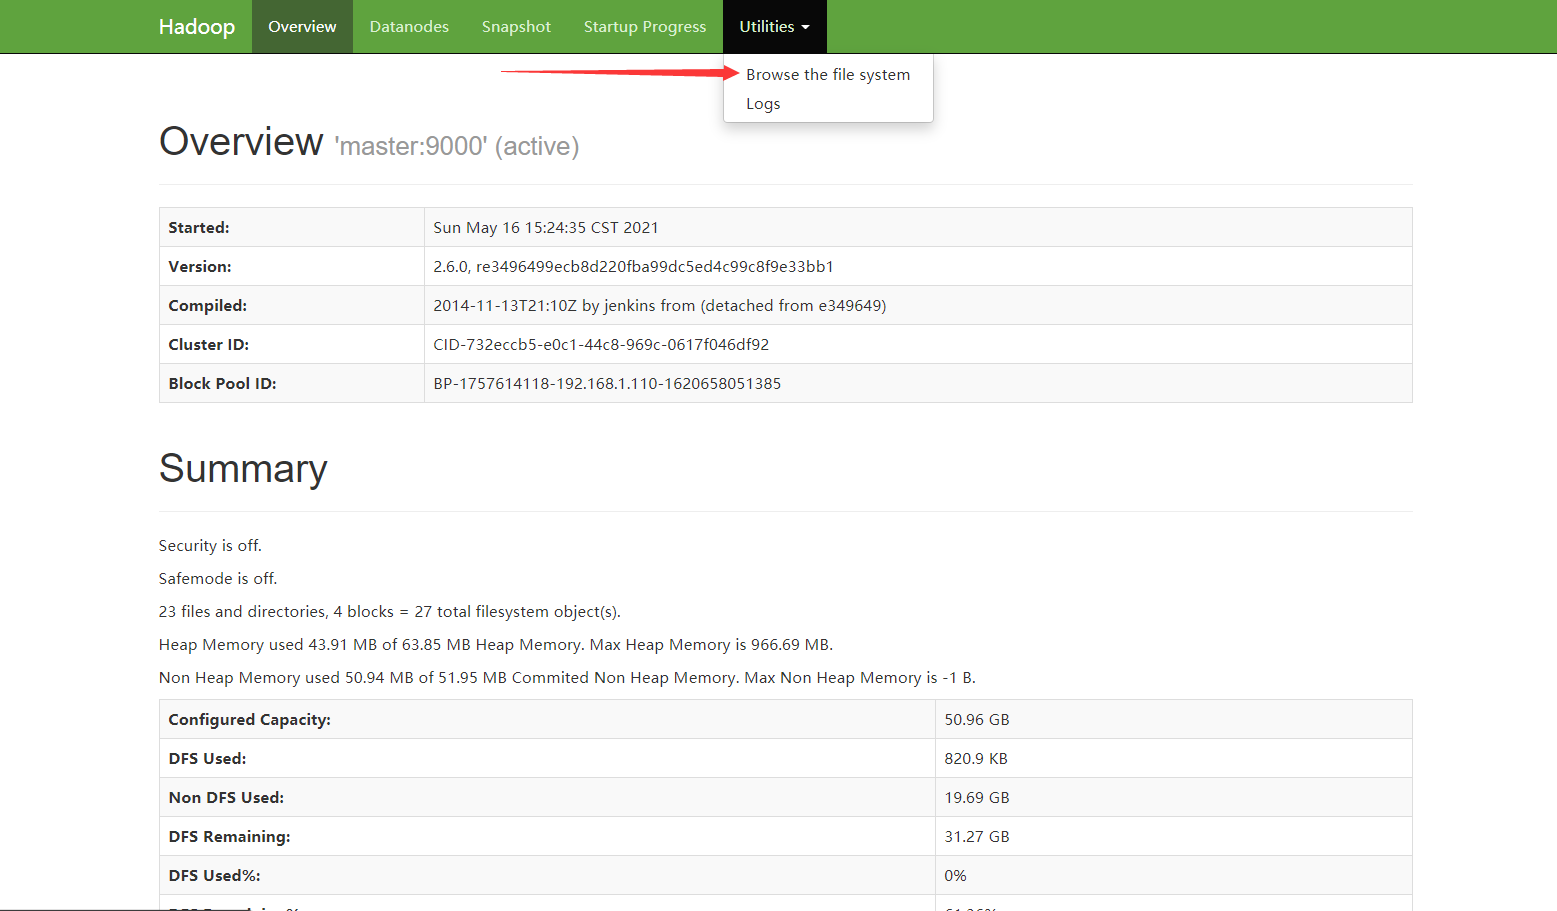
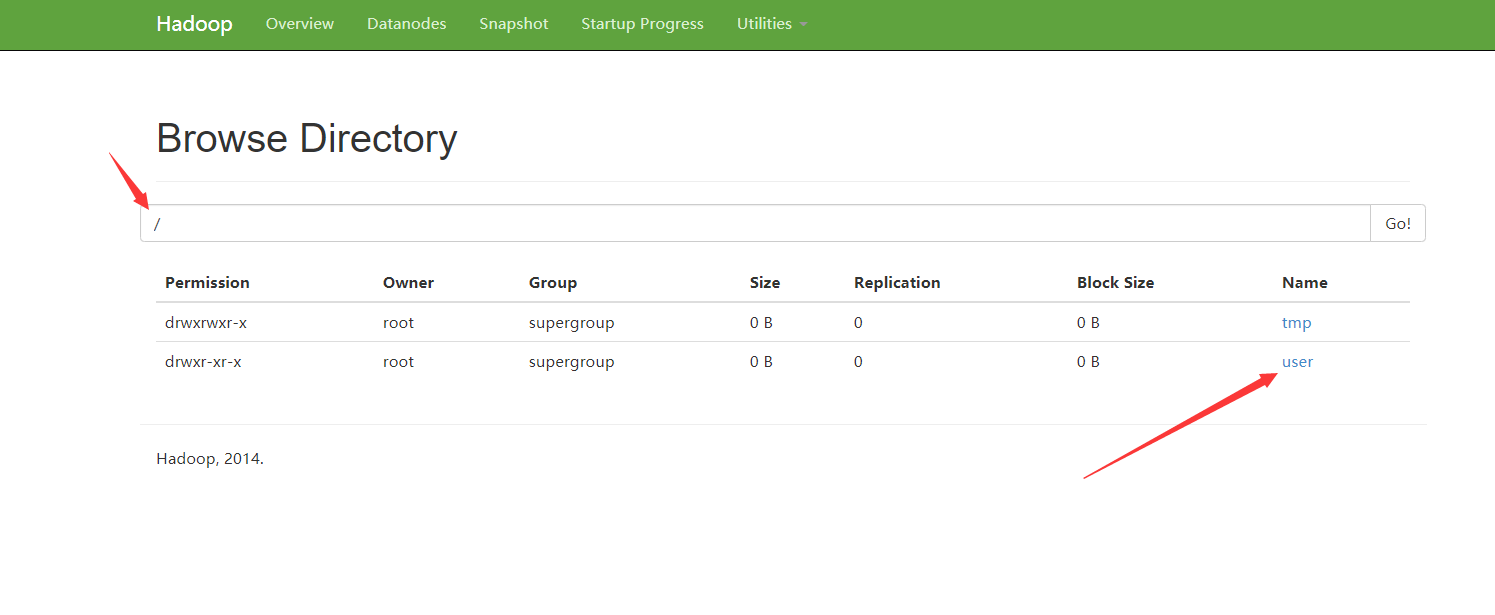
查看webUI:
在网页上输入网址:http://192.168.1.110:50070/
如图所示:

 浙公网安备 33010602011771号