


rest-assured + testng + moco使用
本章内容主要是讲rest-assured + testng + moco的基础使用,结合自动化,不会使用moco的可以看上一篇文章。
1、首先在项目中导入rest-assured 、testng 的依赖。
testng 的依赖:
<dependency>
    <groupId>org.testng</groupId>
    <artifactId>testng</artifactId>
    <version>7.0.0</version>
    <scope>test</scope>
</dependency>
rest-assured 的依赖:
<dependency>
    <groupId>io.rest-assured</groupId>
    <artifactId>rest-assured</artifactId>
    <version>4.2.0</version>
    <scope>test</scope>
</dependency>
2、手动开启moco服务。
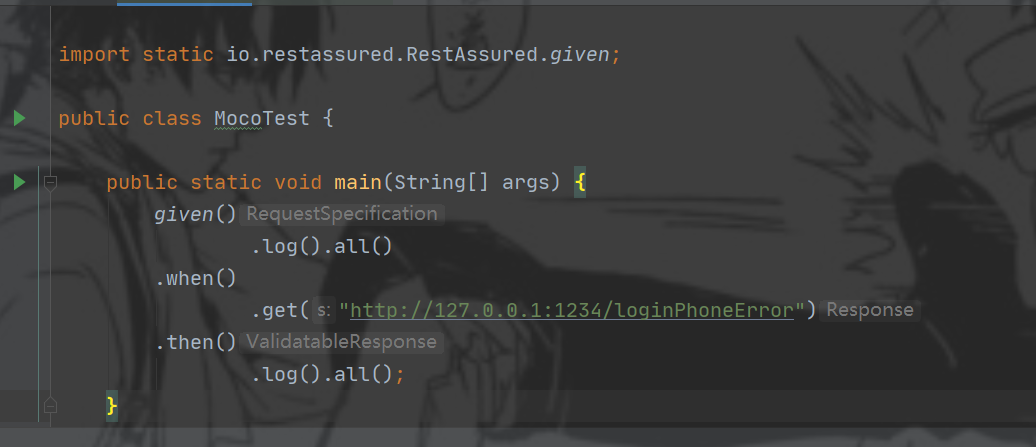
3、创建一个main方法,写上rest-assured的语法(最基本的):1234端口是开启moco服务时设置的。
given()
        .log().all()
.when()
        .get("http://127.0.0.1:1234/loginPhoneError")
.then()
        .log().all();
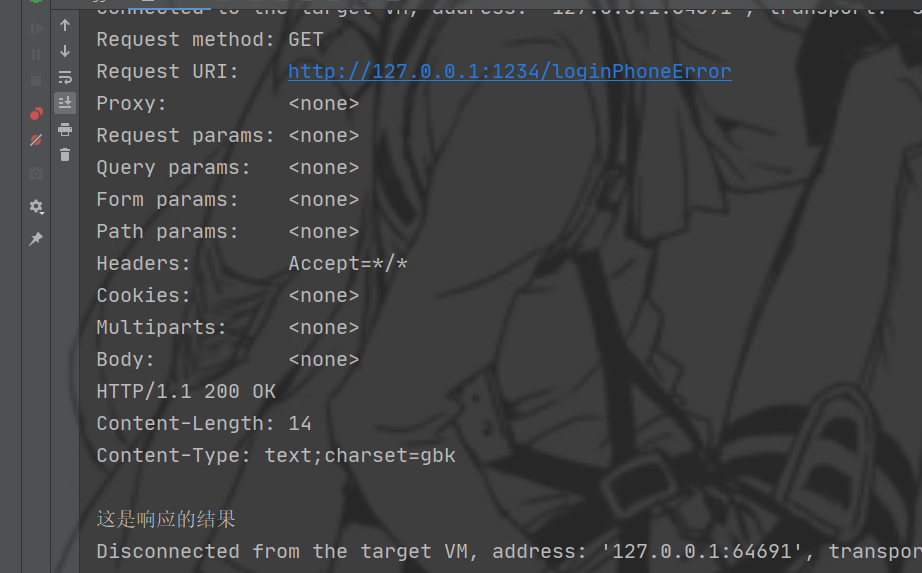
点击执行就可以访问接口成功。
4,、自动化时基本都是晚上执行,我们不可能在启动自动化时手动开启moco服务,所以以下代码是开启moco服务的,可以在执行自动化之前先执行开启moco服务的代码(@BeforeTest 或者使用其他的也可以)。
strings :如果需要需要执行多条命令,可以用数组传参。多个命令之前用&符号分隔
String[] strings = {"cmd", "/k", "D:&cd app&cd moco&java -jar moco-runner-1.0.0-standalone.jar http -p 1234 -c oushiming.json"};
Runtime runtime = Runtime.getRuntime();
Process exec = null;
try {
    exec = runtime.exec(strings);
} catch (IOException e) {
    e.printStackTrace();
}
InputStream inputStream = exec.getInputStream();
InputStreamReader inputStreamReader = new InputStreamReader(inputStream);
BufferedReader bufferedReader = new BufferedReader(inputStreamReader);
String line;
try {
    while ((line = bufferedReader.readLine()) != null) {
        System.out.println(line);
    }
} catch (IOException e) {
    e.printStackTrace();
}

 浙公网安备 33010602011771号