初学hyperledger indy day1
Hyperledger Indy分析报告 https://kyonray.com/2019/07/16/Hyperledger-Indy-Research/
欢迎新朋友-Hyperledger Indy项目 https://zhuanlan.zhihu.com/p/26754099
hyperledger indy相关仓库:
https://github.com/hyperledger/indy-sdk/
https://github.com/hyperledger/indy-node/
下载仓库git clone -c http.proxy=http://proxyaddress:prot targetRepo
使用indy-node项目中的Dev Setup脚本配置开发环境,官方指引:
- 需要Python 3.5运行代码
- 推荐使用Python virtual environment进行开发
- 我们使用pytest进行集成测试
- 在运行代码之前有一些依赖需要安装
在Ubuntu 16.04快速布置环境:
-
从https://github.com/hyperledger/indy-node/tree/master/dev-setup/ubuntu获取dev-setup-ubuntu脚本
-
运行
setup-dev-python.sh用以配置Python3.5、pip和virtualenv#!/bin/bash set -e echo 'Installing python 3.5 and pip...' sudo apt-get update sudo apt-get install -y software-properties-common python-software-properties sudo add-apt-repository ppa:deadsnakes/ppa sudo apt-get update sudo apt-get install -y python3.5 python3-pip python3.5-dev echo 'Installed python 3.5 and pip...' echo 'Installing virtualenvwrapper' sudo -H pip3 install virtualenvwrapper echo '' >> ~/.bashrc echo '# Python virtual environment wrapper' >> ~/.bashrc echo 'export VIRTUALENVWRAPPER_PYTHON=/usr/bin/python3' >> ~/.bashrc echo 'export WORKON_HOME=$HOME/.virtualenvs' >> ~/.bashrc echo 'source /usr/local/bin/virtualenvwrapper.sh' >> ~/.bashrc source ~/.bashrc echo 'Installed virtualenvwrapper' -
运行
source ~/.bashrc应用virtual environment wrapper -
运行
setup-dev-depend-ubuntu16.sh配置依赖环境(libindy、libindy-crypto、libsodium) -
Fork indy-plenum和indy-node
-
前往项目文件夹
-
执行
init-dev-project.sh <github-name> <new-virtualenv-name>克隆indy-plenum和indy-node项目到本地并创建virtualenv工作环境 -
激活virtualenv
workon <new-virtualenv-name>
Ubuntu安装Docker CE
$ sudo apt-get update

$ sudo apt-get install \
    apt-transport-https \
    ca-certificates \
    curl \
    software-properties-common

$ curl -fsSL https://mirrors.ustc.edu.cn/docker-ce/linux/ubuntu/gpg | sudo apt-key add -


# 官方源
# $ curl -fsSL https://download.docker.com/linux/ubuntu/gpg | sudo apt-key add -

$ sudo add-apt-repository \
    "deb [arch=amd64] https://mirrors.ustc.edu.cn/docker-ce/linux/ubuntu \
    $(lsb_release -cs) \
    stable"


# 官方源
# $ sudo add-apt-repository \
#    "deb [arch=amd64] https://download.docker.com/linux/ubuntu \
#    $(lsb_release -cs) \
#    stable"

$ sudo apt-get update

$ sudo apt-get install docker-ce
脚本自动安装
$ curl -fsSL get.docker.com -o get-docker.sh
$ sudo sh get-docker.sh --mirror Aliyun
# $ sudo sh get-docker.sh --mirror AzureChinaCloud
启动docker
$ sudo systemctl enable docker
$ sudo systemctl start docker
安装docker compose
sudo pip install docker-compose
安装jupyter notebook
pip install jupyter
Running getting-started with docker-compose
Prerequisites
Clone the indy-sdk: git clone https://github.com/hyperledger/indy-sdk.git Navigate to the getting started folder `cd indy-sdk/docs/getting-started
docker and docker-compose should be installed.
Run
Run docker in the getting-started folder: docker-compose up
The command above will create getting-started (the jupyter notebook) and indy_pool (collection of the validator nodes) images if they hasn't been done yet, create containers and run them.
The validators run by default on IP 10.0.0.2, this can be changed by changing pool_ip in the docker-compose file.
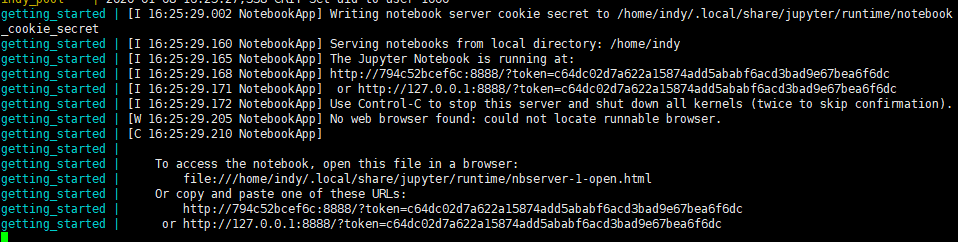
To get Jupyter click on the link in output (it must have following format: http://0.0.0.0:8888/?token= )
Stop
docker-compose down The command above will stop and delete created network and containers.
$ docker-compose up
ERROR: Couldn't connect to Docker daemon at http+docker://localunixsocket - is it running?

If it's at a non-standard location, specify the URL with the DOCKER_HOST environment variable.
解决方案:
sudo systemctl start dockersudo systemctl restart dockersudo gpasswd -a ${USER} docker用户退出重登
查看监听端口
[root@localhost ~]# netstat -nlp
netstat命令各个参数说明如下:
-t : 指明显示TCP端口
-u : 指明显示UDP端口
-l : 仅显示监听套接字(所谓套接字就是使应用程序能够读写与收发通讯协议(protocol)与资料的程序)
-p : 显示进程标识符和程序名称,每一个套接字/端口都属于一个程序。
-n : 不进行DNS轮询(可以加速操作)
即可显示当前服务器上所有端口及进程服务,于grep结合可查看某个具体端口及服务情况··
[root@localhost ~]# netstat -nlp |grep LISTEN //查看当前所有监听端口·
[root@localhost ~]# netstat -nlp |grep 80 //查看所有80端口使用情况·
[root@localhost ~]# netstat -an | grep 3306 //查看所有3306端口使用情况·
查看docker容器状态
docker ps
docker container ls
//停止容器
docker container stop <container id>

 浙公网安备 33010602011771号