
【超详细】wordpress环境搭建
今天帮好友搭建在Linux下的wordpress个人博客,于是将过程记录,整理为此篇。
前半部分是wordpress环境的搭建,将英文版wordpress改为简体中文的内容在文章末尾。
代码部分如有误区,欢迎诸位评论指正。
使用工具:
Linux、Nginx、MySQL 和 PHP
安装mysq
安装wget
yum -y install wget
下载 mysql的repo源
wget http://repo.mysql.com/mysql57-community-release-el7-9.noarch.rpm
安装mysql的 repo 源以及 Mysql
pm -ivh mysql57-community-release-el7-9.noarch.rpm
yum install mysql-community-server
看到Complete! 即安装成功
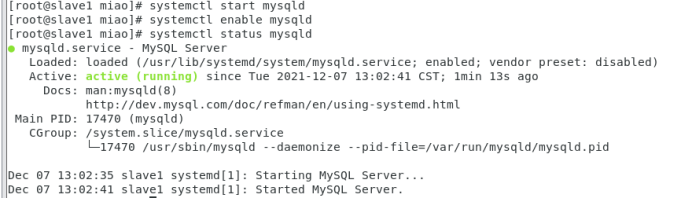
启动mysql
systemctl start mysqld
设置开机自启
systemctl enable mysqld
查看mysql启动状态
systemctl status mysqld
查看mysql root用户的初始密码
grep "temporary password" /var/log/mysqld.log
末尾即为初始密码,复制密码

登录mysql,输入初始密码
mysql -h localhost -u root -p
在mysql命令环境中修改初始密码为123456
set global validate_password_policy=0;

set global validate_password_length=4;

alter user 'root'@'localhost' identified by '123456';
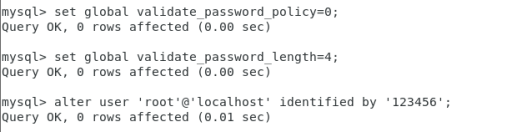
输入exit退出mysql
安装Nginx
yum install nginx -y
此处可能会出现报错
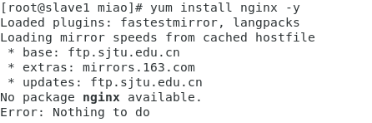
如果出现报错
尝试先安装epel-release
yum install epel-release
再安装Nginx
yum install nginx -y
修改文件default.conf
找到文件的位置
cd  /etc/nginx/conf.d

ls
查看conf.d中是否存在default.conf文件
若没有该文件,尝试执行以下步骤
- 创建新的nginx.repo文件
sudo vim /etc/yum.repos.d/nginx.repo
- 添加内容
[nginx-stable]

name=nginx stable repo

baseurl=http://nginx.org/packages/centos/$releasever/$basearch/

gpgcheck=1

enabled=1

gpgkey=https://nginx.org/keys/nginx_signing.key

module_hotfixes=true


[nginx-mainline]

name=nginx mainline repo

baseurl=http://nginx.org/packages/mainline/centos/$releasever/$basearch/

gpgcheck=1

enabled=0

gpgkey=https://nginx.org/keys/nginx_signing.key

module_hotfixes=true
- 重新安装nginx
sudo yum install nginx
- 完成后再次查看
cd  /etc/nginx/conf.d

ls
打开default.conf
修改文件
server {

    listen       80;

    server_name  _;

    root         /usr/share/nginx/html;

    include /etc/nginx/default.d/*.conf;


    location / {

        root   /usr/share/nginx/html;

        index  index.html index.htm;

    }


error_page 404 /404.html;

    location = /40x.html {

    }

    error_page   500 502 503 504  /50x.html;

    location = /50x.html {

        root   /usr/share/nginx/html;

    }


    }

}
修改完成后启动Nginx
nginx
设置开机自启动
chkconfig nginx on
安装PHP
yum install php-fpm php-mysql -y
启动FPM进程
service php-fpm start
使用下面的命令可以查看 PHP-FPM 进程监听哪个端口
netstat -nlpt | grep php-fpm
把 PHP-FPM 也设置成开机自动启动:
chkconfig php-fpm on
安装并配置wordpress
安装wordpress
yum install wordpress -y
安装完后可cd /usr/share/wordpress 查看
配置数据库
登录myql
mysql -h localhost -u root -p
为wordpress创建数据库
CREATE DATABASE wordpress;
创建完后可以show databases查看数据库
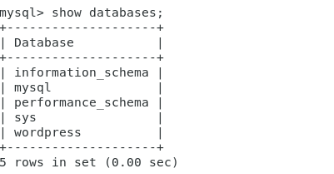
exit退出数据库
修改wp-config.php文件
vim/etc/wordpress/wp-config.php
找到并修改以下内容
define( 'DB_NAME', 'wordpress' );

define( 'DB_USER', 'root' );

define( 'DB_PASSWORD', '123456' );
重命名默认的配置文件
cd /etc/nginx/conf.d/

mv default.conf defaut.conf.bak
在 /etc/nginx/conf.d 创建 wordpress.conf 配置
vim /etc/nginx/conf.d
粘贴以下内容
server {

    listen 80;

    root /usr/share/wordpress;

    location / {

        index index.php index.html index.htm;

        try_files $uri $uri/ /index.php index.php;

    }

    # pass the PHP scripts to FastCGI server listening on 127.0.0.1:9000

    location ~ .php$ {

        fastcgi_pass   127.0.0.1:9000;

        fastcgi_index  index.php;

        fastcgi_param  SCRIPT_FILENAME  $document_root$fastcgi_script_name;

        include        fastcgi_params;

    }

}
重新加载nginx进程
nginx -s reload
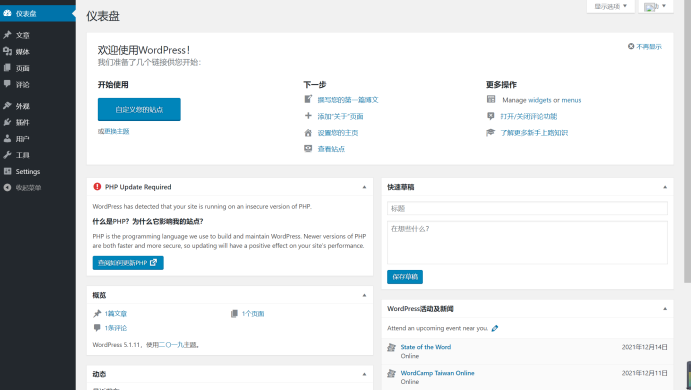
wordpress搭建完成!
在浏览器中输入
http://<你的域名>/wp-admin/install.php
即可查看并开始使用
将英文版wordpress改成中文版
打开wp-config.php文件
vim /etc/wordpress/wp-config.php
添加(或修改)以下内容
define( 'WPLANG', 'zh_CN');
保存并刷新网页
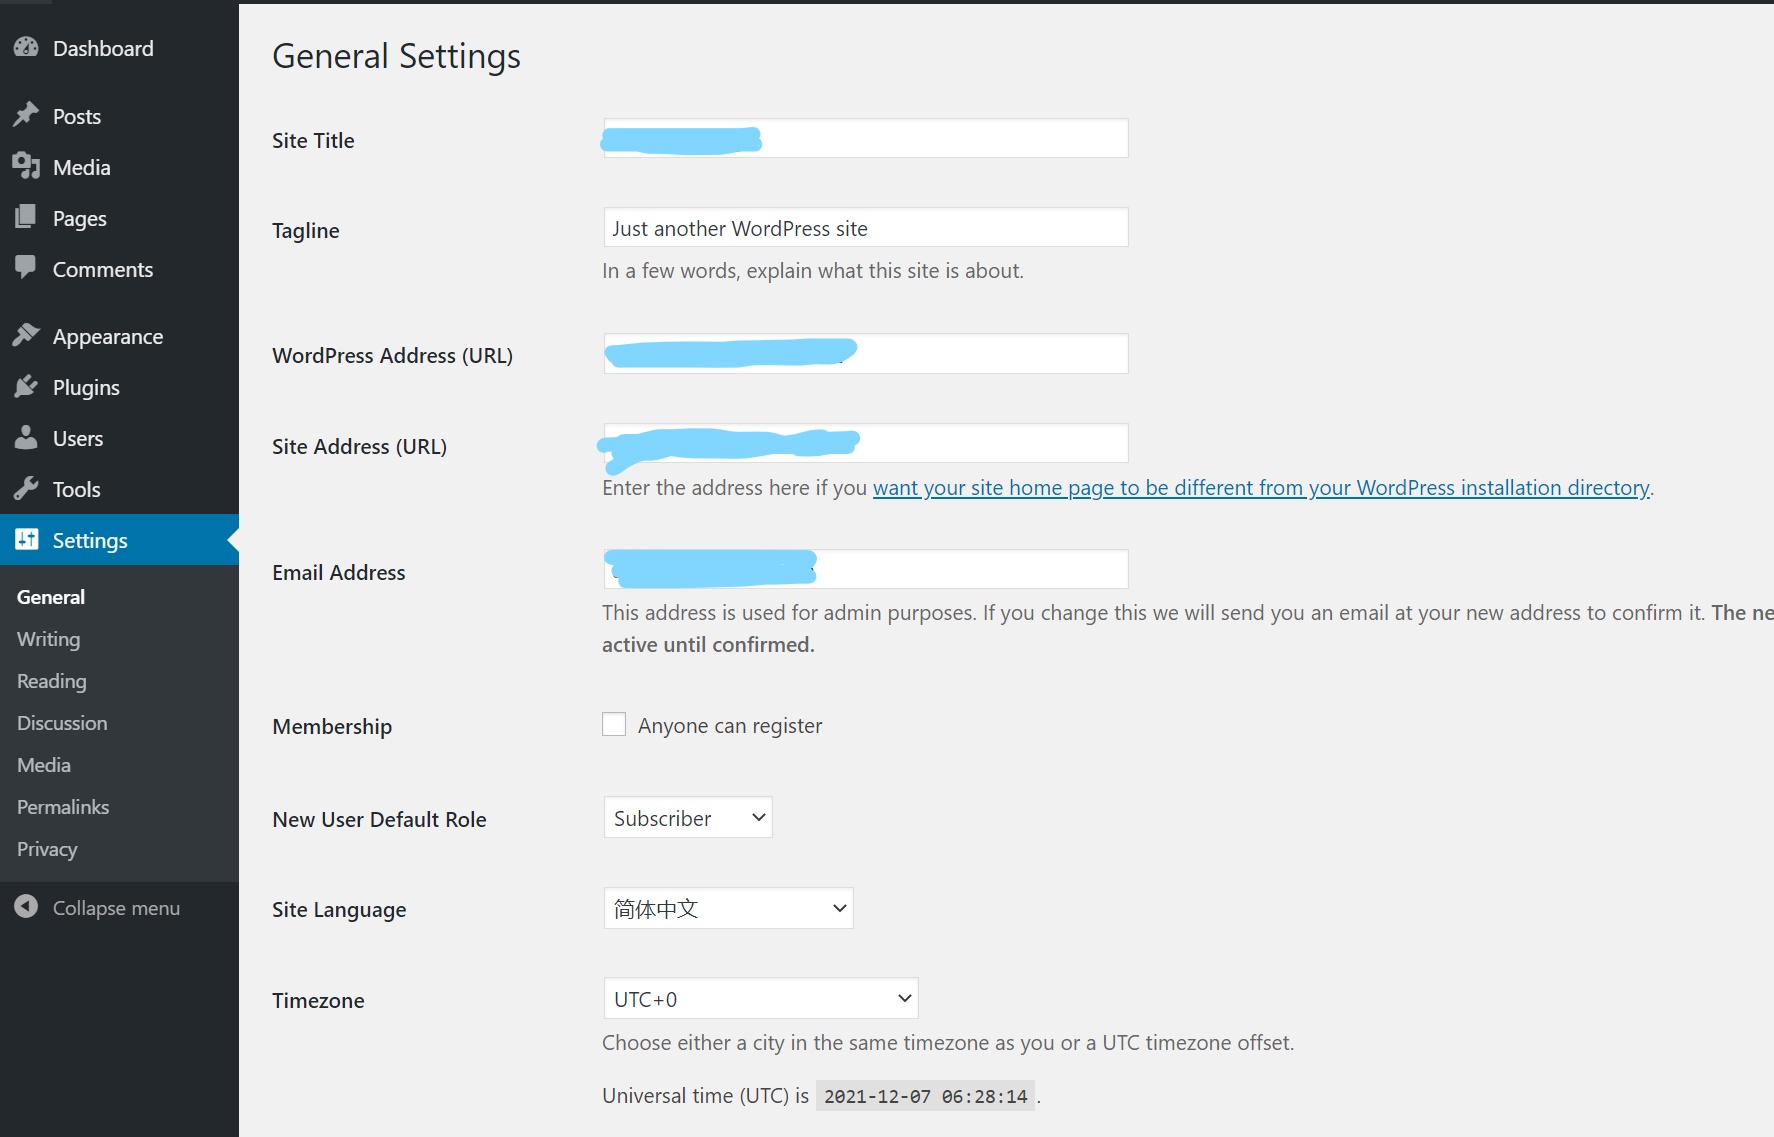
即可看到language选项多了简体中文
我们还需要将中文版wordpress的language文件导入wp-content文件夹下
在wordpress中文版官方网站:https://cn.wordpress.org/download/
下载wordpress中文版
下载后在wp-content里找到language文件夹,将其导入到wp-content路径下即可
########相关Linux执行命令######
移动文件
mv languages.zip /usr/share/wordpress/wp-content
解压文件
unzip languages.zip
删除文件
rm languages.zip
完成!

 浙公网安备 33010602011771号