
vue-router使用
首先安装vue-router,使用npm install vue-router --save,添加成功后在package.json 文件中可以看到引入的信息

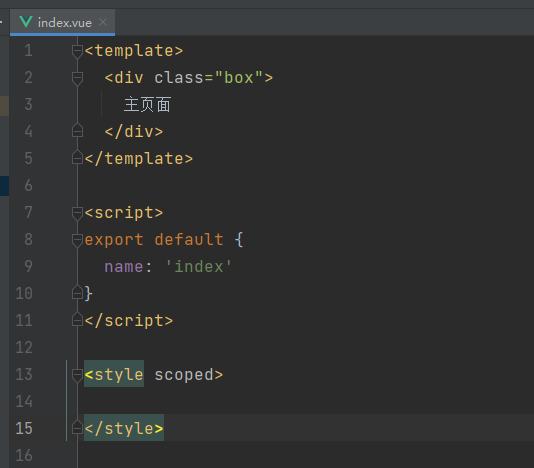
先在 components文件下创建一个index,vue
配置路由内容,在src文件下创建router文件夹以及里面的index.js文件
import Vue from 'vue' // 引入vue
import Router from 'vue-router' // 引入vue-router

Vue.use(Router) // 使用路由组件

// 实例化路由并导出,也可以将实例化路由与导出分开写,根据个人习惯
/*
* let router = new Router({})
* export default router
* */
export default new Router({
  mode: 'history', // 路由模式,分为hash,history两种,最明显的区别hash url带# http://localhost:8080/#/ history不带# http://localhost:8080/
  routes: [
    {
      path: '/', // url的路径
      name: 'home', // 路由的名称
      component: () => import('../components')
      /*
      * 推荐写法() => import() 路由懒加载,处理页面首次打开等待时间长的问题
      * '../components' 等同于 '../components/index.vue',引入页面为index的情况下,可以省略不写,非index文件,后面的.vue也可以省略
      * 项目不大的情况下使用以下方法也没啥问题
      * import home from '../components'
      * component: home
      * */
    }
  ]
})
配置完毕router文件后,去main.js中将路由注册进去
// The Vue build version to load with the `import` command
// (runtime-only or standalone) has been set in webpack.base.conf with an alias.
import Vue from 'vue'
import App from './App'
import router from './router' // 导入路由

Vue.config.productionTip = false

/* eslint-disable no-new */
new Vue({
  el: '#app',
  router, // 注册路由
  components: { App },
  template: '<App/>'
})
重要的一步,在根目录下App.vue文件中配置路由的显示
<template>
  <div id="app">
    <router-view/>
  </div>
</template>

<script>
export default {
  name: 'App'
}
</script>

<style>
</style>
这样就可以在页面中正常显示了

嵌套路由-子路由children使用

然后在home这个父页面中添加子路由的显示,

页面效果


 浙公网安备 33010602011771号