在Xamarin.Forms中创建具有可绑定属性的自定义控件
上周,我在上个月的MSDN会议上作了演讲,其中谈到了Xamarin Live Player。许多开发人员都感到惊讶,特别是那些需要iOS调试的开发人员。至少,他们现在可以在没有Mac的iOS设备中签出其应用程序。在我谈论完有关Xamarin Live Player的所有问题之后,有人来找我,问我如何为自己的自定义控件创建属性,因为目前,他们正在苦苦挣扎。我真的发现它很有趣,并告诉他们我将只写一篇简短的文章。所以,是的,这就是为什么这篇文章现在存在的原因。
我的自定义控件
我已经创建了一个名为MyCustomControl的自定义控件,该控件具有标签和图像。我想将此用作每个体育类别的布局,这些布局将显示在我的主页上。我承认,这不是用于演示BindableProperty的最佳示例,但这可以:P
MyCustomControl.xaml
<?xml version="1.0" encoding="UTF-8"?>
<ContentView xmlns="http://xamarin.com/schemas/2014/forms"
             xmlns:x="http://schemas.microsoft.com/winfx/2009/xaml"
             x:Class="BindablePropertyDemo.Custom.MyCustomControl">
    <Grid x:Name="grid"
          Padding="10,40,10,10"
          HeightRequest="160"
          VerticalOptions="Start">
        <Grid.RowDefinitions>
            <RowDefinition Height="100"/>
            <RowDefinition Height="Auto"/>
        </Grid.RowDefinitions>
        <Image x:Name="image"
               Source="basketball.png"
               HeightRequest="100"
               HorizontalOptions="Center"/>

        <Label x:Name="title"
               Text="BASKETBALL"
               Grid.Row="1"
               FontSize="20"
               VerticalOptions="Center"
               TextColor="White"
               HorizontalOptions="Center"
               FontAttributes="Bold"/>
    </Grid>
</ContentView>
结果如下:
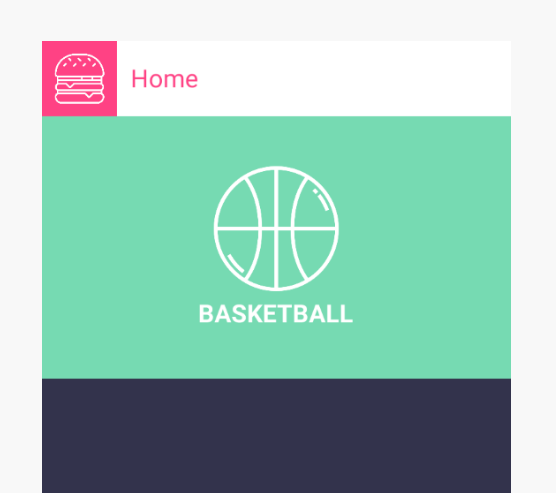
无论如何,这就是我目前拥有的。我只能设置实际图像的来源和标签的文本。我想要做的是创建一个将由控件公开的属性。我想知道我们需要用什么来做这个???好吧,你猜对了,它叫做BindableProperty。
什么是可绑定属性?
基本上,可绑定属性是一种特殊类型的属性,其中Xamarin.Forms属性系统会跟踪该属性的值。您可以在本文中了解有关Bindable Property的更多信息。
设置可绑定属性
我们需要在控件的代码后面设置几件事情,我们将为每个要添加的属性添加这些设置。
添加暴露的属性
首先,您需要为可绑定属性创建一个常规属性。我们将从标签开始,将其命名为TitleText。这是控件将公开的属性。
public string TitleText { get; set; }
添加BindableProperty字段
下一步是创建BindableProperty。您需要做的是创建一个只读的BindableProperty字段。理想情况下,该字段的名称与我们创建的常规属性相同,我们只需在其末尾添加Property。
public static readonly BindableProperty TitleTextProperty;
但是,当然,我们还没有完成它。下一部分是使用BindableProperty.Create()方法设置字段。此Create()方法采用许多参数,其中一些参数可以为null:
       public static readonly BindableProperty TitleTextProperty = BindableProperty.Create(
                                                         propertyName: "TitleText",
                                                         returnType: typeof(string),
                                                         declaringType: typeof(MyCustomControl),
                                                         defaultValue: "",
                                                         defaultBindingMode: BindingMode.TwoWay,
                                                         propertyChanged: TitleTextPropertyChanged);
如您所见,其中设置了多个参数。我将分解我设置的每个参数:
propertyName-我们公开的属性的名称,以字符串形式。
returnType-属性的返回类型。
declaringType-声明此BindableProperty的类型。
defaultBindingMode-我们的属性应具有的绑定模式。
propertyChanged-属性更改后要触发的指定回调方法。这将接收3个参数:bindable(当前控件类),oldValue(属性的旧值)和newValue(属性的最新值)
添加回调方法
最后,我们需要创建一个回调。您可以通过内联或创建回调方法来执行此操作。我们将通过创建一个方法来做到这一点:
   private static void TitleTextPropertyChanged(BindableObject bindable, object oldValue, object newValue)
        {
            var control = (MyCustomControl)bindable;
            control.title.Text = newValue.ToString();
        }
基本上,我们在这里所做的就是将可绑定对象转换为MyCustomControl类,并将标题文本的值设置为newValue的值。
同样,如果要创建另一个可绑定属性,则需要再次进行设置。我实际上为图像创建了另一个。这是MyCustomControl的内容。
public string TitleText { get; set; }

        private static BindableProperty titleTextProperty = BindableProperty.Create(
                                                         propertyName: "TitleText",
                                                         returnType: typeof(string),
                                                         declaringType: typeof(MyCustomControl),
                                                         defaultValue: "",
                                                         defaultBindingMode: BindingMode.TwoWay,
                                                         propertyChanged: titleTextPropertyChanged);


        private static void titleTextPropertyChanged(BindableObject bindable, object oldValue, object newValue)
        {
            var control = (MyCustomControl)bindable;
            control.title.Text = newValue.ToString();
        }

        public static BindableProperty ImageProperty = BindableProperty.Create(
                                                        propertyName: "Image",
                                                        returnType: typeof(string),
                                                        declaringType: typeof(MyCustomControl),
                                                        defaultValue: "",
                                                        defaultBindingMode: BindingMode.TwoWay,
                                                        propertyChanged: ImageSourcePropertyChanged);

        public string Image
        {
            get { return base.GetValue(ImageProperty).ToString(); }
            set { base.SetValue(ImageProperty, value); }
        }

        private static void ImageSourcePropertyChanged(BindableObject bindable, object oldValue, object newValue)
        {
            var control = (MyCustomControl)bindable;
            control.image.Source = ImageSource.FromFile(newValue.ToString());
        }

          public MyCustomControl()
        {
            InitializeComponent();
        }
消耗BindableProperty
既然我们已经设置了可绑定属性,那么我们现在要实际使用它们。如果转到MainPage.xaml,现在可以使用自定义控件:
     <custom:MyCustomControl BackgroundColor="#76dab2"
                             TitleText="BASKETBALL"
                             Image="basketball.png"/>
现在,我们可以设置TitleText和Image来设置图像的源和标签的文本!我添加了一些,这就是MainPage.xaml的样子:
MainPage.xaml
<?xml version="1.0" encoding="utf-8" ?>
<ContentPage xmlns="http://xamarin.com/schemas/2014/forms"
             xmlns:x="http://schemas.microsoft.com/winfx/2009/xaml"
             xmlns:local="clr-namespace:BindablePropertyDemo"
             xmlns:custom="clr-namespace:BindablePropertyDemo.Custom"
             x:Class="BindablePropertyDemo.MainPage"
             BackgroundColor="#33334c">
    <ScrollView>
        <Grid RowSpacing="0">
            <Grid.RowDefinitions>
                <RowDefinition Height="60"/>
                <RowDefinition Height="Auto"/>
            </Grid.RowDefinitions>
            <Grid BackgroundColor="White">
                <Grid.ColumnDefinitions>
                    <ColumnDefinition Width="60"/>
                    <ColumnDefinition Width="*"/>
                </Grid.ColumnDefinitions>
                <Grid BackgroundColor="#ff4284" Padding="10">
                    <Image Source="hamburger.png"/>
                </Grid>
                <Label Grid.Column="1"
                   Text="Home"
                   TextColor="#ff4284"
                   FontSize="20"
                   Margin="5,0,0,0"
                   HorizontalOptions="Start"
                   VerticalOptions="Center"/>
            </Grid>
            <StackLayout Spacing="0" Grid.Row="1">
                <custom:MyCustomControl BackgroundColor="#76dab2"
                                    TitleText="BASKETBALL"
                                    Image="basketball.png"/>

                <custom:MyCustomControl BackgroundColor="#7c57e4"
                                    TitleText="FOOTBALL"
                                    Image="football.png"/>

                <custom:MyCustomControl BackgroundColor="#f1b136"
                                    TitleText="GRIDIRON"
                                    Image="gridiron.png"/>
            </StackLayout>
        </Grid>
    </ScrollView>
</ContentPage>
我们都做完了!现在,运行此应用程序将导致以下结果:
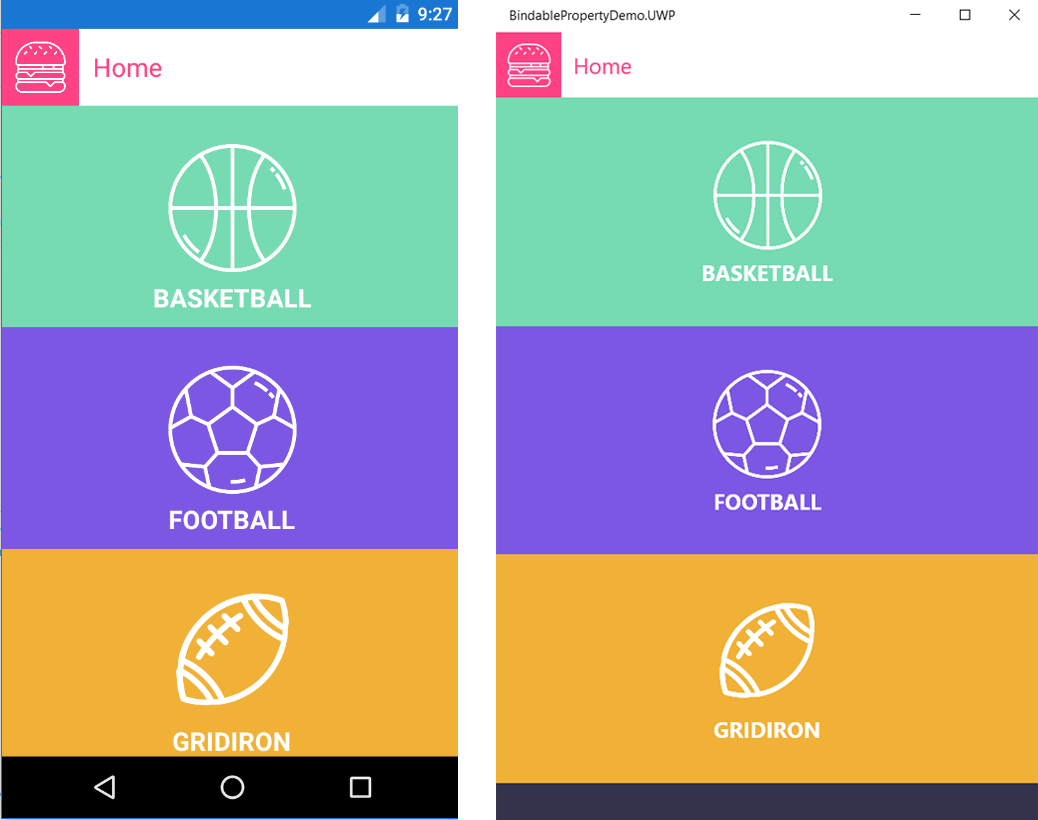
如果您想尝试一下,我将这个项目上传到了github。希望这可以帮助您开始创建可绑定属性。编码愉快!
参考:
https://mindofai.github.io/Creating-Custom-Controls-with-Bindable-Properties-in-Xamarin.Forms/

 浙公网安备 33010602011771号