
实验4:开源控制器实践——OpenDaylight
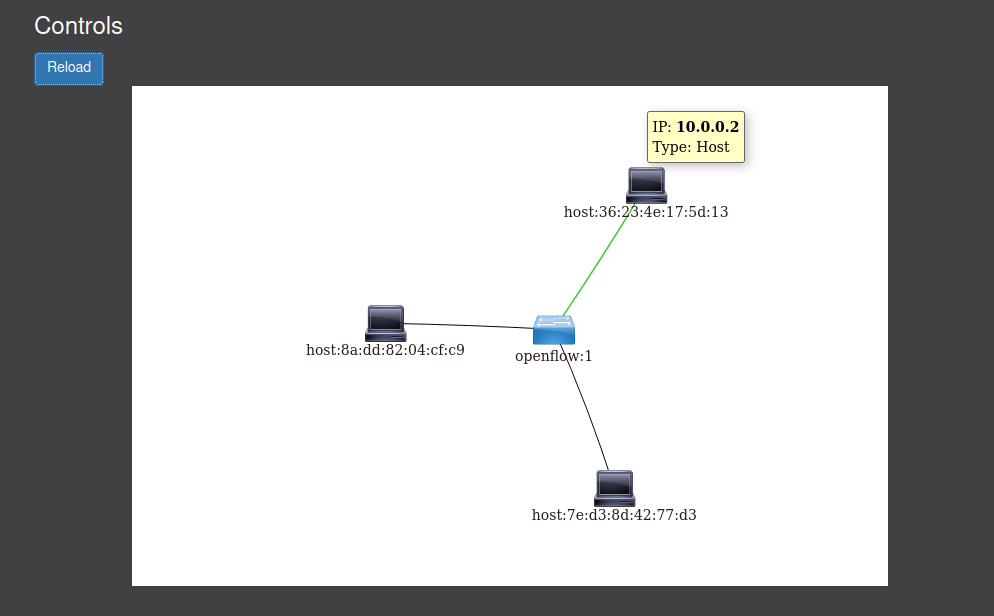
建立拓扑
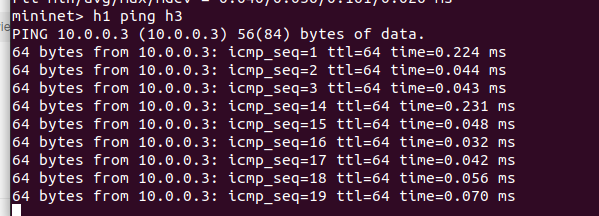
通过Postman工具调用OpenDaylight提供的API下发流表,实现拓扑内主机h1和h3网络中断10s
查找资料
获取所有节点信息
url: http://127.0.0.1:8181/apidoc/explorer/index.html#!/opendaylight-inventory(2013-08-19)/GET_nodes_get_1

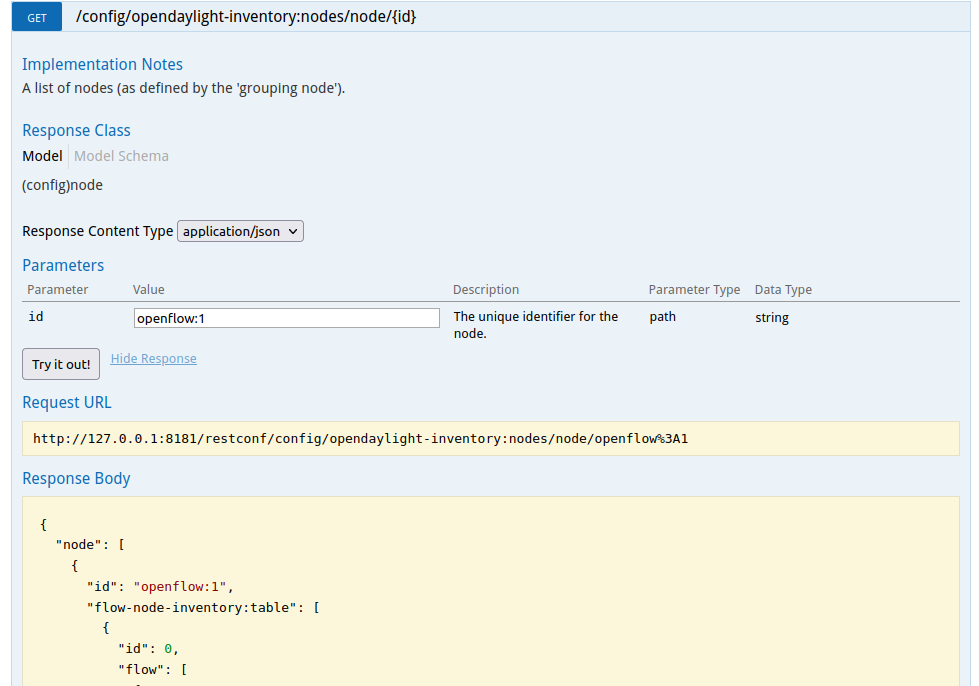
通过id获取具体节点信息
url: http://127.0.0.1:8181/apidoc/explorer/index.html#!/opendaylight-inventory(2013-08-19)/GET_node_get_5
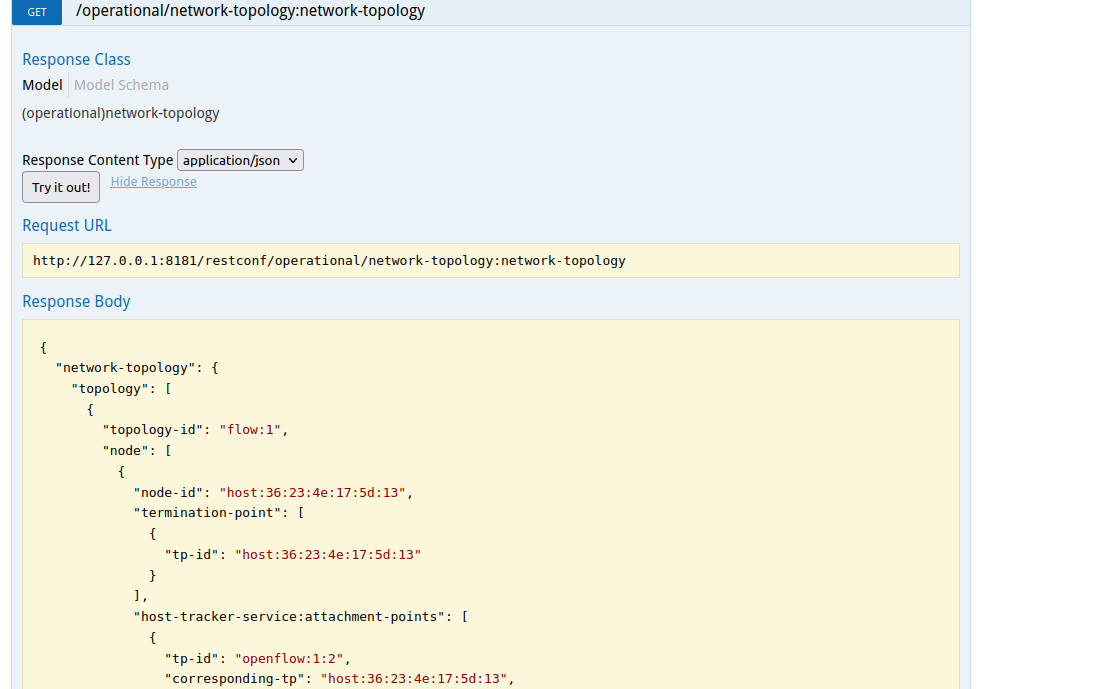
获取拓扑
url: http://127.0.0.1:8181/apidoc/explorer/index.html#!/network-topology(2013-10-21)/GET_network_topology_get_183
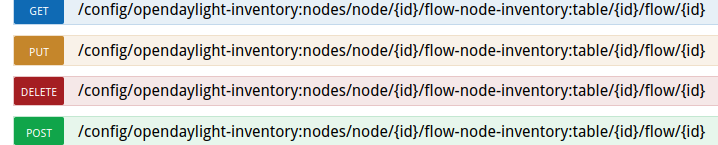
新增或修改流表
url: http://127.0.0.1:8181/apidoc/explorer/index.html#!/opendaylight-inventory(2013-08-19)/GET_flow_get_204
个人总结
本次实验难度不大。
- 问题
- 在终端创建拓扑后,opendaylight控制器中只显示一个交换机。解决方法:在终端中pingall后,再在opendaylight中reload拓扑即可显示。
- 使用postman时,要注意选择GET还是PUT,取决于要做的操作。其次url要输对。
- 实现中断10s时,要注意先运行h1 ping h3再在opendaylight中send流表,才会中断。
*opendaylight中的可视化拓扑中的主机和交换机都可以拖动,很Q弹

 浙公网安备 33010602011771号