
springboot简单入门
创建普通springboot项目
- file->new project->spring initialzr
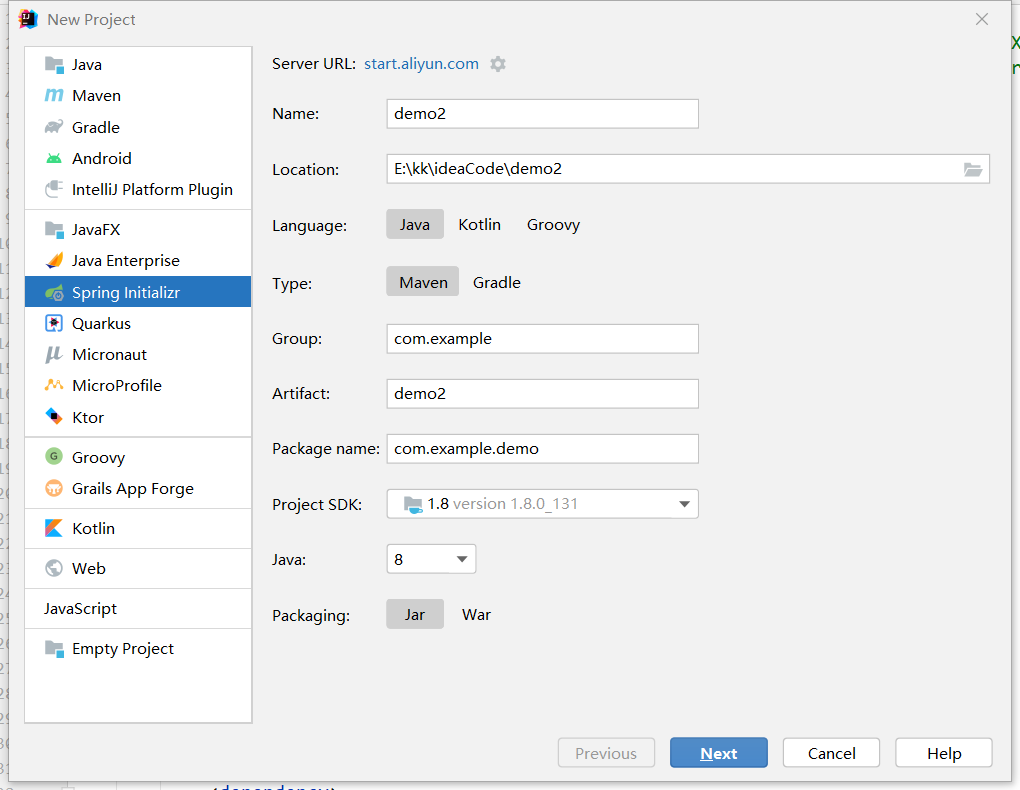
选择next,然后什么都不选直接确定,或者想要方便一点可以添加一个web的选项,区别就是后续添加注解@RequestMapping要用到springboot-web的依赖
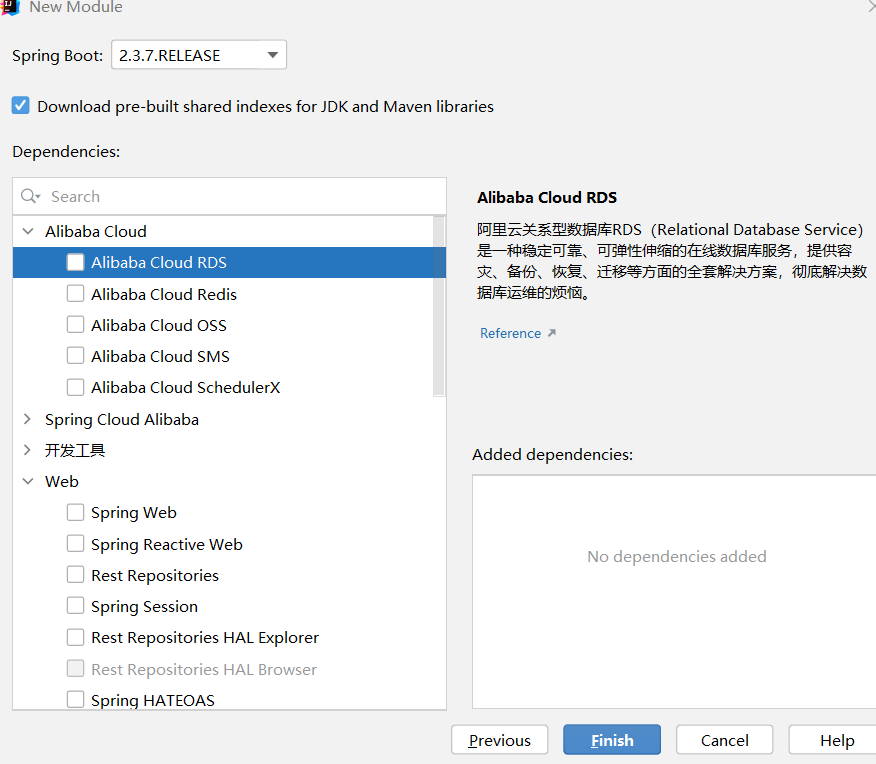
直接选择了springweb,然后finish就行了
<?xml version="1.0" encoding="UTF-8"?>
<project xmlns="http://maven.apache.org/POM/4.0.0" xmlns:xsi="http://www.w3.org/2001/XMLSchema-instance"
         xsi:schemaLocation="http://maven.apache.org/POM/4.0.0 https://maven.apache.org/xsd/maven-4.0.0.xsd">
    <modelVersion>4.0.0</modelVersion>
    <groupId>com.example</groupId>
    <artifactId>firstHelloWorld</artifactId>
    <version>0.0.1-SNAPSHOT</version>
    <name>firstHelloWorld</name>
    <description>firstHelloWorld</description>

    <properties>
        <java.version>1.8</java.version>
        <project.build.sourceEncoding>UTF-8</project.build.sourceEncoding>
        <project.reporting.outputEncoding>UTF-8</project.reporting.outputEncoding>
        <spring-boot.version>2.3.7.RELEASE</spring-boot.version>
    </properties>

    <dependencies>
        <dependency>
            <groupId>org.springframework.boot</groupId>
            <artifactId>spring-boot-starter</artifactId>
        </dependency>

        <dependency>
            <groupId>org.springframework.boot</groupId>
            <artifactId>spring-boot-starter-web</artifactId>
        </dependency>
    </dependencies>

    <dependencyManagement>
        <dependencies>
            <dependency>
                <groupId>org.springframework.boot</groupId>
                <artifactId>spring-boot-dependencies</artifactId>
                <version>${spring-boot.version}</version>
                <type>pom</type>
                <scope>import</scope>
            </dependency>
        </dependencies>
    </dependencyManagement>

    <build>
        <plugins>
            <plugin>
                <groupId>org.apache.maven.plugins</groupId>
                <artifactId>maven-compiler-plugin</artifactId>
                <version>3.8.1</version>
                <configuration>
                    <source>1.8</source>
                    <target>1.8</target>
                    <encoding>UTF-8</encoding>
                </configuration>
            </plugin>
            <plugin>
                <groupId>org.springframework.boot</groupId>
                <artifactId>spring-boot-maven-plugin</artifactId>
                <version>2.3.7.RELEASE</version>
                <configuration>
                    <mainClass>com.example.firsthelloworld.FirstHelloWorldApplication</mainClass>
                </configuration>
                <executions>
                    <execution>
                        <id>repackage</id>
                        <goals>
                            <goal>repackage</goal>
                        </goals>
                    </execution>
                </executions>
            </plugin>
        </plugins>
    </build>

</project>
项目结构如下
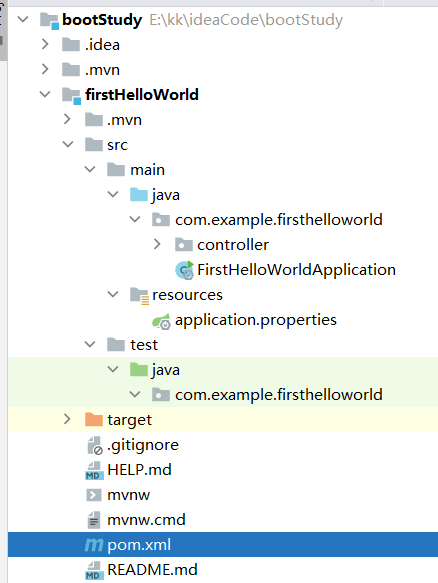
在java下的包中建立子包,名叫controller包,在包中写一个映射方法(注意,包要和Application在同一个包下,和Application同级或者在Application之下,否则无法自动扫描,无法启动)
这是controller代码
package com.example.firsthelloworld.controller;

import org.springframework.stereotype.Controller;
import org.springframework.web.bind.annotation.RequestMapping;
import org.springframework.web.bind.annotation.ResponseBody;

/**
 * @author kkk Email:1959608508.com
 * @Description:
 * @version:
 * @Date 2021/12/24 17:00
 */
@Controller
public class hello {
    @ResponseBody
    @RequestMapping("hello")
    public String hello(){
        return "hello,springboot";
    }
}
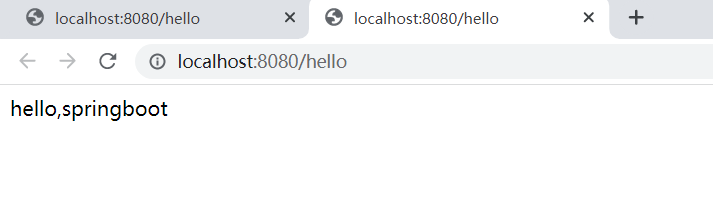
直接启动项目,不用配置tomcat,tomcat在springboot中内置了
然后在浏览器访问http://localhost:8080/hello
想要更改tomcat启动的端口号需要在Application中进行配置
server.port=8989

 浙公网安备 33010602011771号