
实验7 面向对象编程与内置模块
一、实验结论:
1. 实验任务1:task1.py
程序源码:
 1 '''
 2 银行账户
 3 数据:持卡人姓名、账号、当前余额
 4 操作:取款、存款、打印账户信息、返回账户余额
 5 '''
 6
 7 class Account:
 8     '''一个模拟银行账户的简单类'''
 9
10     def __init__(self, name, account_number, initial_amount = 10):
11         '''构造新账户'''
12         self._name = name
13         self._card_no = account_number
14         self._balance = initial_amount
15
16     def deposit(self, amount):
17         '''存款'''
18         self._balance += amount
19
20     def withdraw(self, amount):
21         '''取款'''
22         if self._balance < amount:
23             print('余额不足')
24             return
25
26         self._balance -= amount
27
28     def info(self):
29         '''打印账户信息'''
30         print('持卡人姓名:', self._name)
31         print('持卡人账号:', self._card_no)
32         print('持卡人账户余额:', self._balance)
33
34     def get_balance(self):
35         '''返回账户余额'''
36         return self._balance
37
38 def main():
39     '''创建Account类对象,测试类'''
40     print('测试账户1:'.center(30, '*'))
41     a1 = Account('Bob', '5002311', 20000)
42     a1.deposit(5000)
43     a1.withdraw(4000)
44     a1.info()
45
46     print()
47
48     print('测试账户2:'.center(30, '*'))
49     a2 = Account('Joe', '5006692', 20000)
50     a2.withdraw(10000)
51     a2.withdraw(5000)
52     a2.info()
53
54
55 if __name__ == '__main__':
56     main()
运行结果截图:

问题1:面向对象中类、对象、属性、方法、实例化的概念。
类:具有相同特性(数据元素)和行为(功能)的对象的抽象就是类。
对象:对象是人们要进行研究的任何事物,它不仅能表示具体的事物,还能表示抽象的规则、计划或事件。
方法:一种编程范式,它将程序中的数据和操作封装在一起,形成对象。
实例化:在面向对象的编程中,把用类创建对象的过程称为实例化。
问题2: 你对类的封装性的理解。
封装就是把抽象的数据(属性)和对数据的操作(方法)封装在一起,数据被保护在内部程序的其他部分只有通过被授权的操作,才能对数据进行操作。
2.实验任务2:task2.py
程序源码:
程序源码:
1 from shape import Rect, Circle
2 shape_lst = [Rect(5, 5, 10, 5), Circle(), Circle(1, 1, 10)]
3
4 for i in shape_lst:
5     i.info()
6     print(f'面积: {i.area(): .2f}')
7     print(f'周长: {i.perimeter(): .2f}')
8     print()
运行结果截图:

问题1:你对类的继承、多态特性的理解。
继承性:一个类获取现有类的所有属性和行为的机制,创建基于现有类的新类,可以重用现有类的属性和方法,可以在新创建的子类中添加新属性和方法。
多态性:同一个引用类型,使用不同的实例而执行不同操作,同一种操作,由于条件不同,产生的结果也不同。
问题2:你对python中模块的理解:什么是模块。
一个模块就是包含了python定义和声明的文件。
3.实验任务3:task3.py
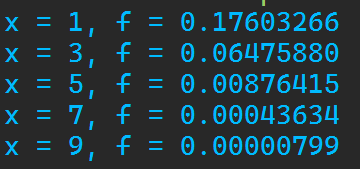
 1 from math import pi,exp
 2
 3 def func(x):
 4     m=0
 5     s=2
 6     f=(exp(-0.5*((x-m)/s)**2))/(s*(2*pi)**0.5)
 7     return f
 8
 9 x=[1,3,5,7,9]
10 for i in x:
11     f=func(i)
12     print(f'x = {i}, f = {f:.8f}')
运行结果截图:
4.实验任务4*:模拟简单二维随机漫步
random_walk.py
程序源码:
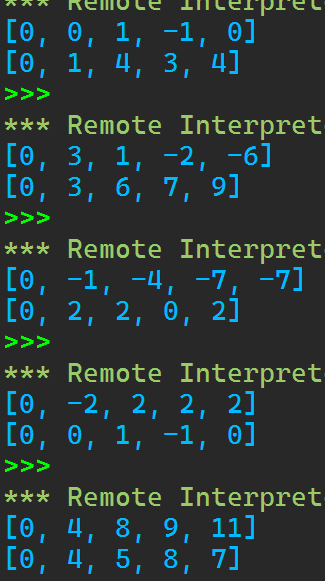
 1 '''
 2 random_walk.py是一个模块
 3 封装了一个简易版的二维随机游走类
 4 '''
 5
 6 from random import choice
 7
 8 class RandomWalk():
 9     '''一个生成随机漫步数据的类'''
10
11     def __init__(self, num_points = 5000):
12         '''初始化随机漫步的属性'''
13         self.num_points = num_points
14
15         # 所有的随机漫步都始于(0,0)
16         self.x_values = [0]
17         self.y_values = [0]
18
19
20     def fill_walk(self):
21         '''计算随机漫步包含的所有点'''
22
23         # 不断漫步,直到列表到达指定长度
24         while len(self.x_values) < self.num_points:
25             # 决定前进方向,以及,沿这个方向前进的距离
26             x_direction = choice([1, -1])
27             x_distance = choice([0, 1, 2, 3, 4])
28             x_step = x_direction * x_distance
29
30             y_direction = choice([1, -1])
31             y_distance = choice([0, 1, 2, 3, 4])
32             y_step = y_direction * y_distance
33
34             # 据绝原地踏步
35             if x_step == 0 and y_step == 0:
36                 continue
37
38             # 计算下一个点的x和y值
39             next_x = self.x_values[-1] + x_step
40             next_y = self.y_values[-1] + y_step
41
42             self.x_values.append(next_x)
43             self.y_values.append(next_y)
44
45
46 def main():
47     '''测试随机游走类'''
48
49     rw = RandomWalk(5)
50     rw.fill_walk()
51     print(rw.x_values)
52     print(rw.y_values)
53
54
55 if __name__ == '__main__':
56     main()
运行结果截图:
task4.py
程序源码:
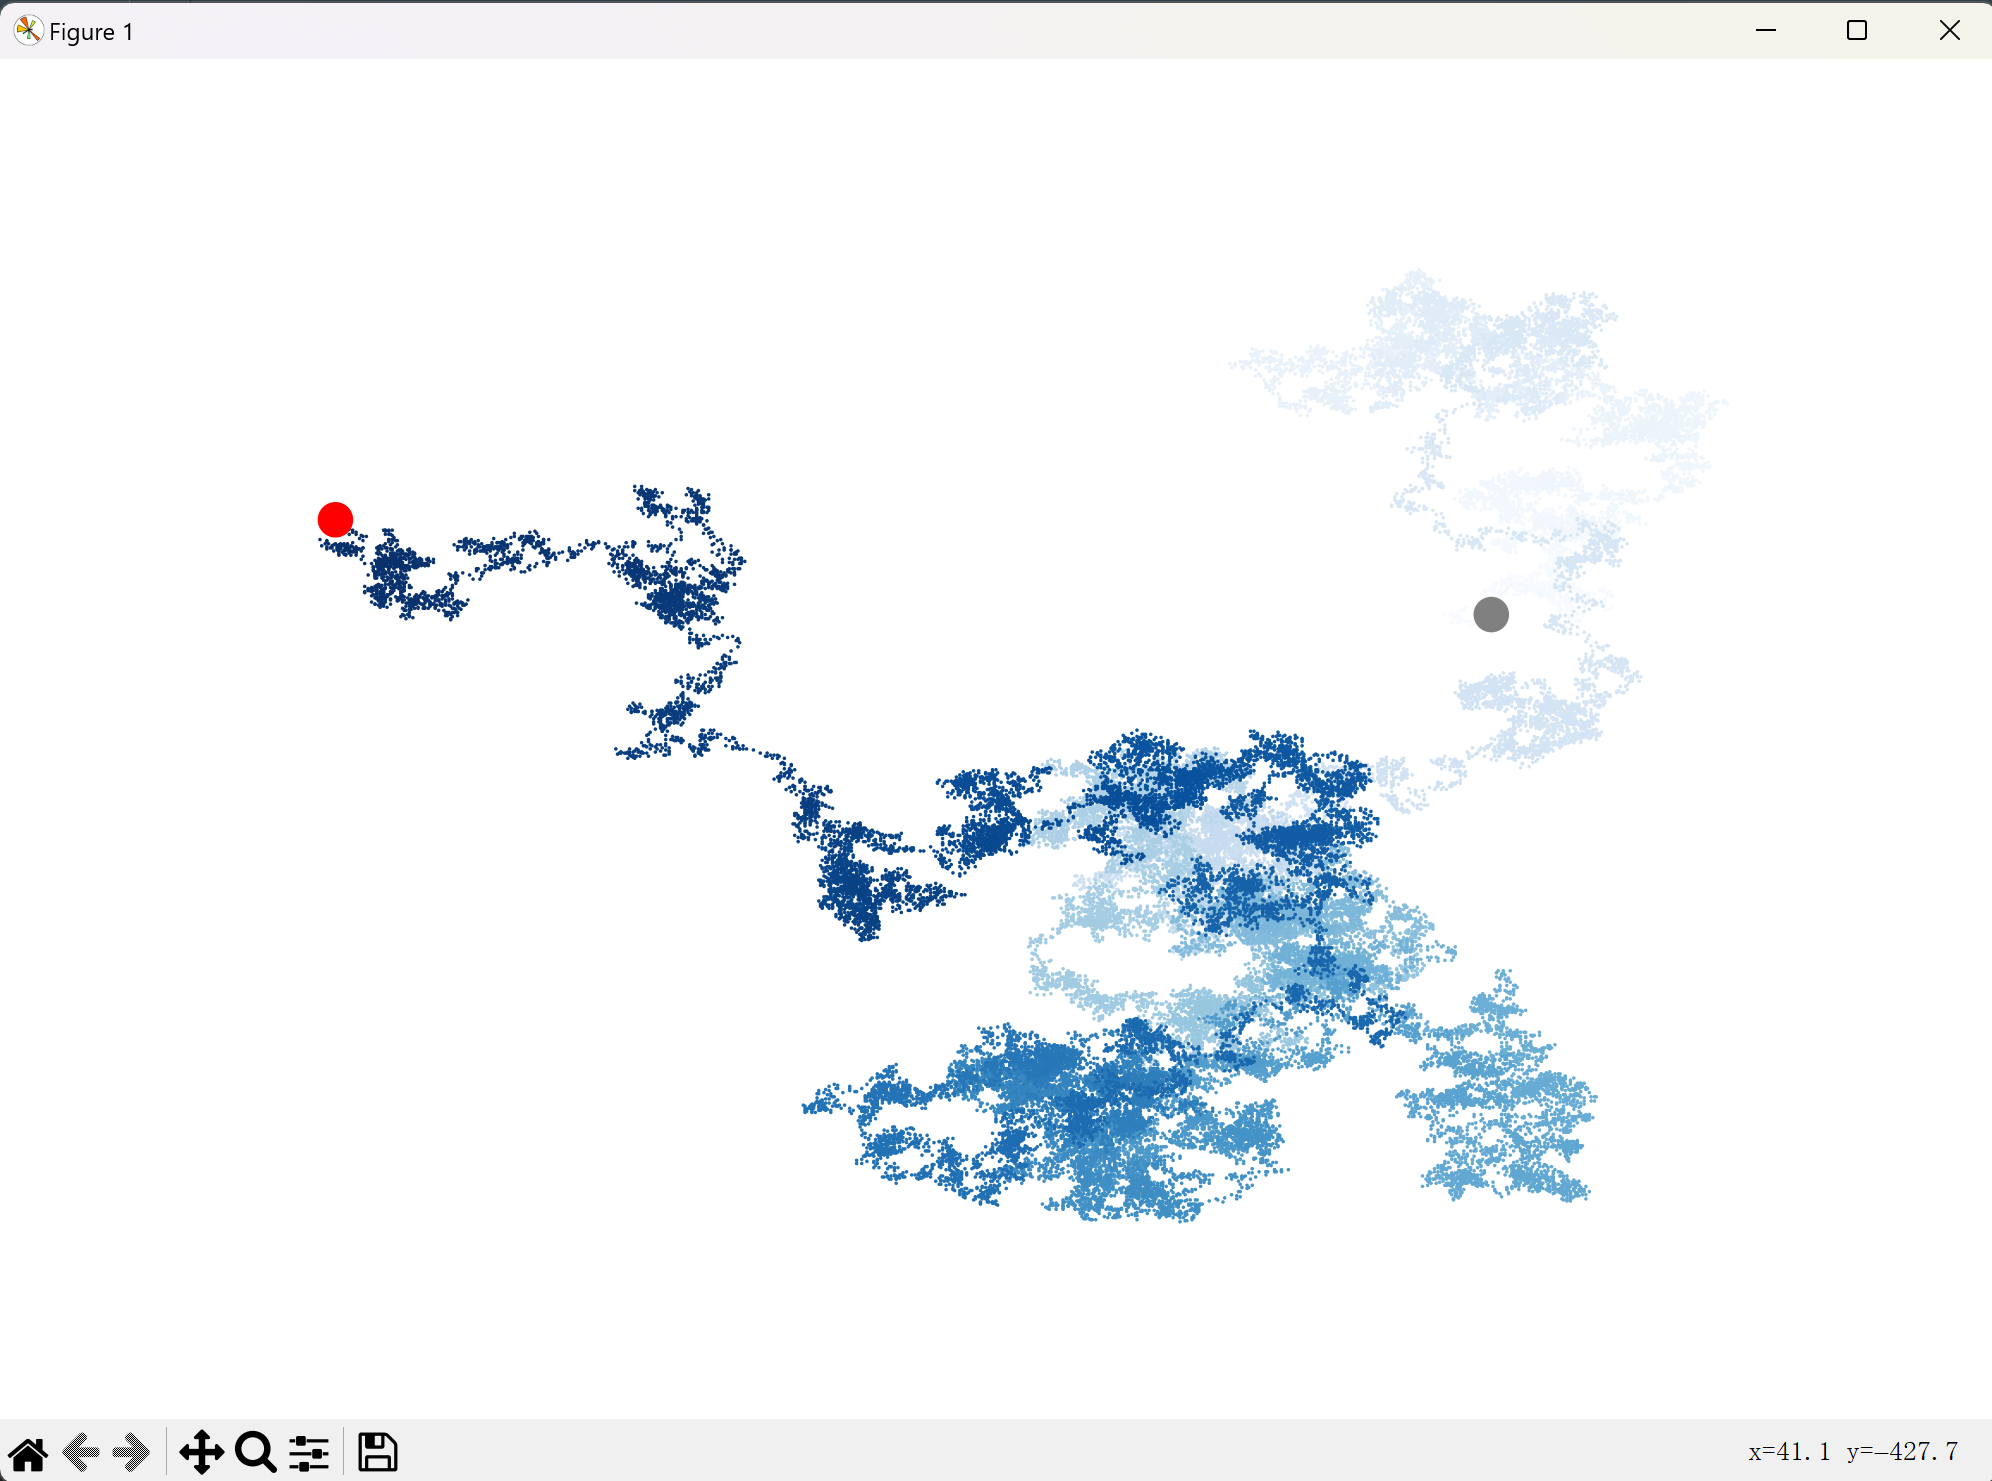
 1 '''
 2 模拟多次随机漫步
 3 '''
 4
 5 from matplotlib import pyplot as plt
 6 from random_walk import RandomWalk
 7 from time import sleep
 8
 9
10 # 代码范例中,模拟两次随机漫步过程
11 n = 0
12 while n < 2:
13     n += 1
14
15     # 创建一个RandomWalk对象,调用其方法生成随机游走坐标
16     rw = RandomWalk(50000)
17     rw.fill_walk()
18
19     # 用散点图进行可视化绘制
20     plt.figure(figsize = (10, 6), dpi = 128)
21     point_numbers = list(range(rw.num_points))
22     plt.scatter(rw.x_values, rw.y_values, c=point_numbers,cmap=plt.cm.Blues,
23 edgecolor='none', s=1)
24
25     # 终点和起点
26     plt.scatter(0,0,c = 'grey',edgecolors='none',s=100)
27     plt.scatter(rw.x_values[-1], rw.y_values[-1], c = 'red',edgecolors='none',
28 s=100)
29
30     # 隐藏坐标轴
31     plt.axis('off')
32
33     plt.show()
运行结果截图:
二、实验总结:
1. 熟悉Python中面向对象编程的概念(类、对象、属性、方法)、特性(封装、继承、多态)、基础语法
2. 了解Python中模块、包的概念和常用操作
3. 练习使用常用内置模块的常用方法:math, random, datetime, string

 浙公网安备 33010602011771号