【2023.01.17】N5105核显直通给LXC,PVE安装核显驱动
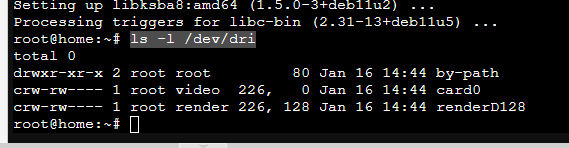
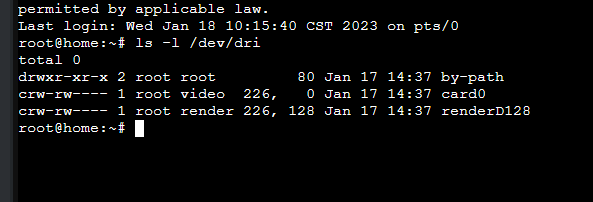
先使用命令查看核显、渲染器权限及组
ls -l /dev/dri
更新内核
apt update && apt install pve-kernel-5.19
检查固件是否齐全
cd /lib/firmware/i915 && ls ehl_guc*.bin && ls ehl_huc*.bin && ls icl_dmc*.bin

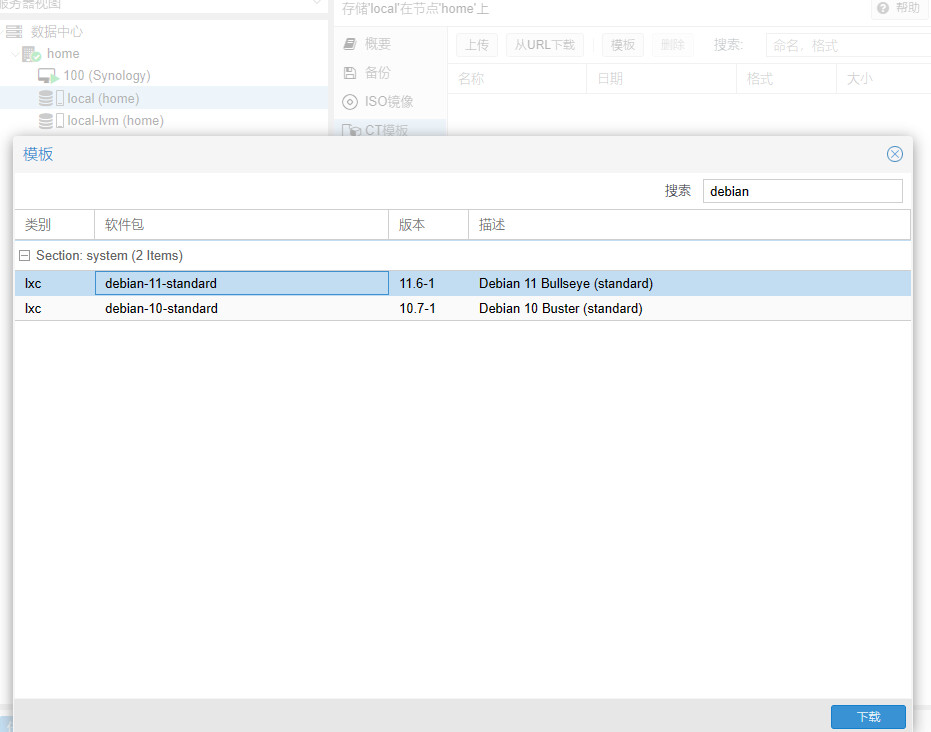
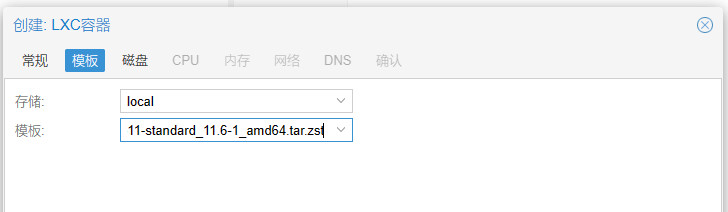
LXC准备
进入local下载CT模板中的Debian11,如果过慢的话,需要换源
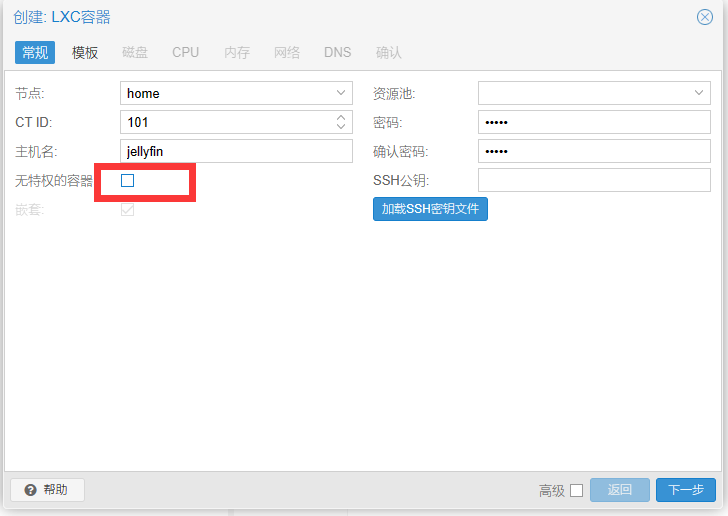
磁盘分个10g就好,因为后面要用到群晖的SMB,具体看https://www.cnblogs.com/mokou/p/17042705.html

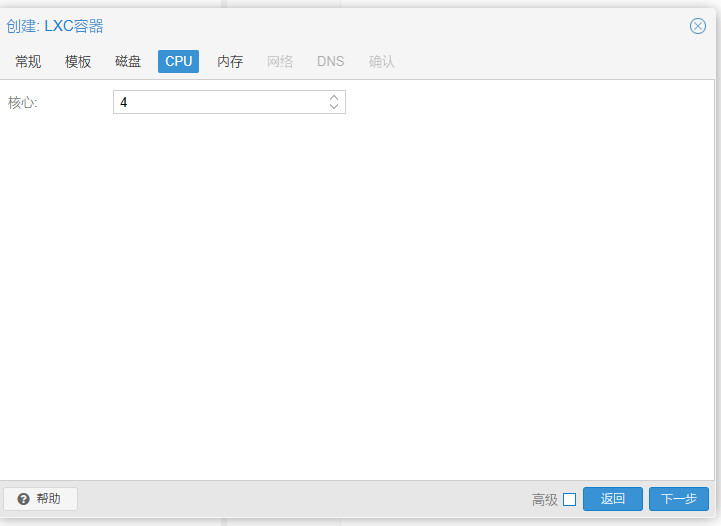
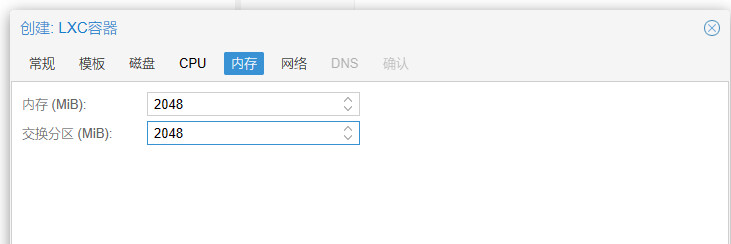
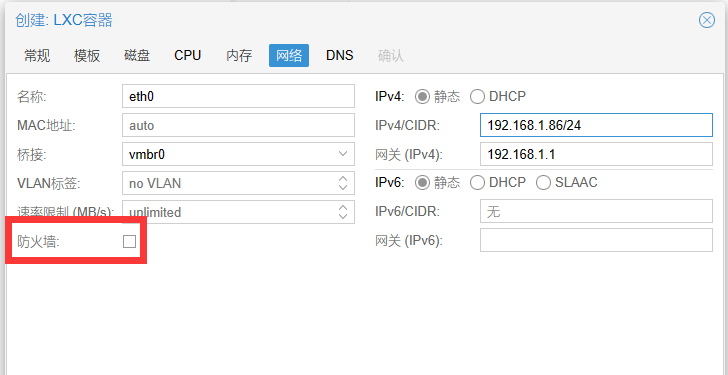
DNS默认就行,创建完成
核显直通
在PVE内
ls -l /dev/dri
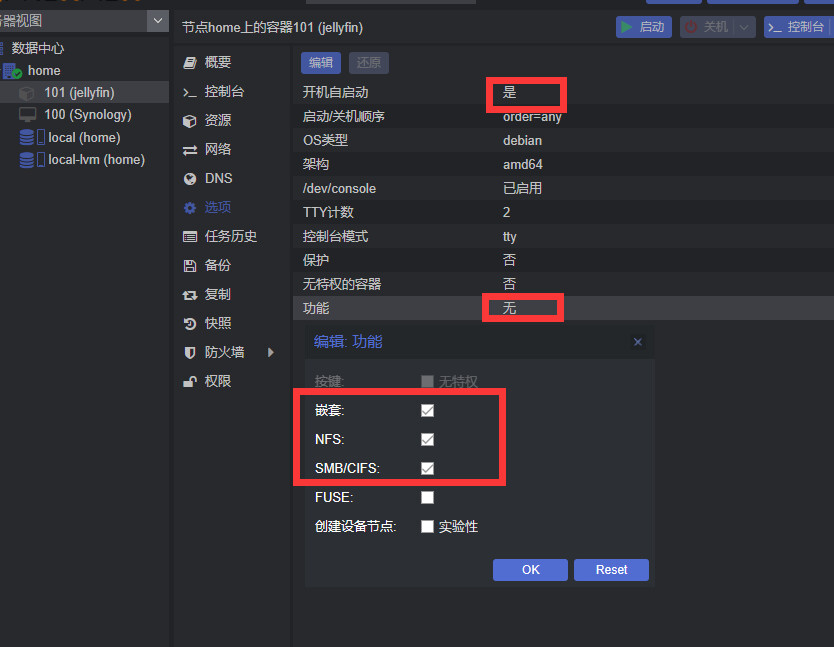
修改LXC配置,自己改下101对应虚拟机
得到的结果
drwxr-xr-x 2 root root         80 Jan 17 14:37 by-path
crw-rw---- 1 root video  226,   0 Jan 17 14:37 card0
crw-rw---- 1 root render 226, 128 Jan 17 14:37 renderD128
然后
nano /etc/pve/lxc/101.conf
加入
lxc.cgroup2.devices.allow: c 226:0 rwm
lxc.cgroup2.devices.allow: c 226:128 rwm
lxc.cgroup2.devices.allow: c 29:0 rwm
lxc.mount.entry: /dev/dri dev/dri none bind,optional,create=dir
lxc.apparmor.profile: unconfined
保存退出
修改配置
nano /etc/modprobe.d/i915.conf
加入
options i915 enable_guc=3
然后重启,检查
journalctl -b -o short-monotonic -k | egrep -i "i915|dmr|dmc|guc|huc"
查看是否存在GUC、HUC

修改LXC配置
启动LXC的Debian,开启Debian远程root账号第三方SSH登录工具
nano /etc/ssh/sshd_config
修改下列
PermitRootLogin yes
PasswordAuthentication yes
重启lxc
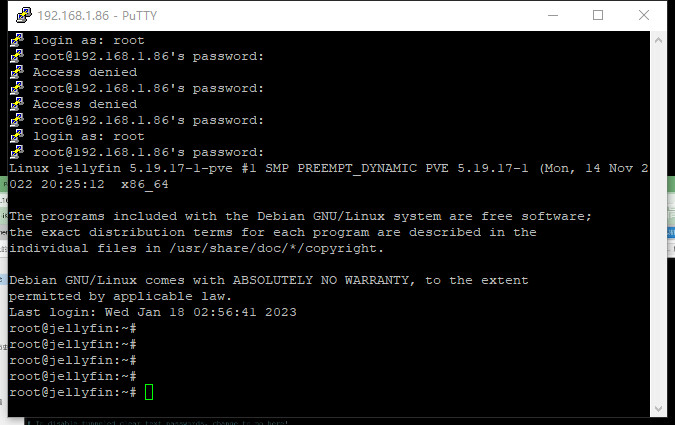
就可以使用putty登陆了
修改源,请见【2022.11.19】服务器常用命令 - Mokou - 博客园 (cnblogs.com)
挂载SMB
在LXC内
apt-get install cifs-utils
apt install samba
apt install samba-client
mkdir /mnt/share
尝试登陆
smbclient -L NAS的IP/或者群晖的名字 -U 用户名
挂载命令
mount -o username=账号,password=密码 //192.168.1.222/Video /mnt/share
具体见Linux系统挂载SMB文件系统 (aliyun.com)
然后打开目录就可以看见文件
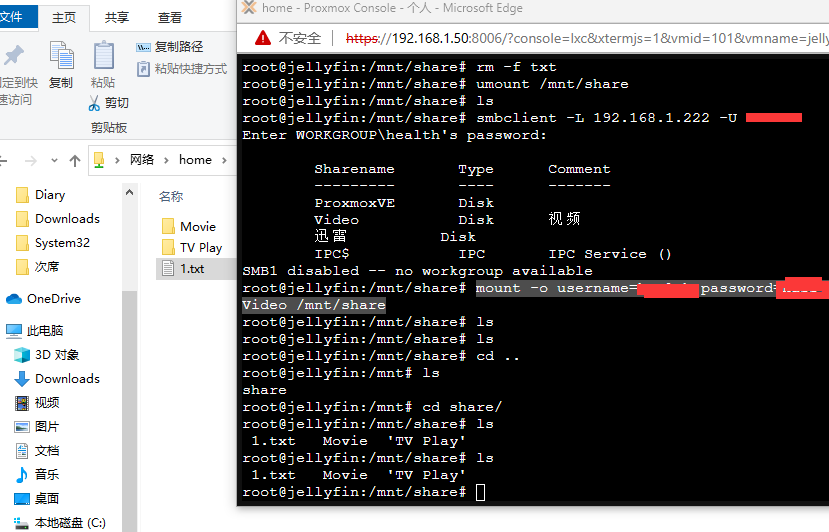
也可以使用df -h的命令进行检查
然后设置为开机自动挂载
nano /etc/fstab
加入
//192.168.1.222/Video /mnt/share cifs defaults,username=账号,password=密码
然后reboot后用df -h查看
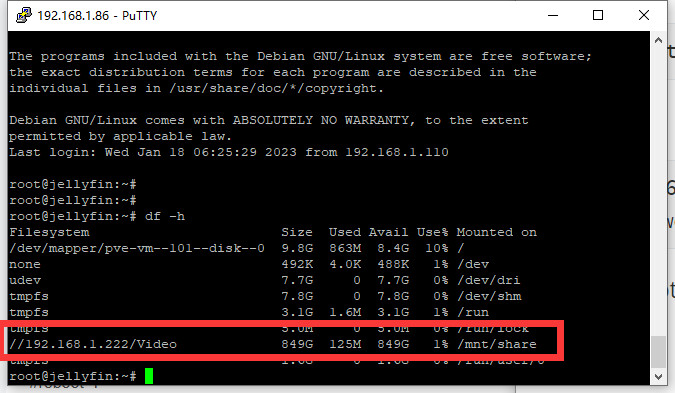
挂载成功
安装Jellyfin
安装docker
apt install curl -y
curl -sSL https://get.docker.com/ | sh
安装portainer
docker run -d -p 9000:9000 \
    --restart=always \
    -v /var/run/docker.sock:/var/run/docker.sock \
    --name prtainer \
    portainer/portainer
进入portainer,安装N大的jellyfin
nyanmisaka/jellyfin:latest
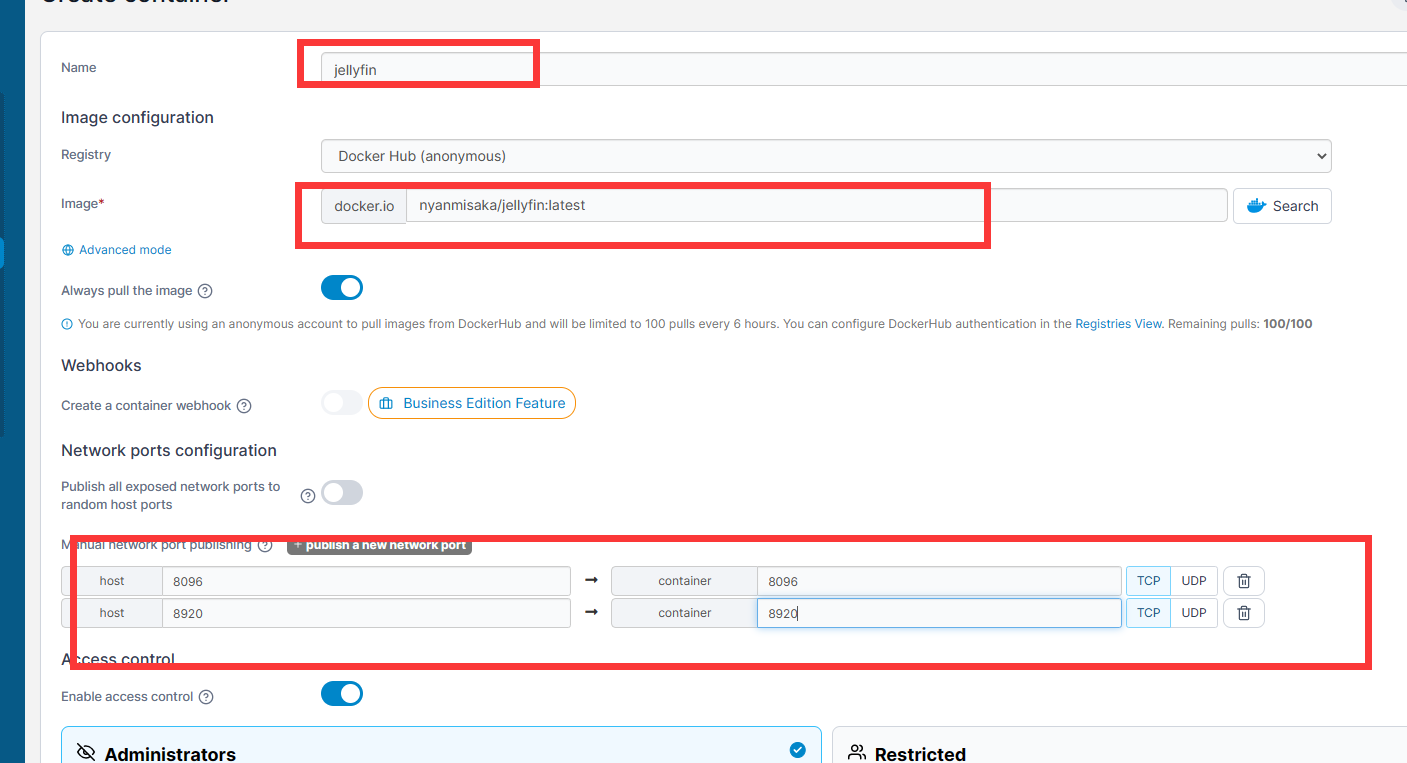

添加驱动/dev/dri
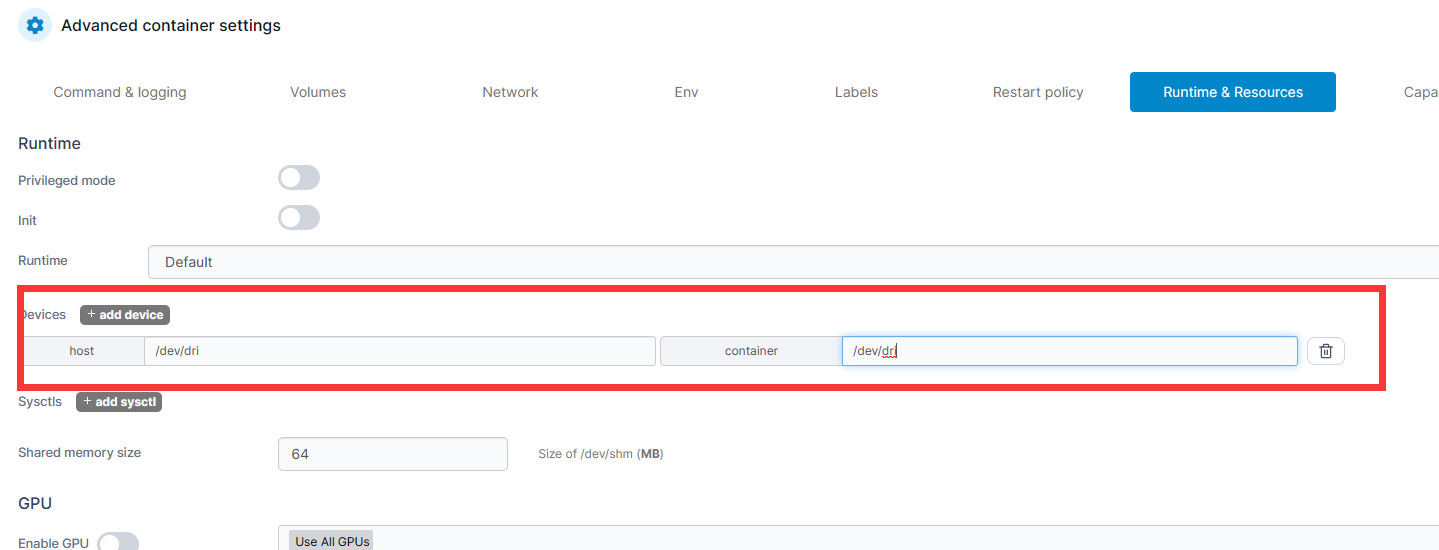
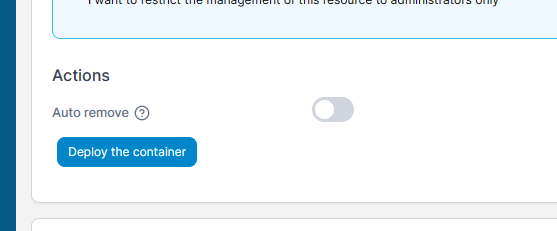
然后部署
等待一段时间
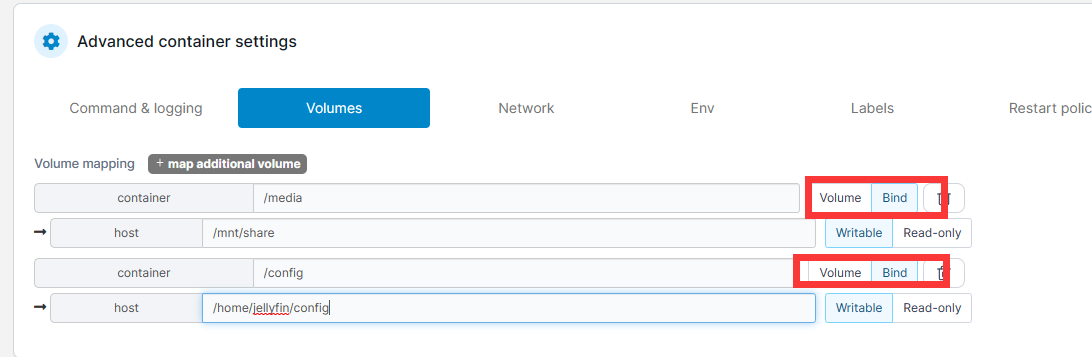
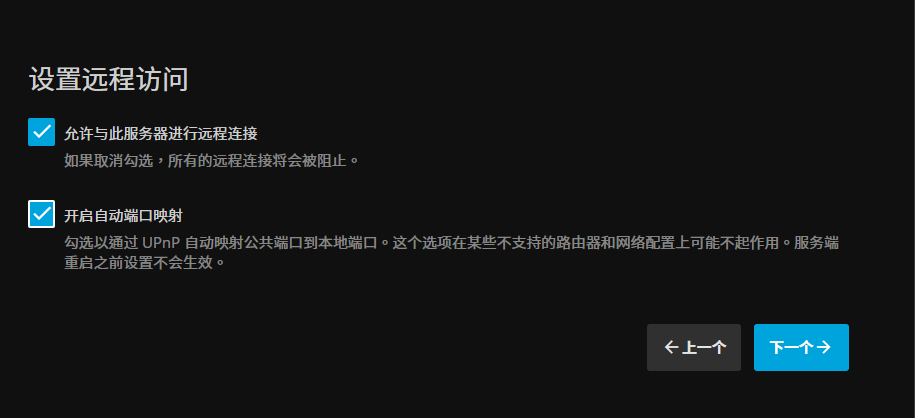
配置jellyfin
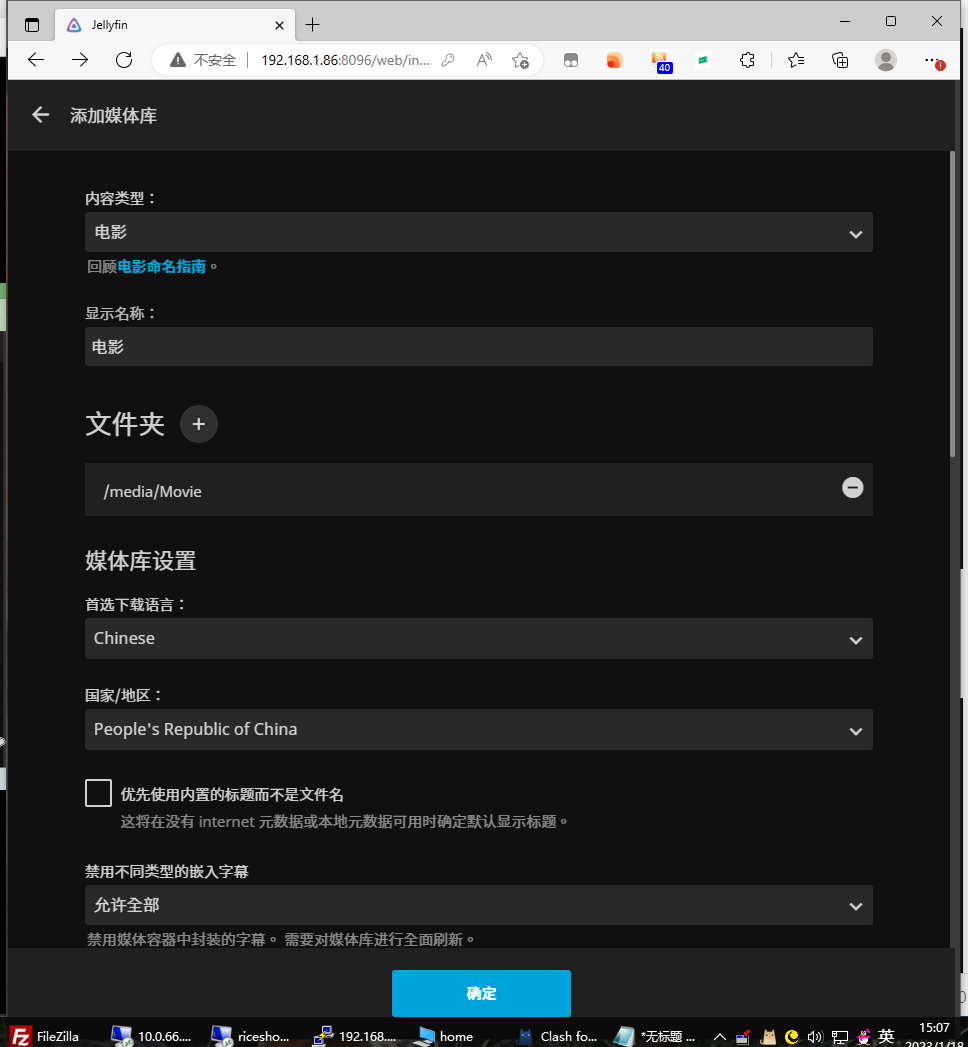
选择目录,可以看到我们的SMB
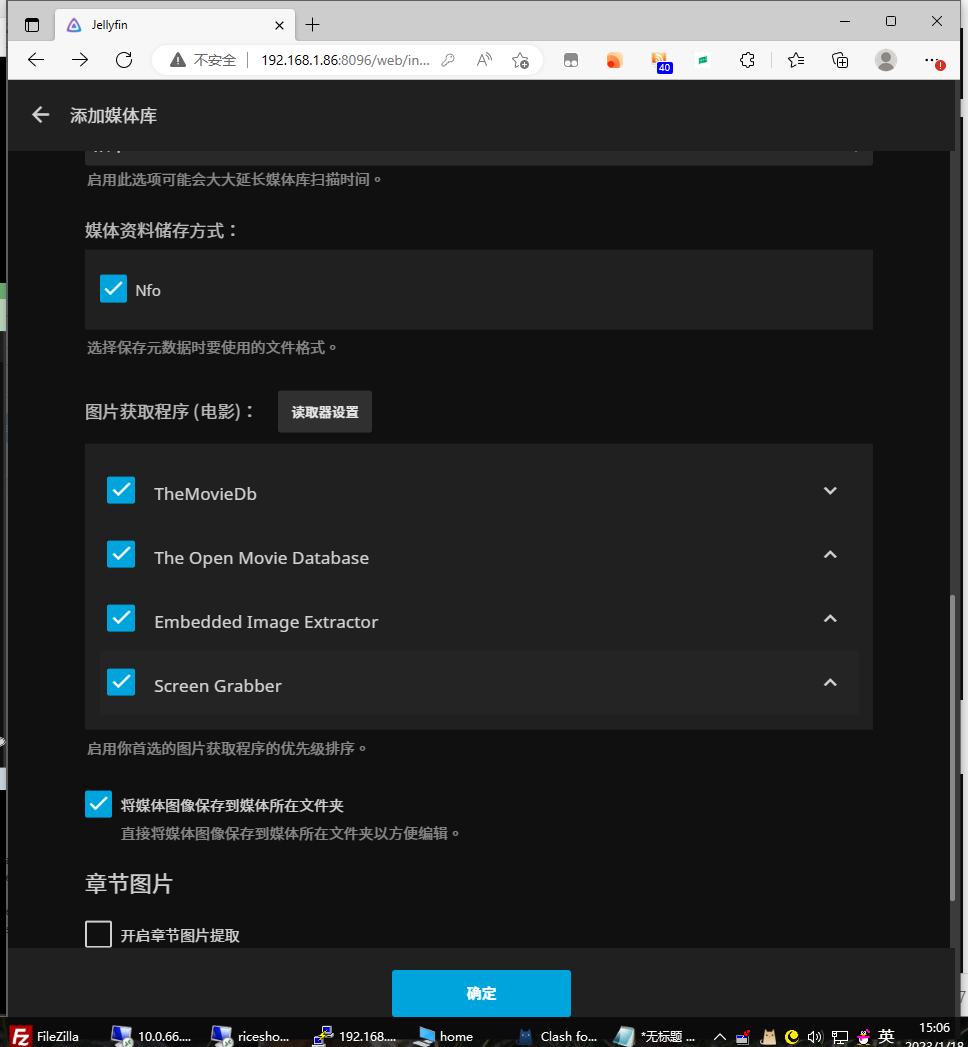
拉到最下面,保存
脚本
在LXC机器内
cat>>/etc/systemd/system/rc-local.service<<EOF
输入,然后回车
[Unit]
Description=/etc/rc.local
ConditionPathExists=/etc/rc.local
[Service]
Type=forking
ExecStart=/etc/rc.local start
TimeoutSec=0
StandardOutput=tty

RemainAfterExit=yes
SysVStartPriority=99
[Install]
WantedBy=multi-user.target
EOF
输入开机运行
systemctl enable rc-local.service
输入
cat <<EOF >/etc/rc.local
输入并回车
#!/bin/sh -e
#
# rc.local
#
# This script is executed at the end of each multiuser runlevel.
# Make sure that the script will "exit 0" on success or any other
# value on error.
#
# In order to enable or disable this script just change the execution
# bits.
#
# By default this script does nothing.
chmod 777 /dev/dri/*
sleep 30
systemctl restart docker
exit 0
EOF
赋权
chmod +x /etc/rc.local
然后reboot后
查看权限
ls -l /dev/dri
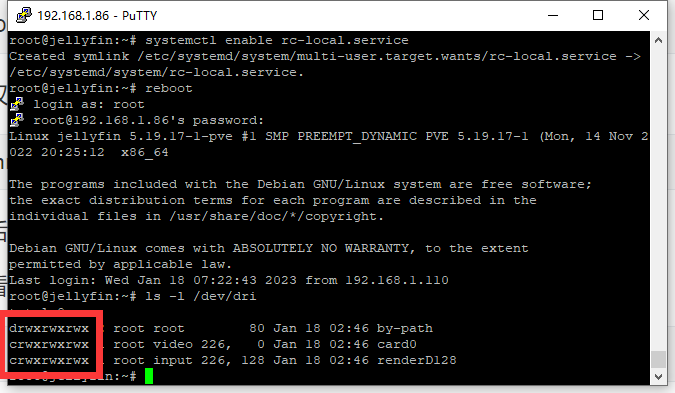
全部显示,说明成功了
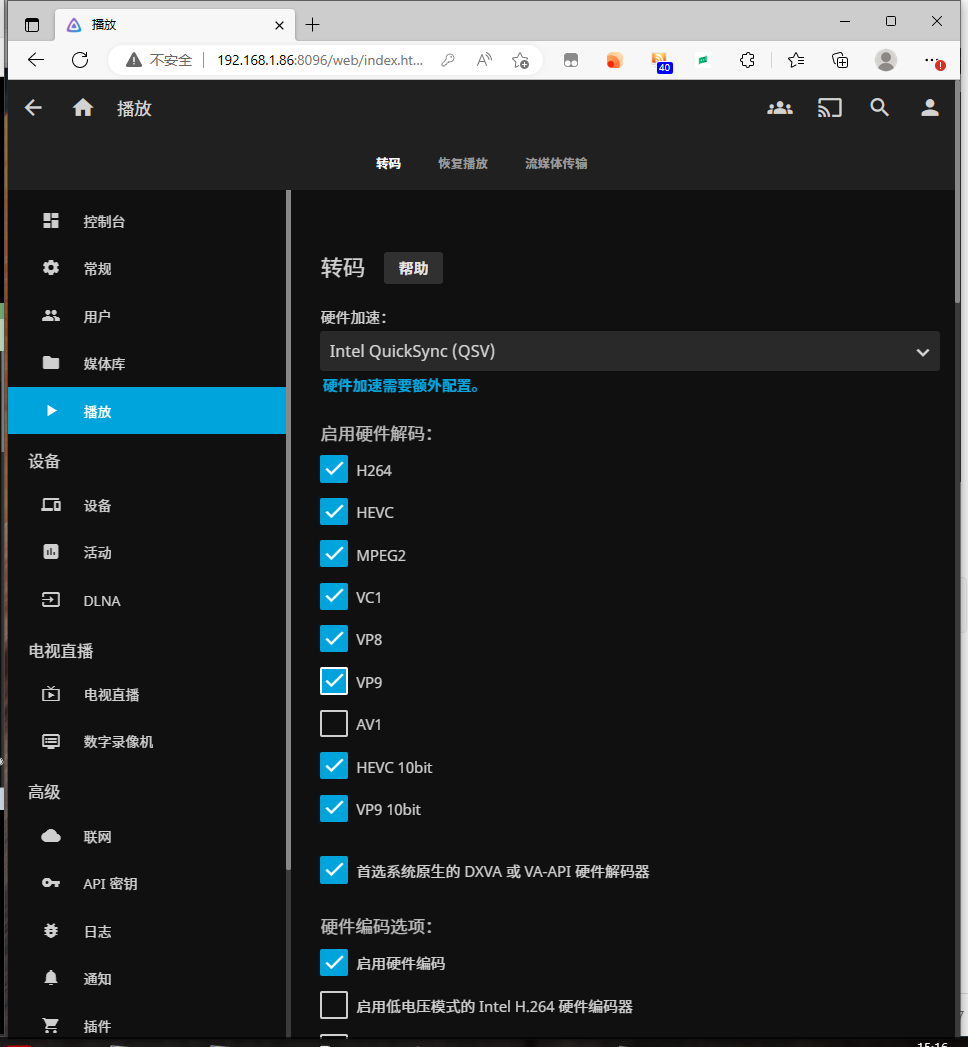
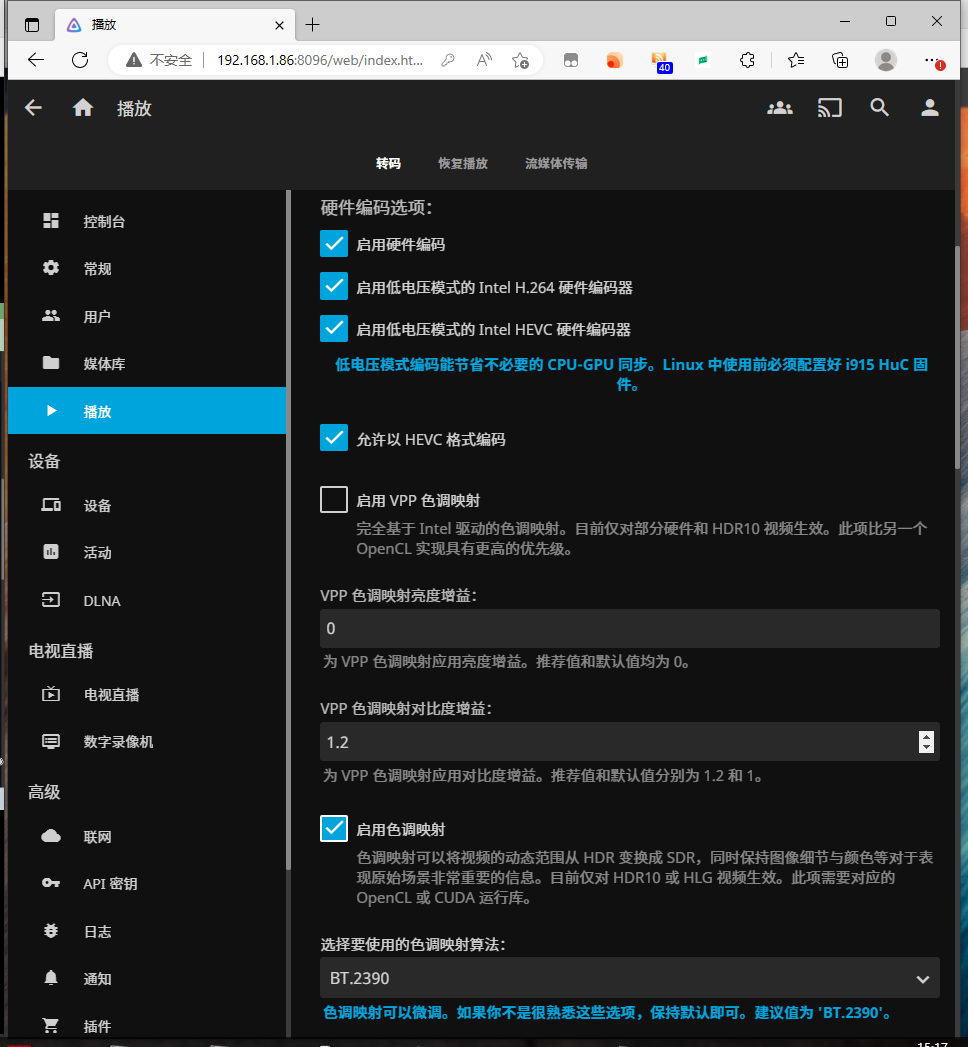
安装GPU监控
apt-get update && apt install intel-gpu-tools -y
当开始运行转码的时候,在LXC输入该命令查看GPU占用
intel-gpu-tools
参考链接
【更新】免费开源影音服务Jellyfin部署,PVE下LXC套娃安装Debian Docker,核显硬解转码以N5105为例低功耗intel CPU核显通用_哔哩哔哩_bilibili
linux smb 自动挂载,linux 下 用mount 挂载 samba 以及Linux 开机自动挂载 samba_weixin_39856709的博客-CSDN博客
Linux挂载群晖SMB共享目录教程---以centos举例 - Synology群晖 - NAS网络存储论坛 - Powered by Discuz! (zzdynas.com)

 浙公网安备 33010602011771号