
nginx部署/代理本地端口/HTTPS/HTTP混合部署模式
原文地址:http://www.cnblogs.com/ants/p/5732337.html#_label5
参考地址:http://www.cnblogs.com/hustskyking/p/nginx-configuration-start.html
相关命令:
sudo nginx -t 测试nginx配置文件是否正确 nginx -t 默认使用默认配置测试
关闭nginx:
nginx -s stop :快速停止nginx
quit :完整有序的停止nginx
其他的停止nginx 方式:
ps -ef | grep nginx
kill -QUIT 主进程号 :从容停止Nginx
kill -TERM 主进程号 :快速停止Nginx
pkill -9 nginx :强制停止Nginx
启动nginx:
nginx -c /path/to/nginx.conf
平滑重启nginx:
kill -HUP 主进程号
安装Nginx
curl -o nginx.rpm http://nginx.org/packages/centos/7/noarch/RPMS/nginx-release-centos-7-0.el7.ngx.noarch.rpm

rpm -ivh nginx.rpm
yum install nginx
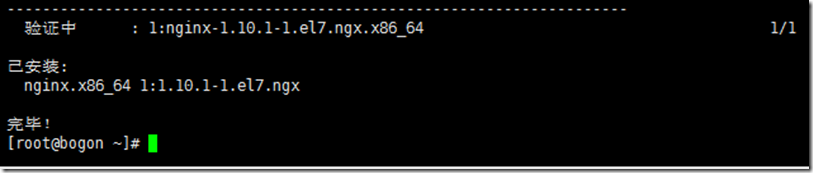
安装成功!
输入:systemctl start nginx 来启动nginx。
输入:systemctl enable nginx 来设置nginx的开机启动(linux宕机、重启会自动运行nginx不需要连上去输入命令)
配置防火墙
命令:firewall-cmd --zone=public --add-port=80/tcp --permanent(开放80端口)
命令:systemctl restart firewalld(重启防火墙以使配置即时生效)
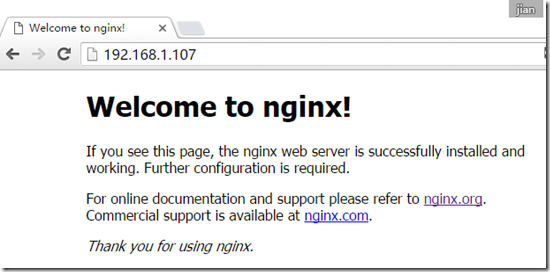
测试nginx是否可以访问。
配置nginx对ASP.NET Core应用的转发
修改 /etc/nginx/conf.d/default.conf 文件。
在文件中加入或修改:
server {
    listen 80;
    location / {
        proxy_pass http://localhost:5000;
        proxy_http_version 1.1;
        proxy_set_header Upgrade $http_upgrade;
        proxy_set_header Connection keep-alive;
        proxy_set_header Host $host;
        proxy_cache_bypass $http_upgrade;
    }
}
执行: nginx -s reload 使其即时生效
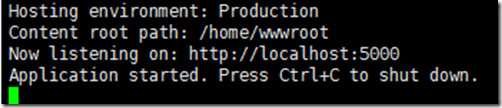
运行ASP.NET Core应用程序
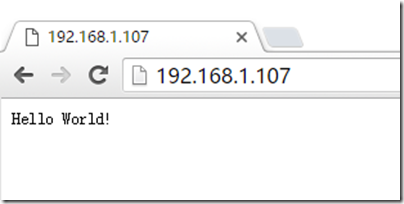
这时候再次尝试访问。

这个问题是由于SELinux保护机制所导致,我们需要将nginx添加至SELinux的白名单。
接下来我们通过一些命令解决这个问题。
yum install policycoreutils-python

sudo cat /var/log/audit/audit.log | grep nginx | grep denied | audit2allow -M mynginx

sudo semodule -i mynginx.pp
ps:SELinux保护机制详细介绍文章:https://www.linuxidc.com/Linux/2018-08/153625.htm
再次访问
配置HTTPS/HTTP 混合模式
修改nginx配置,添加https相关配置。修改后的配置信息如下:
server {
    listen 80;
    #记得必须开启服务器443端口,https需要使用到
    listen 443 ssl;
    server_name localhost;
    #证书文件路径 这里使用的证书是在阿里申请的,一年免费使用
    ssl_certificate /etc/nginx/sslkey/5277266_www.gz1.xn--6qq986b3xl.pem;
    #私钥文件路径
    ssl_certificate_key /etc/nginx/sslkey/5277266_www.gz1.xn--6qq986b3xl.key;
    ssl_protocols       TLSv1 TLSv1.1 TLSv1.2;
    ssl_ciphers         HIGH:!aNULL:!MD5;
    #代理转发5000端口
    location / {
        proxy_pass http://localhost:5000;
        proxy_http_version 1.1;
        proxy_set_header Upgrade $http_upgrade;
        proxy_set_header Connection keep-alive;
        proxy_set_header Host $host;
        proxy_cache_bypass $http_upgrade;
    }
    error_page   500 502 503 504  /50x.html;
    location = /50x.html {
        root   /usr/share/nginx/html;
    }
}
使用命令 nginx -t 来测试配置文件是否正确,返回如下提示,表示测试通过
[root@VM-0-9-centos sslkey]# nginx -t
nginx: the configuration file /etc/nginx/nginx.conf syntax is ok
nginx: configuration file /etc/nginx/nginx.conf test is successful
重启nginx即可,重启命令: service nginx restart
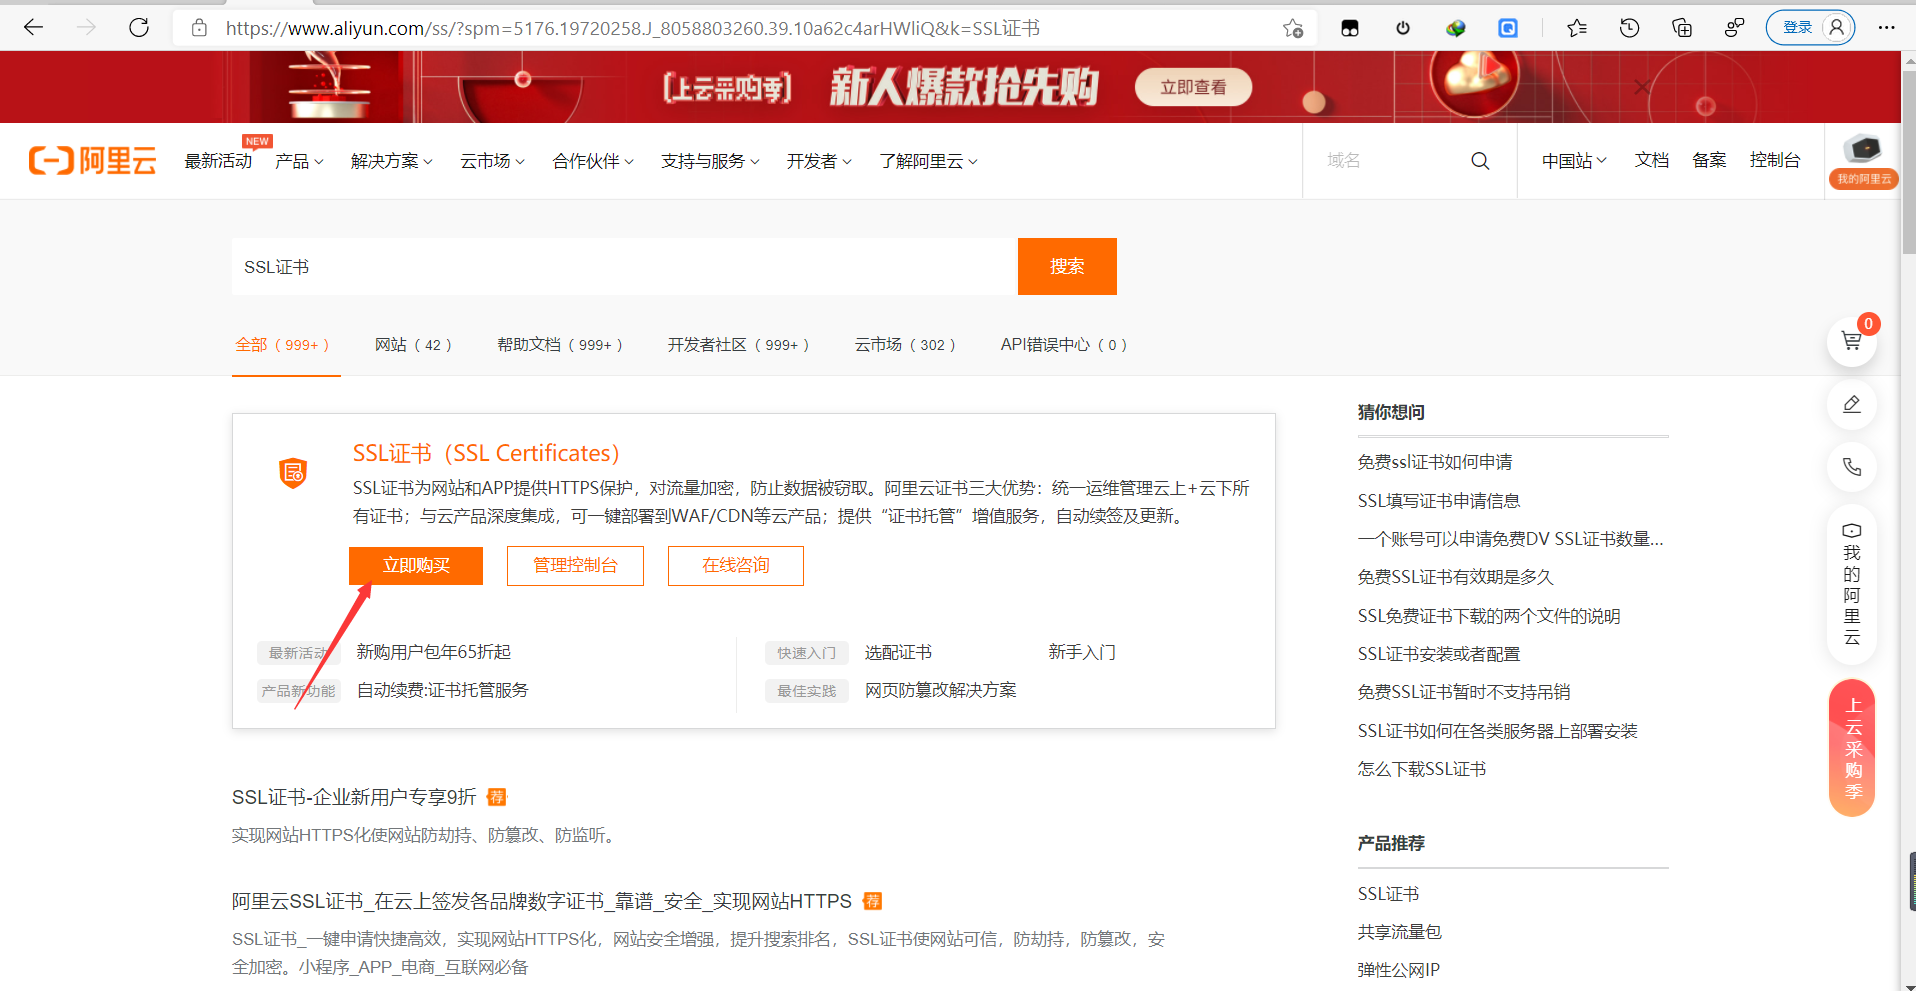
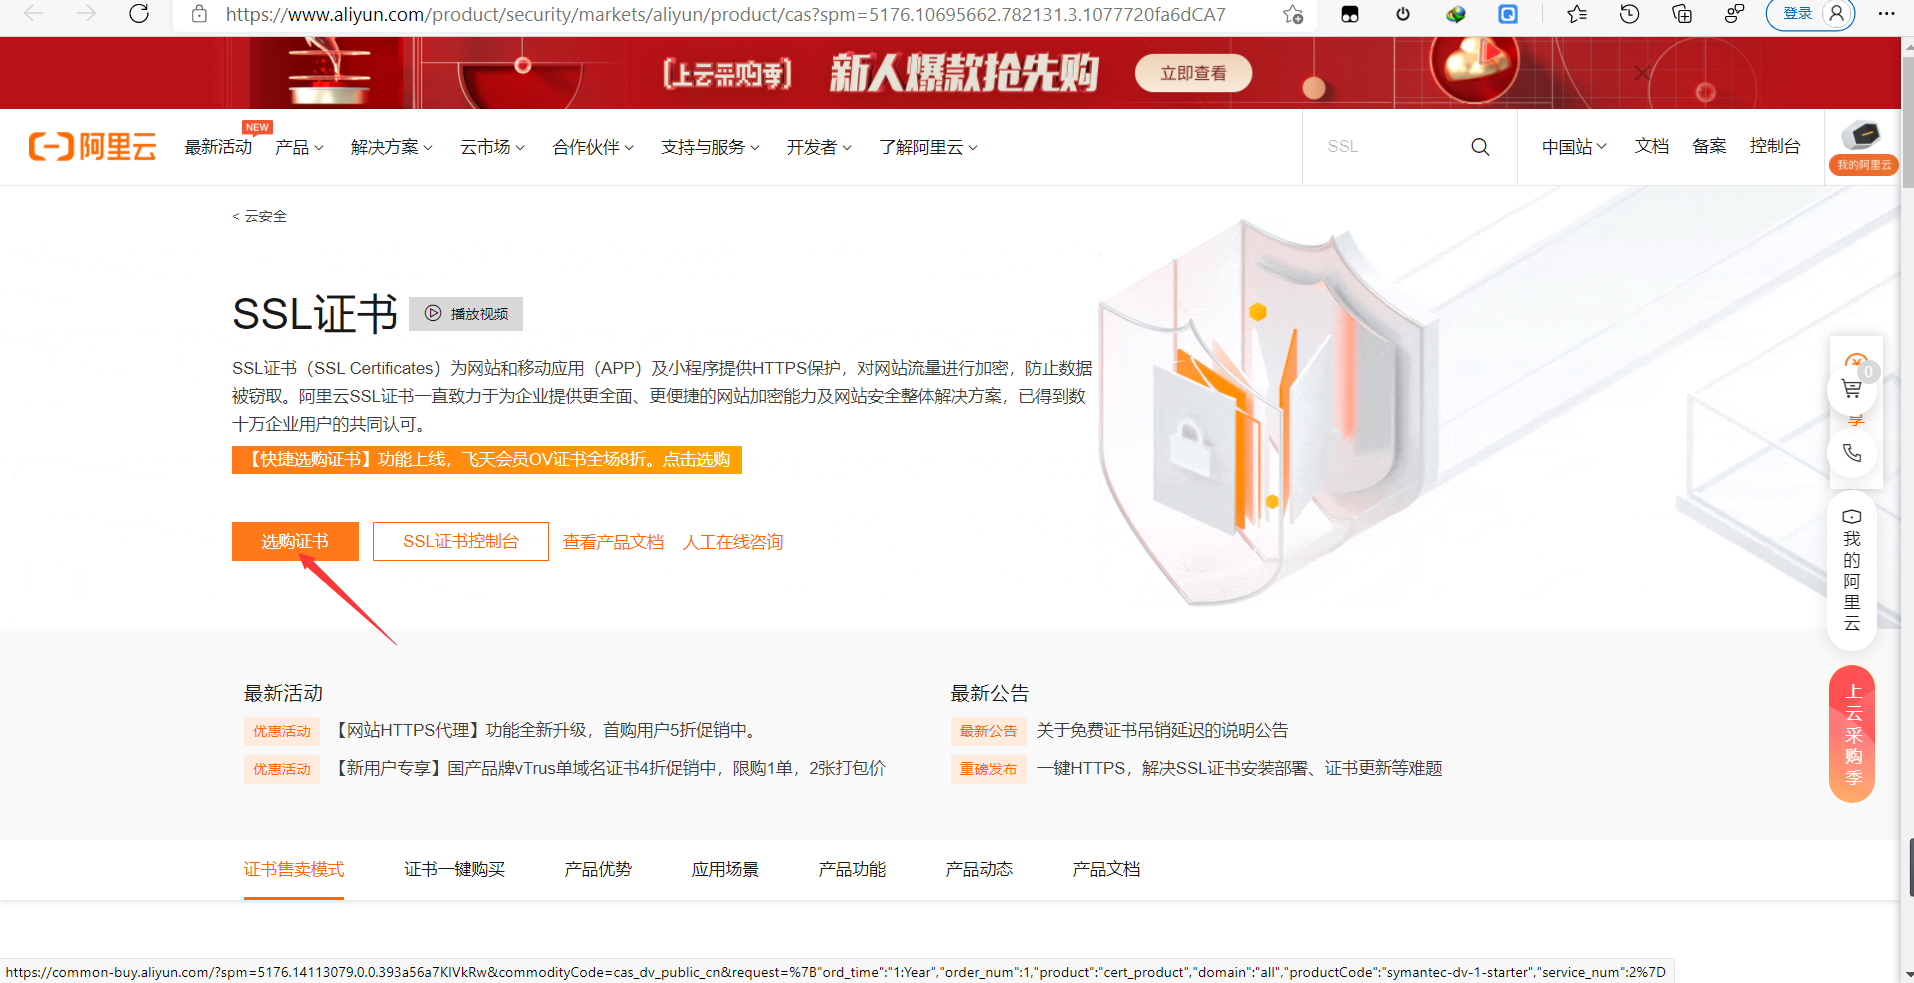
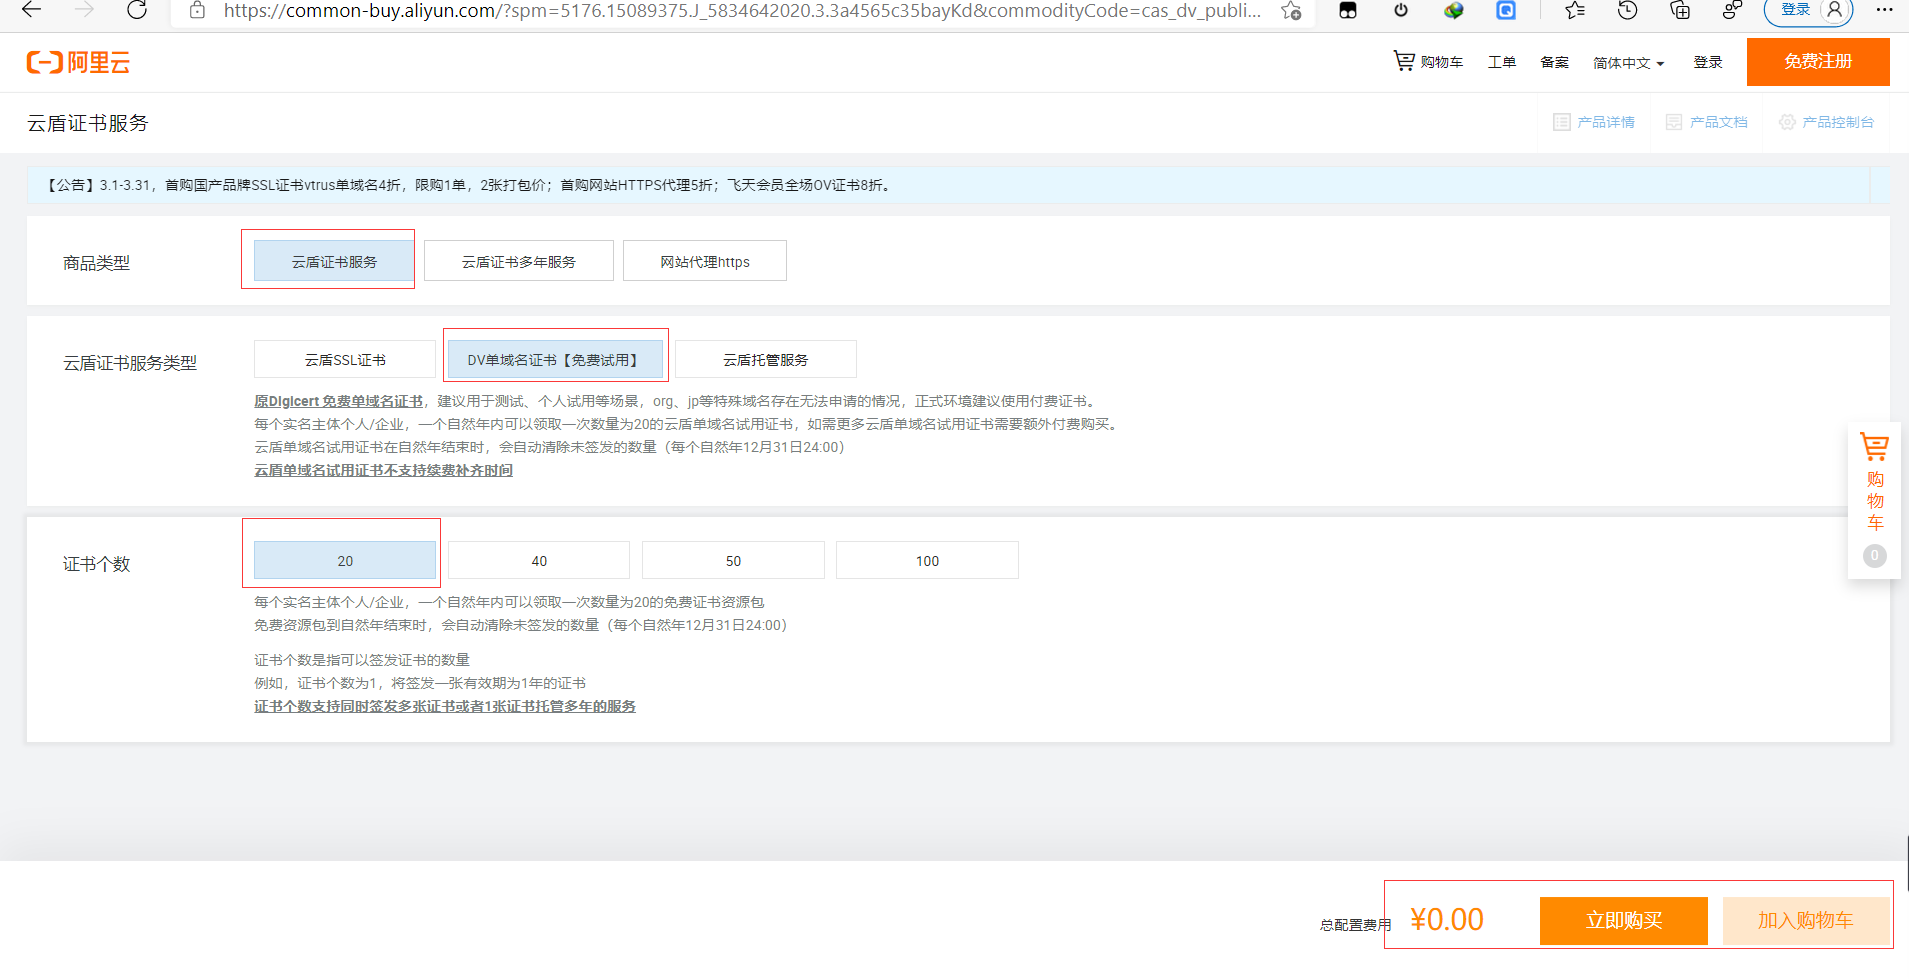
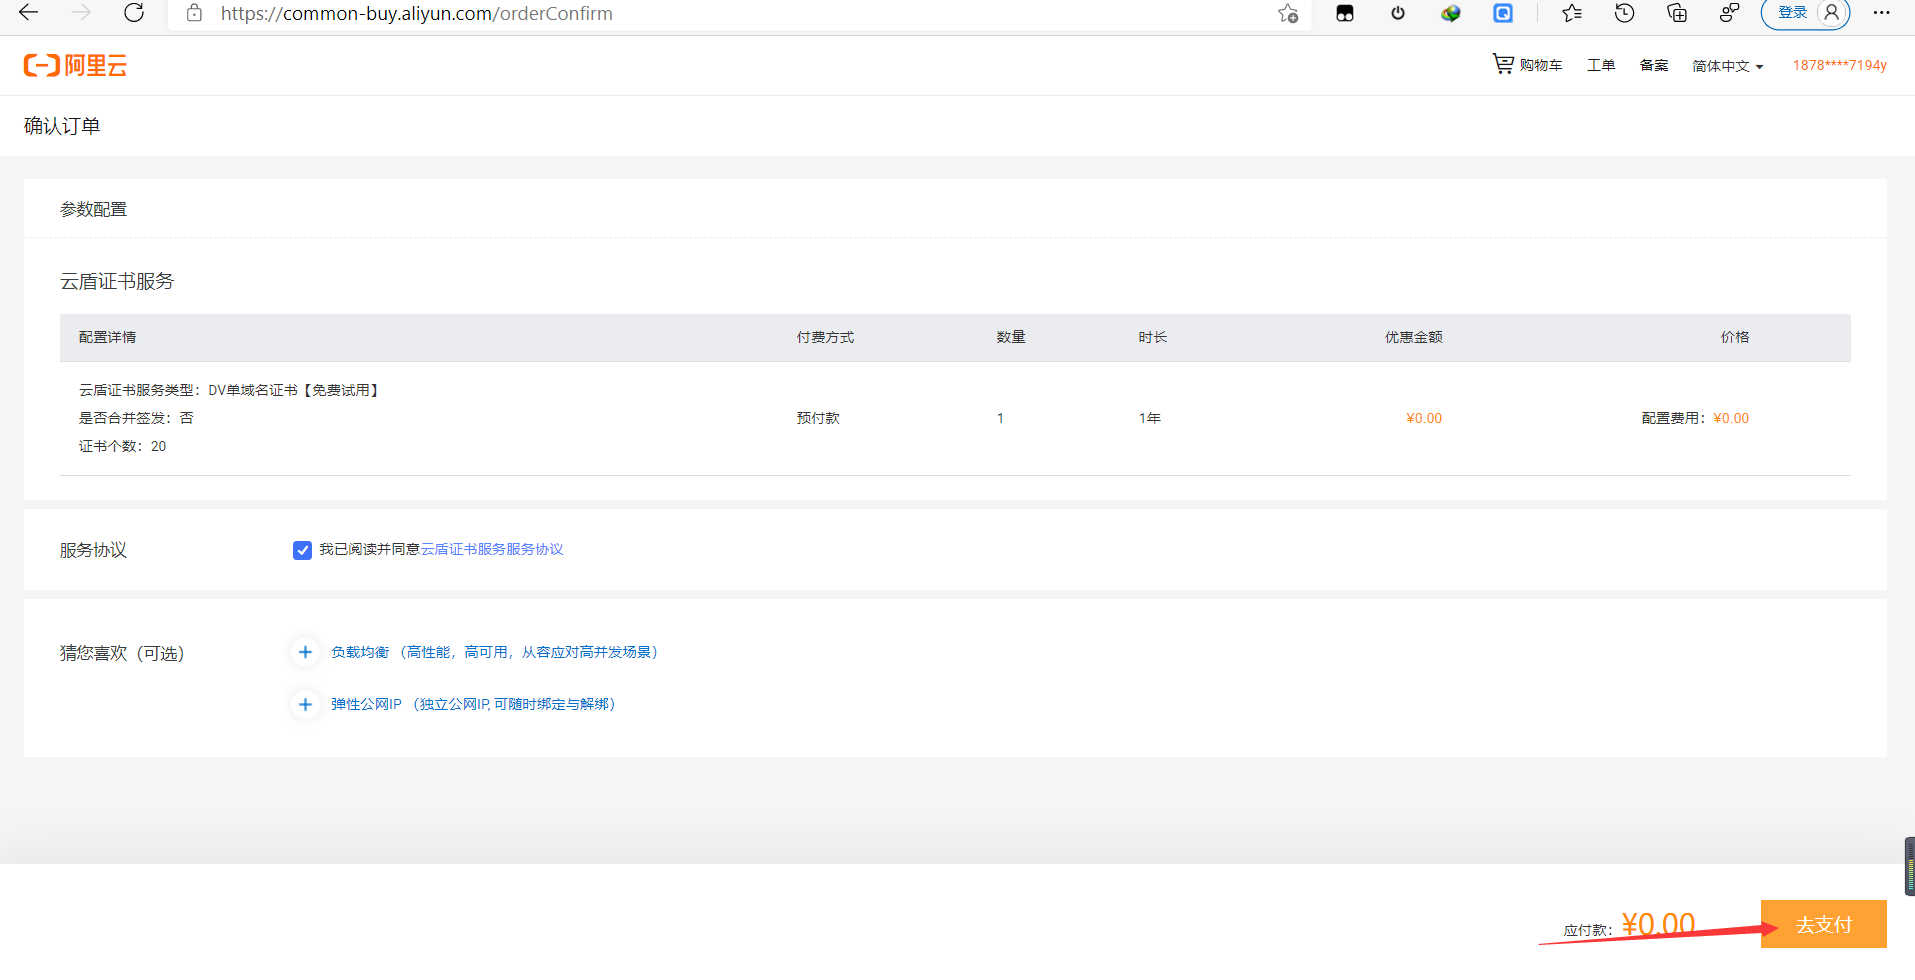
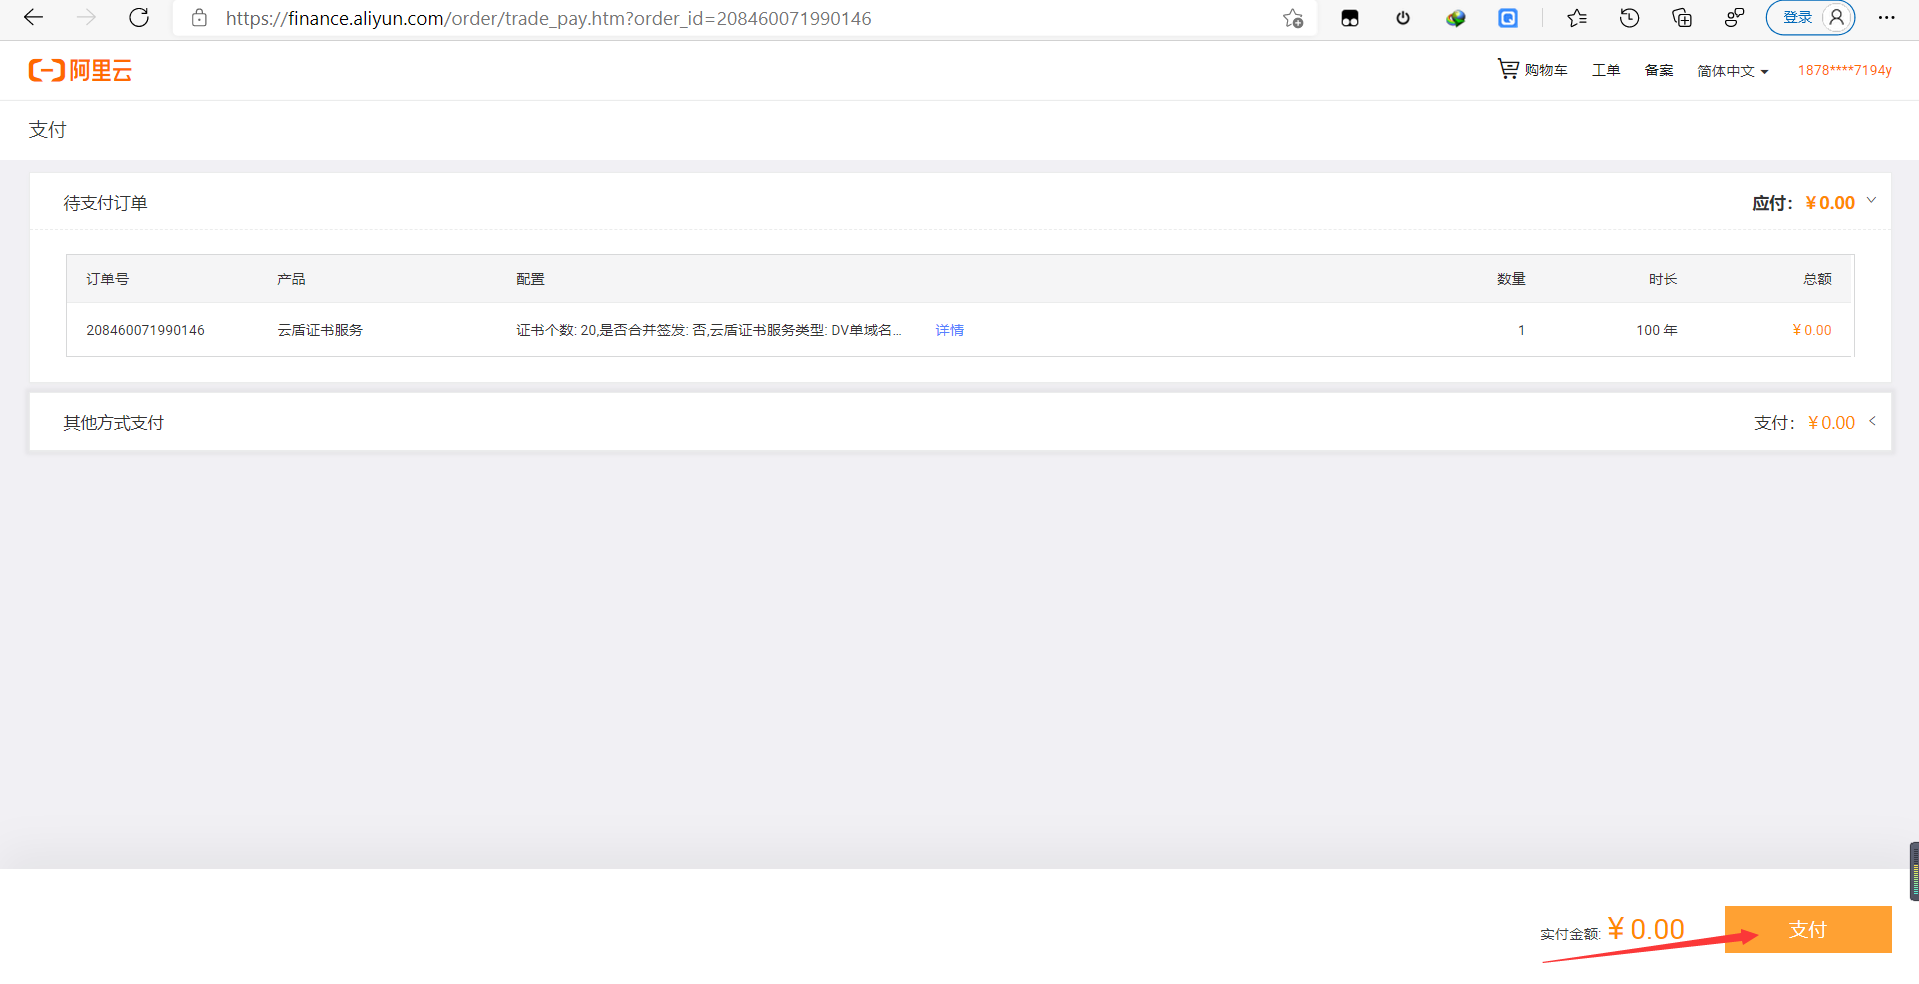
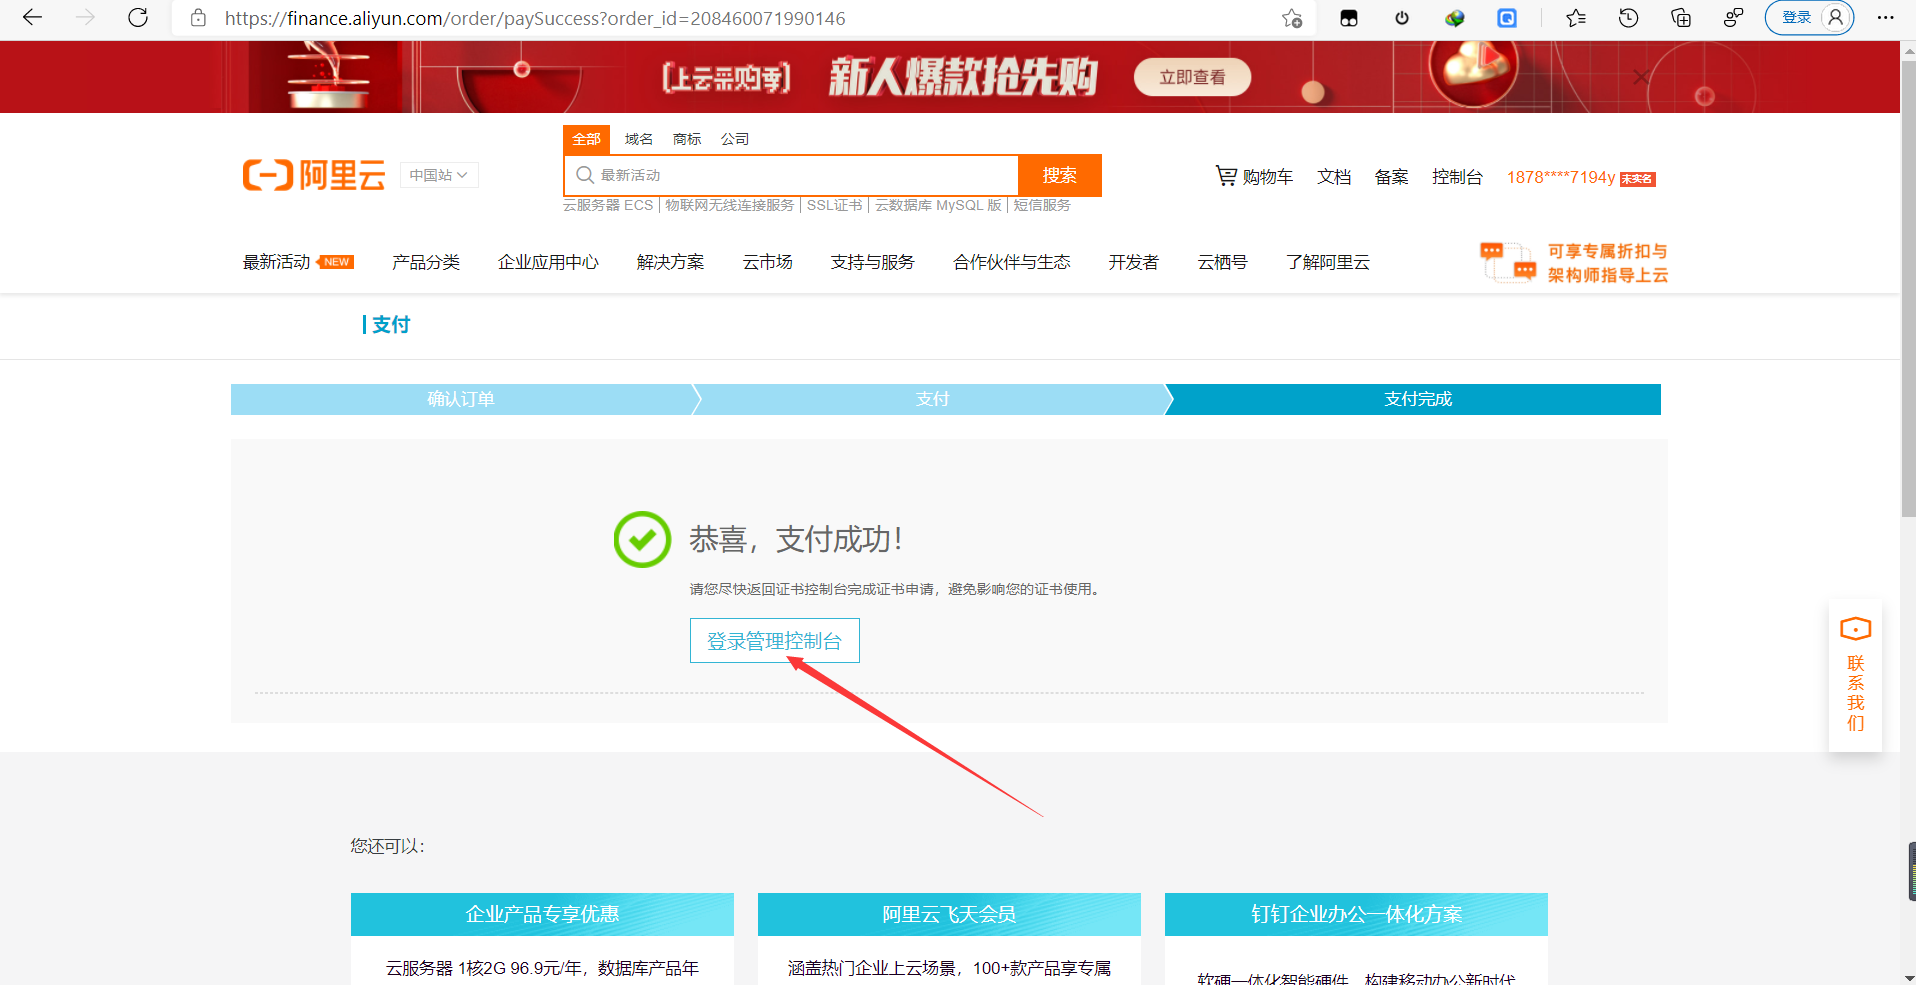
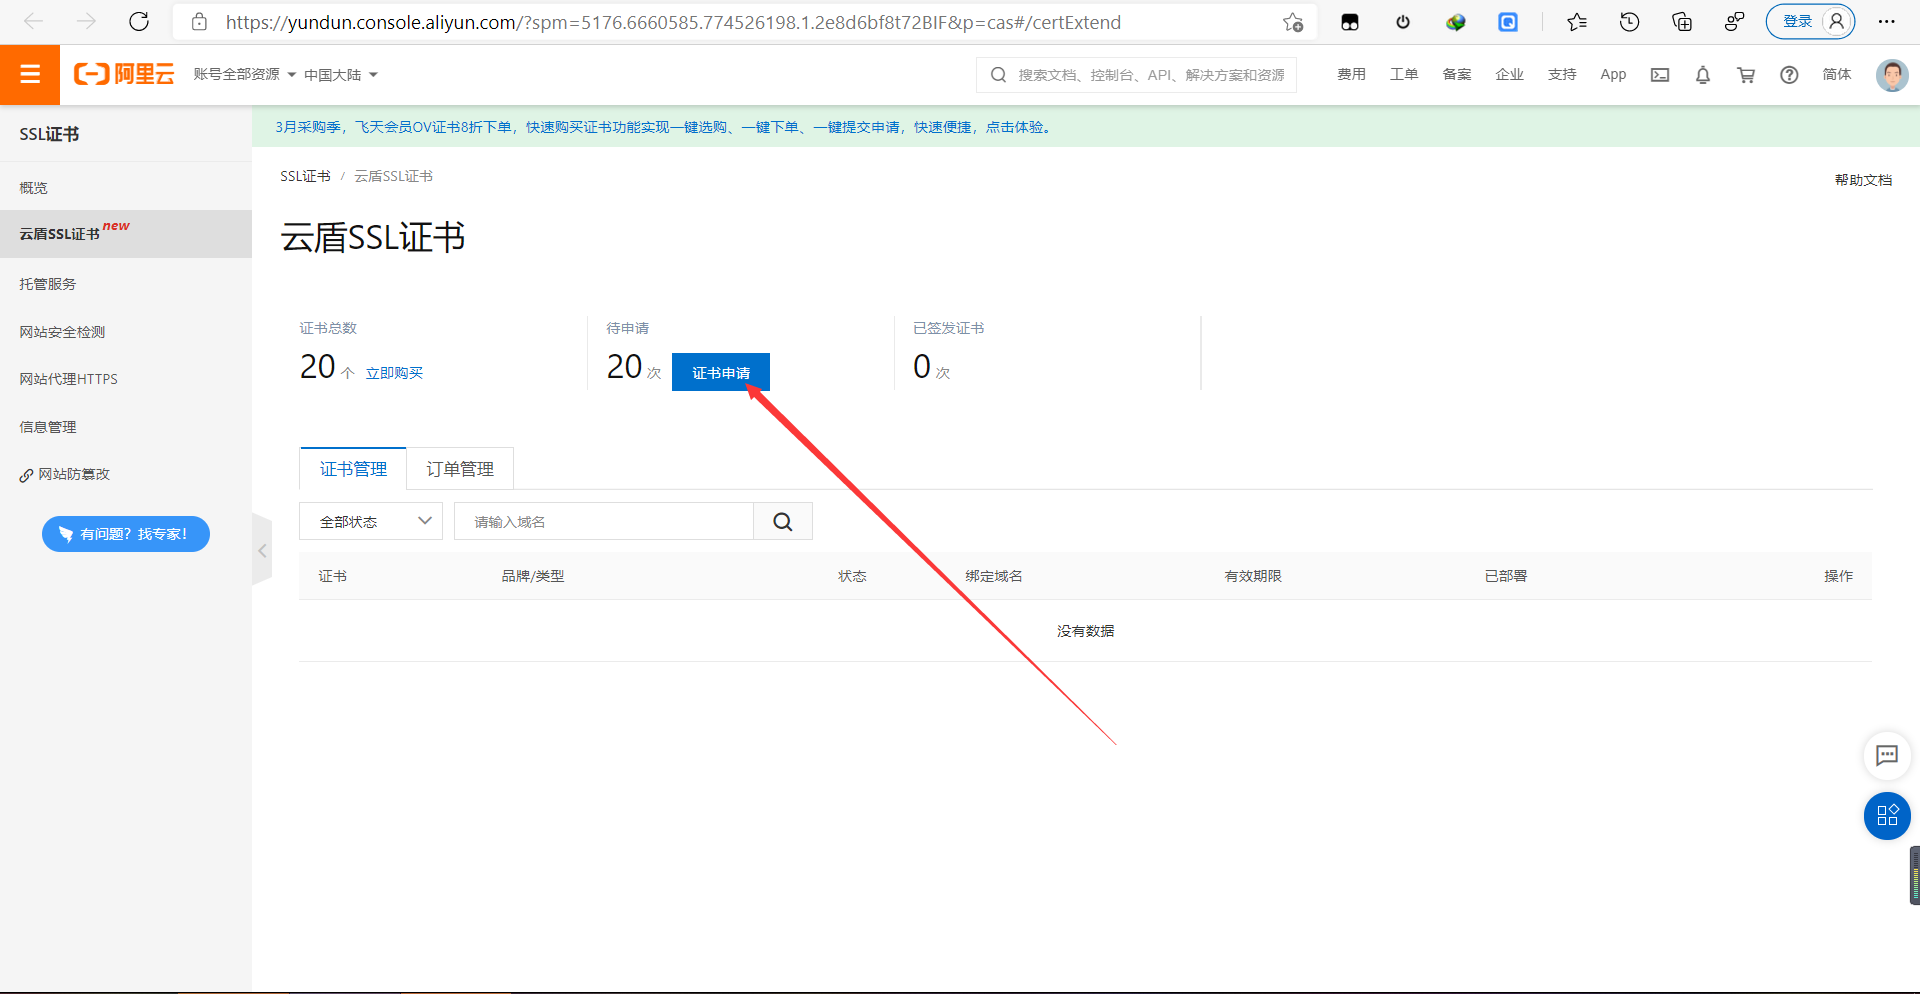
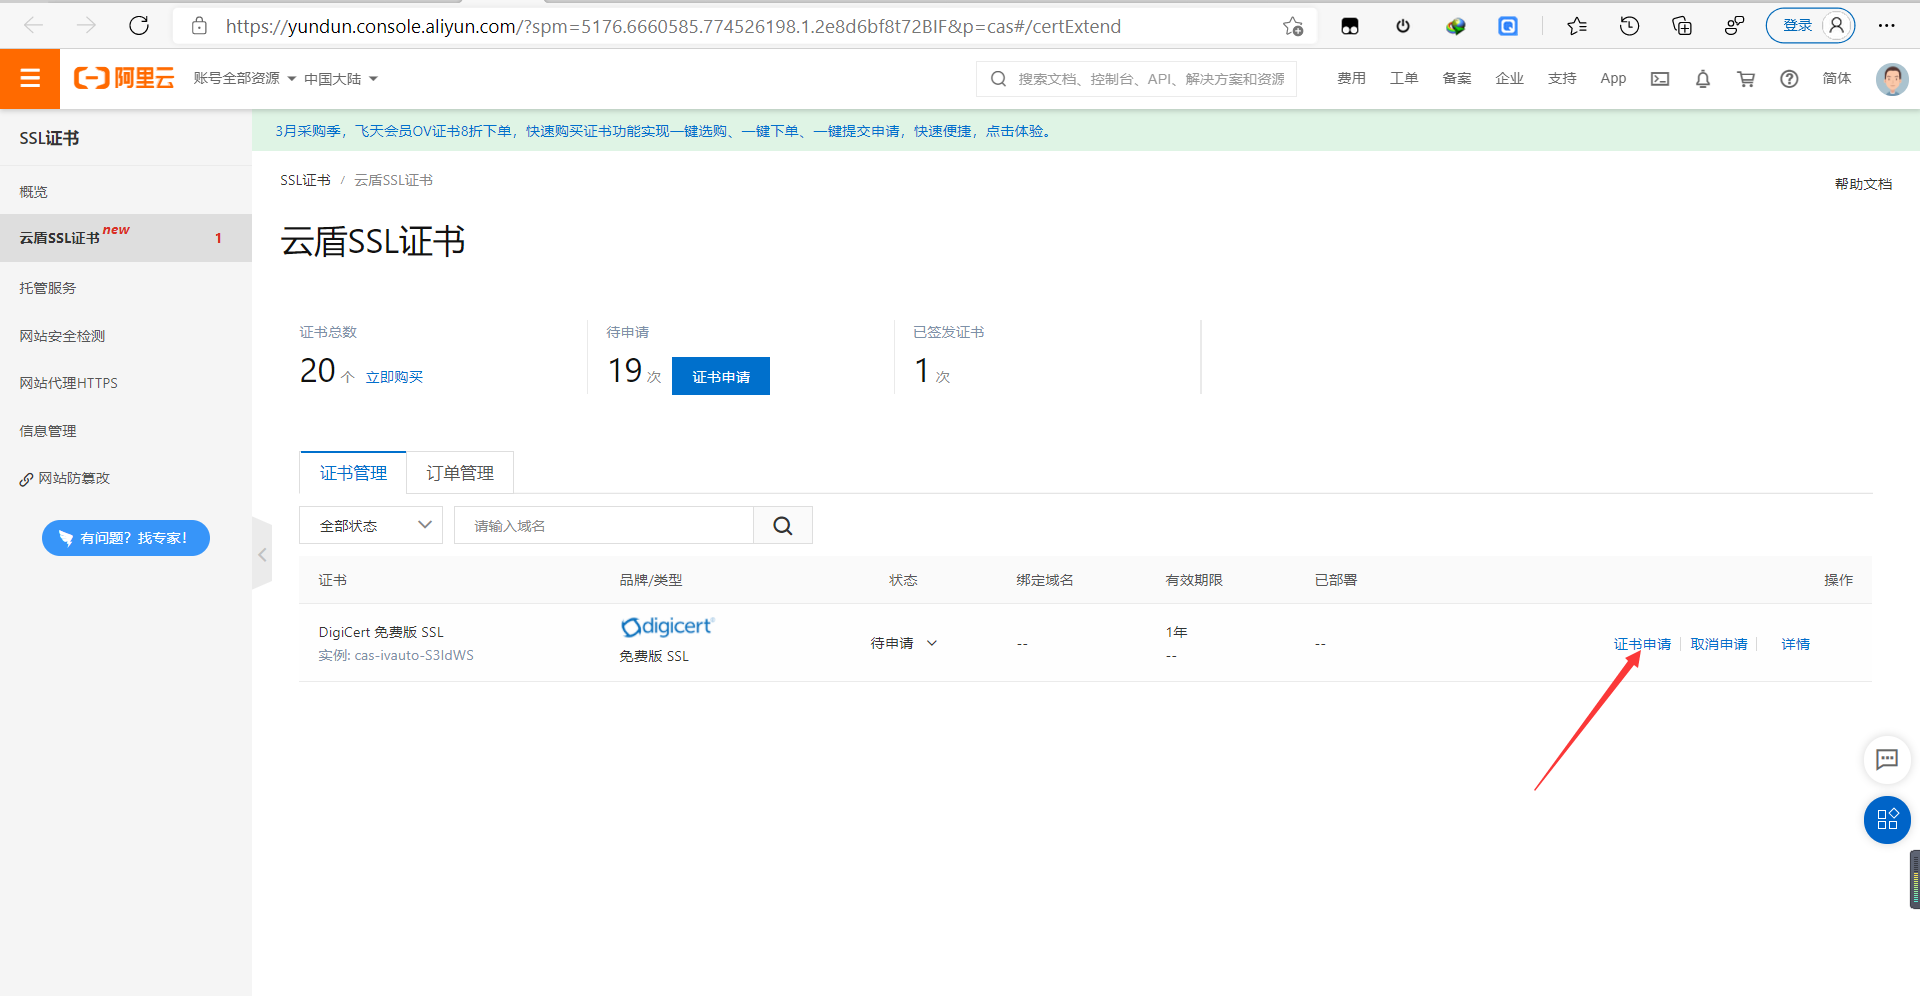
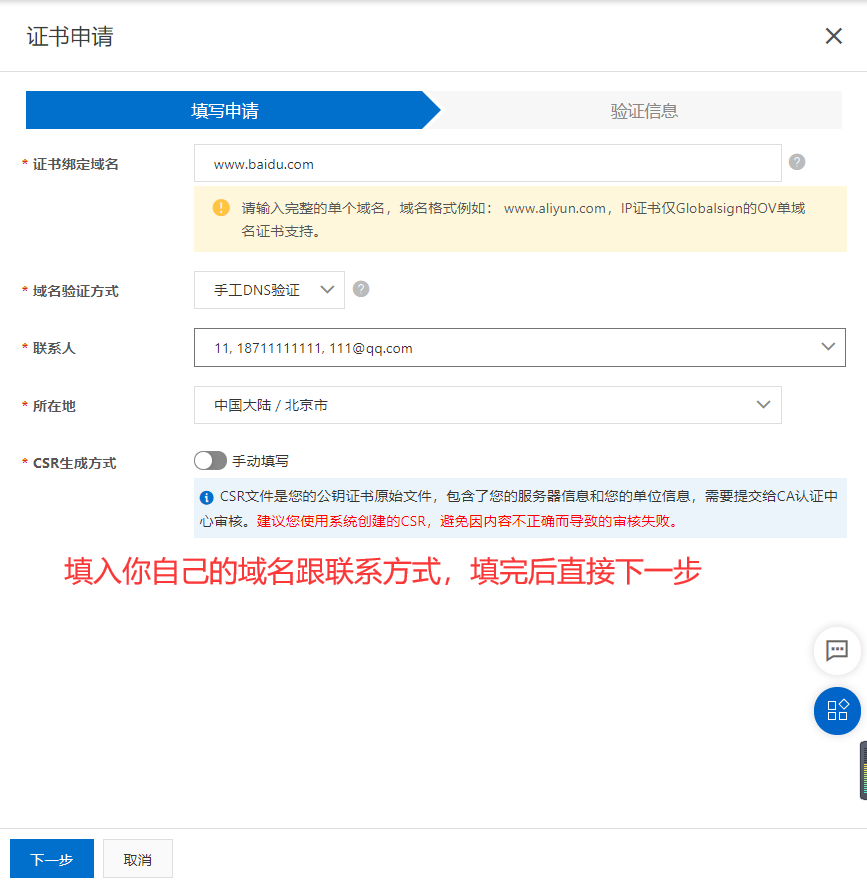
https需要的证书可以在阿里申请,申请流程如下:
访问:https://www.aliyun.com/ss/?spm=5176.19720258.J_8058803260.39.10a62c4arHWliQ&k=SSL%E8%AF%81%E4%B9%A6

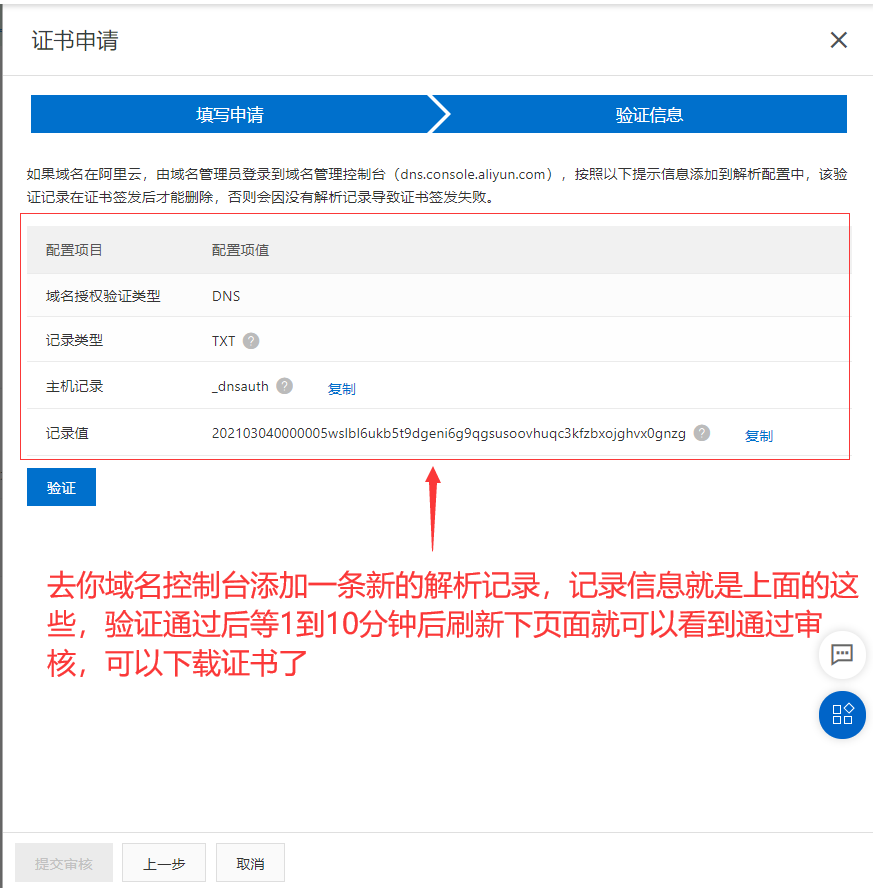
ps:审核通过能下载证书后把这条解析记录给删除掉!!!!!!!!

 浙公网安备 33010602011771号