samba用户权限控制
1. 安装及修改配置
yum -y install samba
[root@centos7 bszhihui]# cat /etc/samba/smb.conf
# See smb.conf.example for a more detailed config file or
# read the smb.conf manpage.
# Run 'testparm' to verify the config is correct after
# you modified it.

[global]
    workgroup = SAMBA
    security = user
    passdb backend = tdbsam
    printing = cups
    printcap name = cups
    load printers = yes
    cups options = raw
 #   username map = /etc/samba/smbusers

[homes]
    comment = Home Directories
    valid users = %S, %D%w%S
    browseable = No
    read only = No
    inherit acls = Yes

[printers]
    comment = All Printers
    path = /var/tmp
    printable = Yes
    create mask = 0600
    browseable = No

[print$]
    comment = Printer Drivers
    path = /var/lib/samba/drivers
    write list = root
    create mask = 0664
    directory mask = 0775
#[bszhihui]
#    comment = bszhihui
#    path = /home/bszhihui
#    writable = yes
#    public = yes
#    valid users = bszhihui

[bszhihui]
    comment = bszhihui
    path = /home/bszhihui
    #read only =yes
    public = no
    valid users = bszhihui,wuhuamin,allqa,,webrd,apprd,toolrd,allpro,@samba
    write list = bszhihui,wuhuamin,allqa,webrd,apprd,toolrd,allpro,@samba
2. 创建用户与配置文件中对应
依次创建用户
[root@centos7 ~]# useradd -d /data2/home/bszhihui/ -s /sbin/nologin wuhuamin
useradd:警告:此主目录已经存在。
不从 skel 目录里向其中复制任何文件。
[root@centos7 ~]# id wuhuamin
uid=1007(wuhuamin) gid=1007(wuhuamin) 组=1007(wuhuamin)
[root@centos7 ~]# useradd -d /data2/home/bszhihui/ -s /sbin/nologin allpro
useradd:警告:此主目录已经存在。
不从 skel 目录里向其中复制任何文件
创建用户组及组内加用户
[root@centos7 ~]# groupadd yunwei

[root@centos7 ~]# usermod -a -G yunwei wuhuamin

[root@centos7 ~]# usermod -a -G yunwei apprd

[root@centos7 ~]# id  apprd
uid=1008(apprd) gid=1008(apprd) 组=1008(apprd),1009(yunwei)
[root@centos7 bszhihui]# grep devgroup /etc/group
devgroup:x:1015:webrd,apprd,toolrd
3. 将用户添加到samba用户数据库中并设置密码
smbpasswd -a bszhihui
或者
pdbedit -a -u apprd
查看当前samba所有用户
[root@centos7 ~]# pdbedit -L
toolrd:1016:
bszhihui:1000:
wuhuamin:1007:
allpro:1025:
allqa:1011:
webrd:1014:
apprd:1015:
用户密码存放地址
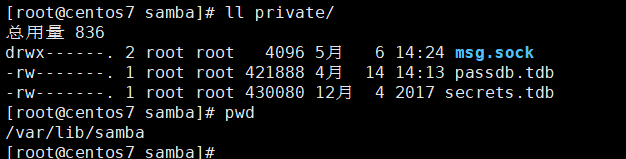
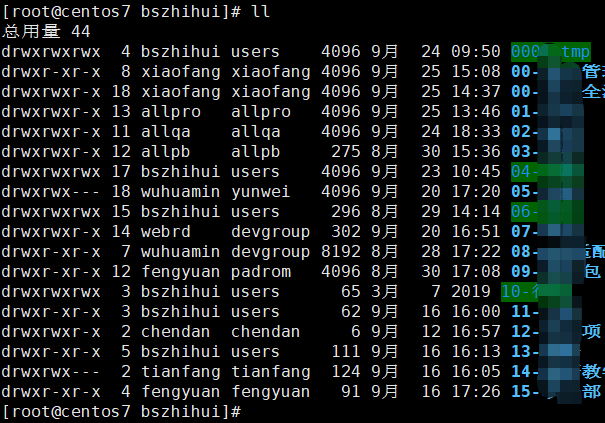
文件划分各自的所有者及属组及读写权限
4. 关闭selinux
setenforce 0
vim /etc/selinux/config
# SELINUX=disabled
getsebool -a |grep samba
5. 关闭iptabales (如开启需添加相应规则)
iptables -I RH-Firewall-1-INPUT 5 -m state --state NEW -m tcp -p tcp --dport 139 -j ACCEPT
iptables -I RH-Firewall-1-INPUT 5 -m state --state NEW -m tcp -p tcp --dport 445 -j ACCEPT
iptables -I RH-Firewall-1-INPUT 5 -p udp -m udp --dport 137 -j ACCEPT
iptables -I RH-Firewall-1-INPUT 5 -p udp -m udp --dport 138-j ACCEPT
iptables-save
service iptables restart
6. 开启smb服务
systemctl start smb.service
systemctl start nmb.service
systemctl enable smb.service
systemctl enable nmb.service
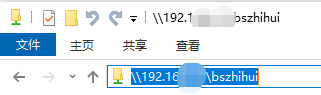
windows连接.
运行处打开地址

或者直接从文件地址处打开

 浙公网安备 33010602011771号