


AOP
- AOP实现原理
- AOP术语
代理的实现方式
手动方式
- JDK动态代理
1.编写目标类接口+实现类。
2.编写切面类,对连接点进行增强。
3.创建工厂,生产目标类的代理类对象,对目标类进行增强。
4.在配置文件中配置切面类和工厂类生产目标类的代理类对象。

5.测试
代码实现:
目录结构: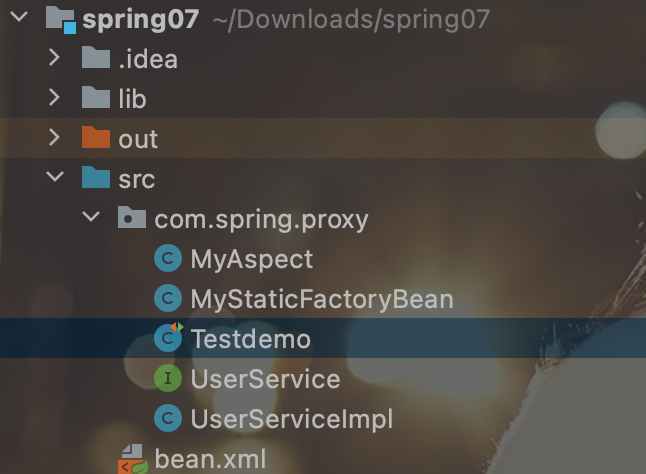
创建UerService:
package com.spring.proxy;

public interface UserService {
    void saveUser() throws Exception;
}
创建UserServiceImpl:
package com.spring.proxy;

public class UserServiceImpl implements UserService{
    @Override
    public void saveUser() throws Exception {
        System.out.println("插入功能实现");
    }
}
创建切面类MyAspect:
package com.spring.proxy;

public class MyAspect {
    public void before(){
        System.out.println("打开事务");
    }
    public void after(){
        System.out.println("提交事务");
    }
}
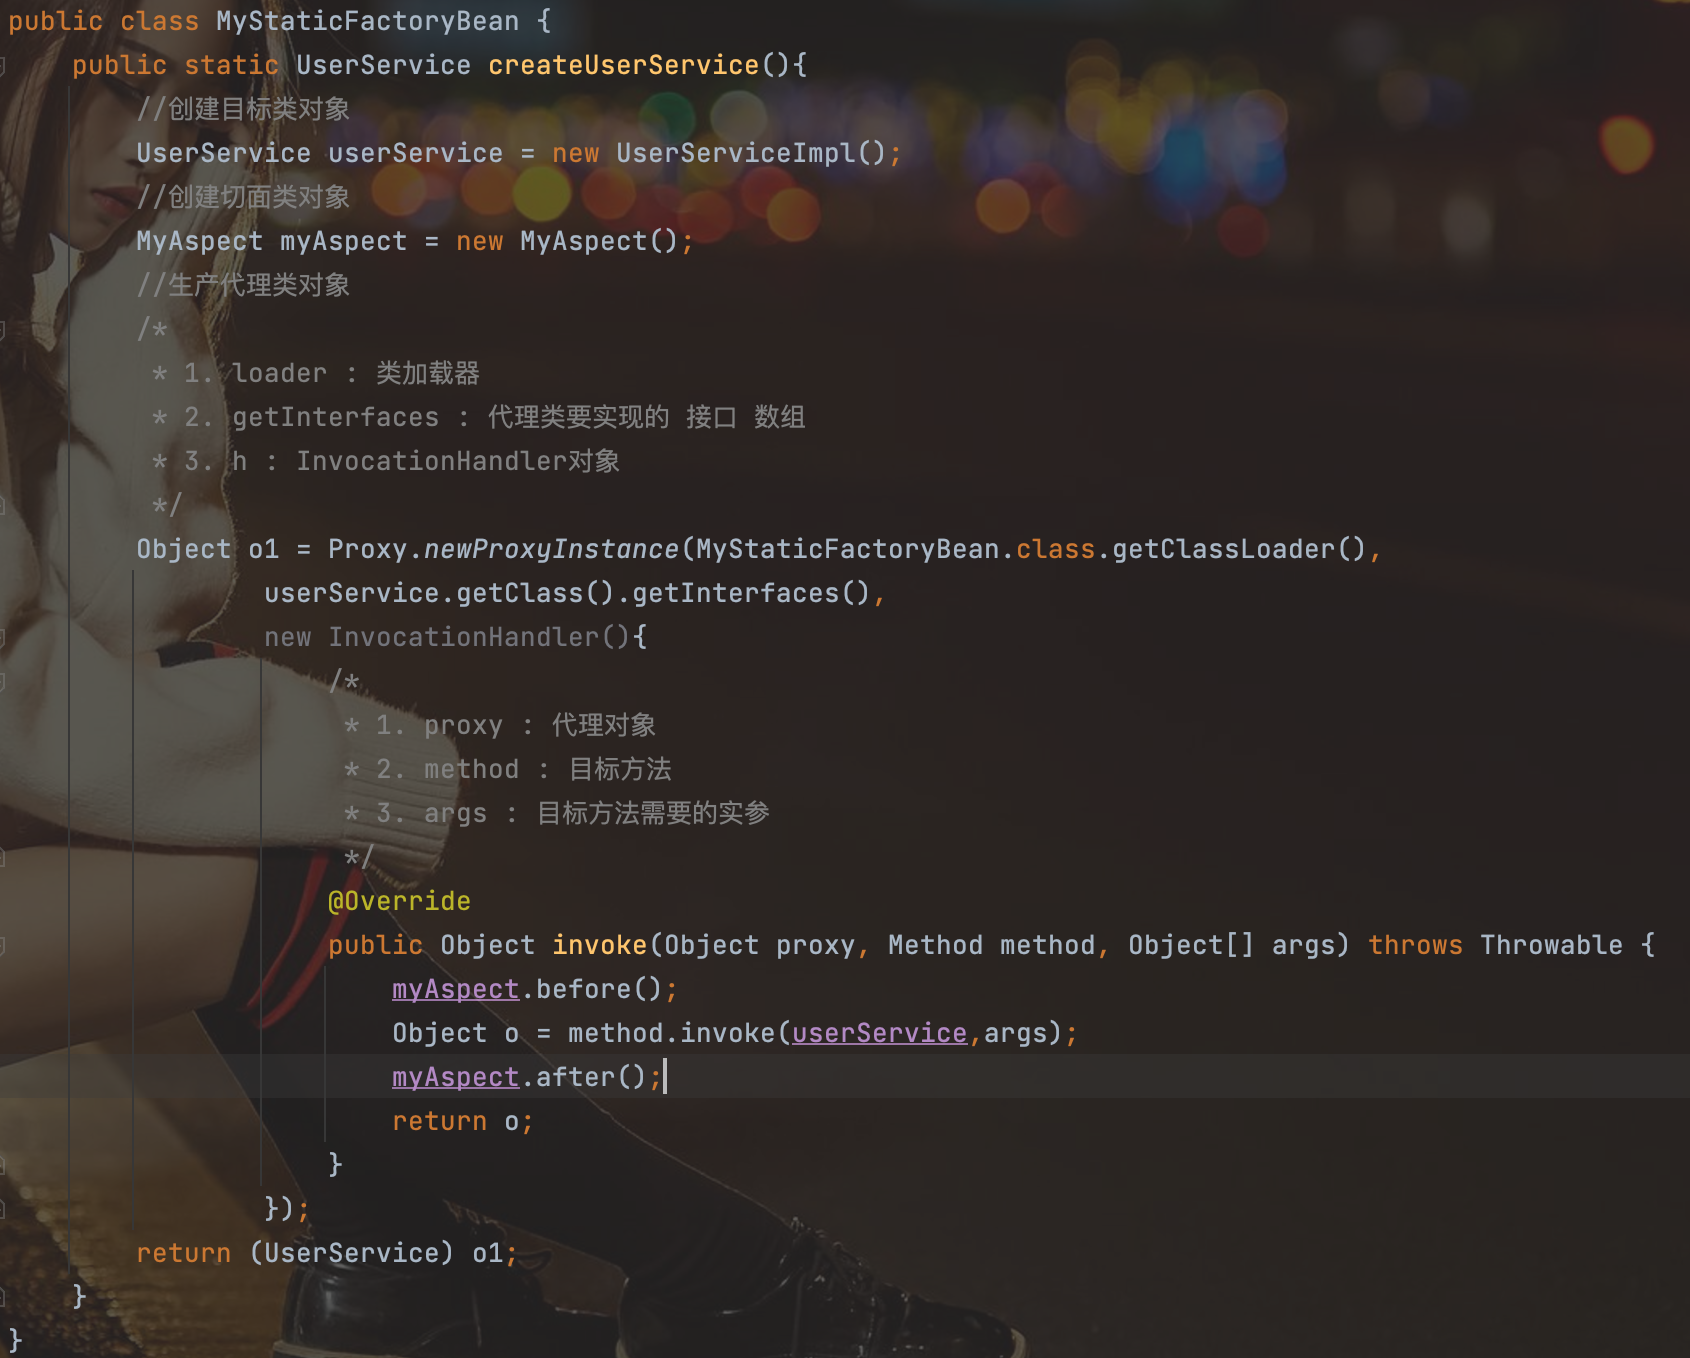
创建工厂MyStaticFactoryBean:
package com.spring.proxy;

import java.lang.reflect.InvocationHandler;
import java.lang.reflect.Method;
import java.lang.reflect.Proxy;

public class MyStaticFactoryBean {
    public static UserService createUserService(){
        //创建目标类对象
        UserService userService = new UserServiceImpl();
        //创建切面类对象
        MyAspect myAspect = new MyAspect();
        //生产代理类对象
        /*
         * 1. loader : 类加载器
         * 2. getInterfaces : 代理类要实现的 接口 数组
         * 3. h : InvocationHandler对象
         */
        Object o1 = Proxy.newProxyInstance(MyStaticFactoryBean.class.getClassLoader(),
                userService.getClass().getInterfaces(),
                new InvocationHandler(){
                    /*
                     * 1. proxy : 代理对象
                     * 2. method : 目标方法
                     * 3. args : 目标方法需要的实参
                     */
                    @Override
                    public Object invoke(Object proxy, Method method, Object[] args) throws Throwable {
                        myAspect.before();
                        Object o = method.invoke(userService,args);
                        myAspect.after();
                        return o;
                    }
                });
        return (UserService) o1;
    }
}
创建bean.xml:
<?xml version="1.0" encoding="UTF-8"?>
<beans xmlns="http://www.springframework.org/schema/beans"
       xmlns:xsi="http://www.w3.org/2001/XMLSchema-instance"
       xmlns:context="http://www.springframework.org/schema/context"
       xsi:schemaLocation="
        http://www.springframework.org/schema/beans
        http://www.springframework.org/schema/beans/spring-beans.xsd
      http://www.springframework.org/schema/context
      http://www.springframework.org/schema/context/spring-context.xsd">

    <bean id="myAspect" class="com.spring.proxy.MyAspect"></bean>

    <bean id="userService" class="com.spring.proxy.MyStaticFactoryBean" factory-method="createUserService"></bean>

</beans>
创建测试类:
package com.spring.proxy;

import org.junit.Test;
import org.springframework.context.ApplicationContext;
import org.springframework.context.support.ClassPathXmlApplicationContext;

public class Testdemo {
    @Test
    public void test1() throws Exception {
        ApplicationContext ac = new ClassPathXmlApplicationContext("bean.xml");
        UserService userService = (UserService) ac.getBean("userService");
        userService.saveUser();
    }
}
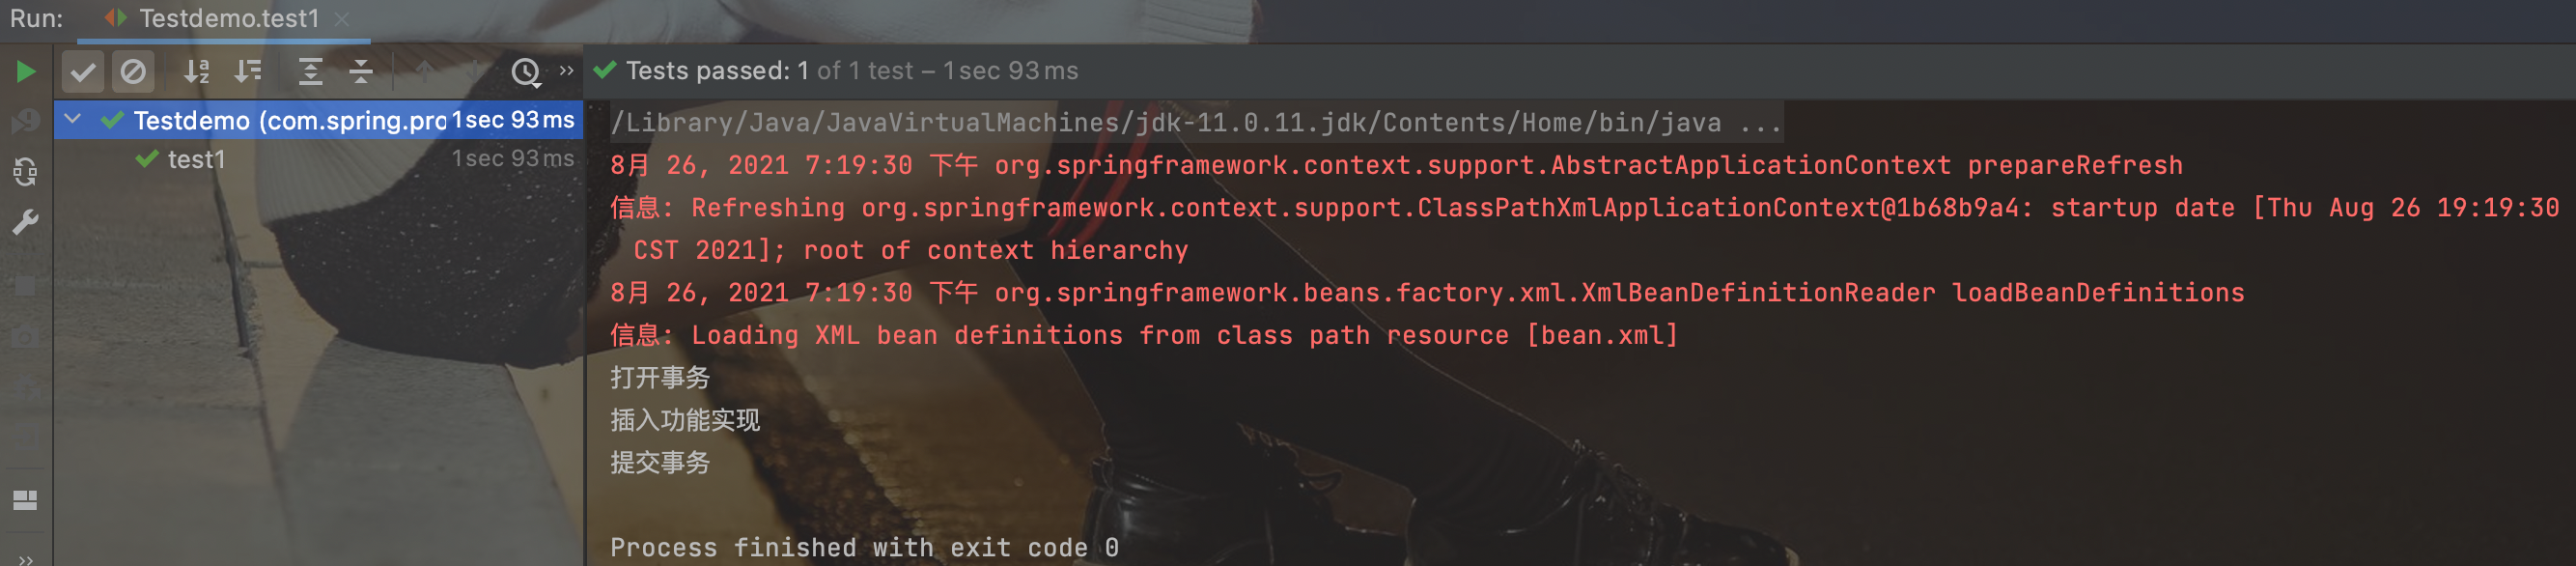
运行结果:
- CGLIB字节码增强
1.编写目标类实现类。
2.编写切面类,对连接点进行增强。
3.创建工厂,生产目标类的代理类对象,对目标类进行增强。
4.在配置文件中配置切面类和工厂类生产目标类的代理类对象。

5.测试
代码实现:
目录结构:
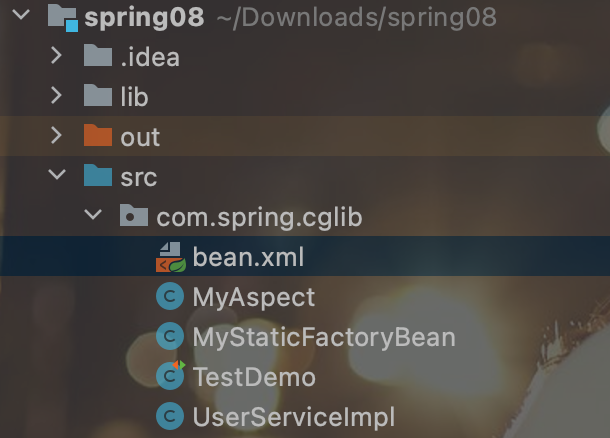
创建UserServiceImpl:
package com.spring.cglib;

public class UserServiceImpl {
    public void saveUser() throws Exception{
        System.out.println("插入功能实现完成cglib");
    }
}
创建切面类MyAspect:
package com.spring.cglib;

public class MyAspect {
    public void before() {
        System.out.println("cglib打开事务");
    }
    public void after() {
        System.out.println("cglib提交事务");
    }
}
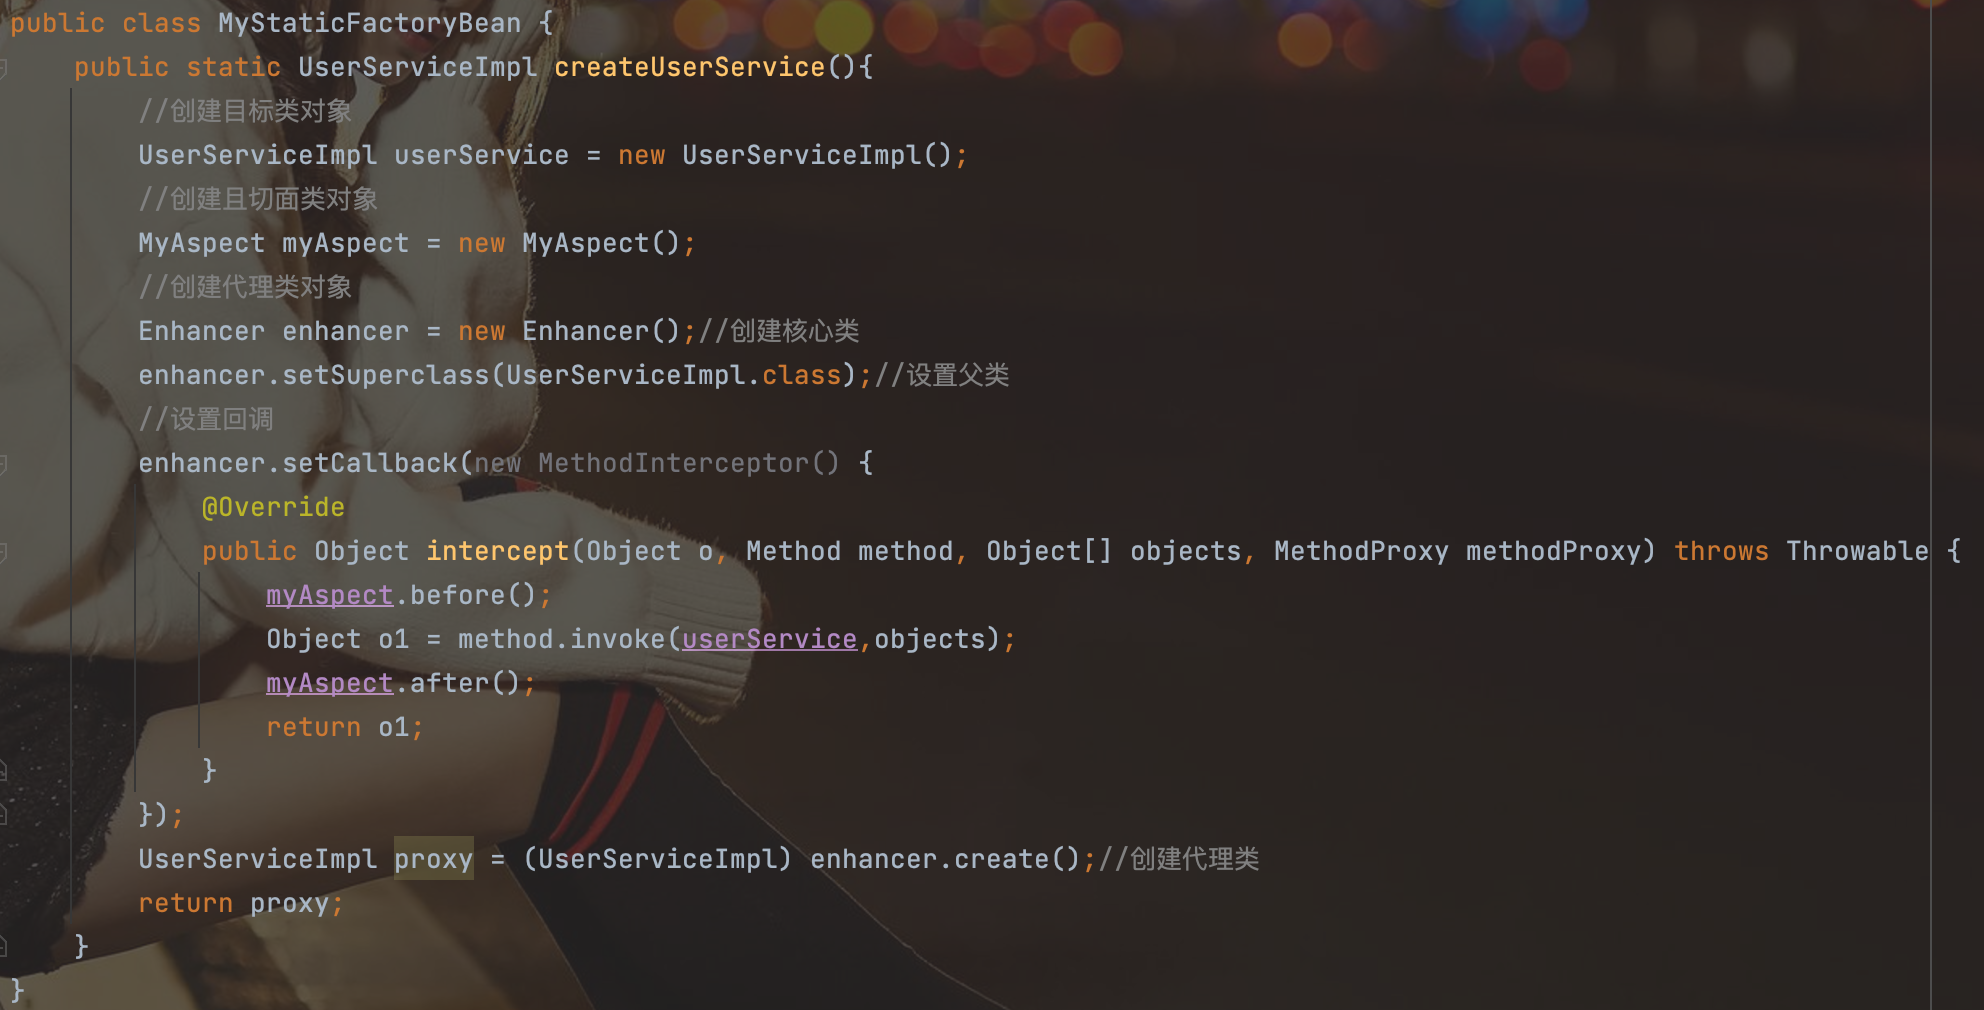
创建工厂MyStaticFactoryBean:
package com.spring.cglib;

import org.springframework.cglib.proxy.Enhancer;
import org.springframework.cglib.proxy.MethodInterceptor;
import org.springframework.cglib.proxy.MethodProxy;

import java.lang.reflect.Method;

public class MyStaticFactoryBean {
    public static UserServiceImpl createUserService(){
        //创建目标类对象
        UserServiceImpl userService = new UserServiceImpl();
        //创建且切面类对象
        MyAspect myAspect = new MyAspect();
        //创建代理类对象
        Enhancer enhancer = new Enhancer();//创建核心类
        enhancer.setSuperclass(UserServiceImpl.class);//设置父类
        //设置回调
        enhancer.setCallback(new MethodInterceptor() {
            @Override
            public Object intercept(Object o, Method method, Object[] objects, MethodProxy methodProxy) throws Throwable {
                myAspect.before();
                Object o1 = method.invoke(userService,objects);
                myAspect.after();
                return o1;
            }
        });
        UserServiceImpl proxy = (UserServiceImpl) enhancer.create();//创建代理类
        return proxy;
    }
}
创建bean.xml:
<?xml version="1.0" encoding="UTF-8"?>
<beans xmlns="http://www.springframework.org/schema/beans"
       xmlns:xsi="http://www.w3.org/2001/XMLSchema-instance"
       xmlns:context="http://www.springframework.org/schema/context"
       xsi:schemaLocation="http://www.springframework.org/schema/beans
       http://www.springframework.org/schema/beans/spring-beans.xsd
        http://www.springframework.org/schema/context
        http://www.springframework.org/schema/context/spring-context.xsd">

    <bean id="myAspect" class="com.spring.cglib.MyAspect"></bean>

    <bean id="userService" class="com.spring.cglib.MyStaticFactoryBean" factory-method="createUserService"></bean>

</beans>
创建测试类:
package com.spring.cglib;

import org.junit.Test;
import org.springframework.context.support.ClassPathXmlApplicationContext;

public class TestDemo {
    @Test
    public void test() throws Exception{
        ClassPathXmlApplicationContext ac = new ClassPathXmlApplicationContext("com/spring/cglib/bean.xml");
        UserServiceImpl us = (UserServiceImpl) ac.getBean("userService");
        us.saveUser();
    }
}
运行结果:

半自动方式
- AOP联盟通知类型
AOP联盟为通知Advice定义了org.aopalliance.aop.Advice,Spring按照通知Advice在目标类方法的连接点位置,可以分为5类:
前置通知:org.springframework.aop.MethodBeforeAdvice 在目标方法执行前实施增强
后置通知:org.springframework.aop.AfterReturningAdvice 在目标方法执行后实施增强
环绕通知:org.aopalliance.intercept.MethodInterceptor 在目标方法执行前后实施增强
异常抛出通知:org.springframework.aop.ThrowsAdvice 在方法抛出异常后实施增强
引介通知:org.springframework.aop.IntroductionInterceptor 在目标类中添加一些新的方法和属性
- 实现步骤
让spring自动创建代理对象,从spring容器中手动的获取代理对象。
第一步:导入jar包:4+1、AOP联盟(规范)、spring-aop(实现)。
第二步:创建目标类接口和实现类。
第三步:创建切面类,实现某个特定接口。
第四步:配置文件配置ProxyFactoryBean,注入interfaces、target、interceptorNames、optimize。
第五步:测试。
代码实现:
目录结构:
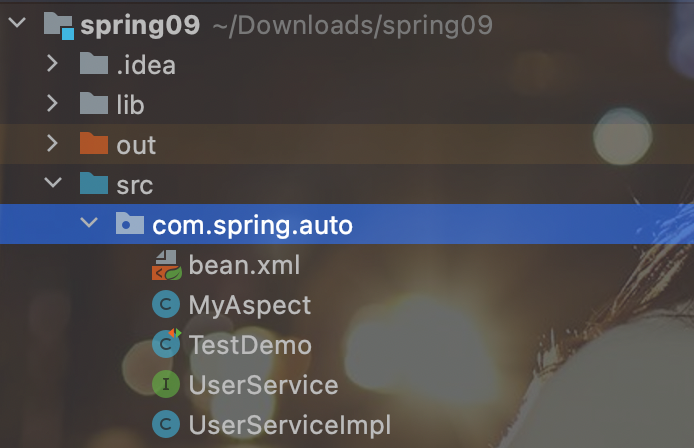
创建UserService:
package com.spring.auto;

public interface UserService {
    void saveUser() throws Exception;
}
创建UserServiceImpl:
package com.spring.auto;

public class UserServiceImpl implements UserService{

    @Override
    public void saveUser() throws Exception {
        System.out.println("半自动代理插入功能实现");
    }
}
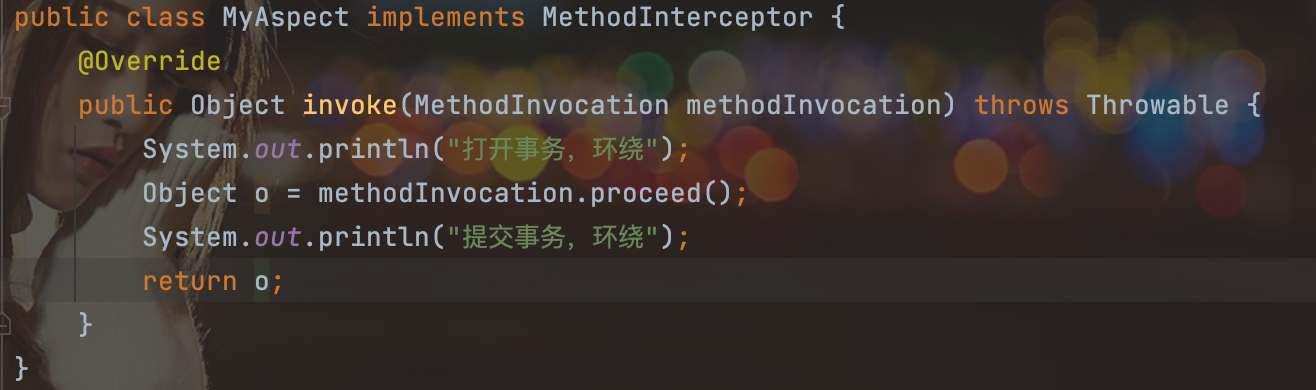
创建切面类MyAspect:
package com.spring.auto;

import org.aopalliance.intercept.MethodInterceptor;
import org.aopalliance.intercept.MethodInvocation;

public class MyAspect implements MethodInterceptor {
    @Override
    public Object invoke(MethodInvocation methodInvocation) throws Throwable {
        System.out.println("打开事务,环绕");
        Object o = methodInvocation.proceed();
        System.out.println("提交事务,环绕");
        return o;
    }
}
创建bean.xml:
<?xml version="1.0" encoding="UTF-8"?>
<beans xmlns="http://www.springframework.org/schema/beans"
xmlns:xsi="http://www.w3.org/2001/XMLSchema-instance"
xmlns:context="http://www.springframework.org/schema/context"
xsi:schemaLocation="http://www.springframework.org/schema/beans
http://www.springframework.org/schema/beans/spring-beans.xsd
http://www.springframework.org/schema/context
http://www.springframework.org/schema/context/spring-context.xsd">
<bean id="userServcie" class="com.spring.auto.UserServiceImpl"></bean>
<bean id="myAspect" class="com.spring.auto.MyAspect"></bean>
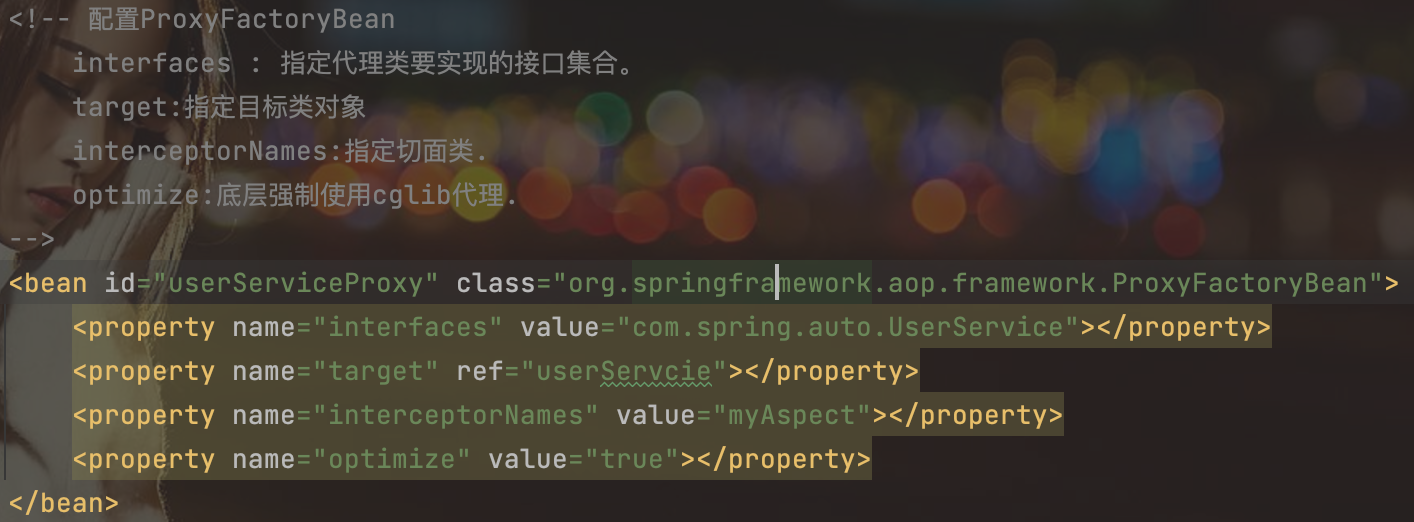
<!-- 配置ProxyFactoryBean
interfaces : 指定代理类要实现的接口集合。
target:指定目标类对象
interceptorNames:指定切面类.
optimize:底层强制使用cglib代理.
-->
<bean id="userServiceProxy" class="org.springframework.aop.framework.ProxyFactoryBean">
<property name="interfaces" value="com.spring.auto.UserService"></property>
<property name="target" ref="userServcie"></property>
<property name="interceptorNames" value="myAspect"></property>
<property name="optimize" value="true"></property>
</bean>
</beans>
创建测试类:
package com.spring.auto;

import org.junit.Test;
import org.springframework.context.support.ClassPathXmlApplicationContext;

public class TestDemo {
    @Test
    public void test() throws Exception{
        ClassPathXmlApplicationContext ac = new ClassPathXmlApplicationContext("com/spring/auto/bean.xml");
        UserService userService = (UserService) ac.getBean("userServiceProxy");
        userService.saveUser();
    }
}
运行结果:

全自动方式
从容器获得目标类,如果配置了aop,spring将自动生成代理。
实现步骤:
1.导入织入weaving包。
2.创建目标类接口+实现类。
3.创建切面类,实现aop通知接口
4.配置文件中配置aop。
5.测试
代码实现:
创建UserService:
package com.spring.auto;

public interface UserService {
    void saveUser() throws Exception;
}
创建UserServiceImpl:
package com.spring.auto;

public class UserServiceImpl implements UserService{
    @Override
    public void saveUser() throws Exception {
        System.out.println("全自动插入功能完成");
    }
}
创建切面类MyAspect:
package com.spring.auto;

import org.aopalliance.intercept.MethodInterceptor;
import org.aopalliance.intercept.MethodInvocation;

public class MyAspect implements MethodInterceptor {
    @Override
    public Object invoke(MethodInvocation methodInvocation) throws Throwable {
        System.out.println("打开事务-环绕-全自动");
        Object o = methodInvocation.proceed();
        System.out.println("提交事务-环绕-全自动");
        return o;
    }
}
创建bean.xml:
<?xml version="1.0" encoding="UTF-8"?>
<beans xmlns="http://www.springframework.org/schema/beans"
xmlns:xsi="http://www.w3.org/2001/XMLSchema-instance"
xmlns:context="http://www.springframework.org/schema/context"
xmlns:aop="http://www.springframework.org/schema/aop"
xsi:schemaLocation="http://www.springframework.org/schema/beans
http://www.springframework.org/schema/beans/spring-beans.xsd
http://www.springframework.org/schema/context
http://www.springframework.org/schema/context/spring-context.xsd
http://www.springframework.org/schema/aop
http://www.springframework.org/schema/aop/spring-aop.xsd">
<bean id="userService" class="com.spring.auto.UserServiceImpl"></bean>
<bean id="myAspect" class="com.spring.auto.MyAspect"></bean>
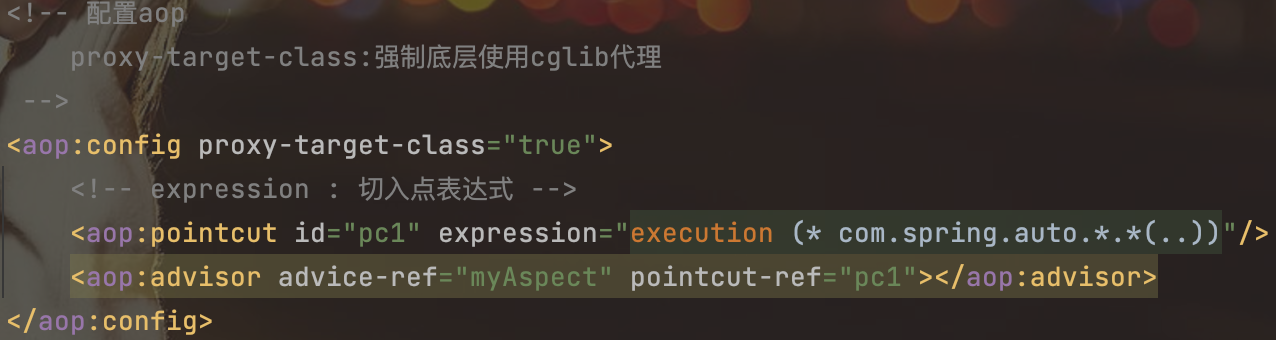
<!-- 配置aop
proxy-target-class:强制底层使用cglib代理
-->
<aop:config proxy-target-class="true">
<!-- expression : 切入点表达式 -->
<aop:pointcut id="pc1" expression="execution (* com.spring.auto.*.*(..))"/>
<aop:advisor advice-ref="myAspect" pointcut-ref="pc1"></aop:advisor>
</aop:config>
</beans>
创建测试类:
package com.spring.auto;

import org.junit.Test;
import org.springframework.context.support.ClassPathXmlApplicationContext;

public class TestDemo {
    @Test
    public void test() throws Exception{
        ClassPathXmlApplicationContext ac = new ClassPathXmlApplicationContext("com/spring/auto/bean.xml");
        UserService userService = (UserService) ac.getBean("userService");
        userService.saveUser();
    }
}
运行结果:

AspectJ
切入点表达式
execution():用于描述方法
语法:execution (修饰符返回值包.类.方法名(参数) throws异常)
修饰符:一般省略
public:公共方法
*:任意
返回值:不能省略
void:返回没有值
String:返回值字符串
*:任意
包:[可以省略]
com.xtt.crm:固定包
com.xtt.crm.*.service
com.xtt.crm..
com.xtt.crm.*.service..
类:[可以省略]
UserServiceImpl *Impl User* *
方法名:不能省略
addUser add* *Do *
(参数)
() (int) (int , String) (..)
throws:可省略,一般不写
例:execution (* com.xtt.crm.*.service..*.*(..))
<aop:pointcut expression="execution (* com.xtt.*end.*(..)) ||
execution (* com.xtt.*Service.*(..))" id="myPointCut"/>
AspectJ通知类型
aspectj通知类型,只定义类型名称,以及方法格式。没有aop通知类型的接口特性。
aspectj通知类型:
before:前置通知(应用:各种校验)
afterReturning:后置通知(应用:常规数据处理)
around:环绕通知(应用:十分强大,可以做任何事情)
afterThrowing:异常通知(应用:包装异常信息)
after:最终通知(应用:清理现场)
实现步骤:
- 基于XML:
1.导入jar包:4+1包、aop规范、aop实现、aspectj规范、aspectj实现。
2.创建目标类接口+实现类。
3.创建切面类,自定义方法实现通知。
public void myBefore(JoinPoint jp){ }
public void myAfterReturning(JoinPoint jp , Object rst){ }
public Object myAround(ProceedingJoinPoint pjp) throws Throwable{ }
public void myThrowing(JoinPoint jp , Throwable ex){ }
public void myAfter(JoinPoint jp){ }
4.在配置文件中编写aop,将通知应用到目标类。
5.测试。
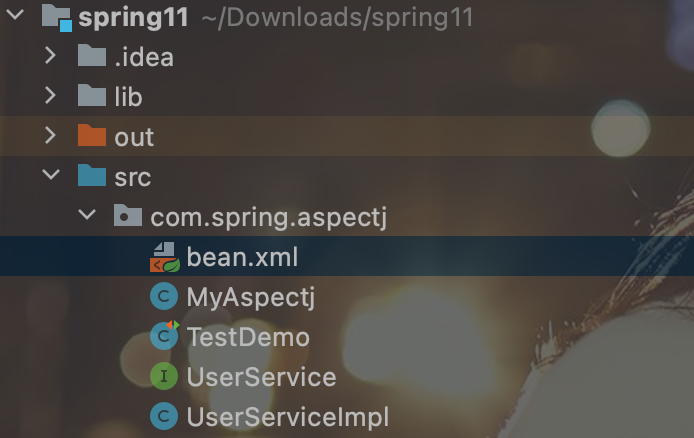
代码实现:
目录结构:
创建UserSerevice:
package com.spring.aspectj;

public interface UserService {
    void saveUser() throws Exception;
}
创建UserServiceImpl:
package com.spring.aspectj;

public class UserServiceImpl implements UserService{
    @Override
    public void saveUser() throws Exception {
        System.out.println("aspectj插入功能实现完成");
    }
}
创建切面类MyAspectj:
package com.spring.aspectj;

import org.aspectj.lang.JoinPoint;
import org.aspectj.lang.ProceedingJoinPoint;

public class MyAspectj {
    public void myBefore(JoinPoint joinPoint){
        System.out.println("目标方法前通知"+joinPoint.getSignature().getName());
    }
    public void myAfterReturning(JoinPoint joinPoint,Object object){
        System.out.println("目标方法后通知"+joinPoint.getSignature().getName()+","+object);
    }
    public Object myAround(ProceedingJoinPoint proceedingJoinPoint) throws Throwable {
        System.out.println("目标方法环绕前通知");
        Object o1 = proceedingJoinPoint.proceed();
        System.out.println("目标方法环绕后通知");
        return o1;
    }
    public void myThrowing(JoinPoint joinPoint,Throwable throwable){
        System.out.println("目标方法异常通知");
    }
    public void myAfter(JoinPoint joinPoint){
        System.out.println("目标方法最终通知");
    }
}
创建bean.xml:
<?xml version="1.0" encoding="UTF-8"?>
<beans xmlns="http://www.springframework.org/schema/beans"
xmlns:xsi="http://www.w3.org/2001/XMLSchema-instance"
xmlns:context="http://www.springframework.org/schema/context"
xmlns:aop="http://www.springframework.org/schema/aop"
xsi:schemaLocation="http://www.springframework.org/schema/beans
http://www.springframework.org/schema/beans/spring-beans.xsd
http://www.springframework.org/schema/context
http://www.springframework.org/schema/context/spring-context.xsd
http://www.springframework.org/schema/aop
http://www.springframework.org/schema/aop/spring-aop.xsd">
<bean id="userService" class="com.spring.aspectj.UserServiceImpl"></bean>
<bean id="myAspectj" class="com.spring.aspectj.MyAspectj"></bean>
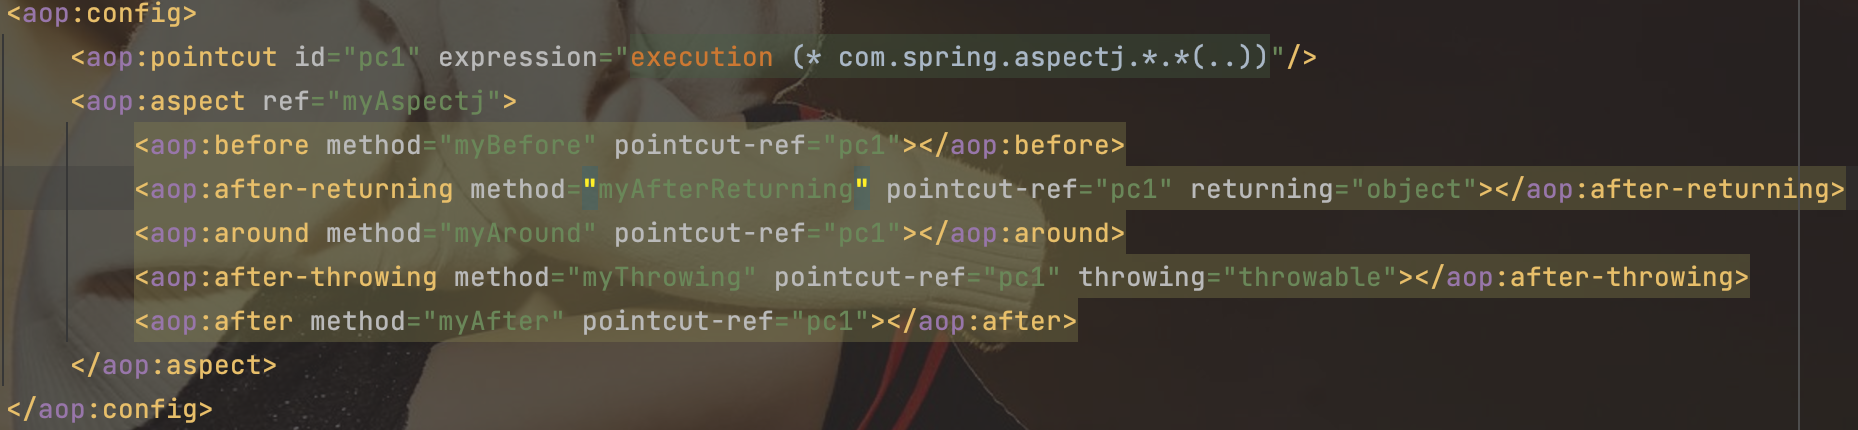
<aop:config>
<aop:pointcut id="pc1" expression="execution (* com.spring.aspectj.*.*(..))"/>
<aop:aspect ref="myAspectj">
<aop:before method="myBefore" pointcut-ref="pc1"></aop:before>
<aop:after-returning method="myAfterReturning" pointcut-ref="pc1" returning="object"></aop:after-returning>
<aop:around method="myAround" pointcut-ref="pc1"></aop:around>
<aop:after-throwing method="myThrowing" pointcut-ref="pc1" throwing="throwable"></aop:after-throwing>
<aop:after method="myAfter" pointcut-ref="pc1"></aop:after>
</aop:aspect>
</aop:config>
</beans>
创建测试类:
package com.spring.aspectj;

import org.junit.Test;
import org.springframework.context.support.ClassPathXmlApplicationContext;

public class TestDemo {
    @Test
    public void test() throws Exception{
        ClassPathXmlApplicationContext ac = new ClassPathXmlApplicationContext("com/spring/aspectj/bean.xml");
        UserService userService = (UserService) ac.getBean("userService");
        userService.saveUser();
    }
}
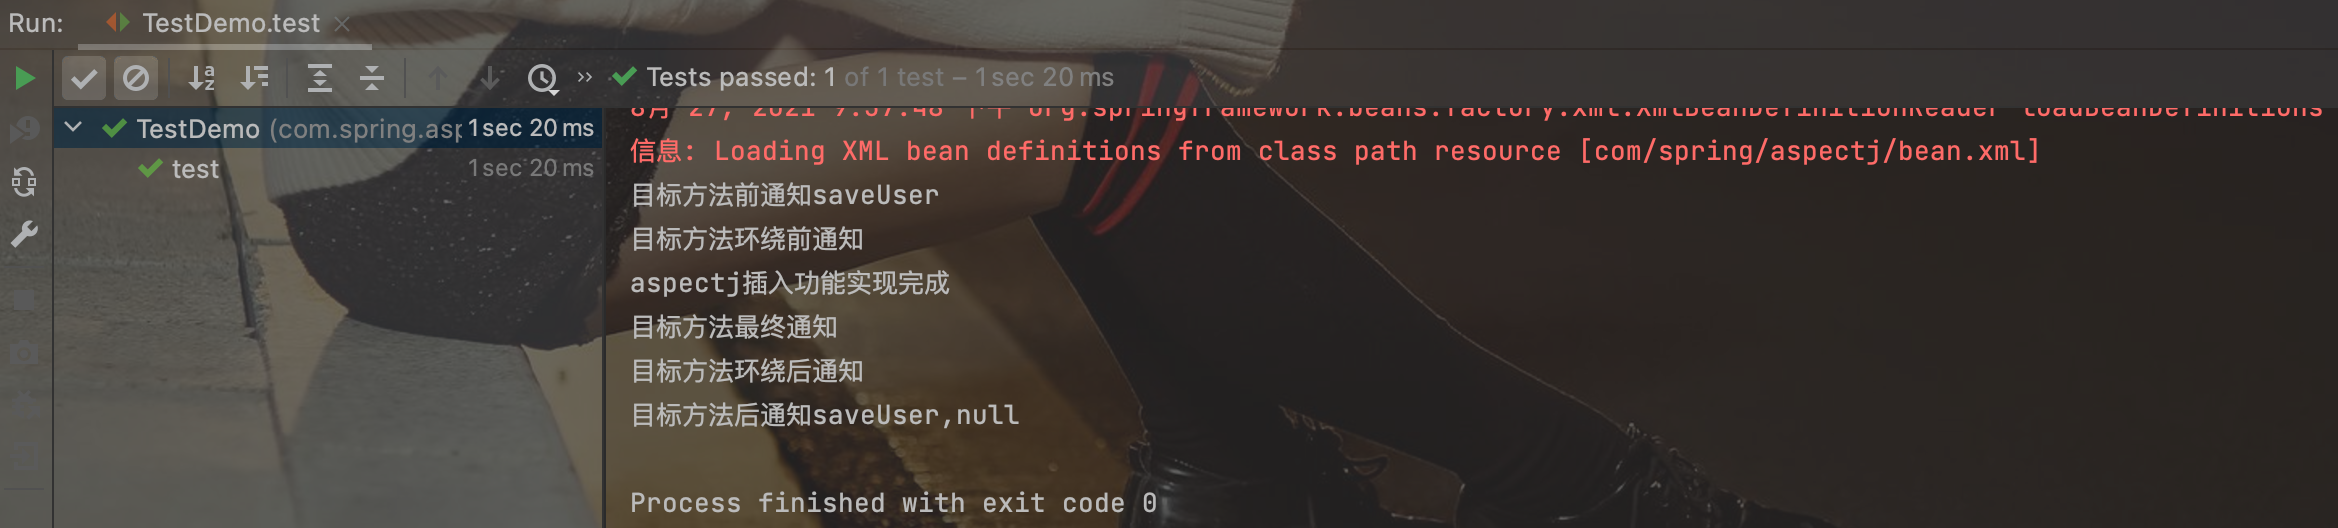
运行结果:
- 基于注解:
1.替换bean,在配置文件中用context:component-scan扫描注解类。
2.替换aop,用@Aspect声明切面类。
3.替换切面类中的通知。
4.在配置文件中使aop注解生效。
代码实现:
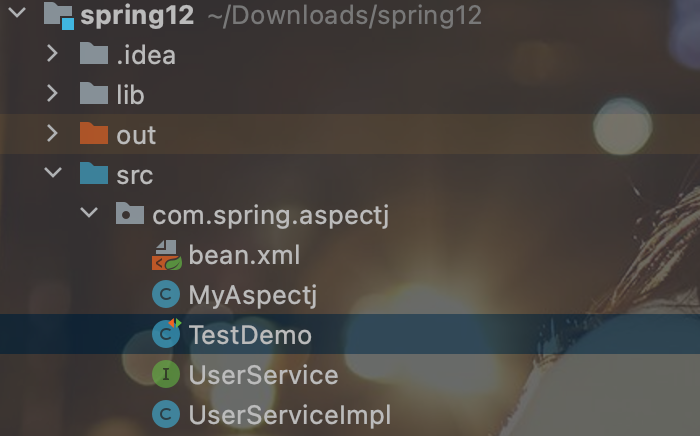
目录结构:
创建UserService:
package com.spring.aspectj;

public interface UserService {
    void saveUser() throws Exception;
}
创建UserServiceImpl:
package com.spring.aspectj;

import org.springframework.stereotype.Service;

@Service("userService")
public class UserServiceImpl implements UserService{
    @Override
    public void saveUser() throws Exception {
        System.out.println("aspectj插入功能实现完成...");
    }
}
创建切面类MyAspectj:
package com.spring.aspectj;

import org.aspectj.lang.JoinPoint;
import org.aspectj.lang.ProceedingJoinPoint;
import org.aspectj.lang.annotation.*;
import org.springframework.stereotype.Component;

@Component("myAspectj")
@Aspect
public class MyAspectj {
    @Before(value = "execution (* com.spring.aspectj.*.*(..))")
    public void myBefore(JoinPoint joinPoint){
        System.out.println("目标方法前通知"+joinPoint.getSignature().getName());
    }
    @Pointcut(value = "execution (* com.spring.aspectj.*.*(..))")
    public void pc2(){}

    @AfterReturning(value = "pc2()",returning = "object")
    public void myAfterReturning(JoinPoint joinPoint,Object object){
        System.out.println("目标方法后通知"+joinPoint.getSignature().getName()+","+object);
    }
    @Around(value = "pc2()")
    public Object myAround(ProceedingJoinPoint proceedingJoinPoint) throws Throwable {
        System.out.println("目标方法环绕前通知");
        Object o1 = proceedingJoinPoint.proceed();
        System.out.println("目标方法环绕后通知");
        return o1;
    }
    @AfterThrowing(value = "pc2()", throwing = "throwable")
    public void myThrowing(JoinPoint joinPoint,Throwable throwable){
        System.out.println("目标方法异常通知");
    }
    @After(value = "pc2()")
    public void myAfter(JoinPoint joinPoint){
        System.out.println("目标方法最终通知");
    }
}
创建bean.xml:
<?xml version="1.0" encoding="UTF-8"?>
<beans xmlns="http://www.springframework.org/schema/beans"
       xmlns:xsi="http://www.w3.org/2001/XMLSchema-instance"
       xmlns:context="http://www.springframework.org/schema/context"
       xmlns:aop="http://www.springframework.org/schema/aop"
       xsi:schemaLocation="http://www.springframework.org/schema/beans
       http://www.springframework.org/schema/beans/spring-beans.xsd
        http://www.springframework.org/schema/context
        http://www.springframework.org/schema/context/spring-context.xsd
        http://www.springframework.org/schema/aop
        http://www.springframework.org/schema/aop/spring-aop.xsd">

    <context:component-scan base-package="com.spring.aspectj"></context:component-scan>

    <aop:aspectj-autoproxy></aop:aspectj-autoproxy>

</beans>
创建测试类:
package com.spring.aspectj;

import org.junit.Test;
import org.springframework.context.support.ClassPathXmlApplicationContext;

public class TestDemo {
    @Test
    public void test() throws Exception{
        ClassPathXmlApplicationContext ac = new ClassPathXmlApplicationContext("com/spring/aspectj/bean.xml");
        UserService userService = (UserService) ac.getBean("userService");
        userService.saveUser();
    }
}
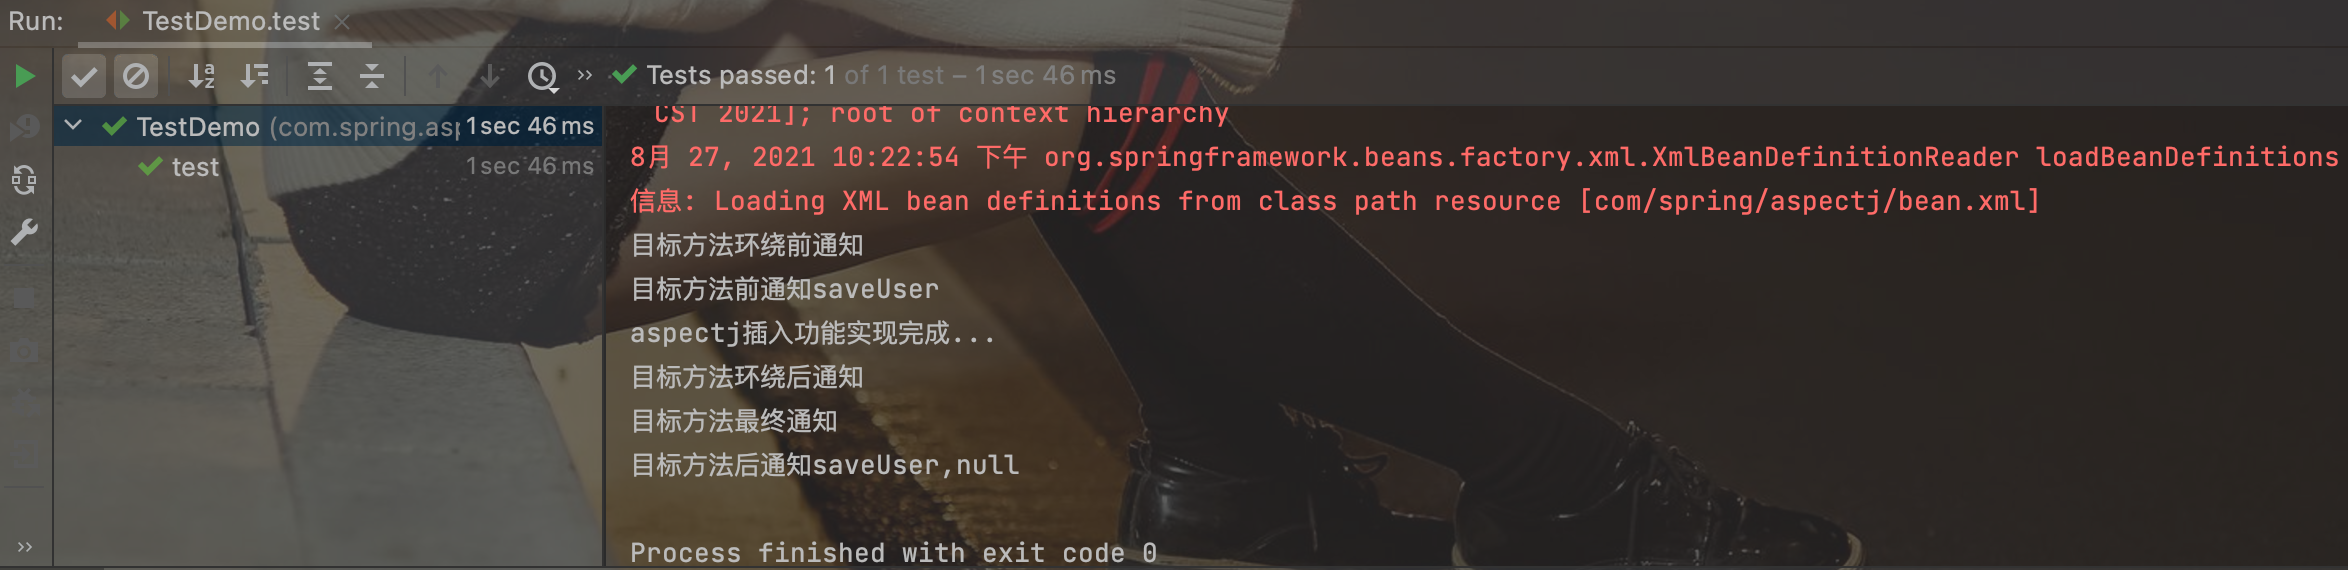
运行结果:

 浙公网安备 33010602011771号