
Maven安装与配置
Maven安装:
下载地址:
https://maven.apache.org/download.cgi
如下图:
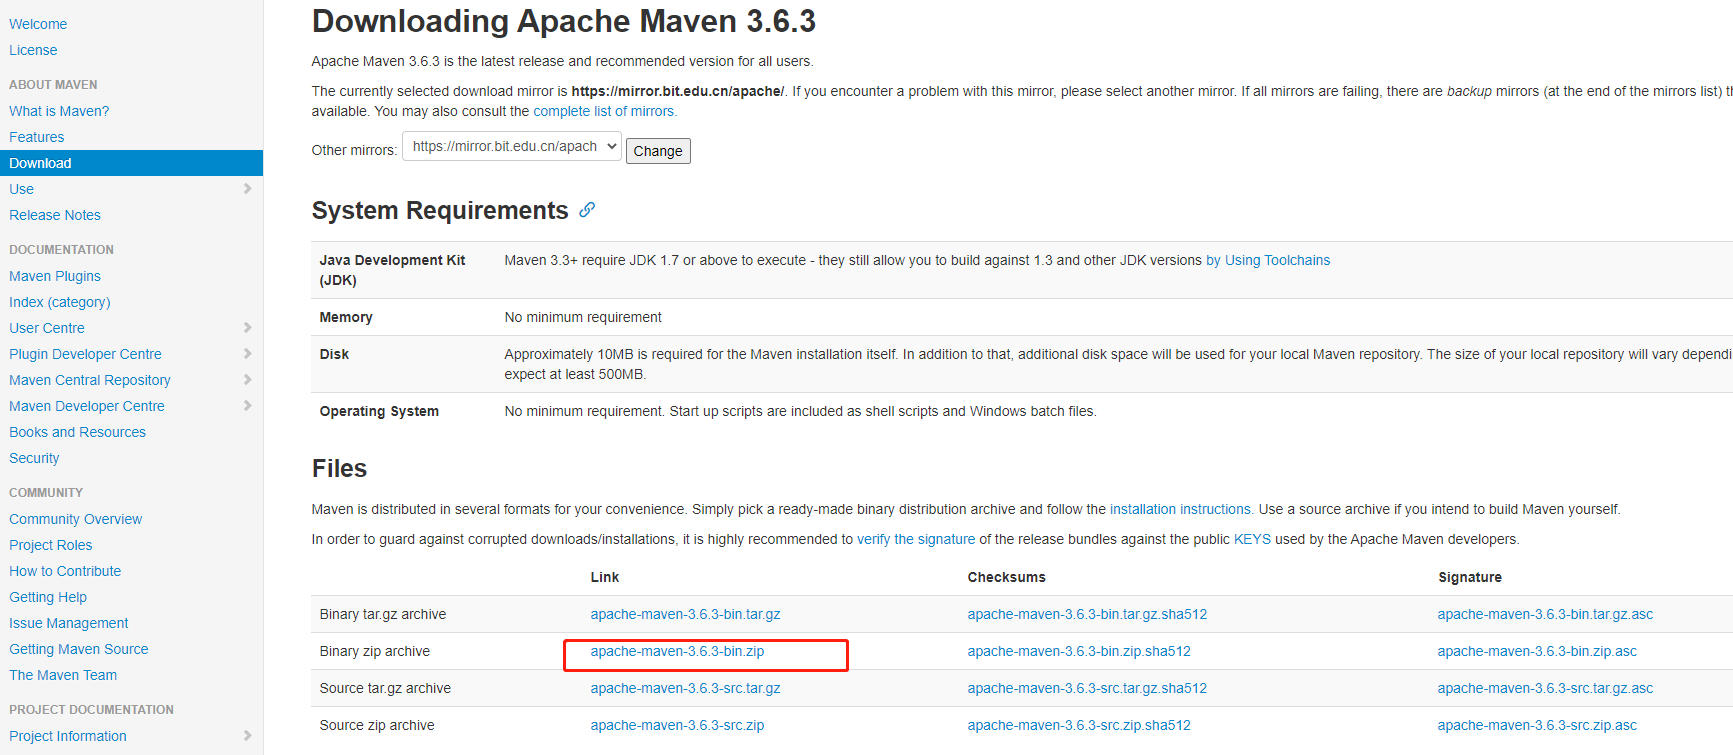
下载本地后:
C:\apache-maven
如下图:

设置系统环境变量:
在系统变量path后加C:\apache-maven\bin 如下图
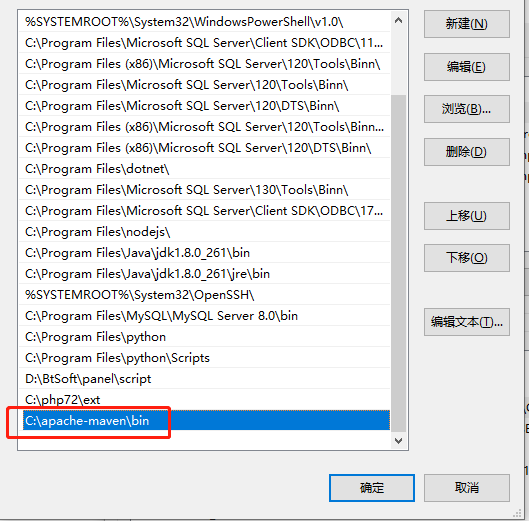
以管理员身份打开cmd,输入mvn -v

看到如上提示,说明maven安装成功。
如果没有以管理员身份打开,有可能报mvn 不是内部什么命令
接下来进行maven设置:
打开C:\apache-maven\conf\settings.xml 文件
设置仓库路径,在约53行,如下:
<!-- localRepository
| The path to the local repository maven will use to store artifacts.
|
| Default: ${user.home}/.m2/repository
<localRepository>/path/to/local/repo</localRepository>
-->
<localRepository>C:/repository</localRepository>
设置服务器jar包下载地址,在约146行,如下:
  <mirrors>
    <!-- mirror
     | Specifies a repository mirror site to use instead of a given repository. The repository that
     | this mirror serves has an ID that matches the mirrorOf element of this mirror. IDs are used
     | for inheritance and direct lookup purposes, and must be unique across the set of mirrors.
     |
    <mirror>
      <id>mirrorId</id>
      <mirrorOf>repositoryId</mirrorOf>
      <name>Human Readable Name for this Mirror.</name>
      <url>http://my.repository.com/repo/path</url>
    </mirror>
     -->
       <mirror>
            <id>alimaven</id>
            <mirrorOf>central</mirrorOf>
            <name>aliyun maven</name>
            <url>http://maven.aliyun.com/nexus/content/repositories/central/</url>
        </mirror>
  </mirrors>
配置jdk,在约253行,<profiles> </profiles> 之间添加,如下:
    <profile>
      <id>jdk-1.8</id>
      <activation>
        <activeByDefault>true</activeByDefault>
        <jdk>1.8</jdk>
      </activation>

      <properties>
        <maven.compiler.source>1.8</maven.compiler.source>
        <maven.compiler.target>1.8</maven.compiler.target>
        <maven.compiler.compilerVersion>1.8</maven.compiler.compilerVersion>
      </properties>
    </profile>
配置完后,maven安装与配置已完成,在cmd窗口输入:mvn help:system
执行后看到:
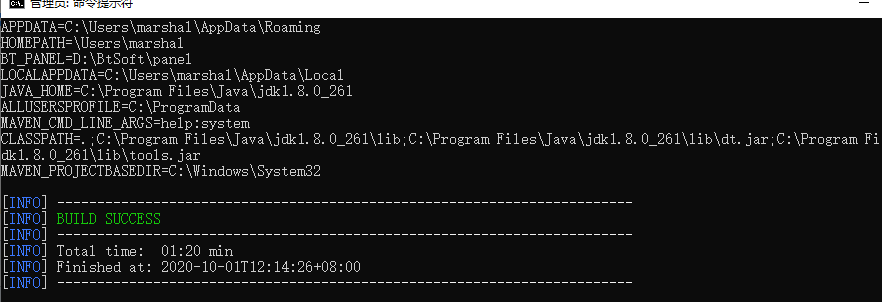
则表示maven安装与配置是成功的。

 浙公网安备 33010602011771号