springboot+mybatis搭建web项目
使用idea+springboot+Mybatis搭建一个简单的web项目。
首先新建一个项目;
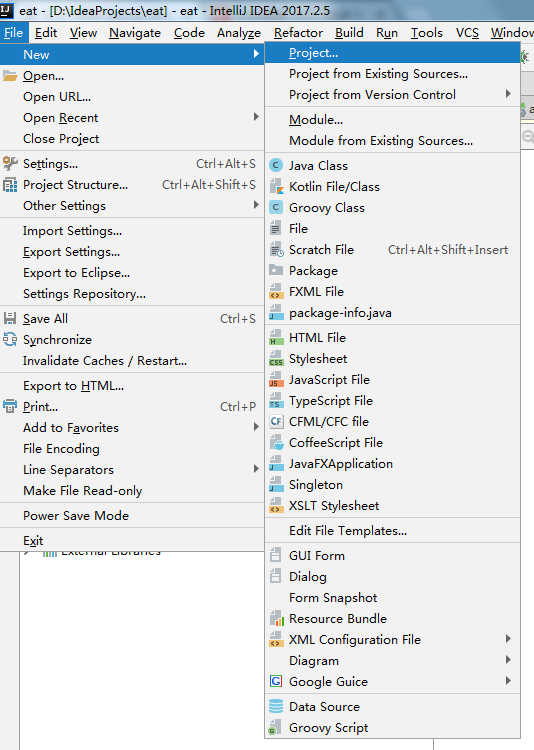
在这里选择Maven项目也可以,但是IDEA为我们提供了一种更方便快捷的创建方法,即Spring Initializr。选择后点击Next;
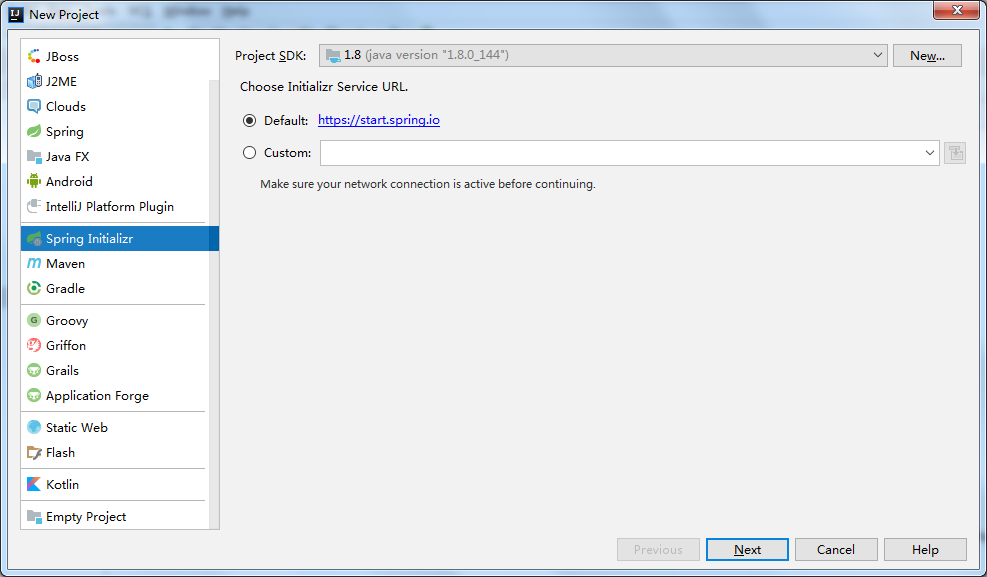
把项目信息写好,Next;

按下面三张图勾选设置;
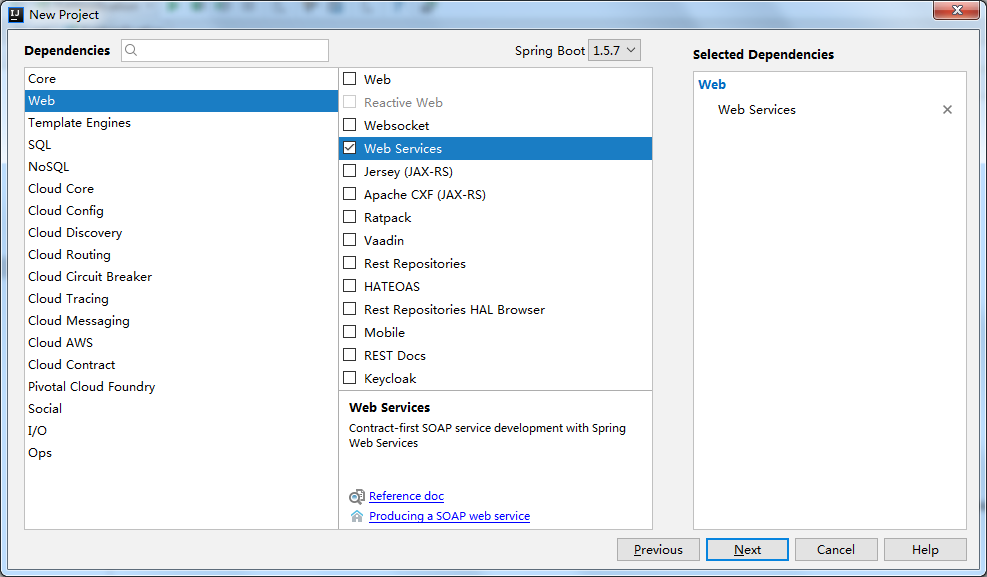
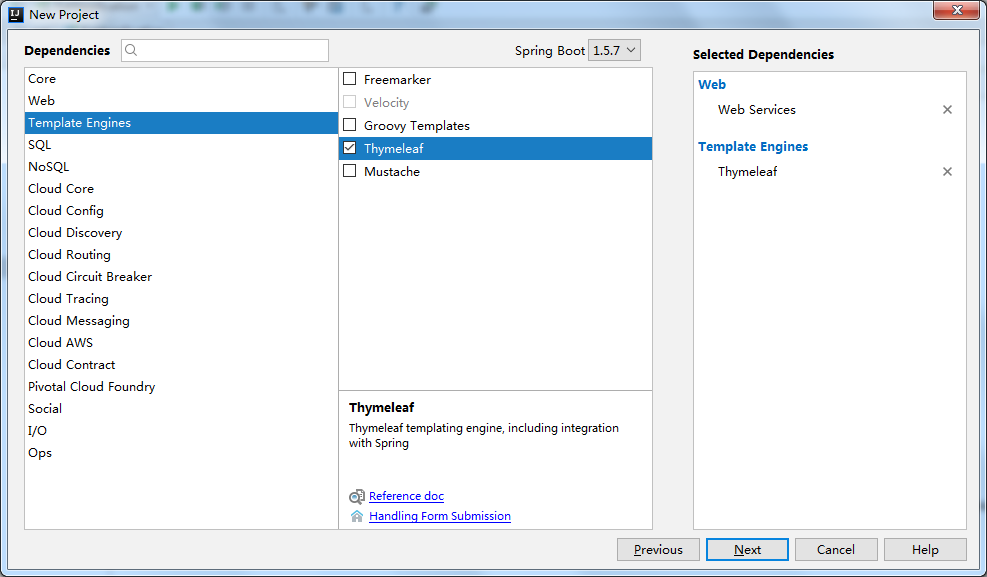

最后Finish。

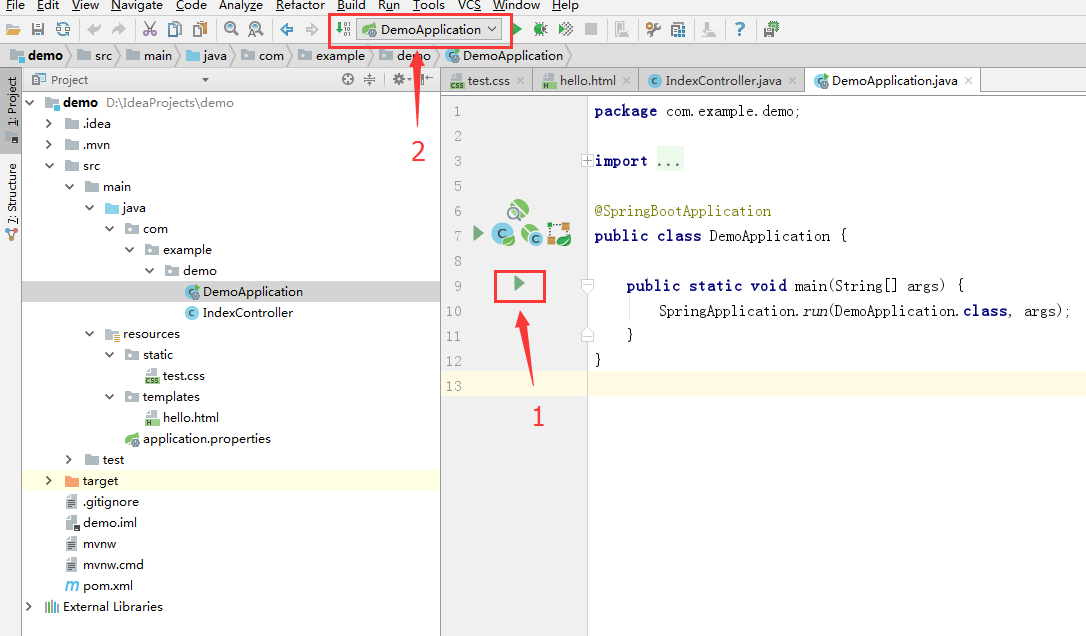
等待Maven自动加载完成后,最初的项目结构如下图。在Springboot属性文件application.properties中,把数据库连接属性加上,同时可以设置服务端口。
|
1
2
3
4
5
6
7
8
|
spring.datasource.url = jdbc:mysql://localhost:3306/testspring.datasource.username = rootspring.datasource.password = rootspring.datasource.driverClassName = com.mysql.jdbc.Driver#页面热加载spring.thymeleaf.cache = false#端口server.port=8888 |
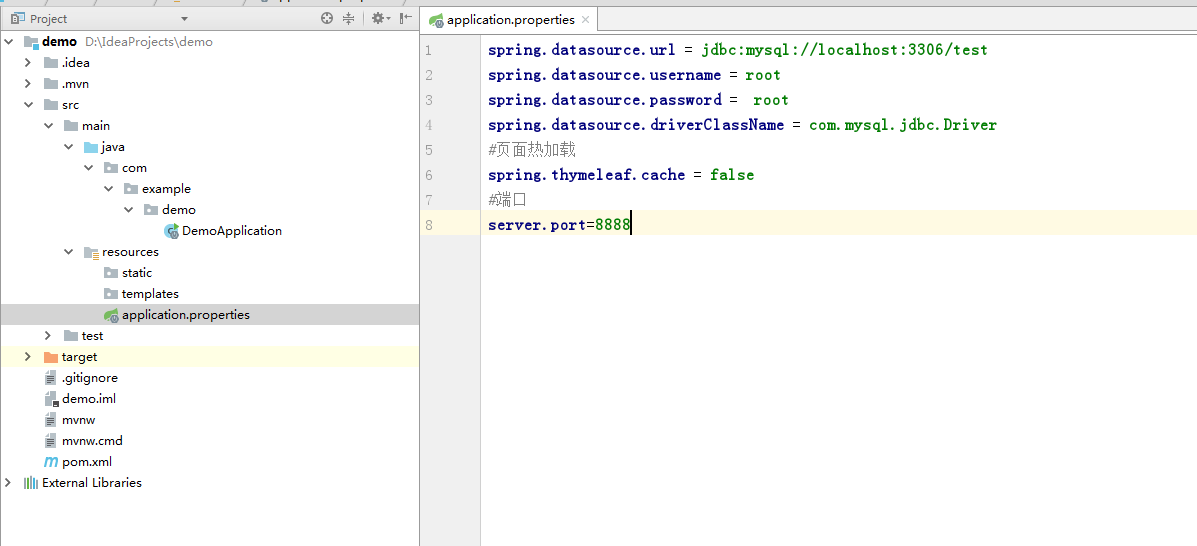
resources目录下,static文件夹是放置各种静态资源,如css,js,img等文件的。templates文件夹则是默认放置网页的。当然也可以更改。
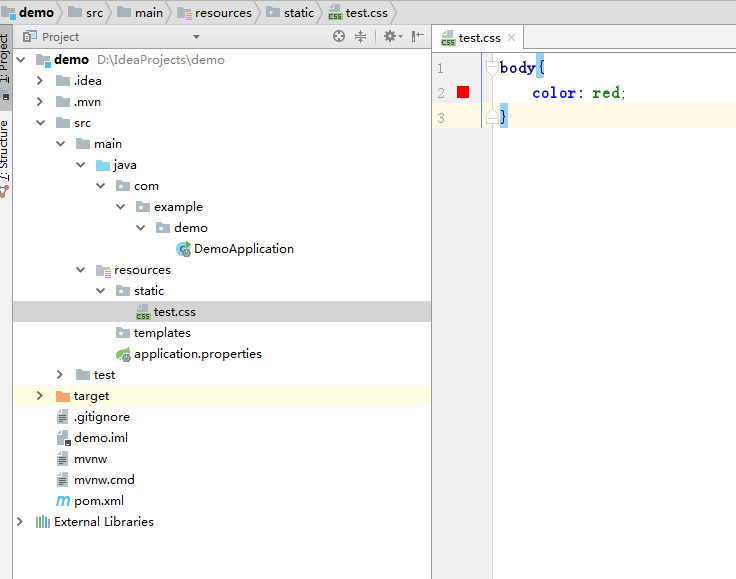
在static文件夹下新建一个测试css,test.css。
|
1
2
3
|
body{ color: red;} |
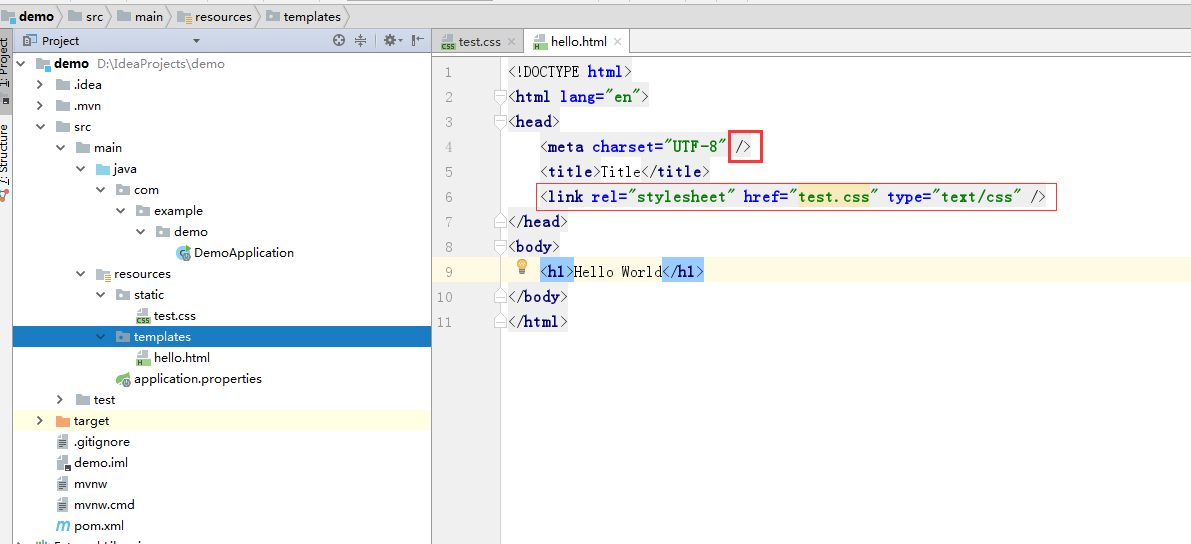
在templates文件夹下新建一个html,要注意的是meta这个标签的结束符软件并没有自动加上,需要手动加上,否则访问网页时会报错。并引入test.css
<!DOCTYPE html>
<html lang="en">
<head>
    <meta charset="UTF-8" />
    <title>Title</title>
    <link rel="stylesheet" href="test.css" type="text/css" />
</head>
<body>
    <h1>Hello World</h1>
</body>
</html>
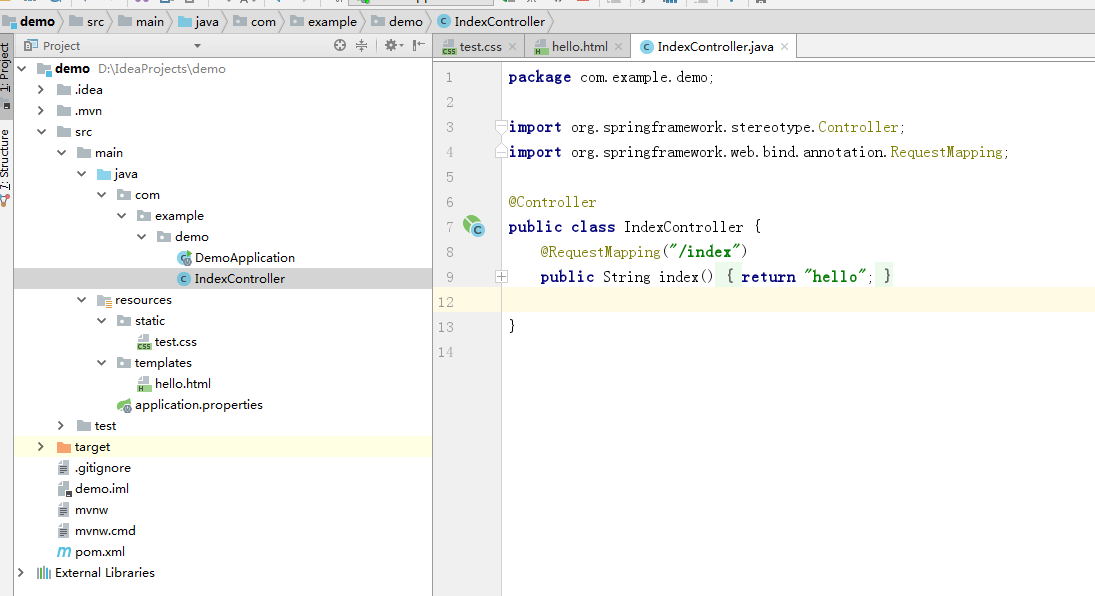
接下来可以写一个controller了
|
1
2
3
4
5
6
7
8
9
10
11
12
13
|
package com.example.demo;import org.springframework.stereotype.Controller;import org.springframework.web.bind.annotation.RequestMapping;@Controllerpublic class IndexController { @RequestMapping("/index") public String index(){ return "hello"; }} |
完成之后,通过方式1和方式2都可以启动项目
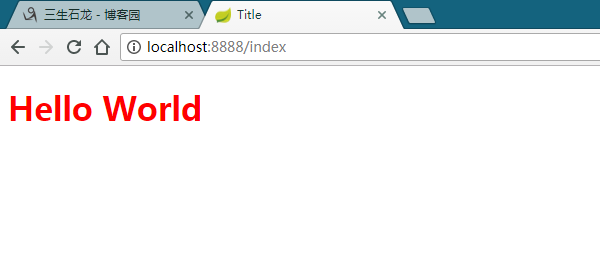
接下来可以在浏览器中测试了
添加application.properties中的数据库配置
|
1
2
3
4
5
6
7
8
9
10
11
12
13
14
15
16
17
18
19
20
21
22
23
24
25
26
27
28
29
30
31
32
33
34
35
36
37
38
39
40
41
42
43
44
45
46
47
48
49
50
51
52
|
# 数据库访问配置# 主数据源,默认的spring.datasource.type=com.alibaba.druid.pool.DruidDataSourcespring.datasource.driverClassName = com.mysql.jdbc.Driverspring.datasource.url = jdbc:mysql://localhost:3306/flagspring.datasource.username = rootspring.datasource.password = root# 下面为连接池的补充设置,应用到上面所有数据源中# 初始化大小,最小,最大spring.datasource.initialSize=5spring.datasource.minIdle=5spring.datasource.maxActive=20# 配置获取连接等待超时的时间spring.datasource.maxWait=60000# 配置间隔多久才进行一次检测,检测需要关闭的空闲连接,单位是毫秒spring.datasource.timeBetweenEvictionRunsMillis=60000# 配置一个连接在池中最小生存的时间,单位是毫秒spring.datasource.minEvictableIdleTimeMillis=300000spring.datasource.validationQuery=SELECT 1 FROM DUALspring.datasource.testWhileIdle=truespring.datasource.testOnBorrow=falsespring.datasource.testOnReturn=false# 打开PSCache,并且指定每个连接上PSCache的大小spring.datasource.poolPreparedStatements=truespring.datasource.maxPoolPreparedStatementPerConnectionSize=20# 配置监控统计拦截的filters,去掉后监控界面sql无法统计,'wall'用于防火墙spring.datasource.filters=stat,wall,log4j# 通过connectProperties属性来打开mergeSql功能;慢SQL记录spring.datasource.connectionProperties=druid.stat.mergeSql=true;druid.stat.slowSqlMillis=5000#页面热加载spring.thymeleaf.cache = false#mybatis配置#mapper位置mybatis.mapper-locations=classpath:mapper/*Mapper.xml#领域类包别名mybatis.type-aliases-package=com.legoo.flag.model#mybatis配置文件mybatis.config-location=classpath:config/mybatis-config.xml#pagehelper分页插件配置pagehelper.helperDialect=mysqlpagehelper.reasonable=truepagehelper.supportMethodsArguments=truepagehelper.params=count=countSqlpagehelper.row-bounds-with-count=true |
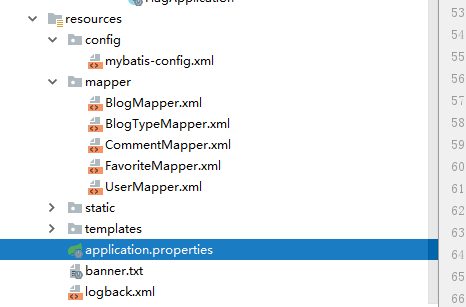
在resource文件夹下添加mapper,用来存放mybatis的xml.
config/mybatis-config.xml包下的文件暂时是空的,都在application.properties里面配置了.
然后就可以写业务了
到此,一个简单的项目搭建完成。
此博客只是为了记忆相关知识点,大部分为网络上的文章,在此向各个文章的作者表示感谢!

 浙公网安备 33010602011771号