spring.profiles.active=@profiles.active@ ,其实是配合 maven profile进行选择不同配置文件进行启动。
当执行
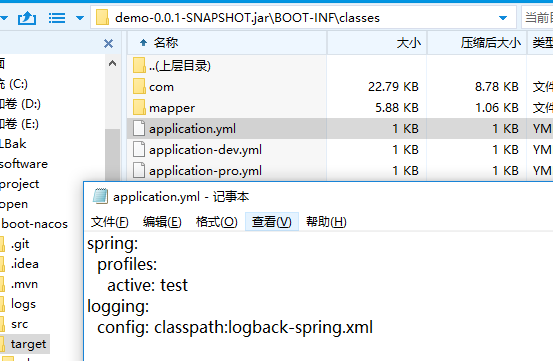
mvn clean package -P test 命令时, @profiles.active@ 会替换成 test

打开 jar包,即可看到:
![]()
实战
1.构建一个springboot 项目
这里使用idea进行构建的,这个过程省略
2.pom文件配置
<profiles>
        <profile>
            <!-- 生产环境 -->
            <id>prod</id>
            <properties>
                <profiles.active>prod</profiles.active>
            </properties>
        </profile>
        <profile>
            <!-- 本地开发环境 -->
            <id>dev</id>
            <properties>
                <profiles.active>dev</profiles.active>
            </properties>
            <activation>
                <activeByDefault>true</activeByDefault>
            </activation>
        </profile>
        <profile>
            <!-- 测试环境 -->
            <id>test</id>
            <properties>
                <profiles.active>test</profiles.active>
            </properties>
        </profile>
</profiles>- 这里默认dev配置
3.配置多个配置文件
application.properties
注意这里的profiles.active 要和pom文件的对应上
spring.profiles.active=@profiles.active@
application-dev.properties
name = "dev"application-prod.properties
name = "prod"application-test.properties
name = "test"4.编写个测试的controller
/**
 * @author kevin
 * @date 2019/6/28 16:12
 */
@RestController
public class HelloController {

    @Value("${name}")
    private String name;

    @RequestMapping(value = {"/hello"},method = RequestMethod.GET)
    public String say(){
        return name;
    }
}
5.启动测试
使用idea工具启动开发
默认是dev,假如想要使用prod配置文件,如上图选择prod,注意下面的导入,重启项目
D:\dev_code\profiles-demo\target>curl http://localhost:8080/hello
"prod"
6 打包
这里使用idea打包不再介绍,如果你使用命令
mvn clean package -P dev
则是使用dev配置

 浙公网安备 33010602011771号