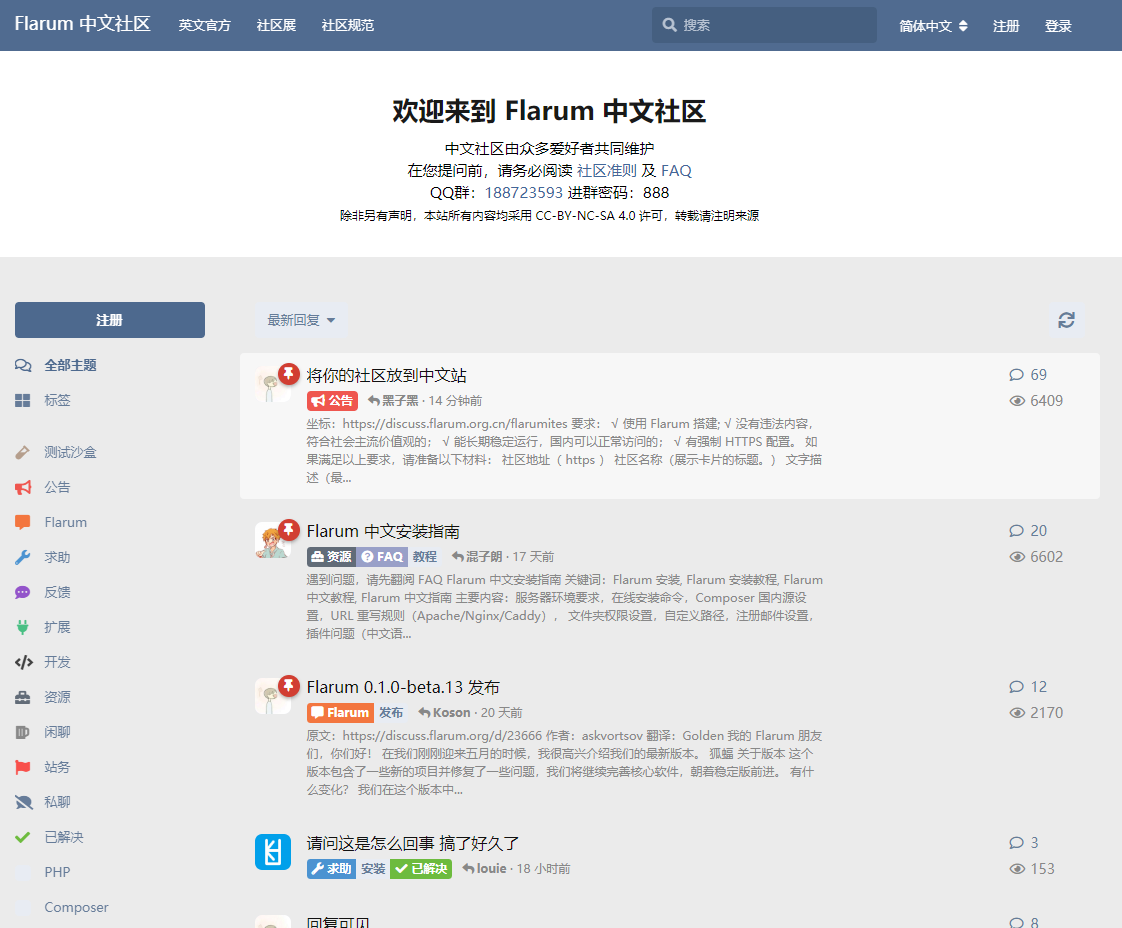
使用Flarum轻松搭建自己的论坛
Flarum论坛
无意间看到一眼,找了也很久。到处询问最终还是找到了Flarum。
作为轻论坛来讲有点繁琐,学习确实需要时间摸索一番,但是很多事情钟情于第一眼,便入此坑,主题对于个人直戳心坎了,干净!!!
centos安装LNMP支持flarun
数据库安装
sudo wget http://dev.mysql.com/get/mysql57-community-release-el7-8.noarch.rpm
yum -y install mysql57-community-release-el7-10.noarch.rpm
yum -y install mysql-community-server
systemctl start  mysqld.service
mysql5.7获取密码的方式
sudo grep 'temporary password' /var/log/mysqld.log
vi /etc/my.cnf
#添加validate_password_policy配置
validate_password_policy=0
#关闭密码策略
validate_password = off
修改root密码
mysql -uroot -p密码
set global validate_password_policy=0;
set global validate_password_length=1;
ALTER USER 'root'@'localhost' IDENTIFIED BY 'MyNewPass4!';
grant all privileges on *.* to root@"%" identified by "new password";
flush privileges;
systemctl restart mysql
安装php7.2
sudo rpm -Uvh https://dl.fedoraproject.org/pub/epel/epel-release-latest-7.noarch.rpm
sudo rpm -Uvh https://mirror.webtatic.com/yum/el7/webtatic-release.rpm
yum install php72w-fpm php72w-cli php72w-curl php72w-dom php72w-gd php72w-json php72w-mbstring php72w-openssl php72w-pdo_mysql php72w-tokenizer php72w-zip -y
vim /etc/php-fpm.d/www.conf
#找到以下两处共四行代码并修改如下:
 user = nginx
 group = nginx

 listen.owner = nginx
 listen.group = nginx
安装Flarum
方法一:下载=即使用整合包
https://github.com/skywalker512/FlarumChina/releases/tag/v0.1.0-beta.12
方法二:composer拉取 (比较建议后面装插件都是用的composer)
安装composer
下载composer.phar, 如果是网络原因失败,多试几次
curl -sS https://getcomposer.org/installer | php
把composer.phar移动到环境下让其变成可执行:
mv composer.phar /usr/local/bin/composer
测试
composer -v
修改镜像地址
composer config repo.packagist composer https://mirrors.aliyun.com/composer/
安装ningx
yum -y install nginx unzip
进入wwwroot目录中使用composer命令来安装flarum:
mkdir /var/www/flarum/
cd /var/www/flarum/
composer create-project flarum/flarum . --stability=beta #不用使用管理员权限命令sudo。
完毕后修改nginx中的默认配置文件:
sudo vim /etc/nginx/nginx.conf
#将server代码段下的所有代码都用#注释掉
    #server {
    #    listen       80 default_server;
    #    listen       [::]:80 default_server;
    #    server_name  _;
    #    root         /usr/share/nginx/html;

    #    # Load configuration files for the default server block.
    #    include /etc/nginx/default.d/*.conf;

    #    location / {
    #    }

    #    error_page 404 /404.html;
    #        location = /40x.html {
    #    }

    #    error_page 500 502 503 504 /50x.html;
    #        location = /50x.html {
    #    }
    #}
#然后修改
server {
    listen 80;
    server_name your.website.url;
    root  /var/www/flarum/public;
    index index.php index.html;

	#include /home/flarum/wwwroot/.nginx.conf;

    location ~ \.php$ {
        fastcgi_pass   127.0.0.1:9000;
        fastcgi_index  index.php;
        fastcgi_param  SCRIPT_FILENAME  $document_root$fastcgi_script_name;
        include        fastcgi_params;
    }
location / {
  try_files $uri $uri/ /index.php?$query_string;
}

# The following directives are based on best practices from H5BP Nginx Server Configs
# https://github.com/h5bp/server-configs-nginx

# Expire rules for static content
location ~* \.(?:manifest|appcache|html?|xml|json)$ {
  add_header Cache-Control "max-age=0";
}

location ~* \.(?:rss|atom)$ {
  add_header Cache-Control "max-age=3600";
}

location ~* \.(?:jpg|jpeg|gif|png|ico|cur|gz|svg|mp4|ogg|ogv|webm|htc)$ {
  add_header Cache-Control "max-age=2592000";
  access_log off;
}

location ~* \.(?:css|js)$ {
  add_header Cache-Control "max-age=31536000";
  access_log off;
}

location ~* \.(?:ttf|ttc|otf|eot|woff|woff2)$ {
  add_header Cache-Control "max-age=2592000";
  access_log off;
}

# Gzip compression
gzip on;
gzip_comp_level 5;
gzip_min_length 256;
gzip_proxied any;
gzip_vary on;
gzip_types
    application/atom+xml
    application/javascript
    application/json
    application/ld+json
    application/manifest+json
    application/rss+xml
    application/vnd.geo+json
    application/vnd.ms-fontobject
    application/x-font-ttf
    application/x-web-app-manifest+json
    application/xhtml+xml
    application/xml
    font/opentype
    image/bmp
    image/svg+xml
    image/x-icon
    text/cache-manifest
    text/css
    text/plain
    text/vcard
    text/vnd.rim.location.xloc
    text/vtt
    text/x-component
    text/x-cross-domain-policy;
}
注意:因为Flarum遵守了最新的安全规范,其程序的运行目录其实是在public文件夹内。
插件安装
虚拟机搭建
买个虚拟机做网页,诸多限制,虚拟机服务商的提供的服务确实就两字“操蛋”。
为什么没有买云服务器?就两字 “没钱”!哈哈。
虚拟机的购买途径自寻,但是很多服务商真的很坑爹。
虚拟机要求
- php支持7.2以上
- mysql支持5.7以上
- 能够支持更改网站跟目录
更改网站根目录层级
将 public 目录(包括 .htaccess)中的所有文件移动到 Flarum 根目录。然后编辑 .htaccess 取消第 9-14 行的注释,以保护敏感资源。
然后编辑 index.php 文件,更改以下行:
$site = require './site.php';
最后,在 site.php 更新路径,以反映新的目录结构:
'base' => __DIR__,
'public' => __DIR__,
'storage' => __DIR__.'/storage',
config.php 更新 url 路径
'url' => 'https://xxx.com/community',
不更改网站层级目录
请根据你的虚拟主机面板的不同,将网站运行目录指向public文件夹。
如果您使用的是虚拟主机无法更改目录,请按照一下的方法进行设置
在根目录下新建一个名为 .htaccess的文件
<IfModule mod_rewrite.c>
RewriteEngine on
RewriteCond %{REQUEST_URI} !^/public/
RewriteRule ^(.*)$ /public/$1 [L]
</IfModule>
最后给大家看一下搭建成果
资源分享
静以养生,止以得道

 浙公网安备 33010602011771号