史上最简单的 SpringCloud 教程 (转载)
转载请标明出处:
http://blog.csdn.net/forezp/article/details/69696915
本文出自方志朋的博客
史上最简单的 SpringCloud 教程 | 终章
第六篇: 分布式配置中心(Spring Cloud Config)
第七篇: 高可用的分布式配置中心(Spring Cloud Config)
第九篇: 服务链路追踪(Spring Cloud Sleuth)
第十三篇: 断路器聚合监控(Hystrix Turbine)
spring boot和spring cloud 开发必备工具准备 和 必备网站导航
spring boot和spring cloud 开发必备工具准备 和 必备网站导航
本文主要介绍spring cloud开发前期准备,为以后学习和开发有一些资料保障:
常用网站:
-
spring boot 官网英文网站,有一些简单和详细的介绍 http://projects.spring.io/spring-boot/
-
spring cloud 官方英文网站 http://projects.spring.io/spring-cloud/
-
spring cloud 中国社区 http://bbs.springcloud.cn/
-
spring cloud 中文网 有翻译不全中文文档 https://springcloud.cc/
-
spring boot maven gradle 配置 一键生产并下载 http://start.spring.io/
-
Netflix网飞公司github 包含 eureka和zuul 等相关工程,
并且有相关文档和各类问题解决 https://github.com/Netflix/eureka -
51CTO有目前最新的spring cloud微服务实战课程的主要就是讲springcloud基本组件讲解。
-
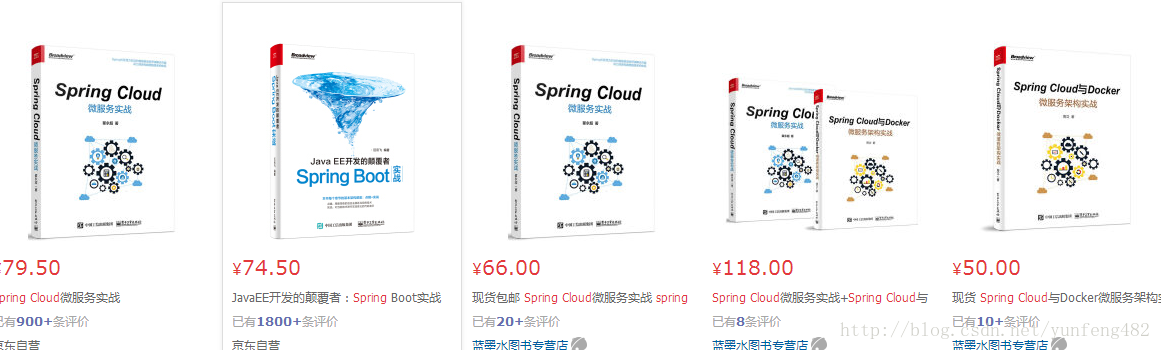
2017年5月份刚出的一本spring cloud的书可以某东 某宝有卖。
-
spring cloud 英文文档 http://cloud.spring.io/spring-cloud-static/Camden.SR3/
spring cloud 是基于spring boot微服务架构设计开发的。主要还是针对spring boot开调整开发工具。
- 首先spring cloud项目是依赖JDK1.8,这个需要自行安装即可。
2、然后可以下载新版的eclipse进行安装,本人安装的最新 eclispe neon2 需要jdk8启动,也可以用其他版本,感觉新版的对spring boot支持比较好
http://www.eclipse.org/downloads/eclipse-packages/
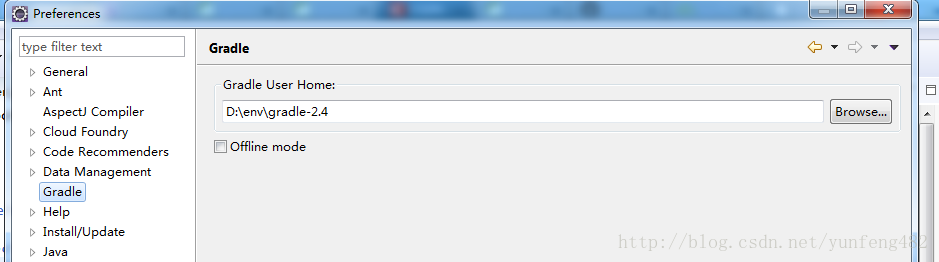
3、安装相应项目构建插件maven或者gradle,建议安装较新版本的。
4、在 eclipse 安装相应插件,主要要安装spring suit tool 和 maven 插件, 如果用gradle开发则安装gradle插件,如果有失败安装过程可能需要多安装那么一两次就能成功了。
下面的具体插件截图:
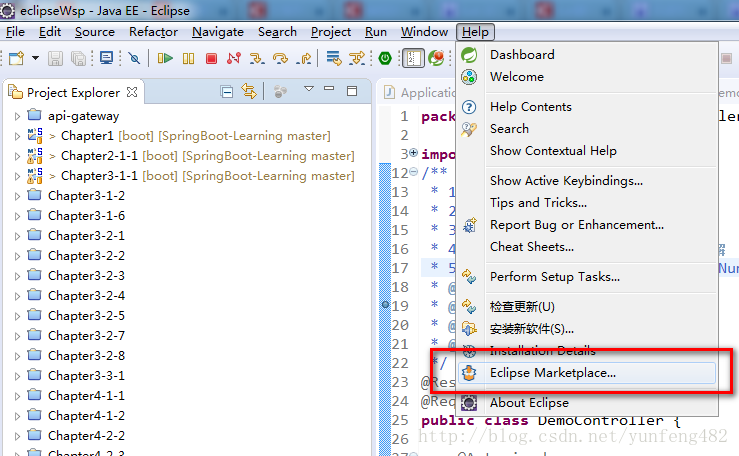
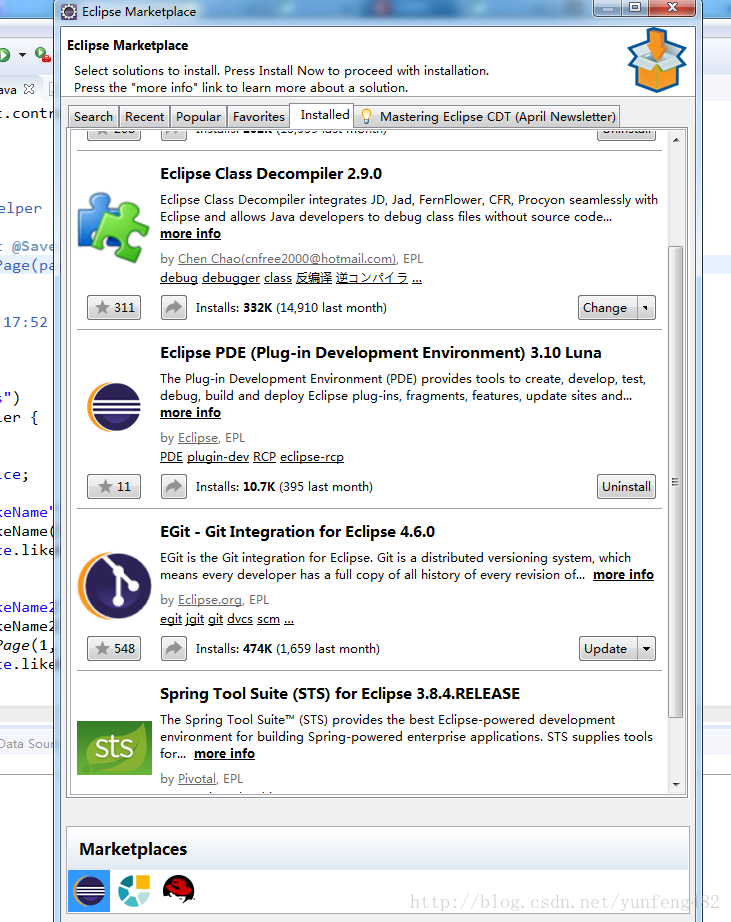
这里写图片描述
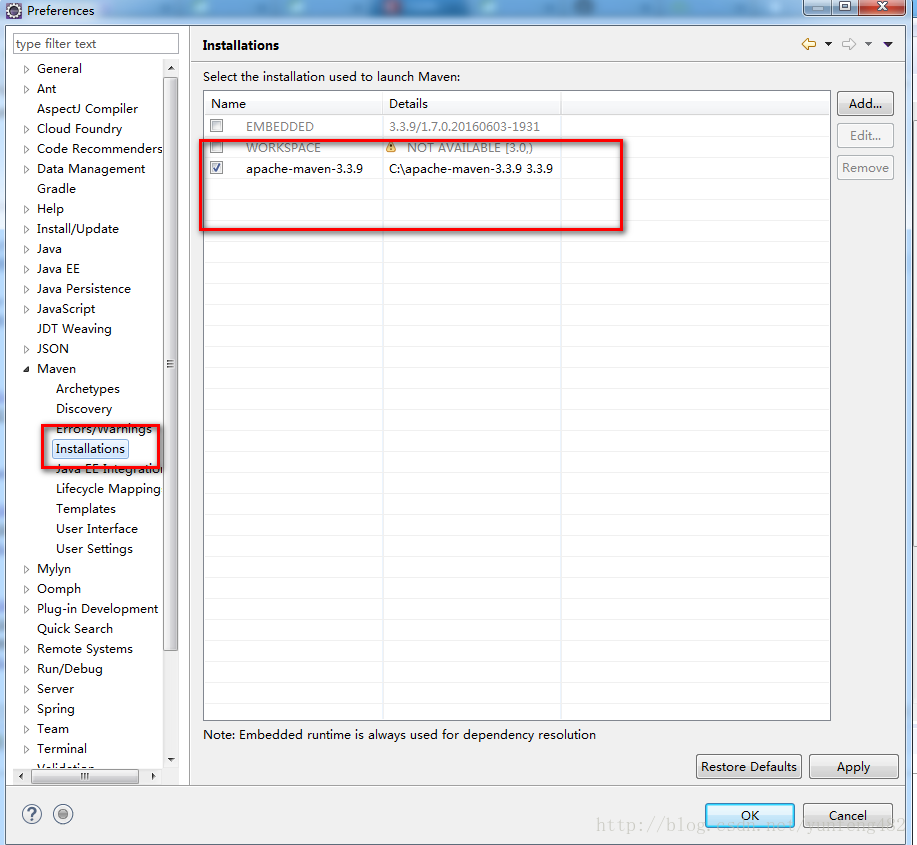
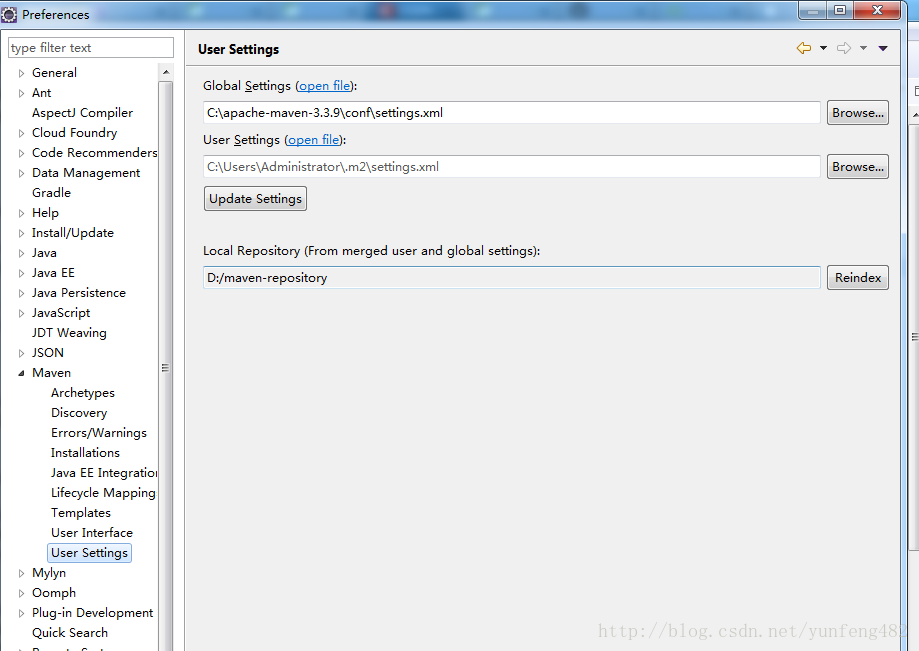
本人使用的是maven工具进行项目构建:
相关的setting.xml如下:建议使用第三方maven库,比如阿里的库速度就挺快的,不然拉去jar包和一些xml约束在没有网络代理将是一个纠结过程。
<?xml version="1.0" encoding="UTF-8"?>

<settings xmlns="http://maven.apache.org/SETTINGS/1.0.0"
          xmlns:xsi="http://www.w3.org/2001/XMLSchema-instance"
          xsi:schemaLocation="http://maven.apache.org/SETTINGS/1.0.0 http://maven.apache.org/xsd/settings-1.0.0.xsd">

  <localRepository>D:/maven-repository</localRepository>


  <pluginGroups>
    <pluginGroup>org.mortbay.jetty</pluginGroup>
  </pluginGroups>


  <proxies>

  </proxies>

  <servers>

    <server>
        <id>releases</id>
        <username>ali</username>
        <password>ali</password>
      </server>
      <server>
        <id>Snapshots</id>
        <username>ali</username>
        <password>ali</password>
      </server>
  </servers>


  <mirrors>

    <mirror>
      <!--This sends everything else to /public -->
      <id>nexus</id>
      <mirrorOf>*</mirrorOf>
      <url>http://maven.aliyun.com/nexus/content/groups/public/</url>
    </mirror>
    <mirror>
      <!--This is used to direct the public snapshots repo in the
          profile below over to a different nexus group -->
      <id>nexus-public-snapshots</id>
      <mirrorOf>public-snapshots</mirrorOf>
      <url>http://maven.aliyun.com/nexus/content/repositories/snapshots/</url>
    </mirror>
  </mirrors>


  <profiles>
    <profile>
      <id>development</id>
      <repositories>
        <repository>
          <id>central</id>
          <url>http://central</url>
          <releases><enabled>true</enabled><updatePolicy>always</updatePolicy></releases>
          <snapshots><enabled>true</enabled><updatePolicy>always</updatePolicy></snapshots>
        </repository>
      </repositories>
     <pluginRepositories>
        <pluginRepository>
          <id>central</id>
          <url>http://central</url>
          <releases><enabled>true</enabled><updatePolicy>always</updatePolicy></releases>
          <snapshots><enabled>true</enabled><updatePolicy>always</updatePolicy></snapshots>
        </pluginRepository>
      </pluginRepositories>
    </profile>
    <profile>
      <!--this profile will allow snapshots to be searched when activated-->
      <id>public-snapshots</id>
      <repositories>
        <repository>
          <id>public-snapshots</id>
          <url>http://public-snapshots</url>
          <releases><enabled>false</enabled></releases>
          <snapshots><enabled>true</enabled><updatePolicy>always</updatePolicy></snapshots>
        </repository>
      </repositories>
     <pluginRepositories>
        <pluginRepository>
          <id>public-snapshots</id>
          <url>http://public-snapshots</