告警:实现微信(WeChat)告警
Zabbix可以通过多种方式把告警信息发送到指定人,常用的有邮件,短信报警方式,但是越来越多的企业开始使用zabbix结合微信作为主要的告警方式,这样可以及时有效的把告警信息推送到接收人,方便告警的及时处理。
关于邮件报警可以参考:Zabbix Web 邮件报警
一、微信企业号申请
第一步注册 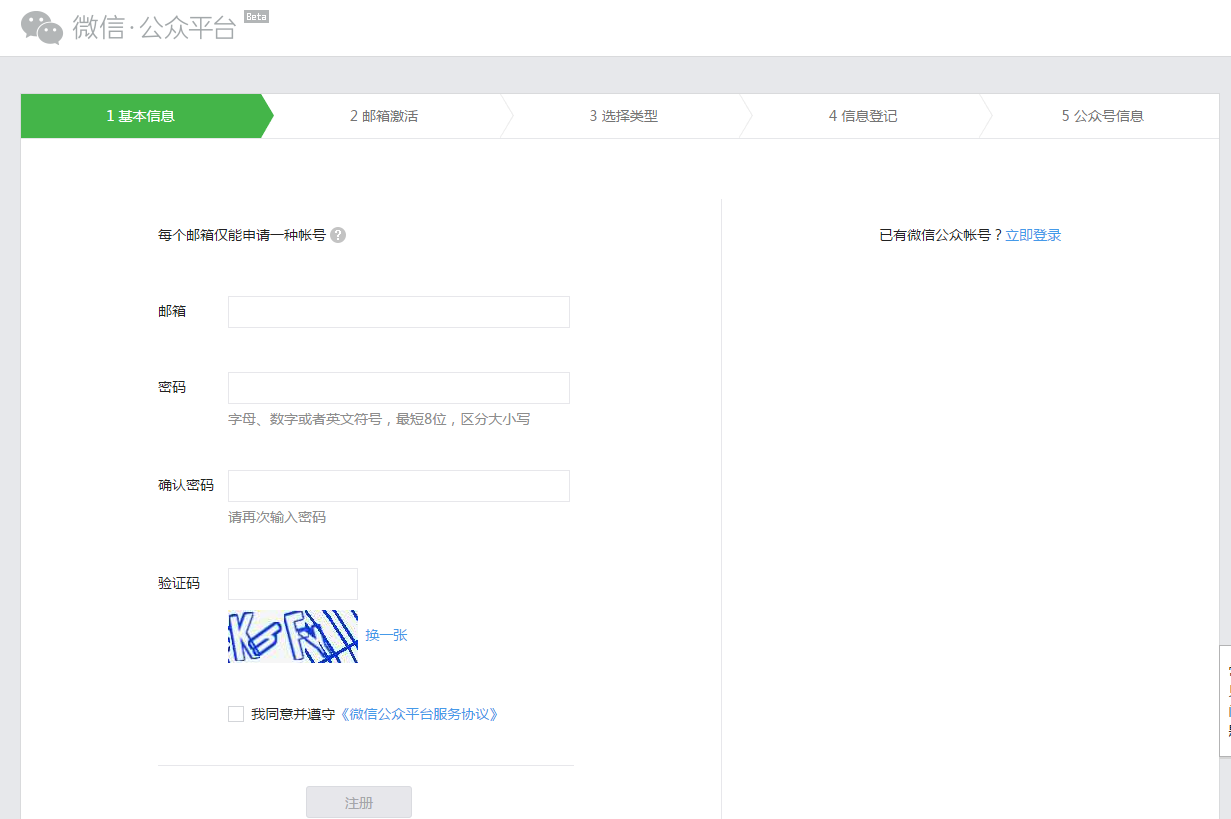
提示:这里简单的说一下,微信企业号和微信公众号是不一样的!
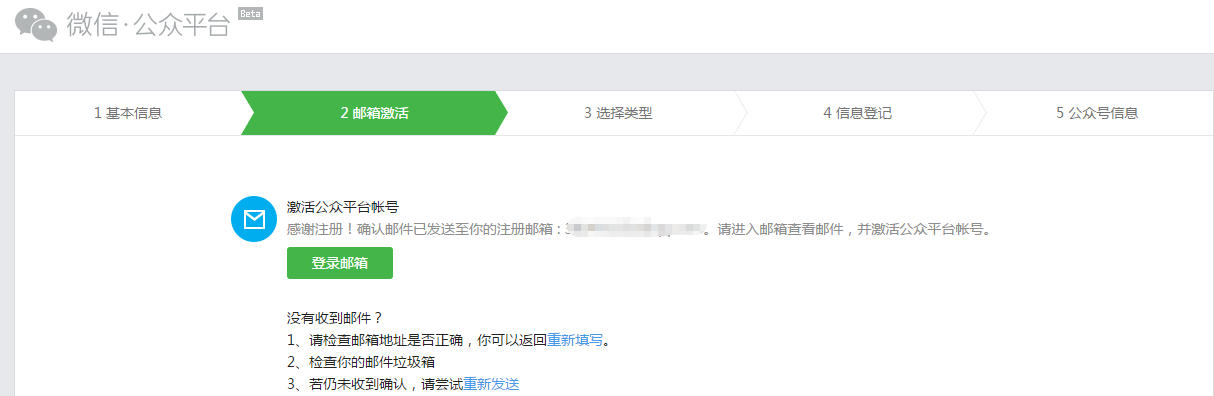
到邮件查看邮件,继续下一步 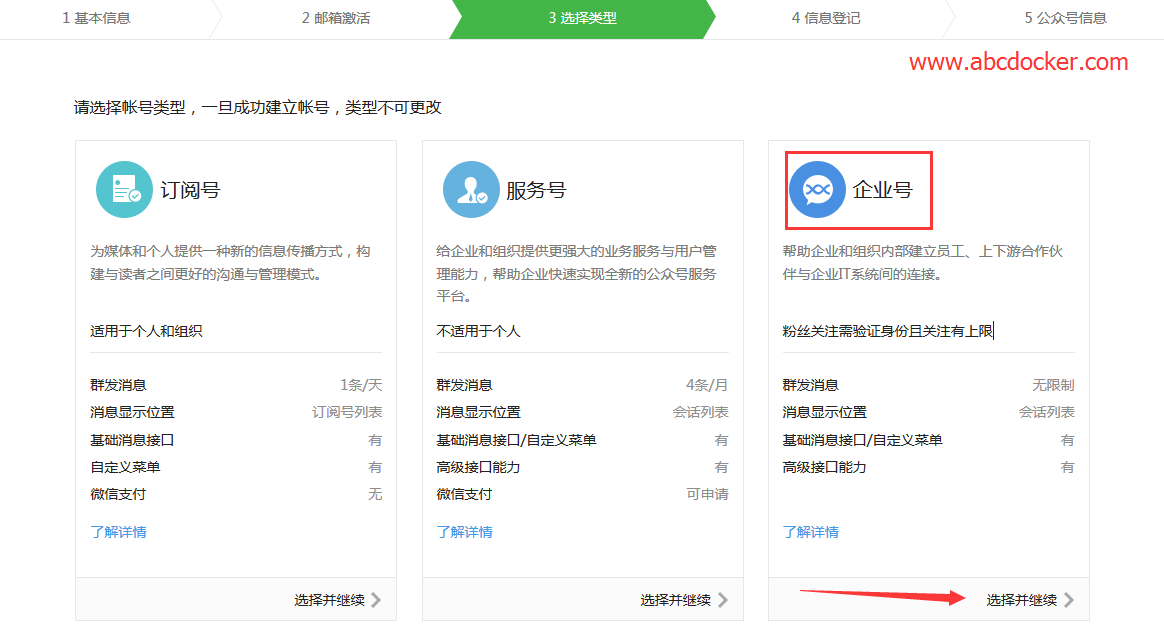
提示一下:注册以后就不可以修改微信号类型 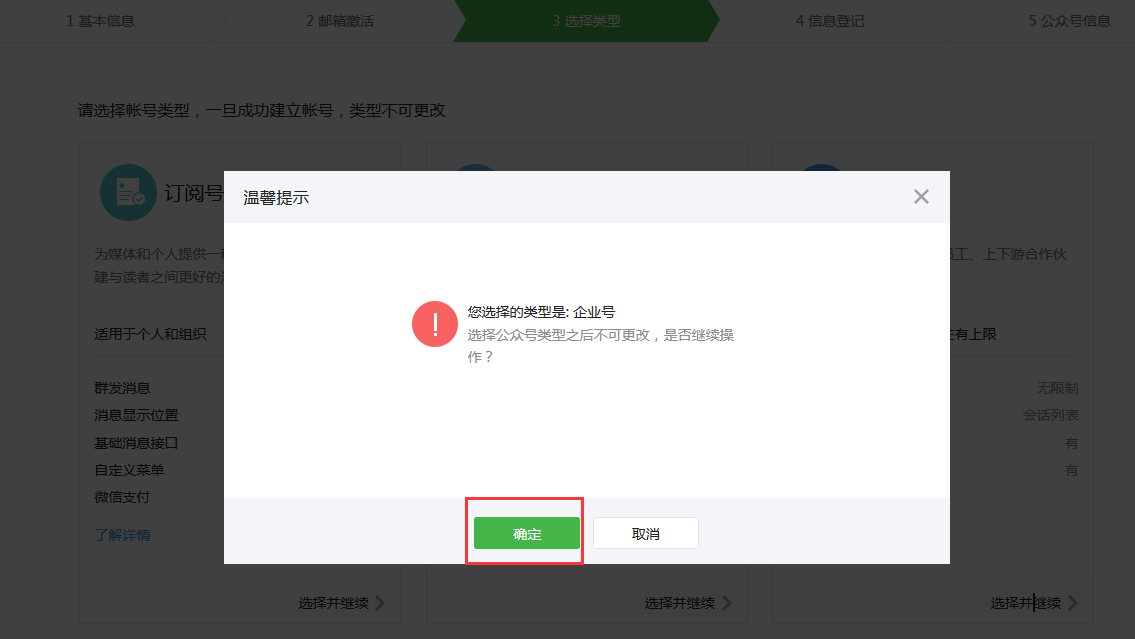
我们选择注册团队 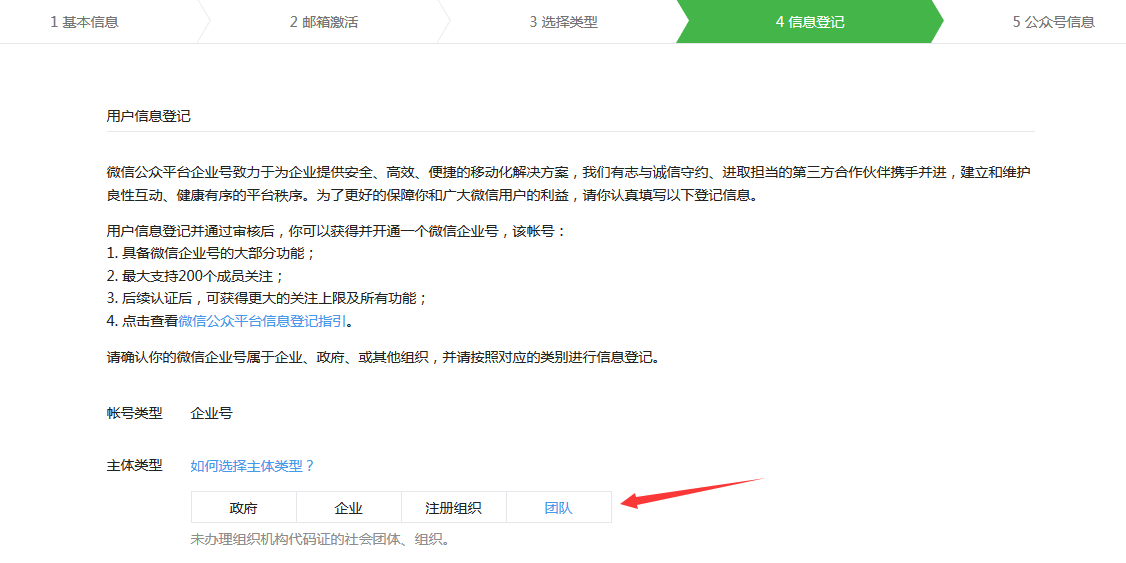
由于我已经注册了,下一步就不继续操作了 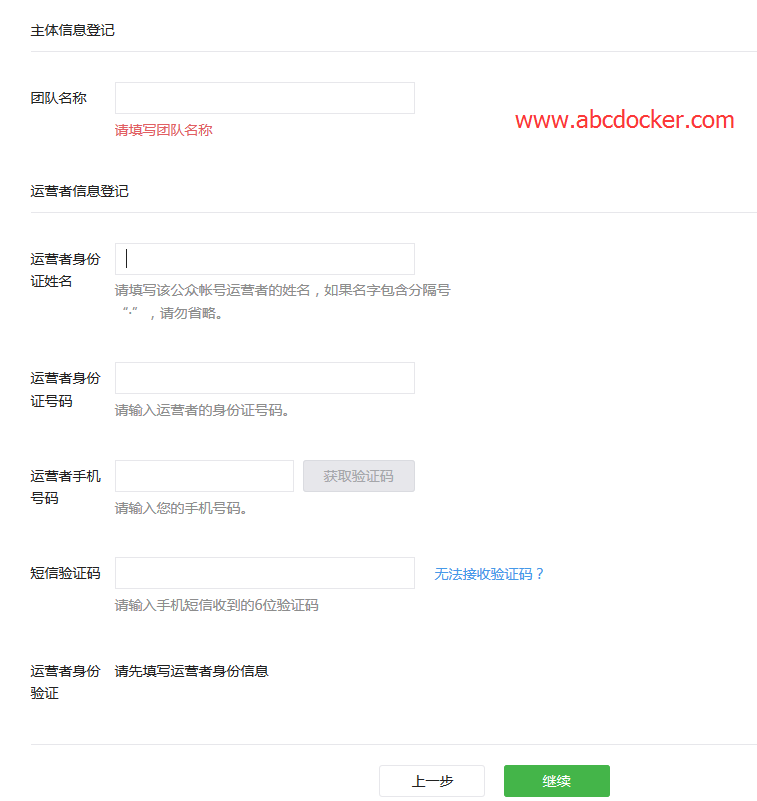
二、配置微信企业号
当我们设置完微信号的信息之后,请继续跟我操作 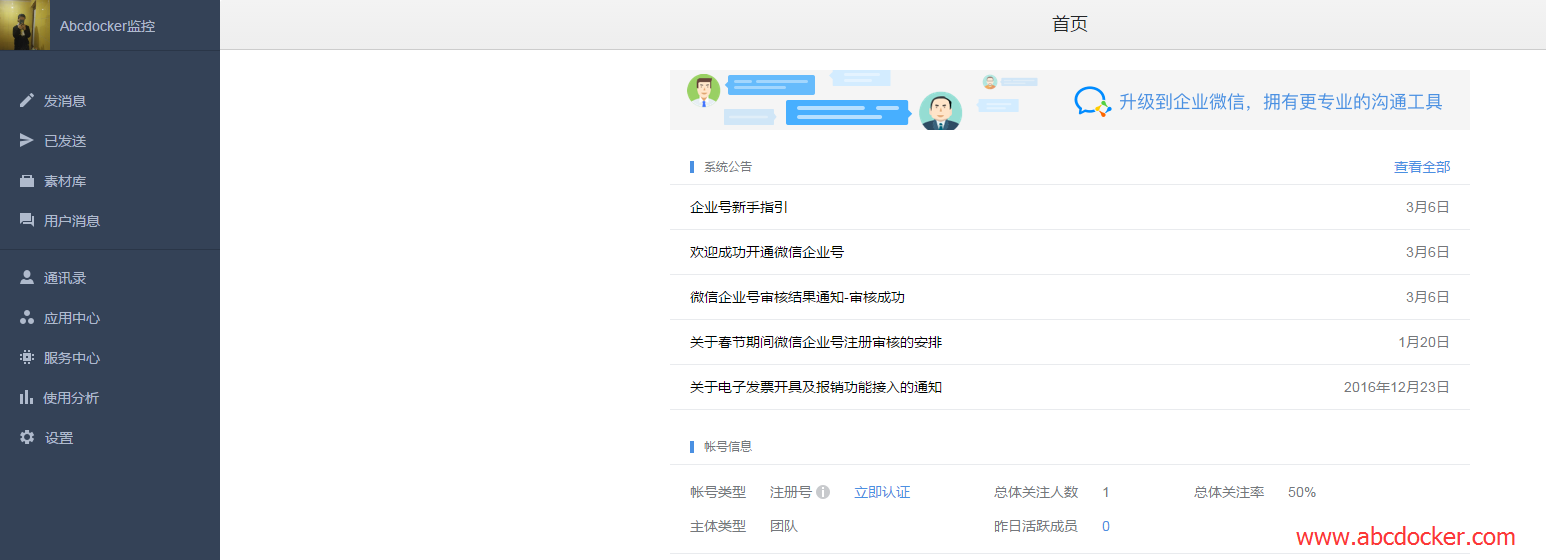
我们点击通讯录-->创建子部门-->运维组 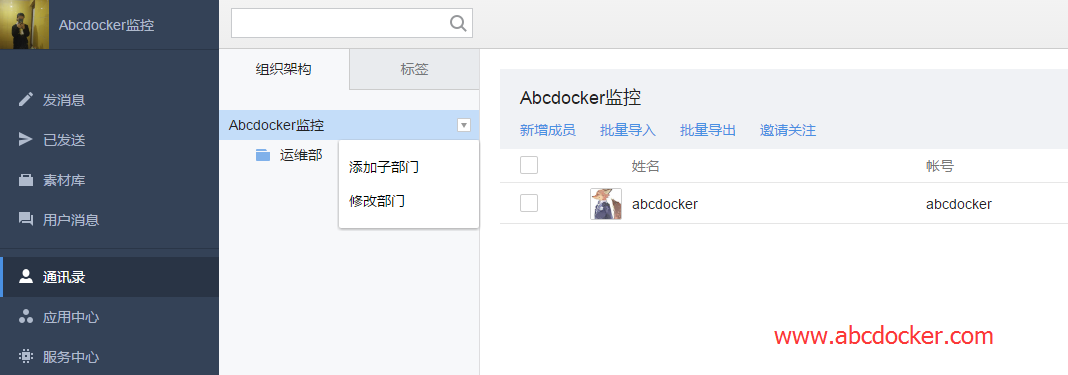
提示: 我们需要记录运维组的ID,用于脚本接收报警 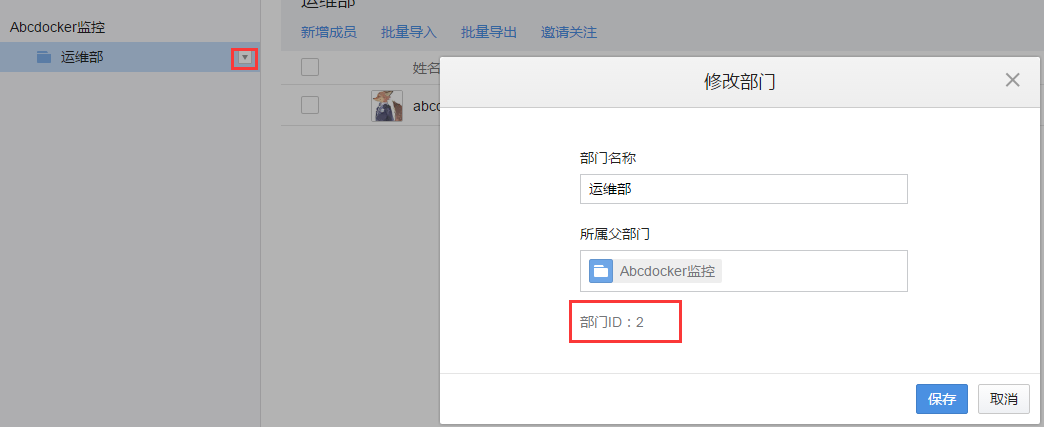
我们点击运维-->添加成员 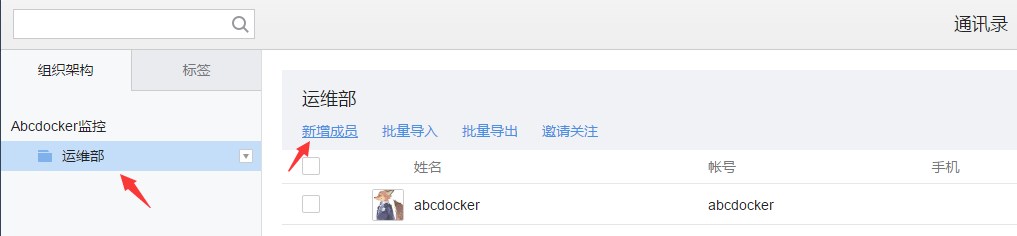
关于认证可以参考官方说明: 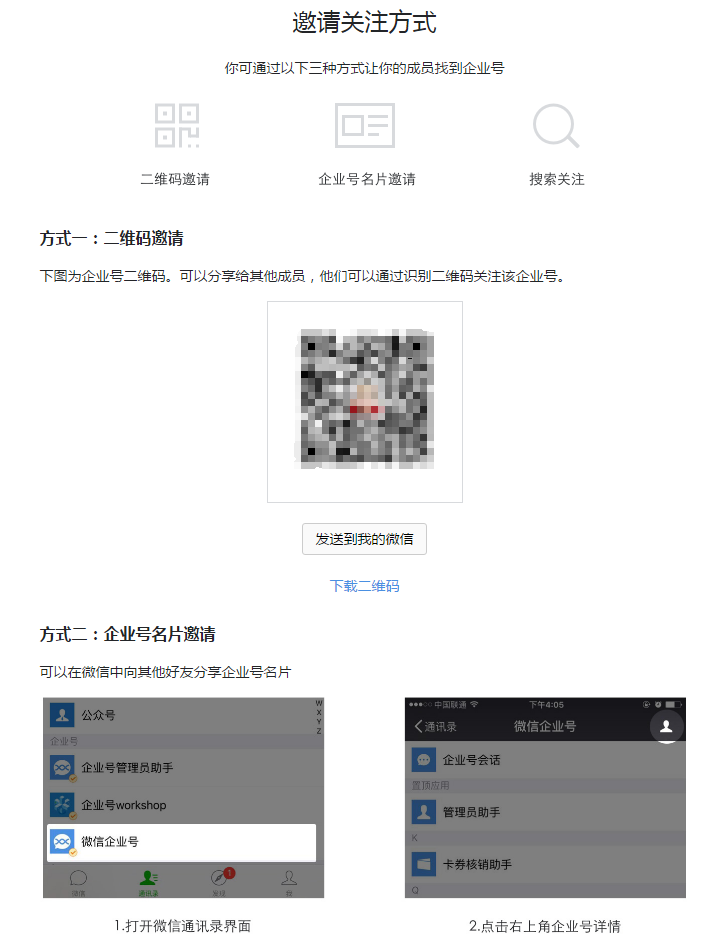
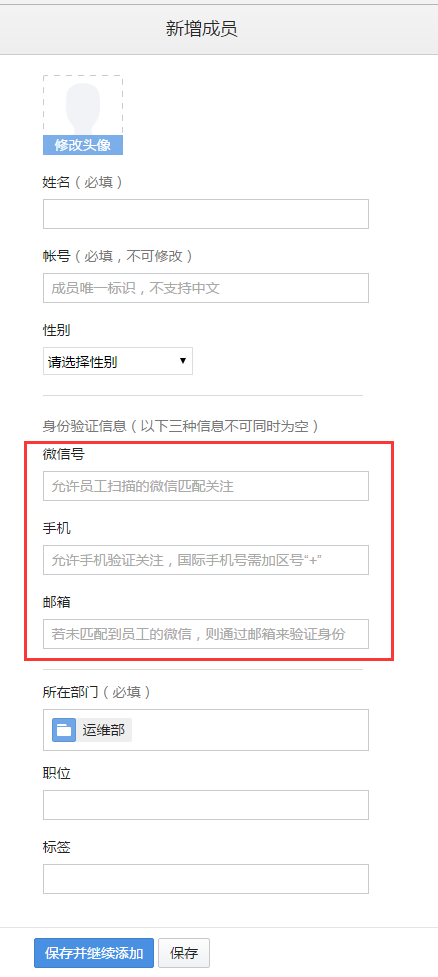
我们可以使用扫描二维码认证或者邀请认证 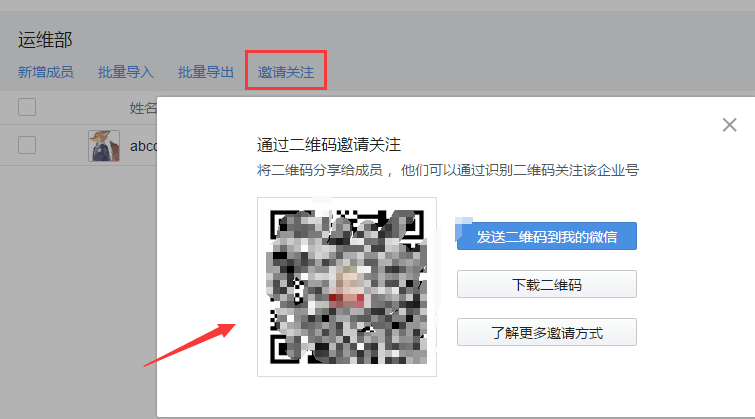
我们点击创建应用 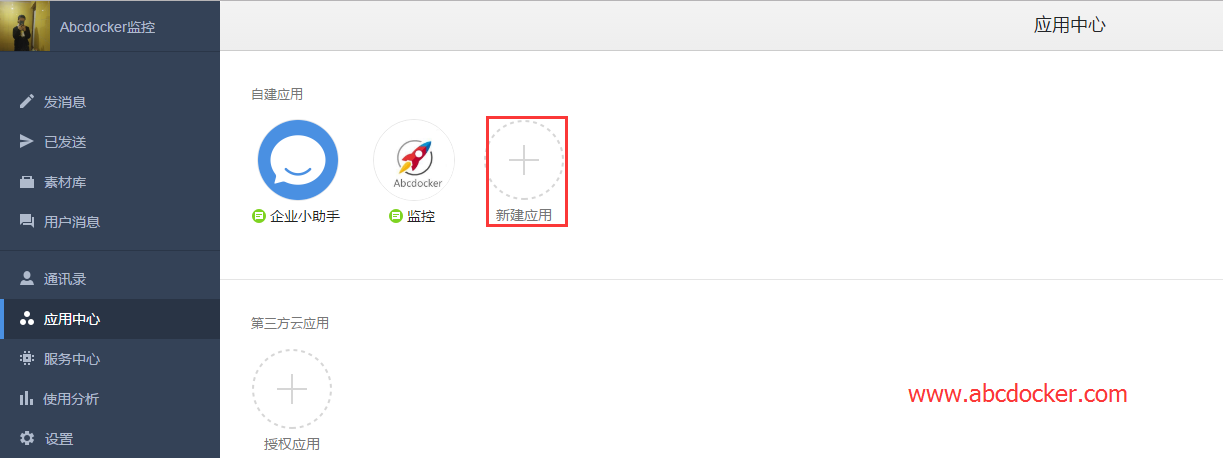
选择消息型 
设置组合用户,将运维整个组添加进去 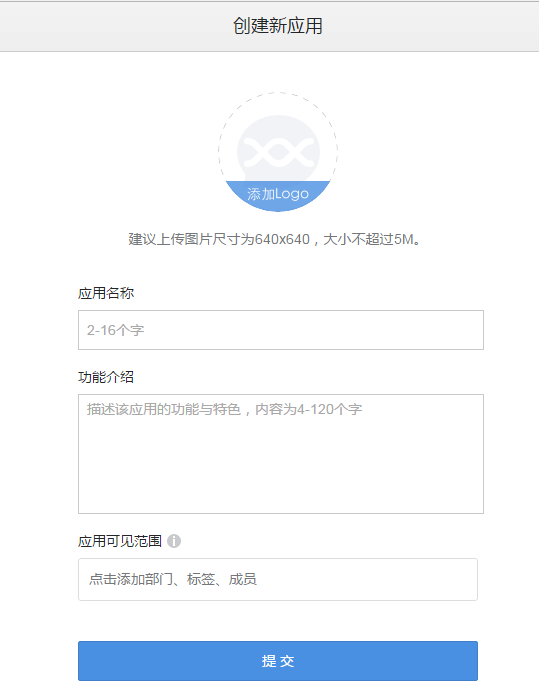
设置完成之后如下图所示!
提示:我们需要记录应用ID,在接收邮件时会使用 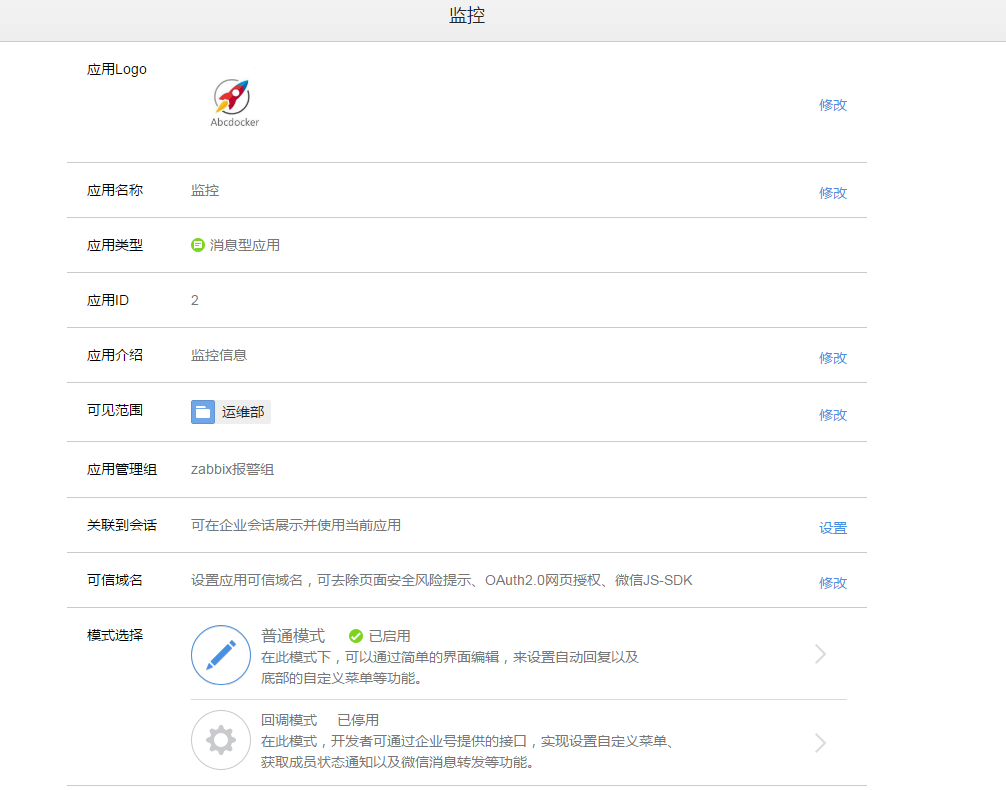
设置权限,让运维组有查看的选项。管理员可以不进行设置 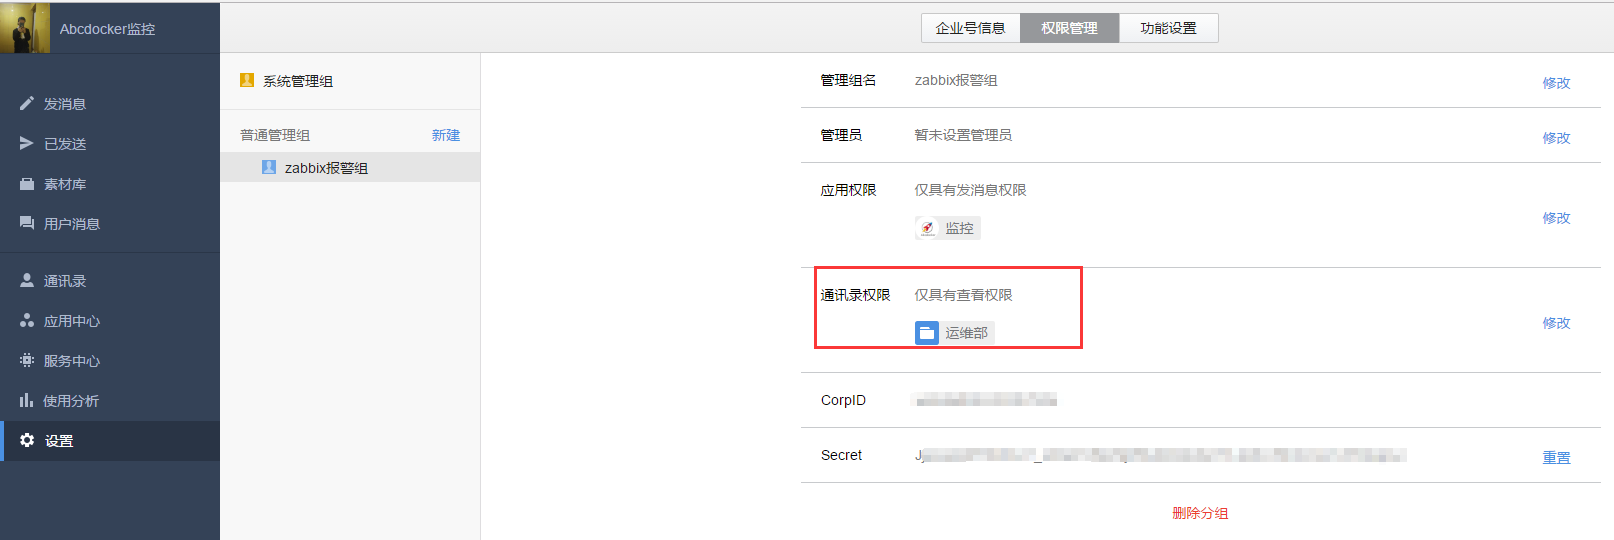
需要确定管理员有权限使用应用发送消息,需要管理员的CorpID和Sercrt。(重要)
准备事项:
微信企业号
企业号已经被部门成员关注
企业号有一个可以发送消息的应用,一个授权管理员,可以使用应用给成员发送消息
需要得到的信息
成员账号组织部门ID应用IDCorpID和Secret
三、修改Zabbix.conf
[root@abcdocker ~]# grep alertscripts /etc/zabbix/zabbix_server.confAlertScriptsPath=/usr/lib/zabbix/alertscripts我们设置zabbix默认脚本路径,这样在web端就可以获取到脚本
四、设置python脚本
#安装simplejson
wget https://pypi.python.org/packages/f0/07/26b519e6ebb03c2a74989f7571e6ae6b82e9d7d81b8de6fcdbfc643c7b58/simplejson-3.8.2.tar.gztar zxvf simplejson-3.8.2.tar.gz && cd simplejson-3.8.2python setup.py buildpython setup.py install
下载wechat.py脚本
git clone https://github.com/X-Mars/Zabbix-Alert-WeChat.gitcp Zabbix-Alert-WeChat/wechat.py /usr/lib/zabbix/alertscripts/cd /usr/lib/zabbix/alertscripts/chmod +x wechat.py && chown zabbix:zabbix wechat.py
提示:这里需要修改py脚本
看注释,这就不解释了
[root@abcdocker ~]# cat /usr/lib/zabbix/alertscripts/wechat.py#!/usr/bin/python#_*_coding:utf-8 _*_import urllib,urllib2import jsonimport sysimport simplejsonreload(sys)sys.setdefaultencoding('utf-8')def gettoken(corpid,corpsecret):gettoken_url = 'https://qyapi.weixin.qq.com/cgi-bin/gettoken?corpid=' + corpid + '&corpsecret=' + corpsecretprint gettoken_urltry:token_file = urllib2.urlopen(gettoken_url)except urllib2.HTTPError as e:print e.codeprint e.read().decode("utf8")sys.exit()token_data = token_file.read().decode('utf-8')token_json = json.loads(token_data)token_json.keys()token = token_json['access_token']return tokendef senddata(access_token,user,subject,content):send_url = 'https://qyapi.weixin.qq.com/cgi-bin/message/send?access_token=' + access_tokensend_values = {"touser":user, #企业号中的用户帐号,在zabbix用户Media中配置,如果配置不正常,将按部门发送。"toparty":"2", #企业号中的部门id。"msgtype":"text", #消息类型。"agentid":"2", #企业号中的应用id。"text":{"content":subject + '\n' + content},"safe":"0"}# send_data = json.dumps(send_values, ensure_ascii=False)send_data = simplejson.dumps(send_values, ensure_ascii=False).encode('utf-8')send_request = urllib2.Request(send_url, send_data)response = json.loads(urllib2.urlopen(send_request).read())print str(response)if __name__ == '__main__':user = str(sys.argv[1]) #zabbix传过来的第一个参数subject = str(sys.argv[2]) #zabbix传过来的第二个参数content = str(sys.argv[3]) #zabbix传过来的第三个参数corpid = '11111111111111' #CorpID是企业号的标识corpsecret = '222222222222222222' #corpsecretSecret是管理组凭证密钥accesstoken = gettoken(corpid,corpsecret)senddata(accesstoken,user,subject,content)
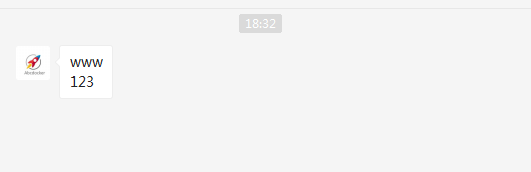
执行py脚本,进行测试
[root@abcdocker alertscripts]# ./wechat.py www www 123https://qyapi.weixin.qq.com/cgi-bin/gettoken?corpid=wx6dadb9cc293b793e&corpsecret=JjesoeixbFt6dDur7_eXtamVBx2SjPBuXMQ0Jte3YLkz8l-VBnr0JvU12P0kvpGJ{u'invaliduser': u'all user invalid', u'errcode': 0, u'errmsg': u'ok'}
五、zabbix web 界面配置
创建报警媒介 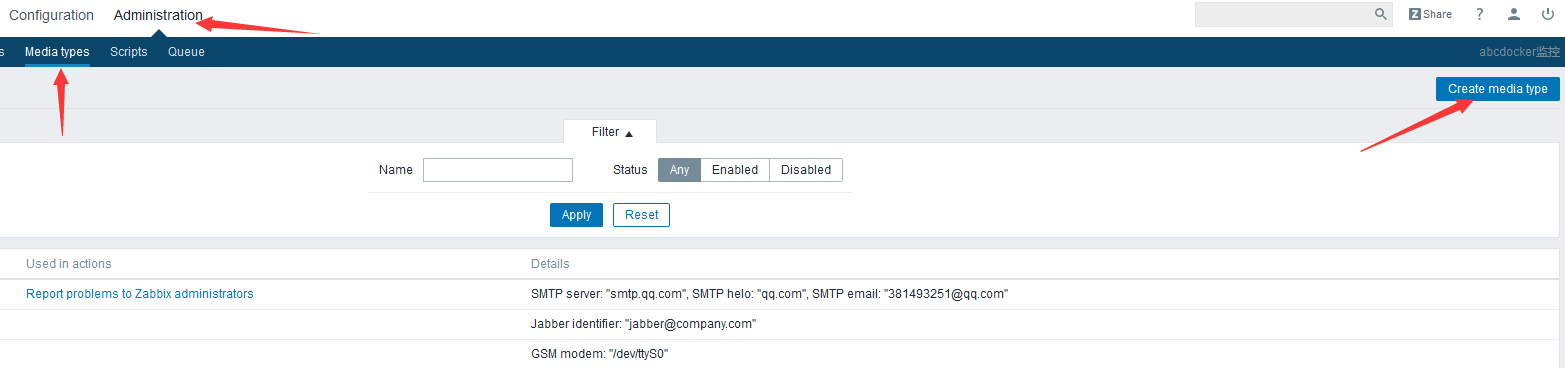
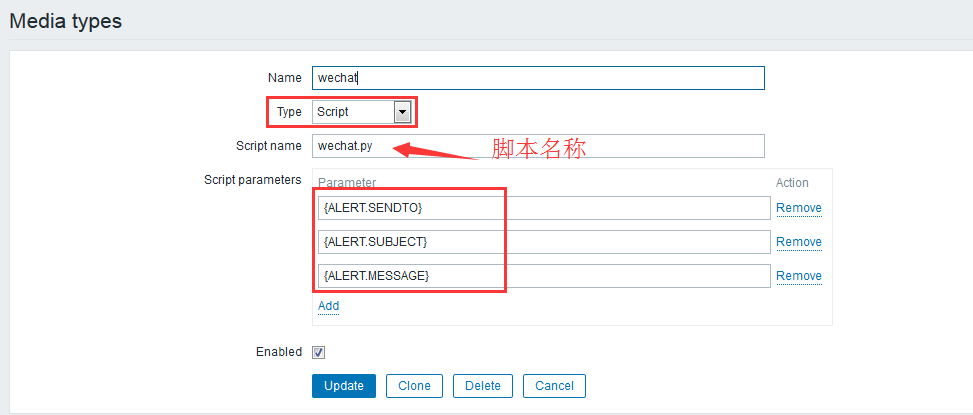
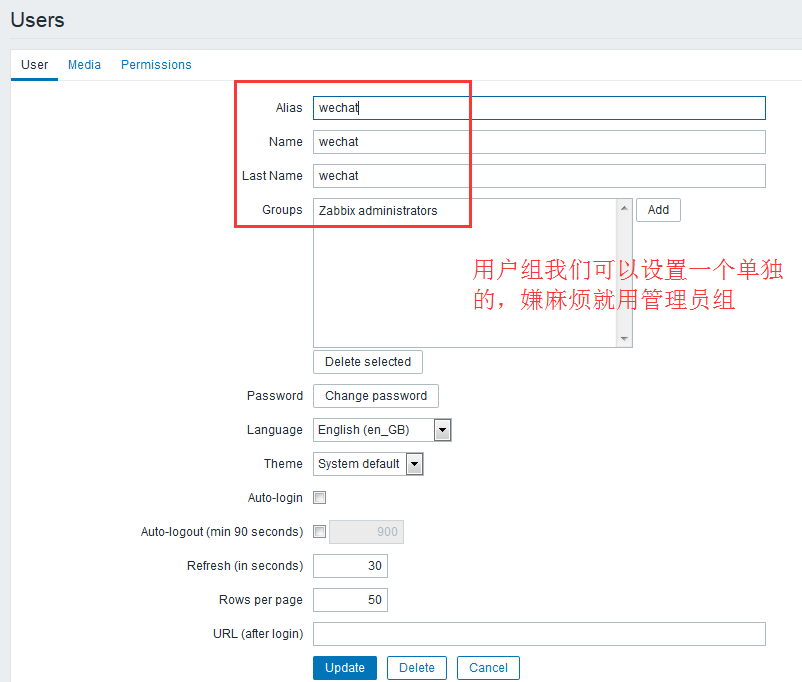
创建报警用户 
这里填写运维组ID 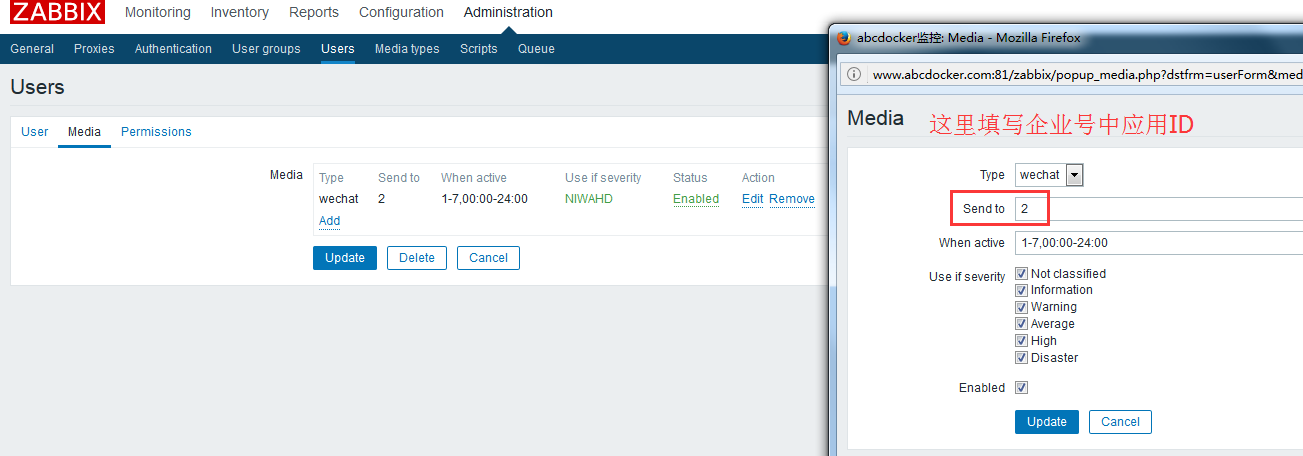
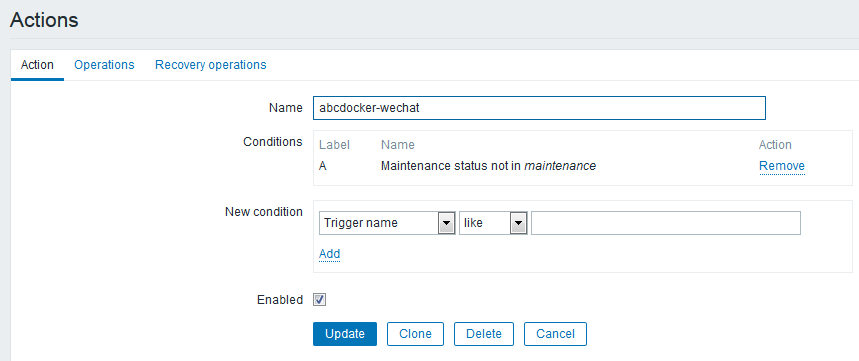
设置报警动作 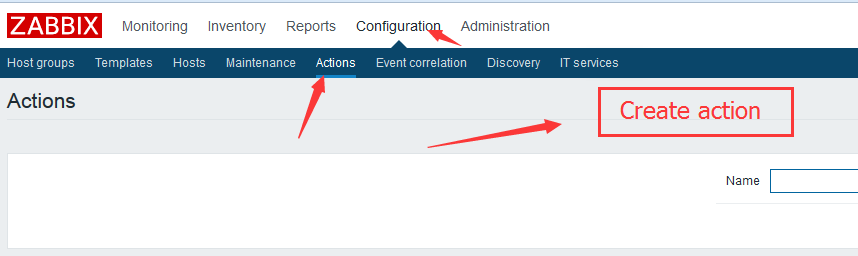
报警消息设置如下:
hostname: ({HOST.NAME}Time:{EVENT.DATE} {EVENT.TIME}level:{TRIGGER.SEVERITY}message:{TRIGGER.NAME}event:{ITEM.NAME}:{ITEM.VALUE}url:www.abcdocker.com
恢复报警如下:
hostname: ({HOST.NAME}Time:{EVENT.DATE} {EVENT.TIME}level:{TRIGGER.SEVERITY}message:{TRIGGER.NAME}event:{ITEM.NAME}:{ITEM.VALUE}url:www.abcdocker.com
报警配置如下 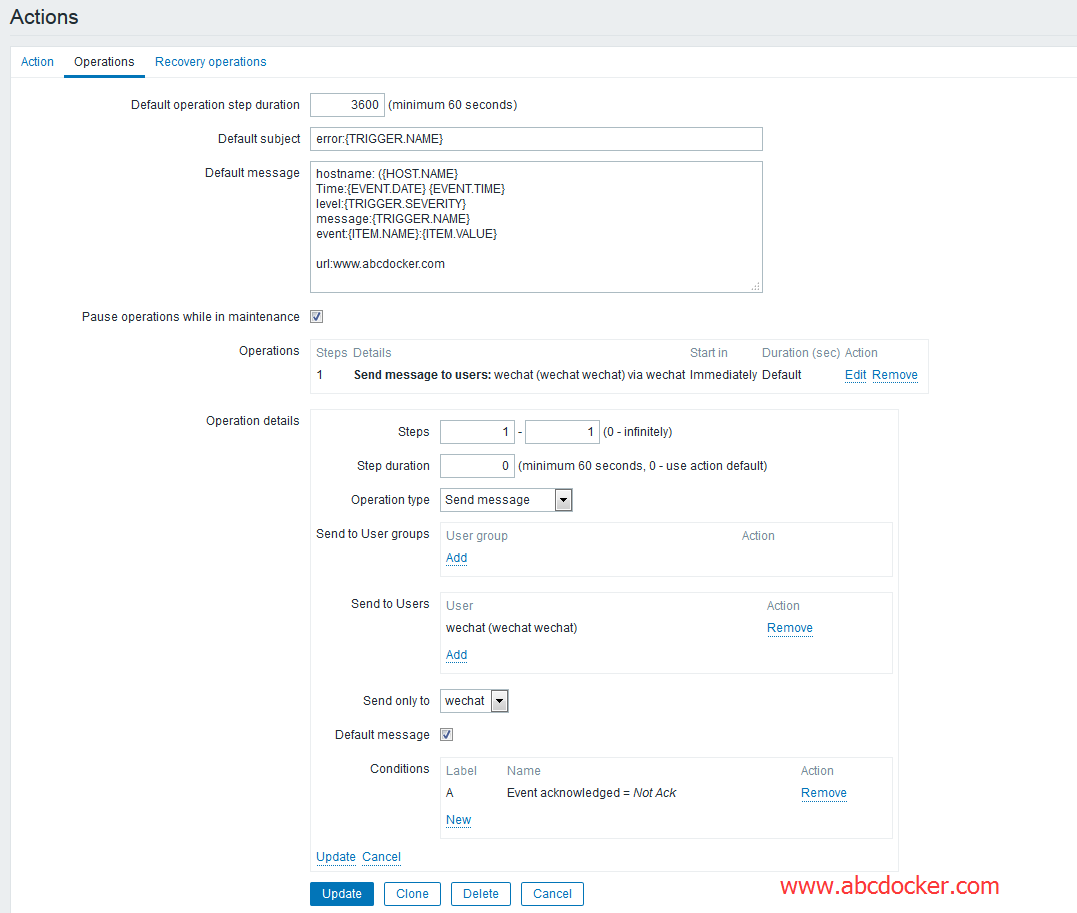
恢复配置如下 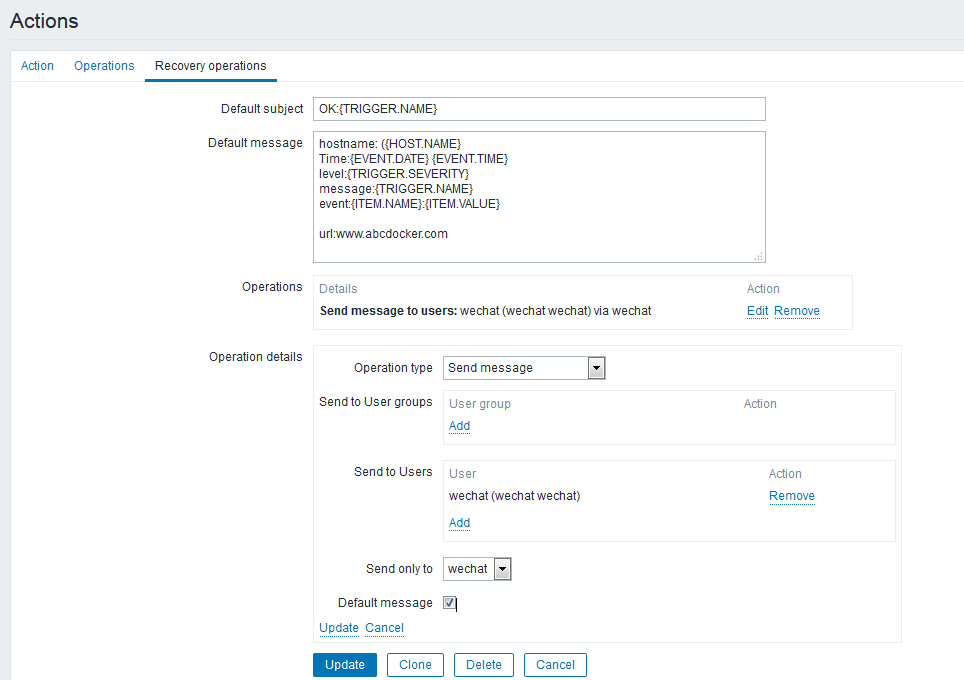
提示: 不要忘记先点小的add-->小的update-->Update
六、测试
为了验证效果我们停掉zabbix-agent,进行查看报警
[root@abcdocker ~]# systemctl stop zabbix-agent
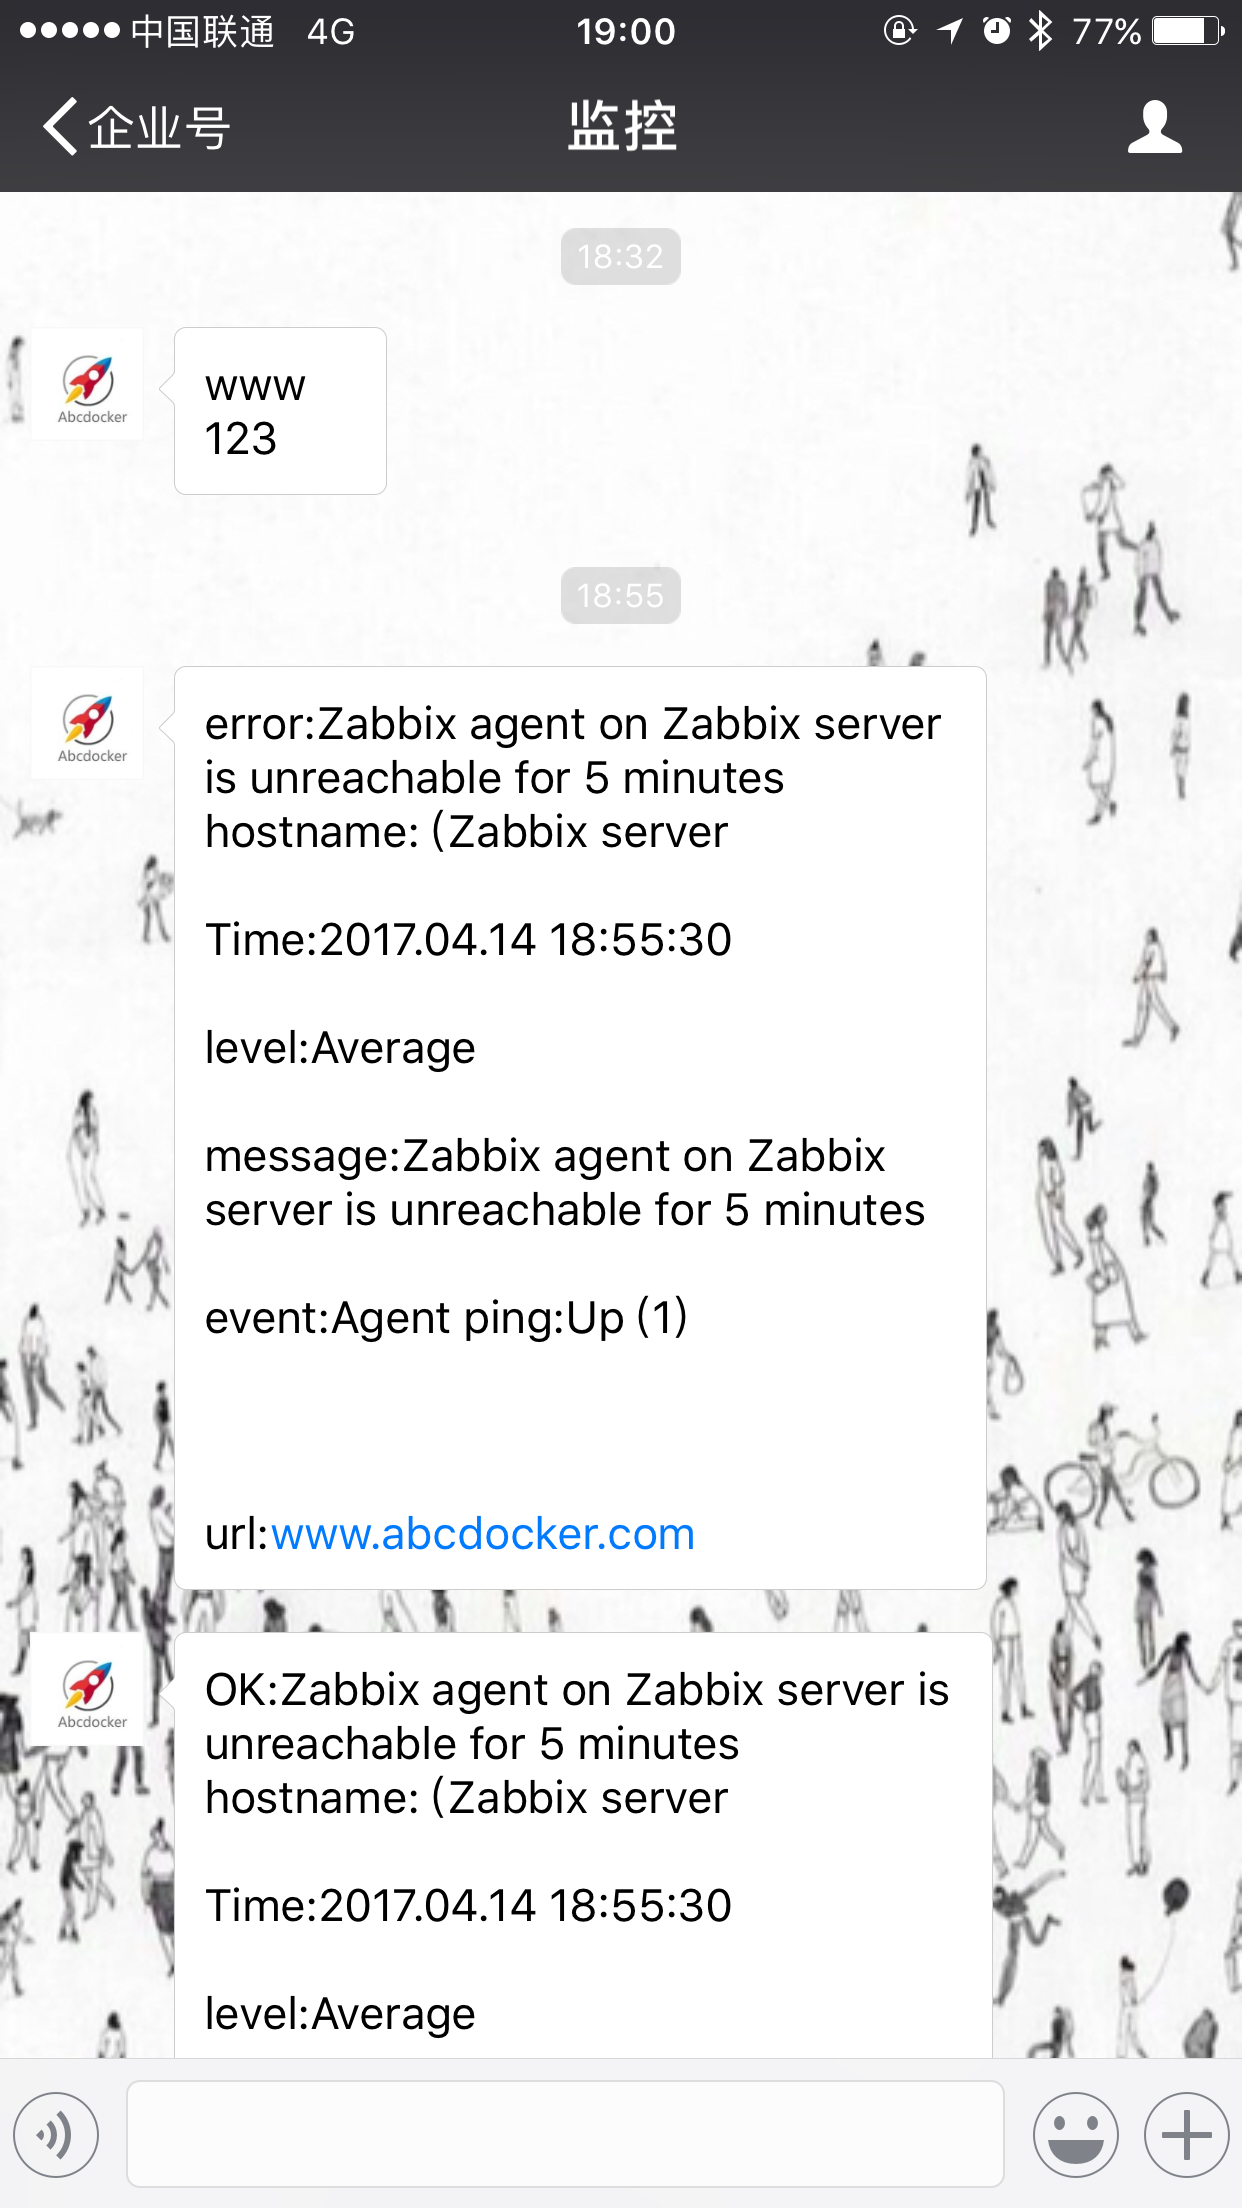
报警如下 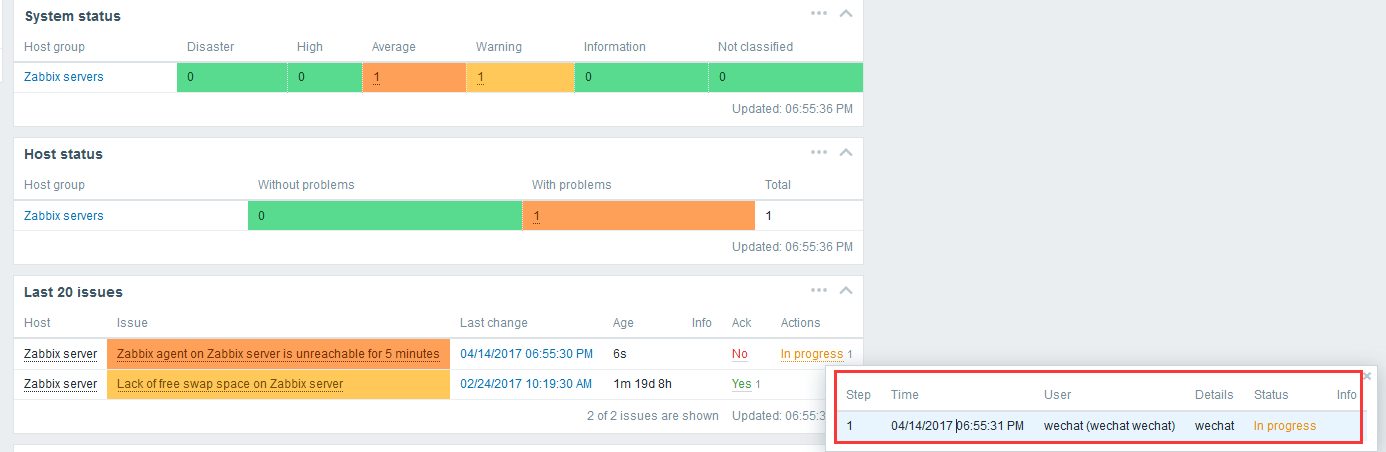
作者:罗阿红
出处:http://www.cnblogs.com/luoahong/
本文版权归作者和博客园共有,欢迎转载,但未经作者同意必须保留此段声明,且在文章页面明显位置给出原文连接。

 浙公网安备 33010602011771号