SpringMVC+Maven+tomcat 【demo】
1. 下载tomcat并运行
如使用startup.bat出现乱码,logging.properties配置项中增加:
java.util.logging.ConsoleHandler.encoding = GBK
2. 新建maven项目
3. pom.xml的配置
<?xml version="1.0" encoding="UTF-8"?>
<project xmlns="http://maven.apache.org/POM/4.0.0"
         xmlns:xsi="http://www.w3.org/2001/XMLSchema-instance"
         xsi:schemaLocation="http://maven.apache.org/POM/4.0.0 http://maven.apache.org/xsd/maven-4.0.0.xsd">
    <parent>
        <artifactId>test</artifactId>
        <groupId>org.example</groupId>
        <version>1.0-SNAPSHOT</version>
    </parent>
    <modelVersion>4.0.0</modelVersion>

    <!--指定打包类型,tomcat加载时使用-->
    <packaging>war</packaging>

    <artifactId>web-test</artifactId>

    <dependencies>
        <dependency>
            <groupId>org.springframework</groupId>
            <artifactId>spring-webmvc</artifactId>
            <version>5.2.6.RELEASE</version>
        </dependency>
    </dependencies>

    <properties>
        <file.encoding>UTF-8</file.encoding>
    </properties>
</project>
4. web.xml配置
<?xml version="1.0" encoding="UTF-8"?>
<web-app xmlns="http://xmlns.jcp.org/xml/ns/javaee"
         xmlns:xsi="http://www.w3.org/2001/XMLSchema-instance"
         xsi:schemaLocation="http://xmlns.jcp.org/xml/ns/javaee http://xmlns.jcp.org/xml/ns/javaee/web-app_4_0.xsd"
         version="4.0">
    <servlet>
        <servlet-name>dispatcher</servlet-name>
        <servlet-class>org.springframework.web.servlet.DispatcherServlet</servlet-class>
        <init-param>
            <param-name>contextConfigLocation</param-name>
            <param-value>classpath:spring-mvc.xml</param-value>
        </init-param>
    </servlet>

    <servlet-mapping>
        <servlet-name>dispatcher</servlet-name>
        <url-pattern>/*</url-pattern>
    </servlet-mapping>
</web-app>
5. springmvc配置
<?xml version="1.0" encoding="UTF-8"?>
<beans xmlns="http://www.springframework.org/schema/beans"
       xmlns:xsi="http://www.w3.org/2001/XMLSchema-instance"
       xmlns:context="http://www.springframework.org/schema/context"
       xsi:schemaLocation="http://www.springframework.org/schema/beans http://www.springframework.org/schema/beans/spring-beans.xsd http://www.springframework.org/schema/context https://www.springframework.org/schema/context/spring-context.xsd">

    <context:component-scan base-package="com.ezreal.web" />
    <context:annotation-config/>
</beans>
6. controller配置:
package com.ezreal.web.controller;

import org.springframework.stereotype.Controller;
import org.springframework.web.bind.annotation.RequestMapping;
import org.springframework.web.bind.annotation.ResponseBody;

@Controller
@RequestMapping("/home")
public class IndexController {

    @ResponseBody
    @RequestMapping("/index")
    public String index(){
        return "test-index";
    }
}
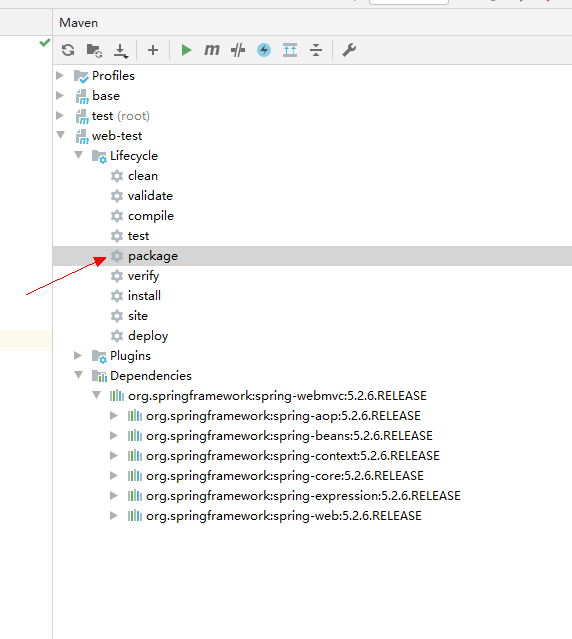
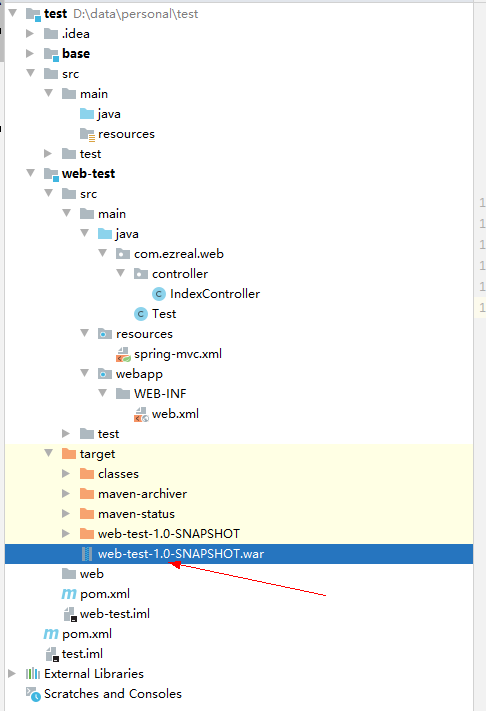
7.项目打包
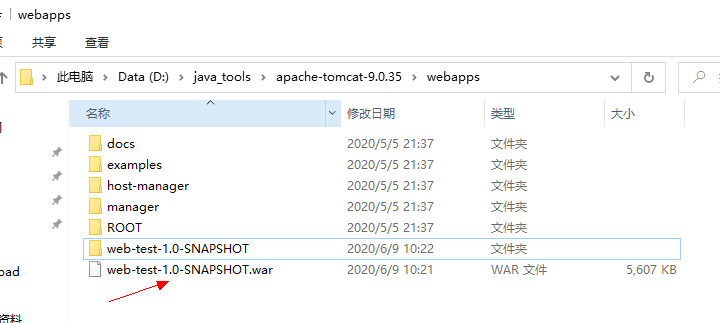
8. 将该war包复制到tomcat安装目录webapps下,tomcat会自动将war包生成文件夹
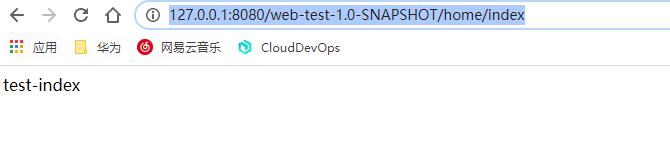
9. 页面访问http://127.0.0.1:8080/web-test-1.0-SNAPSHOT/home/index。
路径中的web-test-1.0-SNAPSHOT为项目名称,即war包解压后的文件夹名称。
综上,框架就已经搭好了,可以自由加入日志、数据库、页面展示等等内容。

 浙公网安备 33010602011771号