学习SpringBoot-1
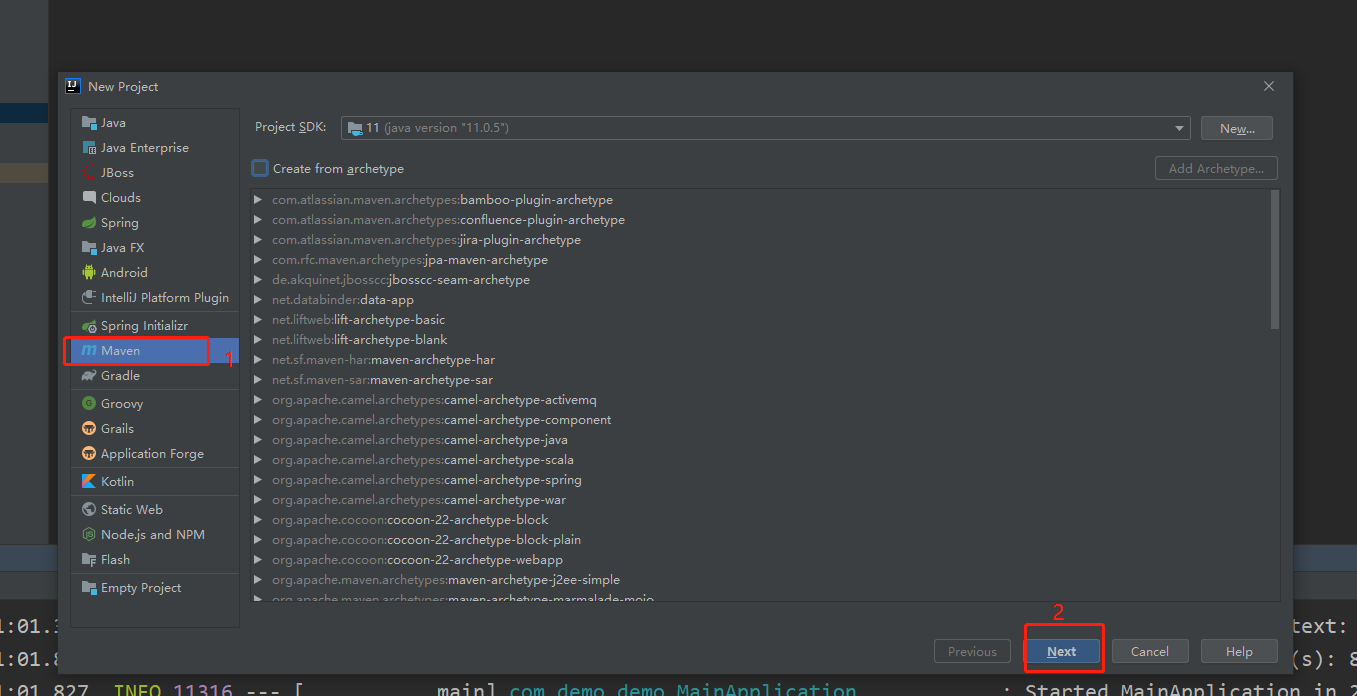
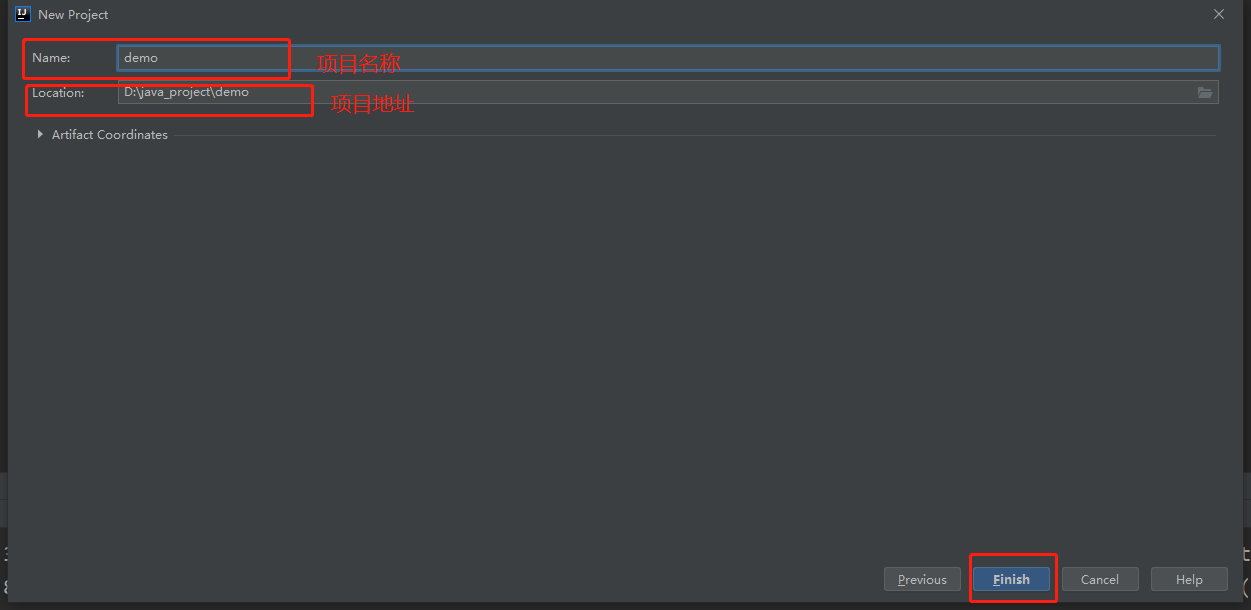
一、maven搭建SpringBoot项目
使用工具:intellij IDE
jdk版本:11
maven版本:3.6.1
springboot版本:2.6.4
二、pom配置
<parent>
    <groupId>org.springframework.boot</groupId>
    <artifactId>spring-boot-starter-parent</artifactId>
    <version>2.6.4</version>
</parent>

<dependencies>
    <dependency>
        <groupId>org.springframework.boot</groupId>
        <artifactId>spring-boot-starter-web</artifactId>
    </dependency>
</dependencies>
三、开始HelloWorld...
//创建主程序类
package com.demo.demo;

import org.springframework.boot.SpringApplication;
import org.springframework.boot.autoconfigure.SpringBootApplication;

/**
 * 主程序类
 * @SpringBootApplication  声明这是一个SpringBoot应用
 */
@SpringBootApplication
public class MainApplication {
    public static void main(String[] args) {
        SpringApplication.run(MainApplication.class,args);
    }
}

//创建控制器类
package com.demo.demo.controller;

import org.springframework.web.bind.annotation.RequestMapping;
import org.springframework.web.bind.annotation.RestController;

//声明控制器类
@RestController
public class Hello {

    /**
     * @RequestMapping("/hello") 设置访问路径(路径映射)
     * @return String
     */
    @RequestMapping("/hello")
    public String helloworld(){
        return "Hello World!";
    }
}
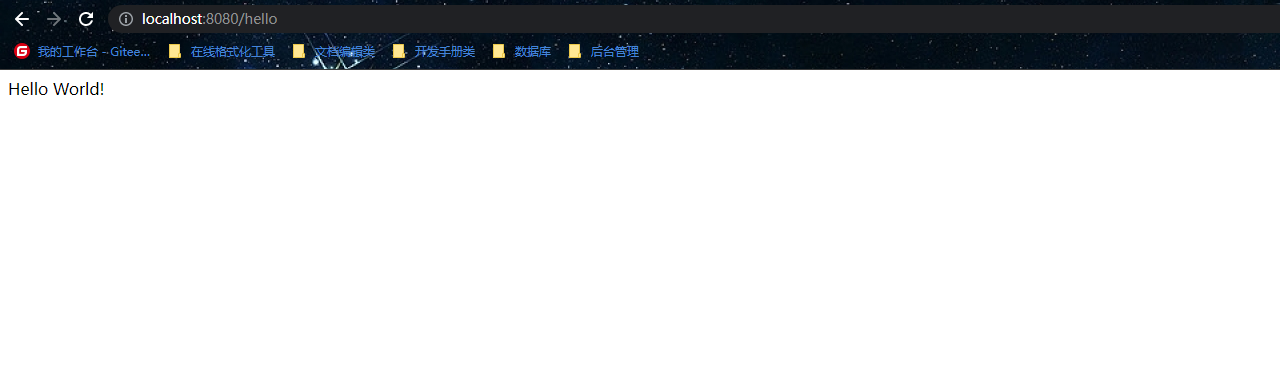
四、运行主程序 访问localhost:8080/hello
五、SpringBoot配置文件
//在resources创建application.properties文件
//具体可以配置哪些请自行查看springboot开发文档(https://docs.spring.io/spring-boot/docs/current/reference/html/application-properties.html#appendix.application-properties.core)
server.port=8888  //修改端口号,再次访问为localhost:8888/hello

 浙公网安备 33010602011771号