

阿里云oss文件上传完整工具类
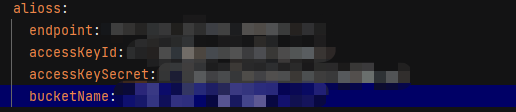
首先第一步:在配置文件中,配置相关信息
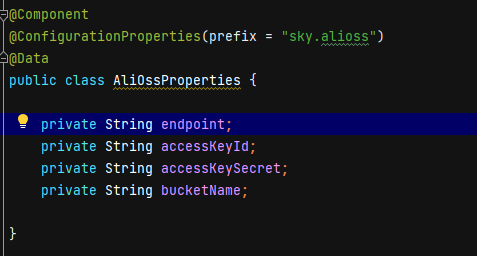
第二步:创建对象实体类
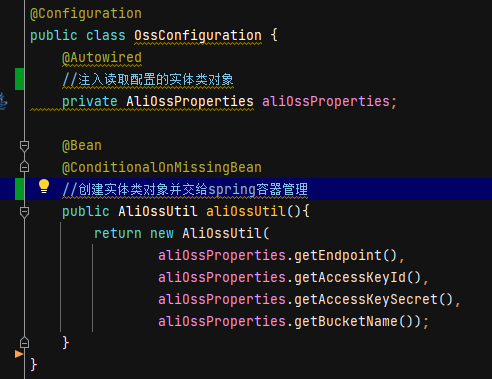
第三步:注入对象实体类,将对象交给spring容器管理
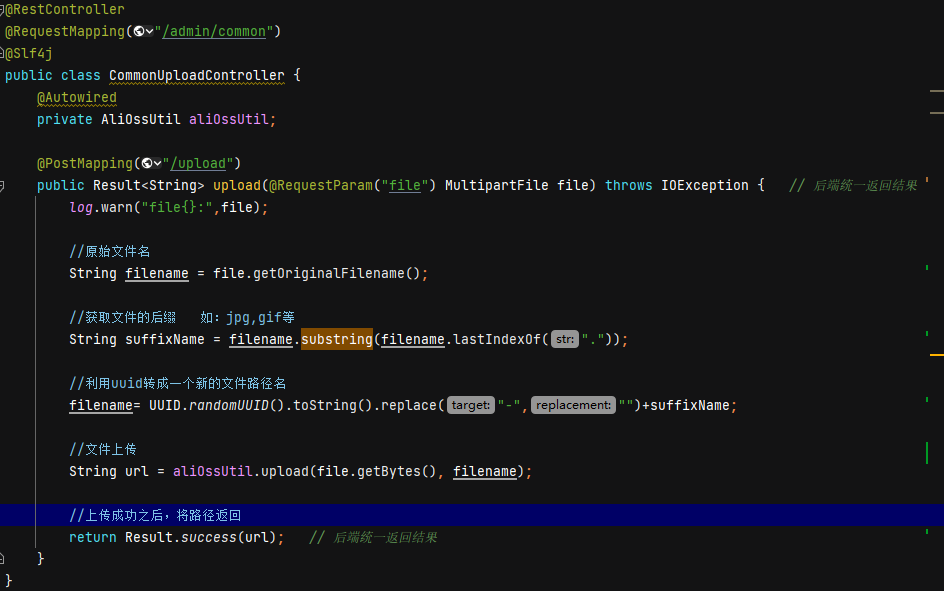
第四步:创建文件上传的方法
@Data
@AllArgsConstructor
@Slf4j
public class AliOssUtil {
    private String endpoint;
    private String accessKeyId;
    private String accessKeySecret;
    private String bucketName;

    public String upload(byte[] bytes, String objectName) {
        // 创建OSSClient实例。
        OSS ossClient = new OSSClientBuilder().build(endpoint, accessKeyId, accessKeySecret);
        try {
            // 创建PutObject请求。
            ossClient.putObject(bucketName, objectName, new ByteArrayInputStream(bytes));
        } catch (OSSException oe) {
            System.out.println("Caught an OSSException, which means your request made it to OSS, "
                    + "but was rejected with an error response for some reason.");
            System.out.println("Error Message:" + oe.getErrorMessage());
            System.out.println("Error Code:" + oe.getErrorCode());
            System.out.println("Request ID:" + oe.getRequestId());
            System.out.println("Host ID:" + oe.getHostId());
        } catch (ClientException ce) {
            System.out.println("Caught an ClientException, which means the client encountered "
                    + "a serious internal problem while trying to communicate with OSS, "
                    + "such as not being able to access the network.");
            System.out.println("Error Message:" + ce.getMessage());
        } finally {
            if (ossClient != null) {
                ossClient.shutdown();
            }
        }
        //文件访问路径规则 https://BucketName.Endpoint/ObjectName
        StringBuilder stringBuilder = new StringBuilder("https://");
        stringBuilder
                .append(bucketName)
                .append(".")
                .append(endpoint)
                .append("/")
                .append(objectName);

        log.info("文件上传到:{}", stringBuilder.toString());
        return stringBuilder.toString();
    }
}

测试如图所示:
整个文件上传流程就可以实现。

 浙公网安备 33010602011771号