一种游戏机器人的GO语言实现
 一款使用go语言结合行为树实现的机器人
1. 背景
机器人是进行压力测试的一把好手,在测试服务器压力极限,优化服务器代码,测试代码覆盖率等方面有着不可或缺的作用。
GO语言有着优良便捷的并发特性,只需简单的烹饪即可搭建起一个机器人。再加上AI树的加持,机器人如虎添翼,可快速完成各种业务逻辑,如建立登录流程,打怪流程等流程,只需拖拽子树即可复用,实为居家必备之良品。
2. 实现
每个机器人的创建使用了go语言中的goroutine并发机制.[原理见:【深度知识】GO语言的goroutine并发原理和调度机制 - Go语言中文网 - Golang中文社区].
每个机器人创建后执行行为树逻辑.机器人的行为全部由行为树控制.这里使用使用第三方的go开源库[magicsea/behavior3go]来驱动行为树逻辑.
行为树编辑器使用官方编辑器[behavior3/behavior3editor].
2.1 编辑器相关
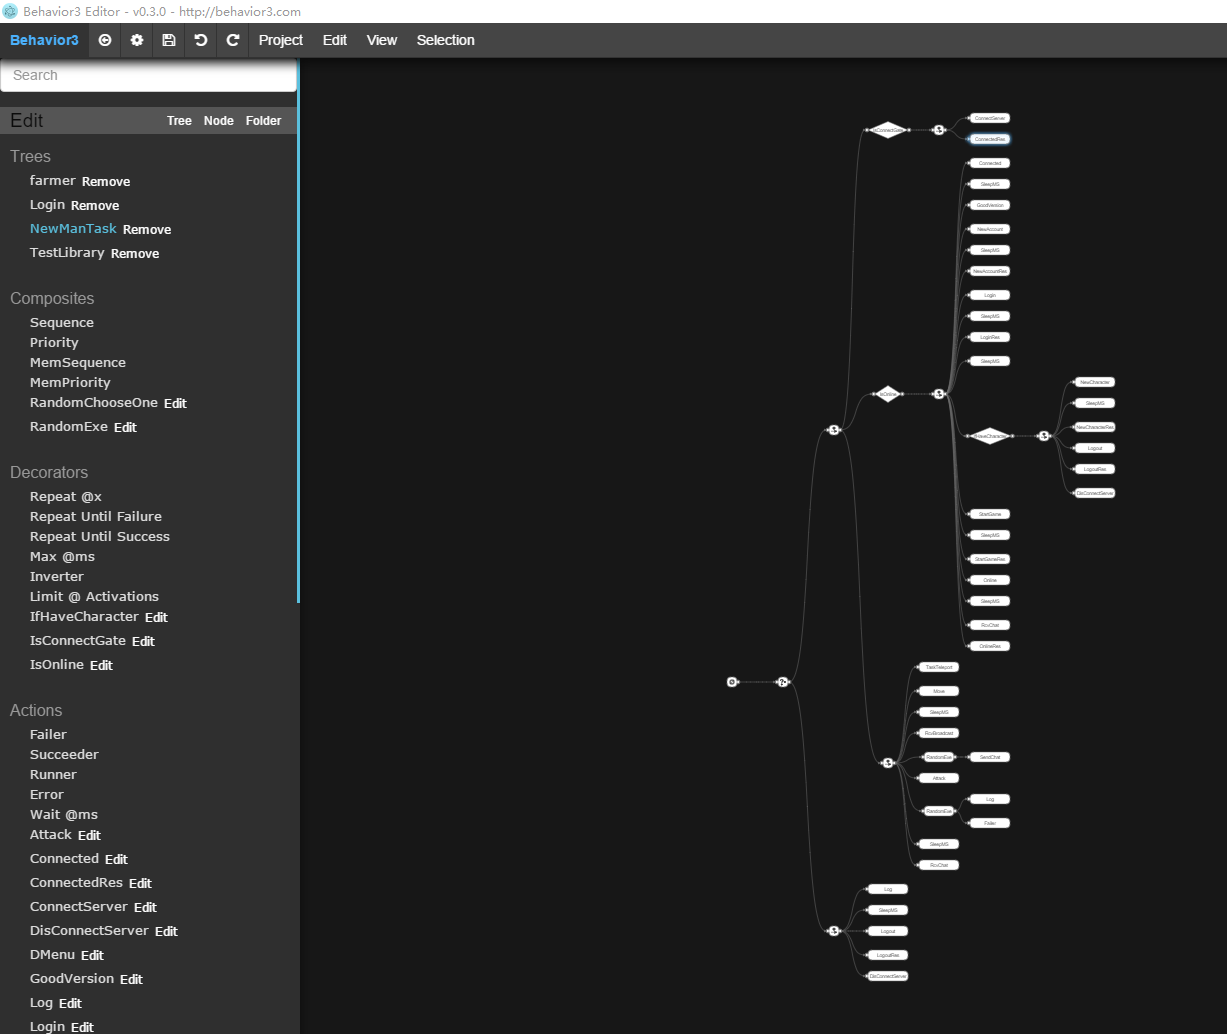
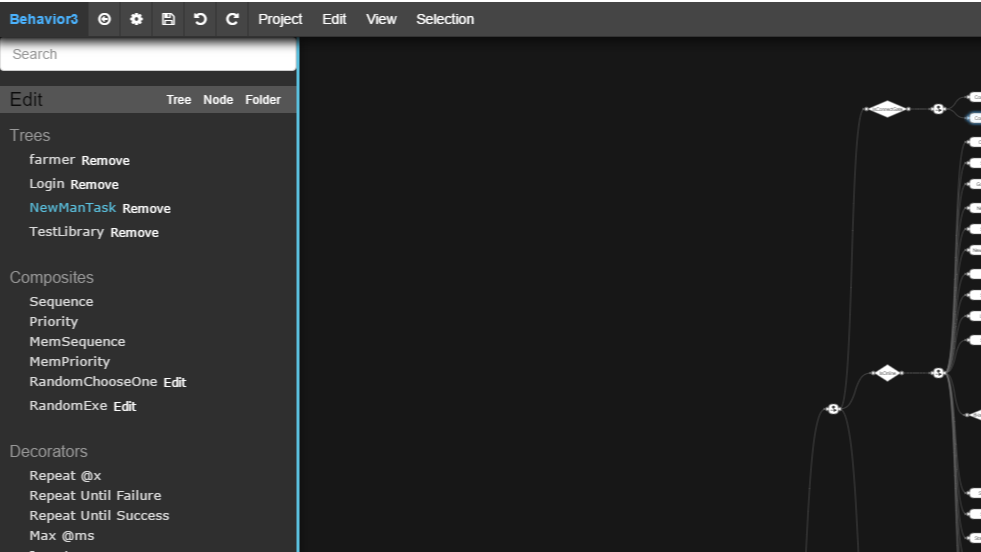
图1.编辑器界面
编辑器左边初始有四个文件夹,分别是"Trees(树)","Composites(组合)","Decorators(装饰器)","Actions(行动)".右侧是实现的角色登录及游戏新手任务流程.
2.1.1 Trees(树)
机器人执行行为逻辑以树为单位,不断的从根节点从上到下循环执行节点逻辑.每个树可以作为子树供其他树调用,此举可以封装一些常用逻辑,比如登录逻辑,打怪逻辑.
2.1.2 Composites(组合)
常用的组合节点有四种,Sequence,Piority,MemSequence,MemPriority.看完这四个节点的实现原理后,你也可以实现自己的组合节点.
从图形节点的特征上看组合节点是1:N,即左侧"入"节点为1个节点,右侧"出"节点为N个节点,N>=0.
2.1.2.1 Sequence
Sequence 相当于逻辑与,行为树会从上到下依次执行Sequence的子节点,如果全部成功,则Sequence返回成功.如果某个子节点返回失败,则Sequence立即返回失败,不再执行后续节点.
/**
 * Tick method.
 * @method tick
 * @param {b3.Tick} tick A tick instance.
 * @return {Constant} A state constant.
**/
func (this *Sequence) OnTick(tick *Tick) b3.Status {
   //fmt.Println("tick Sequence :", this.GetTitle())
   for i := 0; i < this.GetChildCount(); i++ {
      var status = this.GetChild(i).Execute(tick)
      if status != b3.SUCCESS {
         return status
      }
   }
   return b3.SUCCESS
}
2.1.2.2 Priority
Priority 相当于逻辑或,行为树会从上到下依次执行Priority的子节点,如果某个子节点返回成功,则Priority返回成功,不再执行后续子节点。如果子节点全部都返回失败,则Priority返回失败.
代码实现:
/**
 * Tick method.
 * @method tick
 * @param {b3.Tick} tick A tick instance.
 * @return {Constant} A state constant.
**/
func (this *Priority) OnTick(tick *Tick) b3.Status {
   for i := 0; i < this.GetChildCount(); i++ {
      var status = this.GetChild(i).Execute(tick)
      if status != b3.FAILURE {
         return status
      }
   }
   return b3.FAILURE
}
2.1.2.3 MemSequence
MemSequence 与 Sequence 逻辑类似, 不同的是MemSequence都从上次返回 RUNNING状态的节点开始执行.
代码实现:
/**
 * Tick method.
 * @method tick
 * @param {b3.Tick} tick A tick instance.
 * @return {Constant} A state constant.
**/
func (this *MemSequence) OnTick(tick *Tick) b3.Status {
   var child = tick.Blackboard.GetInt("runningChild", tick.GetTree().GetID(), this.GetID())
   for i := child; i < this.GetChildCount(); i++ {
      var status = this.GetChild(i).Execute(tick)

      if status != b3.SUCCESS {
         if status == b3.RUNNING {
            tick.Blackboard.Set("runningChild", i, tick.GetTree().GetID(), this.GetID())
         }

         return status
      }
   }
   return b3.SUCCESS
}
2.1.2.4 MemPriority
MemPriority 与 Priority 逻辑类似, 不同的 是MemPriority 都从上次返回 RUNNING状态的节点开始执行.
代码实现:
/**
 * Tick method.
 * @method tick
 * @param {b3.Tick} tick A tick instance.
 * @return {Constant} A state constant.
**/
func (this *MemPriority) OnTick(tick *Tick) b3.Status {
   var child = tick.Blackboard.GetInt("runningChild", tick.GetTree().GetID(), this.GetID())
   for i := child; i < this.GetChildCount(); i++ {
      var status = this.GetChild(i).Execute(tick)

      if status != b3.FAILURE {
         if status == b3.RUNNING {
            tick.Blackboard.Set("runningChild", i, tick.GetTree().GetID(), this.GetID())
         }

         return status
      }
   }
   return b3.FAILURE
}
2.1.2.5 自定义组合
除了上述原装组合节点外,还可以根据自身需求定制组合节点.比如需要随机执行一个子节点,代码如下:
// 自定义 随机选择一个子节点执行
type RandomChooseOne struct {
   Composite
}

func (this *RandomChooseOne) Initialize(setting *BTNodeCfg) {
   this.Composite.Initialize(setting)
}

func (this *RandomChooseOne) OnTick(tick *Tick) b3.Status {
   total_count := this.GetChildCount()
   exe_child := rand.Intn(total_count)
   var status = this.GetChild(exe_child).Execute(tick)
   return status
}
比如需要根据节点上设置的概率执行一个子节点.
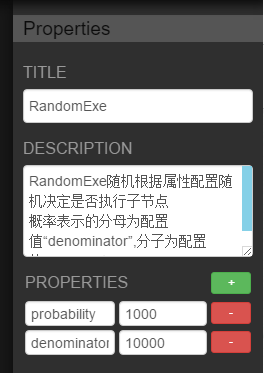
图2. 根据概率执行节点
代码如下:
// 自定义 根据配置概率决定一个子节点是否执行
type RandomExe struct {
   Composite
   probability int
   denominator    int
}

func (this *RandomExe) Initialize(setting *BTNodeCfg) {
   this.Composite.Initialize(setting)
   this.probability = setting.GetPropertyAsInt("probability")
   this.denominator = setting.GetPropertyAsInt("denominator")
   if this.denominator <= 0 || this.probability < 0 {
      this.denominator = 10000
      this.probability = 0
   }
}

func (this *RandomExe) OnTick(tick *Tick) b3.Status {
   exe_child := rand.Intn(this.denominator)
   if exe_child < this.probability {
      for i := 0; i < this.GetChildCount(); i++ {
         var status = this.GetChild(i).Execute(tick)
         if status != b3.SUCCESS {
            return status
         }
      }
   }
   return b3.SUCCESS
}
在编辑器上创建上述两个组合类型的节点,并在机器人上注册上述两个组合节点的实现,即可使用.
maps := b3.NewRegisterStructMaps()
maps.Register("RandomChooseOne", new(RandomChooseOne))
maps.Register("RandomExe",new(RandomExe))
2.1.3 Decorators(装饰器)
装饰器节点是对自己点进行修饰,比如自带的Repeat节点是重复x次子节点,比如Inverter是反转子节点的返回值.
从图形节点的特征上看装饰器节点是1:1,即左侧"入"节点为1个节点,右侧"出"节点为1个节点.[右侧"出"节点虽然为一个节点,但可以用上述组合节点进行拓展]
节点的实现原理比较简单,这里就不继续展示代码了.
2.1.4 Actions(动作)
动作节点是使用者主要实现的节点。一般情况下,为了节点的复用性,一个Actions节点对应一条协议.当行为树执行到一个Actions节点时,触发机器人对服务器动作,然后下一个节点等待服务器回包.一般发送协议和等待回包协议成对出现.移动包等少数例外.
从图形节点的特征上看动作节点是1:0,即为行为树的页节点.
2.1.5 Conditions(条件)
条件节点是行为树中较为常用的需求,编辑器中可以创建条件节点,但是目前采用的这个第三方库没有实现条件节点.暂时用的装饰器节点代替的.[有空了我把这个第三方库完善一下.]
2.2 代码相关
根据这一套方法实现的机器人(github地址),用来压测自己写的网络库.
另外,还将这款机器人用在公司业务中,用来测试网络库性能,对登录进行压测,对服务器战斗性能进行压测,已经成功运用于两个项目的压测与优化.

 浙公网安备 33010602011771号