

springboot 使用model重定向到html模板,对数据进行展示
1:使用springboot, ,html使用thymeleaf,nekohtml模板
在build.gradle中添加依赖
buildscript {
    repositories {
        mavenCentral()
    }
    dependencies {
        classpath('org.springframework.boot:spring-boot-gradle-plugin:1.5.9.RELEASE')
    }
}
group "com.li"
version "1.0-SNAPSHOT"
apply plugin: "java"                           //java 插件
apply plugin: "org.springframework.boot"   //spring boot 插件
apply plugin: "io.spring.dependency-management"
apply plugin: "application"   //应用
//mainClassName = "Main.Application"
sourceCompatibility = 1.8
repositories {
    mavenCentral()
}8:

dependencies {
    compile("org.springframework.boot:spring-boot-starter-web",
            "org.springframework.boot:spring-boot-starter-test",
//            "org.springframework.boot:spring-boot-starter-activemq:1.5.9.RELEASE",
            "org.springframework.boot:spring-boot-starter-cache",
            "org.springframework.boot:spring-boot-devtools",
//            "org.mybatis.spring.boot:mybatis-spring-boot-starter:1.3.0",
            "mysql:mysql-connector-java:5.1.35",
//            'org.apache.commons:commons-lang3:3.4',
//            'org.apache.commons:commons-pool2',
//            'org.apache.logging.log4j:log4j-core:2.7',
//            'org.springframework.boot:spring-boot-starter-security',
            "org.springframework.boot:spring-boot-starter-thymeleaf",
            "net.sourceforge.nekohtml:nekohtml"
    )
//    compile('commons-net:commons-net:3.1')
//    runtime ("org.apache.tomcat.embed:tomcat-embed-jasper")
    testCompile group: 'junit', name: 'junit', version: '4.12'
}
2: 在application.yml中进行配置
spring:
  thymeleaf:
    mode: LEGACYHTML5
    cache: false
  datasource:
    driver-class-name: com.mysql.jdbc.Driver
    url: jdbc:mysql://localhost:3306/youhuigou
    username: root
    password: 1367356
3:定义一个对象,存放数据
package com.li.controller;

public class Parameter {
    private String id;
    private String name;

    public String getId() {
        return id;
    }

    public void setId(String id) {
        this.id = id;
    }

    public String getName() {
        return name;
    }

    public void setName(String name) {
        this.name = name;
    }
}
4: controller层
package com.li.controller;

import org.springframework.stereotype.Controller;
import org.springframework.ui.Model;
import org.springframework.web.bind.annotation.RequestMapping;

@Controller
@RequestMapping("/home")
public class HomeController {

    @RequestMapping("/home1")
    public String home1(Model model) {
        model.addAttribute("param1", 3);
        Parameter parameter=new Parameter();
        parameter.setId("111111");
        parameter.setName("liyafei");
        model.addAttribute("parame", parameter);
        return "home";
    }
}
5:启动类
package com.li;

import org.springframework.boot.SpringApplication;
import org.springframework.boot.autoconfigure.SpringBootApplication;

@SpringBootApplication
public class SpringBootModelAndThymeleaf {

    public static void main(String[] args){
        SpringApplication.run(SpringBootModelAndThymeleaf.class, args);
    }
}
6:前端展示home.html
<!DOCTYPE html>
<html xmlns:th="http://www.w3.org/1999/xhtml" xmlns:th="http://www.thymeleaf.org">
    <meta charset="utf-8">
</head>
<body>
    <h1>${param1}</h1>
    <div class="media-heading">
        <span th:text="${param1}"></span>
        <span th:text="${parame.id}"></span>
        <span th:text="${parame.name}"></span>
    </div>
</body>
</html>
7:启动项目,进行访问
http://localhost:8080/home/home1
结果
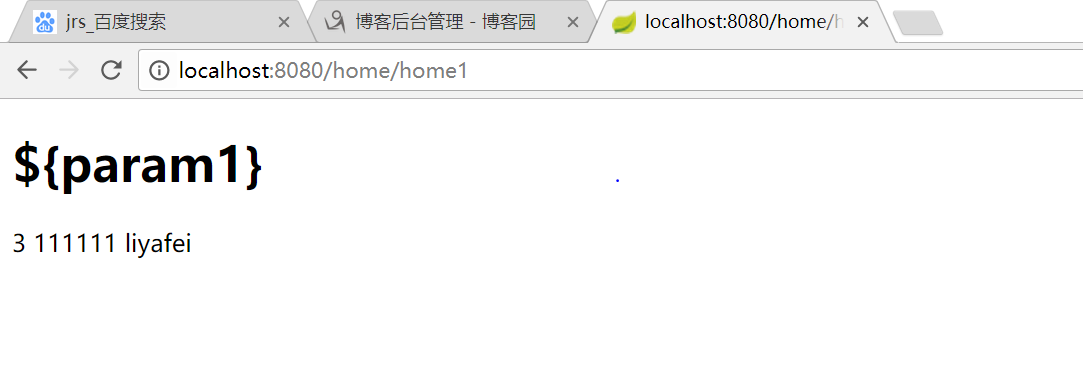
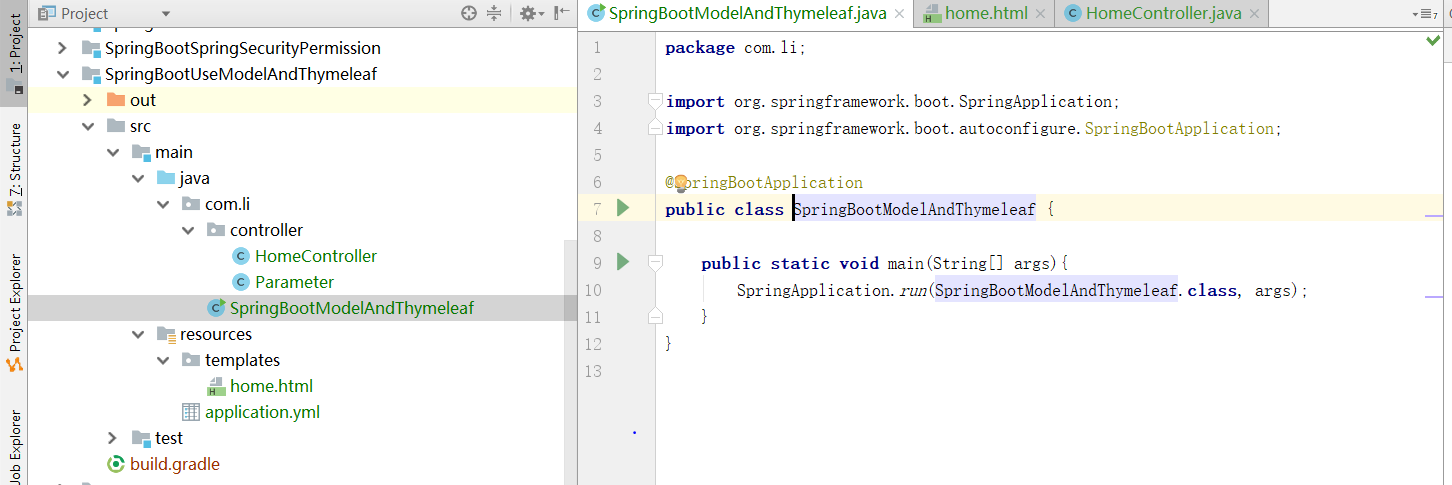
8:系统层次图
本博客为非营利性个人原创,除部分有明确署名的作品外,所刊登的所有作品的著作权均为本人所拥有,本人保留所有法定权利。违者必究

 浙公网安备 33010602011771号