
1.导入swagger依赖
<!--swagger-->
<dependency>
    <groupId>io.springfox</groupId>
    <artifactId>springfox-swagger2</artifactId>
    <version>2.7.0</version>
</dependency>
<dependency>
    <groupId>io.springfox</groupId>
    <artifactId>springfox-swagger-ui</artifactId>
    <version>2.7.0</version>
</dependency>

2.加入swagger的配置,可以不用修改,直接使用
@Configuration
@EnableSwagger2
public class Swagger2Config {
@Bean
public Docket webApiConfig(){
return new Docket(DocumentationType.SWAGGER_2)
.groupName("webApi")
.apiInfo(webApiInfo())
.select()
.paths(Predicates.not(PathSelectors.regex("/admin/.*")))
.paths(Predicates.not(PathSelectors.regex("/error.*")))
.build();
}
private ApiInfo webApiInfo(){
return new ApiInfoBuilder()
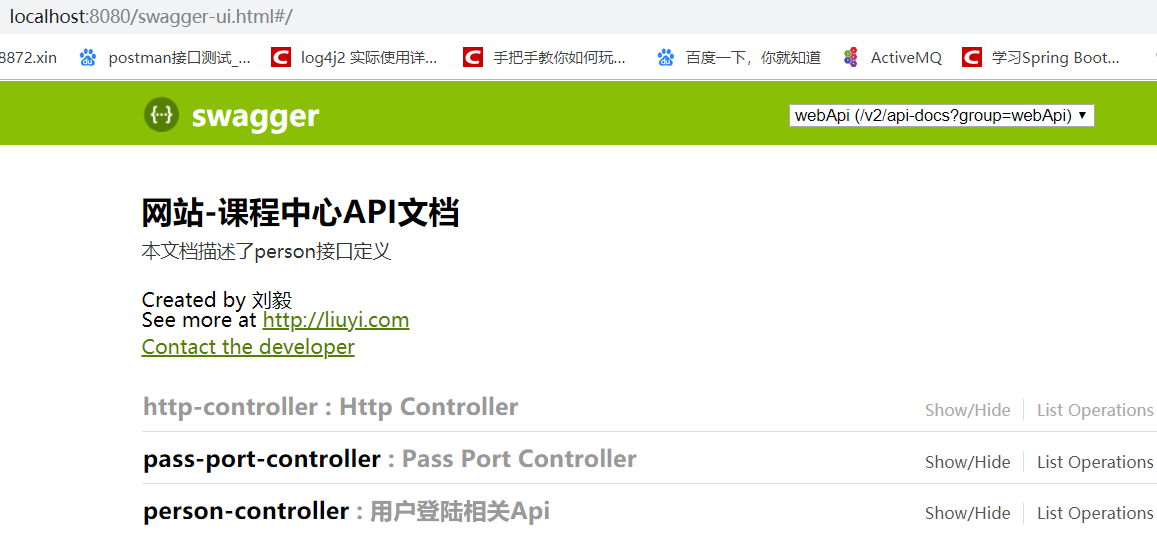
.title("网站-课程中心API文档")
.description("本文档描述了person接口定义")
.version("1.0")
.contact(new Contact("刘毅", "http://liuyi.com", "312691641@qq.com"))
.build();
}
}
3.Swagger使用的常用注解及其说明:
@Api:用在类上,说明该类的作用。
@ApiOperation:用在方法上,给API增加方法说明。
@ApiParam:用在参数上,给API参数增加说明。
例如:
@Api(description = "用户登陆相关Api")
@Controller
public class PersonController {
  @Autowired
  private PersonServer personServer;
/*
* 删除方法1占位符格式
* */
@ApiOperation(value = "person删除数据")
@ResponseBody
@DeleteMapping("/deletePath/{id}")
public Map<String, Object> deletePath( @ApiParam(name="id", value = "讲师ID", required = true) @PathVariable("id") Integer id) {
    Map<String,Object> result = new HashMap<>();
    personServer.deleteById(id);
    return result;
}
/*
    * 删除方法2参数格式
    * */
@ApiOperation(value = "person删除数据")
@ResponseBody
@DeleteMapping("/deleteRequest")
public Map<String, Object> deleteRequest( @ApiParam(name="id", value = "讲师ID", required = true) @RequestParam("id") Integer id) {
    Map<String,Object> result = new HashMap<>();
    personServer.deleteById(id);
    return result;
}
}
4.启动Spring Boot主程序,访问:http://localhost:8080/swagger-ui.html 主要,端口号是自己需要跑起来项目的端口号
例子如下

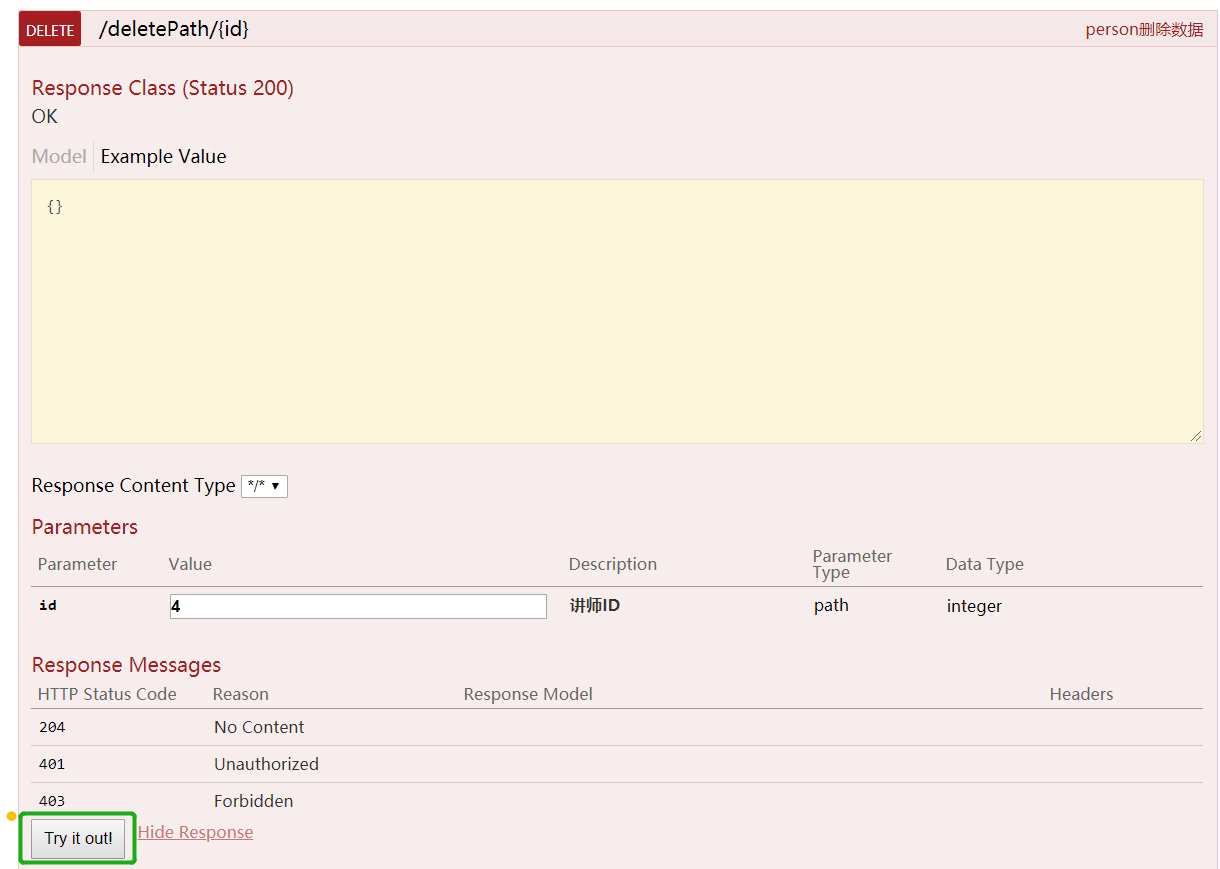
输入需要删除的Id,最后点击 Try it out 就可以愉快的测试啦!

 浙公网安备 33010602011771号