

Centos5安装***轻量级服务器中转包传输(代理)工具
第一步:安装openssl-devel
# yum install openssl-devel
第二步:安装make命令
make是gcc的编译器,VPS买来必定要安装。由于服务器是最小化安装centos系统,所以我们需要自己安装make命令
安装:
# yum -y install gcc automake autoconf libtool make
  安装g++:
# yum -y install gcc gcc-c++
第三步:下载源码包,然后编译安装
# wget https://github.com/madeye/***-libev/releases
选中 v1.4.5下载并解压,注意如果系统是centos6以下,最高只能用此版本,否则编译出错。
# cd  ***-libev
# ./configure
# make  && make install
第四步:加入防火墙规则(可选,如果安装了防火墙。这一步我没有做)
# iptables -I  INPUT -p tcp -m tcp --dport 8123 -j ACCEPT   #加入规则,端口号就是
# service  iptables save  #保存
# iptables -L  -n  #查看的iptables规则
第五步:启动***
nohup ss-server -s ipaddress -p port -k password &
说明:ipaddress是vps空间的ip地址,port是端口号,password是密码
如:nohup ss-server -s 162.x.x.80 -p 8123 -k 1234560 &


重要提示:如果运行不成功,切换到纯root的环境下执行,如:

sudo su
su - root
cd /usr/local/bin
nohup ss-server -s 100.42.xxx.xxx  -p 8123 -k 1234560 &
如果第五步启动之后还是访问不成功 如下启动 ss-server -c /etc/***.json
[root@liujianzuo-host ~]# cat /etc/***.json
{
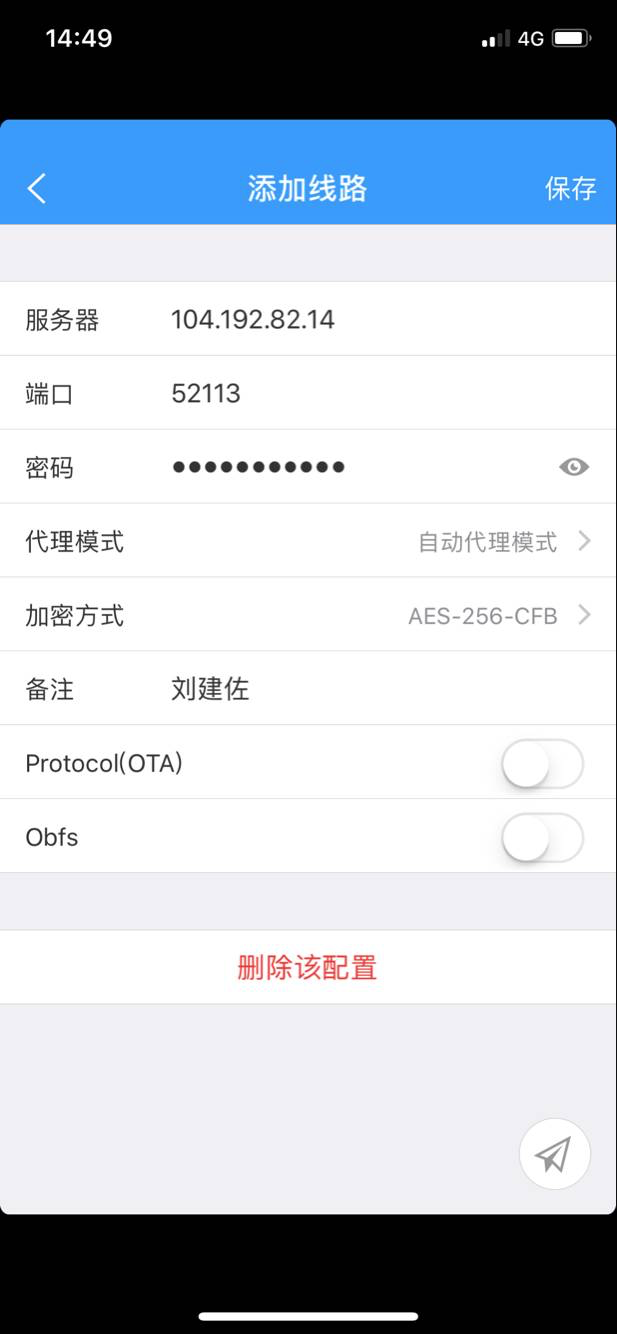
"server": "外网ip地址",
"server_port": 52116,
"local_address": "127.0.0.1",
"local_port": 1080,
"password": "密码",
"timeout": 600,
"method": "aes-256-cfb"
}
[root@liujianzuo-host ~]# nohup ss-server -c /etc/***.json &
server          服务器 IP (IPv4/IPv6),注意这也将是服务端监听的 IP 地址
server_port     服务器端口
local_port      本地端端口
password        用来加密的密码
timeout         超时时间(秒)
method          加密方法,可选择 "bf-cfb", "aes-256-cfb", "des-cfb", "rc4", 等等。默认是一种不安全的加密,推荐用 "aes-256-cfb"
我只更改了加密方式和密码,加密方式推荐用bf-cfb,因为aes-256-cfb系统默认貌似不支持,会报错。想支持这些加密方式你还要安装

apt-get install python-m2crypto
加入开机启动
[root@liujianzuo-host ~]# cat /etc/rc.local
#!/bin/sh
#
# This script will be executed *after* all the other init scripts.
# You can put your own initialization stuff in here if you don't
# want to do the full Sys V style init stuff.

touch /var/lock/subsys/local
nohup ss-server -c /etc/***.json &
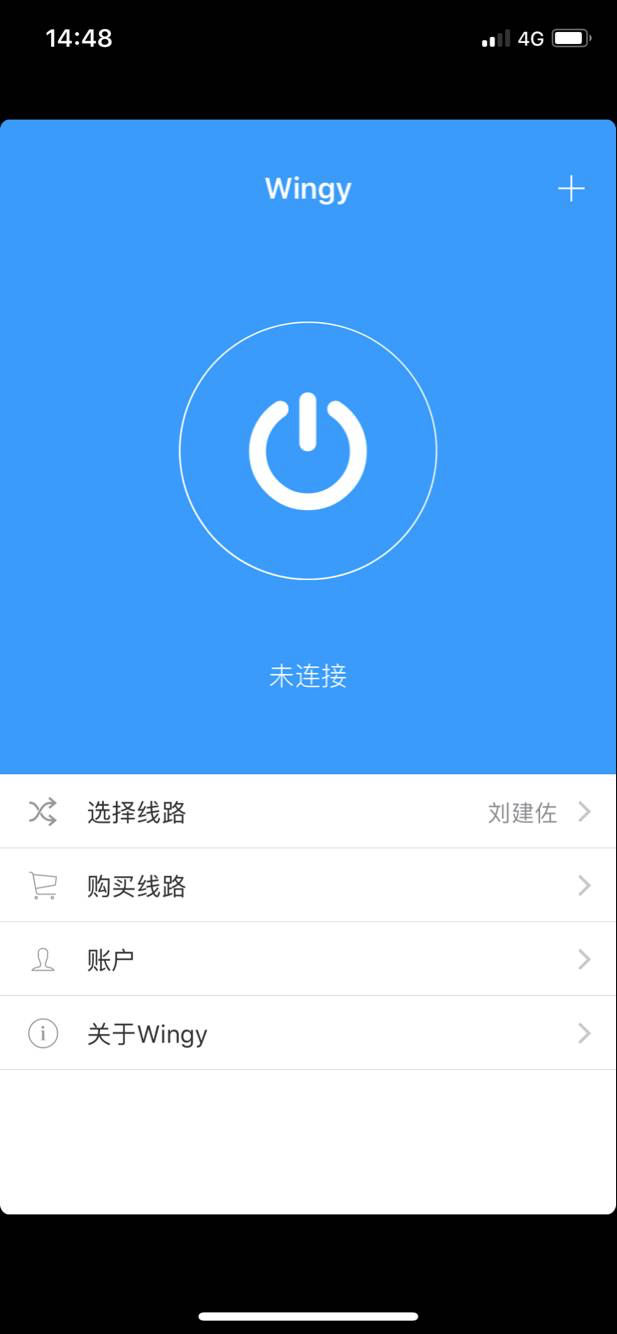
maos 配置 安卓手机可以安装“影梭”然后配置,苹果手机安装: wingy

ios

更多客户端在这儿
https://github.com/clowwindy/***/wiki/Ports-and-Clients
参考: https://my.oschina.net/u/1446273/blog/316916
vpn购买地址:
https://billing.raksmart.com/whmcs/cart.php?a=confproduct&i=0

 浙公网安备 33010602011771号