


Python操作MySql(增、删、改、查)
用python操作数据库,特别是做性能测试造存量数据时特别简单方便,比存储过程方便多了。
连接数据库
前提:安装mysql、python,参考:https://www.cnblogs.com/UncleYong/p/10530261.html
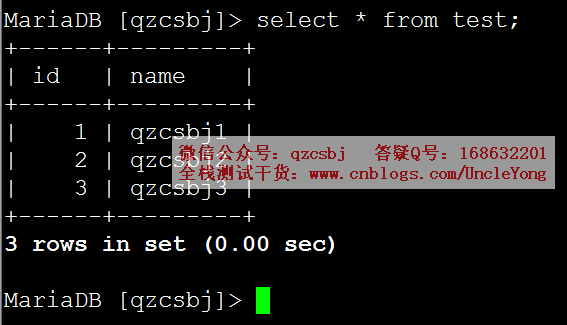
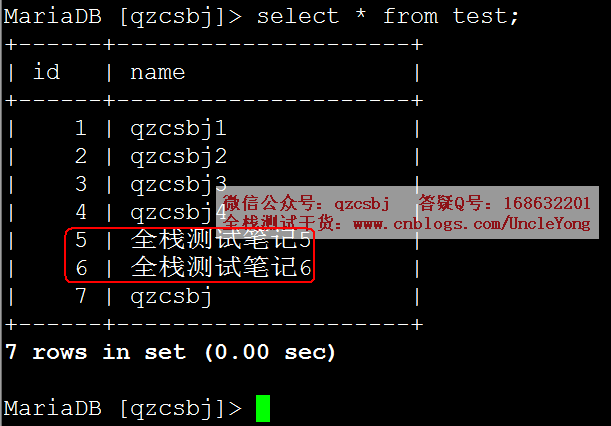
数据库qzcsjb的test表中初始化的数据:
安装pymysql模块,pip install pymysql
1 2 3 4 5 6 7 8 9 10 11 12 13 14 15 16 17 18 19 20 21 22 23 24 25 26 27 28 29 30 | import pymysql# 建立数据库连接conn=pymysql.connect( host='192.168.168.168', port=3306, user='root', password='mysql', db='qzcsbj', charset='utf8')# 获取游标cursor=conn.cursor()# 执行sql语句sql = 'select * from test where name = "%s" and id="%s"' %('qzcsbj1','1')rows=cursor.execute(sql) # 返回结果是受影响的行数# 关闭游标cursor.close()# 关闭连接conn.close()# 判断是否连接成功if rows >= 0: print('连接数据库成功')else: print('连接数据库失败') |
增加数据
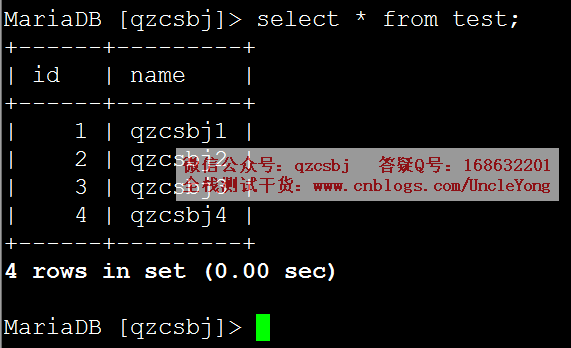
单条
1 2 3 4 5 6 7 8 9 10 11 12 13 14 15 16 17 18 19 20 21 22 23 24 25 26 27 | import pymysql# 建立数据库连接conn=pymysql.connect( host='192.168.168.168', port=3306, user='root', password='mysql', db='qzcsbj', charset='utf8')# 获取游标cursor=conn.cursor()# 执行sql语句sql='insert into test(id,name) values(%s,%s)'rows=cursor.execute(sql,('4','qzcsbj4'))# 提交conn.commit()# 关闭游标cursor.close()# 关闭连接conn.close() |
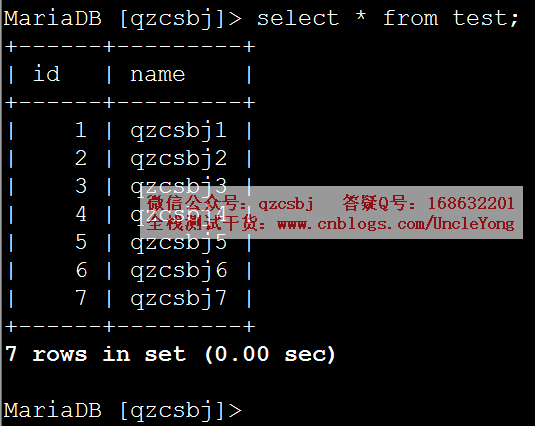
多条
1 2 3 4 5 6 7 8 9 10 11 12 13 14 15 16 17 18 19 20 21 22 23 24 25 26 27 | import pymysql# 建立数据库连接conn=pymysql.connect( host='192.168.168.168', port=3306, user='root', password='mysql', db='qzcsbj', charset='utf8')# 获取游标cursor=conn.cursor()# 执行sql语句sql='insert into test(id,name) values(%s,%s)'rows=cursor.executemany(sql,[('5','qzcsbj5'),('6','qzcsbj6'),('7','qzcsbj7')])# 提交conn.commit()# 关闭游标cursor.close()# 关闭连接conn.close() |
大批量新增
1 2 3 4 5 6 7 8 9 10 11 12 13 14 15 16 17 18 19 20 21 22 23 24 25 26 27 28 29 30 | import pymysql# 建立数据库连接conn=pymysql.connect( host='192.168.168.168', port=3306, user='root', password='mysql', db='qzcsbj', charset='utf8')# 获取游标cursor=conn.cursor(pymysql.cursors.DictCursor)# 执行sql语句values=[]for i in range(100, 201): values.append((i, 'qzcsbj'+str(i)))sql='insert into test(id,name) values(%s,%s)'rows=cursor.executemany(sql,values)# 提交conn.commit()# 关闭游标cursor.close()# 关闭连接conn.close() |
修改数据
把上面大批量新增的数据删除,delete from test where id>=100;
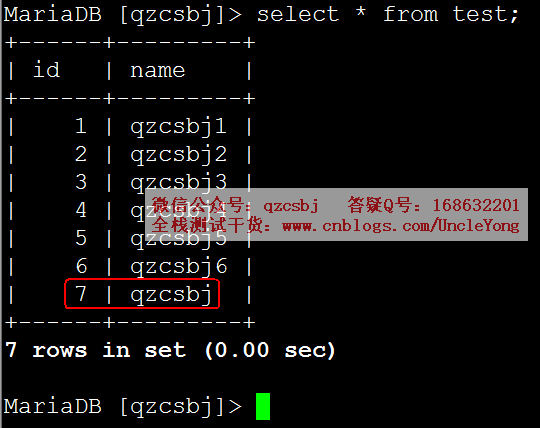
单条
1 2 3 4 5 6 7 8 9 10 11 12 13 14 15 16 17 18 19 20 21 22 23 24 25 26 27 | import pymysql# 建立数据库连接conn=pymysql.connect( host='192.168.168.168', port=3306, user='root', password='mysql', db='qzcsbj', charset='utf8')# 获取游标cursor=conn.cursor()# 执行sql语句sql='update test set name = %s where id = %s'rows=cursor.execute(sql,('qzcsbj','7'))# 提交conn.commit()# 关闭游标cursor.close()# 关闭连接conn.close() |
多条
1 2 3 4 5 6 7 8 9 10 11 12 13 14 15 16 17 18 19 20 21 22 23 24 25 26 27 | import pymysql# 建立数据库连接conn=pymysql.connect( host='192.168.168.168', port=3306, user='root', password='mysql', db='qzcsbj', charset='utf8')# 获取游标cursor=conn.cursor()# 执行sql语句sql='update test set name = %s where id = %s'rows=cursor.executemany(sql,[('全栈测试笔记5','5'),('全栈测试笔记6','6')])# 提交conn.commit()# 关闭游标cursor.close()# 关闭连接conn.close() |
删除数据
单条
下面脚本和上面增加数据,除了执行sql语句部分不一样,其余都一样
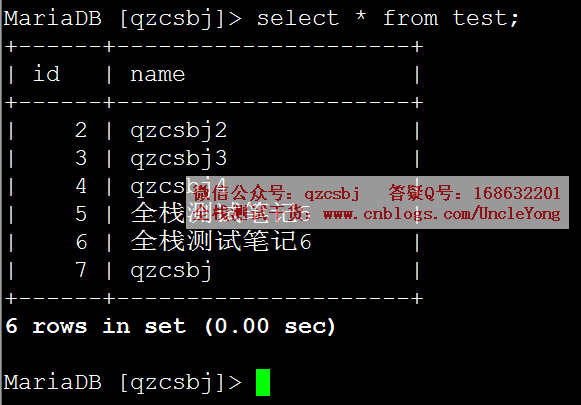
1 2 3 | # 执行sql语句sql='delete from test where id = %s'rows=cursor.execute(sql,('1',)) |
多条
下面脚本和上面增加数据,除了执行sql语句部分不一样,其余都一样
1 2 3 | # 执行sql语句sql='delete from test where id = %s'rows=cursor.executemany(sql,[('2'),('3')]) |

查询数据
fetchone
有点像从管道中取一个,如果再来一个fetchone,会又取下一个,如果取完了再取,就返回None
每条记录为元组格式
下面脚本和上面增加数据,除了执行sql语句部分不一样,其余都一样
1 2 3 4 5 6 7 | # 执行sql语句rows=cursor.execute('select * from test;')print(cursor.fetchone())print(cursor.fetchone())print(cursor.fetchone())print(cursor.fetchone())print(cursor.fetchone()) |
运行结果:
(4, 'qzcsbj4')
(5, '全栈测试笔记5')
(6, '全栈测试笔记6')
(7, 'qzcsbj')
None
每条记录为字典格式
1 2 3 4 5 6 7 8 9 10 | # 获取游标cursor=conn.cursor(pymysql.cursors.DictCursor)# 执行sql语句rows=cursor.execute('select * from test;')print(cursor.fetchone())print(cursor.fetchone())print(cursor.fetchone())print(cursor.fetchone())print(cursor.fetchone()) |
运行结果:
{'id': 4, 'name': 'qzcsbj4'}
{'id': 5, 'name': '全栈测试笔记5'}
{'id': 6, 'name': '全栈测试笔记6'}
{'id': 7, 'name': 'qzcsbj'}
None
fetchmany
1 2 3 4 5 6 | # 获取游标cursor=conn.cursor(pymysql.cursors.DictCursor)# 执行sql语句rows=cursor.execute('select * from test;')print(cursor.fetchmany(2)) |
运行结果:
[{'id': 4, 'name': 'qzcsbj4'}, {'id': 5, 'name': '全栈测试笔记5'}]
fetchall
1 2 3 4 5 6 7 | # 获取游标cursor=conn.cursor(pymysql.cursors.DictCursor)# 执行sql语句rows=cursor.execute('select * from test;')print(cursor.fetchall())print(cursor.fetchall()) |
运行结果:
[{'id': 4, 'name': 'qzcsbj4'}, {'id': 5, 'name': '全栈测试笔记5'}, {'id': 6, 'name': '全栈测试笔记6'}, {'id': 7, 'name': 'qzcsbj'}]
[]
相对绝对位置移动
从头开始跳过n个
1 2 3 4 5 6 7 | # 获取游标cursor=conn.cursor(pymysql.cursors.DictCursor)# 执行sql语句rows=cursor.execute('select * from test;')cursor.scroll(3,mode='absolute')print(cursor.fetchone()) |
运行结果:
{'id': 7, 'name': 'qzcsbj'}
相对当前位置移动
1 2 3 4 5 6 7 8 | # 获取游标cursor=conn.cursor(pymysql.cursors.DictCursor)# 执行sql语句rows=cursor.execute('select * from test;')print(cursor.fetchone())cursor.scroll(2,mode='relative')print(cursor.fetchone()) |
运行结果:
{'id': 4, 'name': 'qzcsbj4'}
{'id': 7, 'name': 'qzcsbj'}
> > > 1、微信公众号:全栈测试笔记
> > > 2、技术交流Q群:652122175
> > > 3、性能测试从0到实战: https://www.cnblogs.com/uncleyong/p/12311432.html
> > > 4、自动化测试实战: https://www.cnblogs.com/uncleyong/p/12016690.html
> > > 5、测试汇总:
https://www.cnblogs.com/uncleyong/p/10530261.html
> > > 6、声明:本文部分内容可能来源或整理自网络,如有侵权,请联系删除。
================================ END ================================


<div class="clear"></div>
<div id="post_next_prev">

<a href="https://www.cnblogs.com/uncleyong/p/10931195.html" class="p_n_p_prefix">« </a> 上一篇:    <a href="https://www.cnblogs.com/uncleyong/p/10931195.html" title="发布于 2019-05-26 15:59">mysql,本地连接看到的数据库不全,远程连接看到的数据库是完整的</a>
<br>
<a href="https://www.cnblogs.com/uncleyong/p/10990062.html" class="p_n_p_prefix">» </a> 下一篇:    <a href="https://www.cnblogs.com/uncleyong/p/10990062.html" title="发布于 2019-06-01 10:09">JMeter基础【第六篇】JMeter5.1事务、检查点、集合点、思考时间、其余设置等</a>

 浙公网安备 33010602011771号