idea创建spring boot+restful的项目
转载自:https://blog.csdn.net/yzllz001/article/details/53504860
1、开发环境准备
- IDE:IntelliJ IDEA
- JDK:1.8
- Maven
- 数据库:MySQL
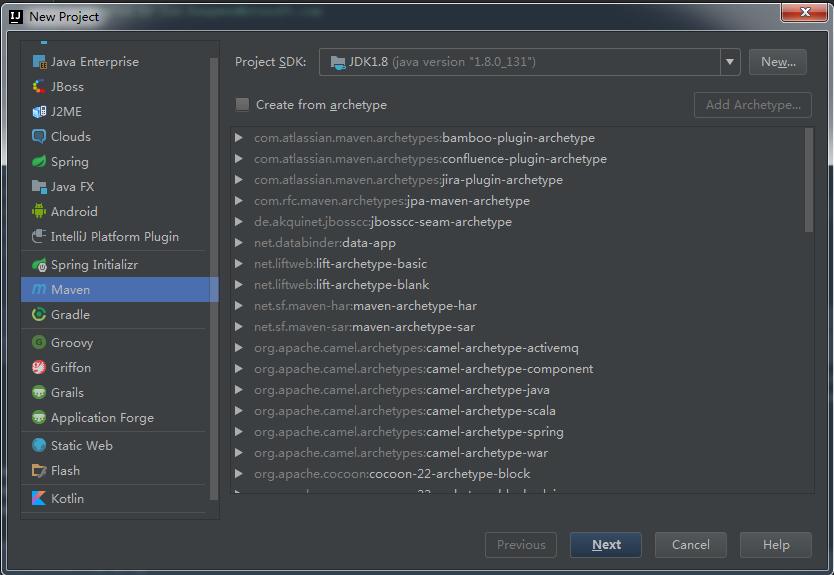
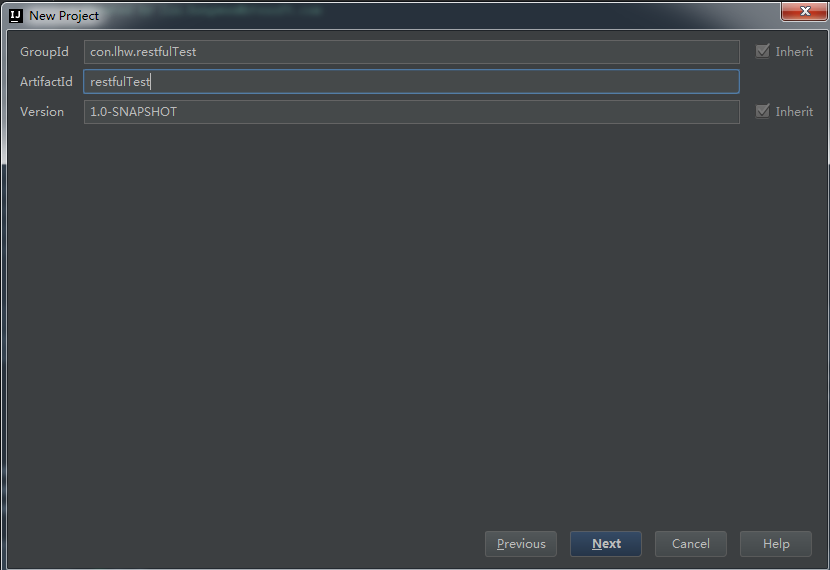
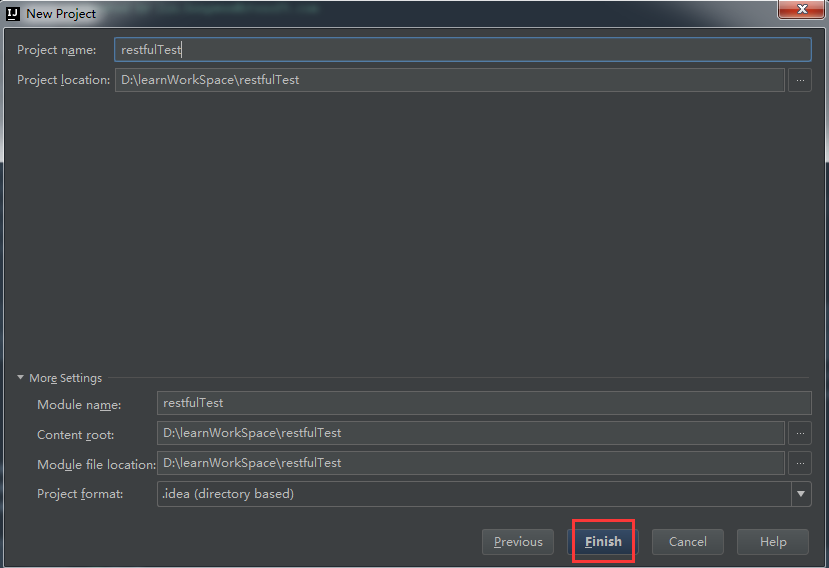
2、创建一个maven项目
3、在pom.xml中加入对Spring-Boot的依赖
    <parent>
        <groupId>org.springframework.boot</groupId>
        <artifactId>spring-boot-starter-parent</artifactId>
        <version>1.4.1.RELEASE</version>
        <relativePath /> <!-- lookup parent from repository -->
    </parent>

    <properties>
        <project.build.sourceEncoding>UTF-8</project.build.sourceEncoding>
        <java.version>1.8</java.version>
    </properties>

    <dependencies>
        <dependency>
            <groupId>org.springframework.boot</groupId>
            <artifactId>spring-boot-starter-web</artifactId>
        </dependency>

        <dependency>
            <groupId>org.springframework.boot</groupId>
            <artifactId>spring-boot-starter-test</artifactId>
            <scope>test</scope>
        </dependency>
    </dependencies>

    <build>
        <plugins>
            <plugin>
                <groupId>org.springframework.boot</groupId>
                <artifactId>spring-boot-maven-plugin</artifactId>
            </plugin>
        </plugins>
    </build>
完成的pom:


<?xml version="1.0" encoding="UTF-8"?>
<project xmlns="http://maven.apache.org/POM/4.0.0"
         xmlns:xsi="http://www.w3.org/2001/XMLSchema-instance"
         xsi:schemaLocation="http://maven.apache.org/POM/4.0.0 http://maven.apache.org/xsd/maven-4.0.0.xsd">
    <modelVersion>4.0.0</modelVersion>

    <groupId>com.lhw.test.restful</groupId>
    <artifactId>restfulTest</artifactId>
    <version>1.0-SNAPSHOT</version>


    <parent>
        <groupId>org.springframework.boot</groupId>
        <artifactId>spring-boot-starter-parent</artifactId>
        <version>1.4.1.RELEASE</version>
        <relativePath /> <!-- lookup parent from repository -->
    </parent>

    <properties>
        <project.build.sourceEncoding>UTF-8</project.build.sourceEncoding>
        <java.version>1.8</java.version>
    </properties>

    <dependencies>
        <dependency>
            <groupId>org.springframework.boot</groupId>
            <artifactId>spring-boot-starter-web</artifactId>
        </dependency>

        <dependency>
            <groupId>org.springframework.boot</groupId>
            <artifactId>spring-boot-starter-test</artifactId>
            <scope>test</scope>
        </dependency>
    </dependencies>

    <build>
        <plugins>
            <plugin>
                <groupId>org.springframework.boot</groupId>
                <artifactId>spring-boot-maven-plugin</artifactId>
            </plugin>
        </plugins>
    </build>

</project>
4、新建一个Controller来接收客户端的请求
package com.lhw.restfulTest.controller;

import org.springframework.web.bind.annotation.*;

/**
 * Created by lin.hongwen@ztesoft.com
 *
 * @date 2018年04月18日
 */
@RestController
public class UserController {

    @RequestMapping(value = "/users/{username}", method = RequestMethod.GET, consumes = "application/json")
    public String getUser(@PathVariable String username, @RequestParam String pwd) {
        return "Welcome:"+username;
    }
}
- 关键字@RestController代表这个类是用Restful风格来访问的,如果是普通的WEB页面访问跳转时,我们通常会使用@Controller
- value = "/users/{username}" 代表访问的URL是"http://host:PORT/users/实际的用户名"
- method = RequestMethod.GET 代表这个HTTP请求必须是以GET方式访问
- consumes="application/json" 代表数据传输格式是json
- @PathVariable将某个动态参数放到URL请求路径中
- @RequestParam指定了请求参数名称
5、新建启动Restful服务端的启动类
package com.lhw.restfulTest;

import org.springframework.boot.SpringApplication;
import org.springframework.boot.autoconfigure.SpringBootApplication;

/**
 * Created by lin.hongwen@ztesoft.com
 *
 * @date 2018年04月18日
 */
@SpringBootApplication
public class RunApplication {
    public static void main(String[] args){
        SpringApplication.run(RunApplication.class);
    }
}
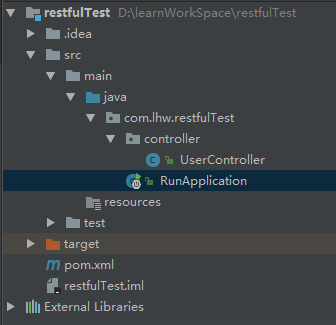
最终项目结构如下:
6、启动服务
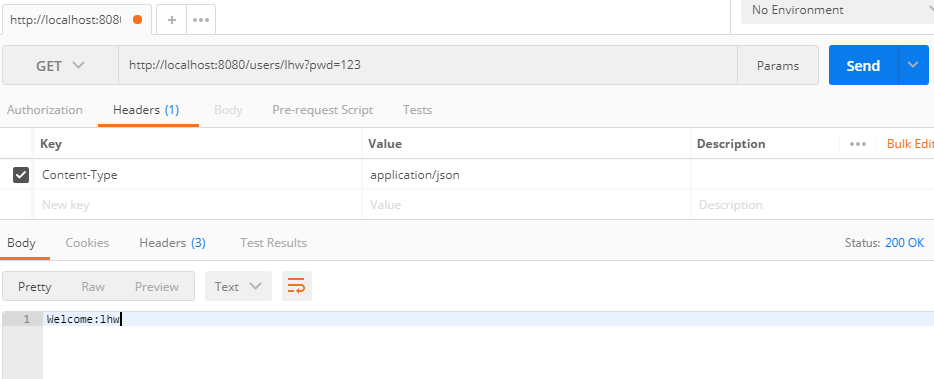
7、验证
用postman发送请求 http://localhost:8080/users/lhw?pwd=123
** 注意 要改变head里面的Content-Type为application/json

 浙公网安备 33010602011771号